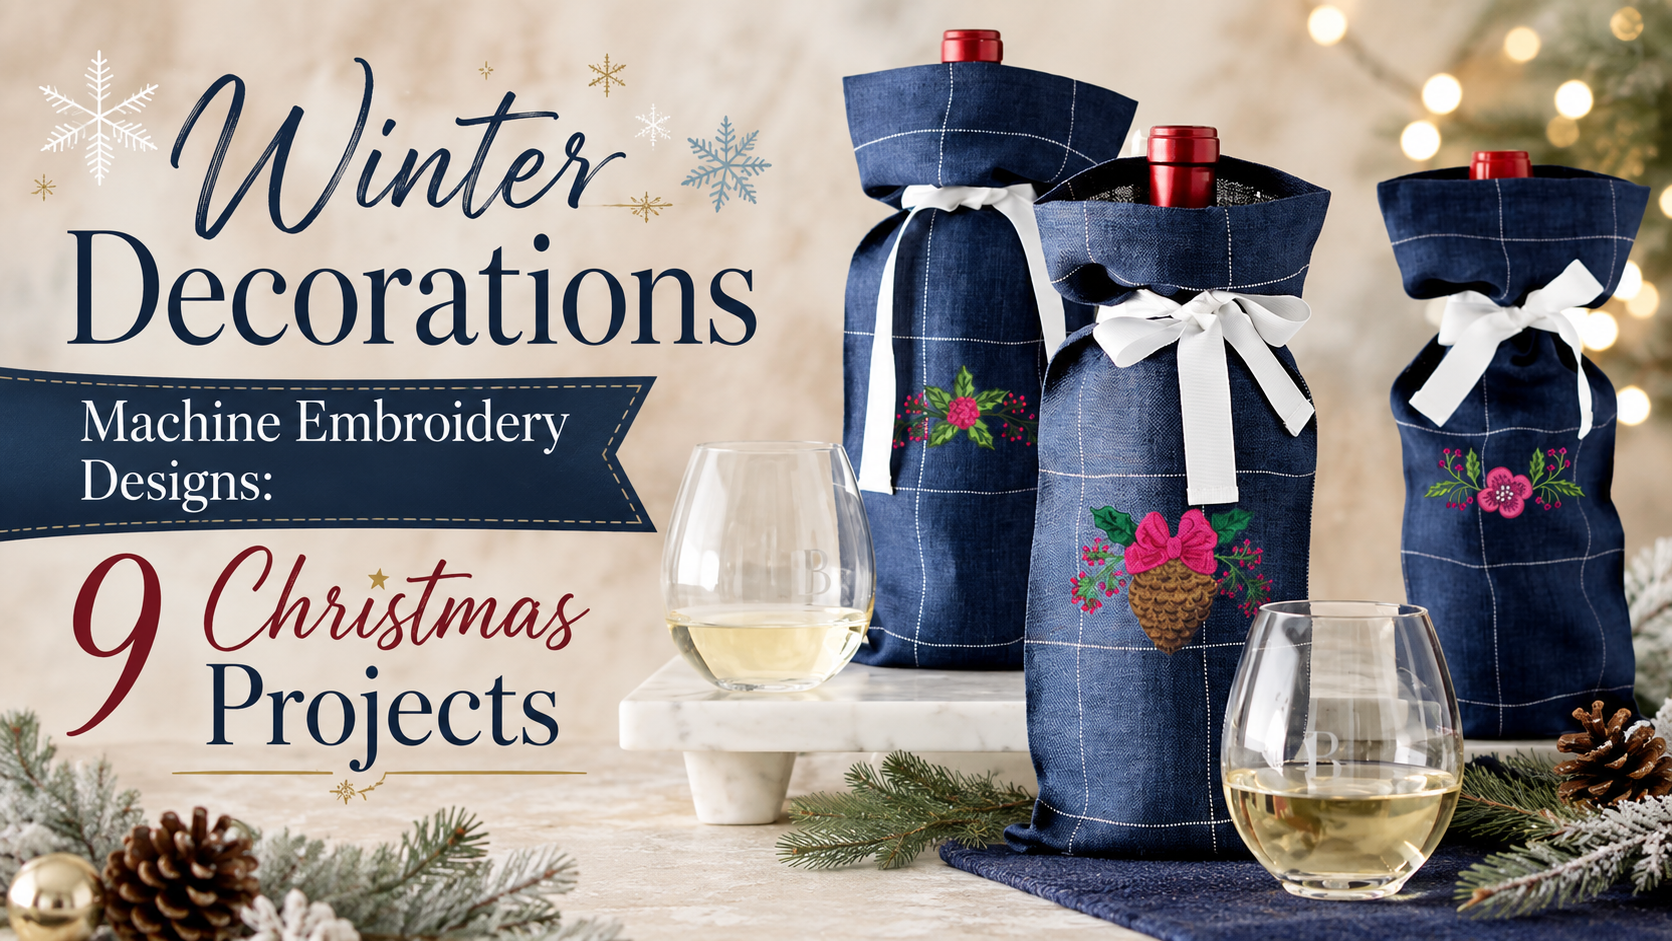
Winter decorations machine embroidery designs become far more useful when they are planned as finished objects instead of isolated motifs. A small branch can anchor a wine bag, three related ornaments can turn plain napkins into a set, and one large composition can become the focal panel of a Christmas pillow or wall hanging.
Below are nine practical Christmas projects with placement, fabric, stabilizer and assembly guidance. Every featured product is a downloadable digital file for an embroidery machine. Fabric, thread, sewing patterns and finished items are not shipped.
Choose the project before choosing the design
Start with the finished object and its usable embroidery area. A 4 × 4 in hoop may be enough for a napkin corner or separate accent, while a pillow panel, continuous border or large wreath can require a larger uninterrupted field. The number printed on the plastic hoop is not always identical to the machine's usable sewing field, so load the file and run a boundary check before cutting the final fabric.
| Project | Best design type | Construction level | Main technical risk |
|---|---|---|---|
| Wine bag | Small vertical motif or compact cluster | Basic sewing | Embroidering after the narrow bag is assembled |
| Napkins | Small corner motifs from one coordinated set | Beginner | Inconsistent placement across the set |
| Runner | Border, corner or repeatable end motif | Intermediate | Misaligned repeats and fabric distortion |
| Towels | Border, monogram frame, pine cone or snowflake | Beginner | Stitches sinking into pile |
| Stocking | Single focal motif with separate lettering | Basic sewing | Hooping a finished stocking |
| Tree ornament | Small motif stitched on felt, linen or cotton | Beginner to intermediate | Confusing an ordinary motif with an ITH file |
| Pillow | Large composition or several related motifs | Intermediate | Planning the layout after panels are cut |
| Quilt or wall art | Series, medallion, wreath or matching blocks | Intermediate | Unequal finished block dimensions |
Prepare a Madeira Christmas thread palette before stitching
A small, planned thread palette makes it easier to stitch several Christmas projects as one collection. The colors below are a practical starting set in Madeira Classic Rayon 40: clear red and green for traditional ornaments, deeper values for shadows, two warm gold-brown shades, and two browns for pine cones and branches. Always follow the color chart supplied with the individual embroidery design when exact shading matters.
| Color preview | Madeira Classic Rayon 40 | Shade name | Typical use in Christmas embroidery | |
|---|---|---|---|---|
|
1147 | Christmas Red | Traditional ornaments, berries, bows, lettering, Santa details and the main red areas of festive motifs. | |
|
1238 | Sangria | Dark red shading, berry shadows, deep folds in ribbons, outlines and contrast beside Christmas Red. | |
|
1250 | Christmas Green | Holly leaves, bright fir needles, wreaths, trees and the main green areas of classic holiday designs. | |
|
1397 | Evergreen | Deep fir shadows, inner wreath layers, dark leaf veins and dimensional contrast in winter greenery. | |
|
1225 | Liquid Gold | Stars, snowflake accents, bells, ornament caps, warm outlines and decorative Christmas lettering. | |
|
1348 | Antique Bronze | Dark-gold shading, vintage ornaments, bell shadows, aged metal details and depth beside Liquid Gold. | |
|
1126 | Light Brown Sugar | Light scales on pine cones, branches, wicker, gingerbread and highlights in rustic winter motifs. | |
|
1059 | Dark Chocolate | Pine-cone shadows, dark branches, outlines, wood details and contrast under light-brown stitches. |
Add Christmas sparkle with metallic and holographic thread
Metallic thread works best as a controlled highlight, not as an automatic replacement for every rayon color. Use it for snowflake rays, star points, ornament caps, narrow satin accents, lettering, bells and selected lines in bows. Large dense fills and repeatedly overlapped areas create more friction and are more likely to shred a specialty thread.
| Brand and thread | Visual effect | Best Christmas use | Practical note |
|---|---|---|---|
| Madeira CR 40 | Smooth standard-weight metallic shine | Snowflakes, stars, lettering and accents in designs normally digitized for 40-weight thread | A logical first metallic test for standard-weight embroidery; still test the complete design on the final fabric. |
| Madeira Supertwist 30 | Textured shimmer, including metallic, opal and crystal effects | Bold ornament lines, decorative borders and visible highlights | Heavier than ordinary 40-weight thread, so use it only where the stitch construction has enough room. |
| Gunold METY 7/2 | Conventional metallic sparkle in a thinner 40-weight-equivalent option | Gold or silver snowflakes, stars, monograms and ornamental lines | Choose METY 7/2 before the heavier 5/2 when the design was digitized for standard 40-weight thread. |
| Gunold GLITTER | Flat holographic foil with diamond-like refraction | Icy snowflakes, fantasy ornaments and small high-impact highlights | The flat thread must feed without twisting; use it selectively rather than in dense, layered fills. |
| Gütermann Metallic | Even glittering and iridescent metallic effect | General decorative accents, stars, bells and ornament details | Use a metallic embroidery needle in the size recommended for the exact thread and fabric. |
| Gütermann Sliver | Strong flash from a fine, flat metallic ribbon | Snowflake rays, tinsel-like lines, narrow satin details and bright lettering | Sliver must unwind without twisting. Start slowly and use a metallic or topstitch needle NM 80–90. |
| Gütermann Holoshimmer | Flat holographic ribbon with rainbow reflections | Iridescent snow, ice, stars and playful Christmas accents | Best as a highlight; it is a separate thread from Sliver and creates a different optical effect. |
| WonderFil Spotlite 40 wt | Bright metallic shine on a soft rayon core | Machine embroidery, decorative stitching, holiday ornaments and thread-painted accents | WonderFil recommends a 90/14 metallic or topstitch needle for machine use. |
1. Embroidered Christmas wine bag
A wine bag is one of the cleanest ways to use a small winter motif because the embroidery remains the focal point and the sewing pattern is simple. Choose firm cotton, linen, denim or light upholstery fabric for the outer layer. Cut the front generously, mark the vertical and horizontal axes, then embroider while the piece is still flat. Add lining, side seams, a boxed base and the drawstring channel only after the embroidery is finished.
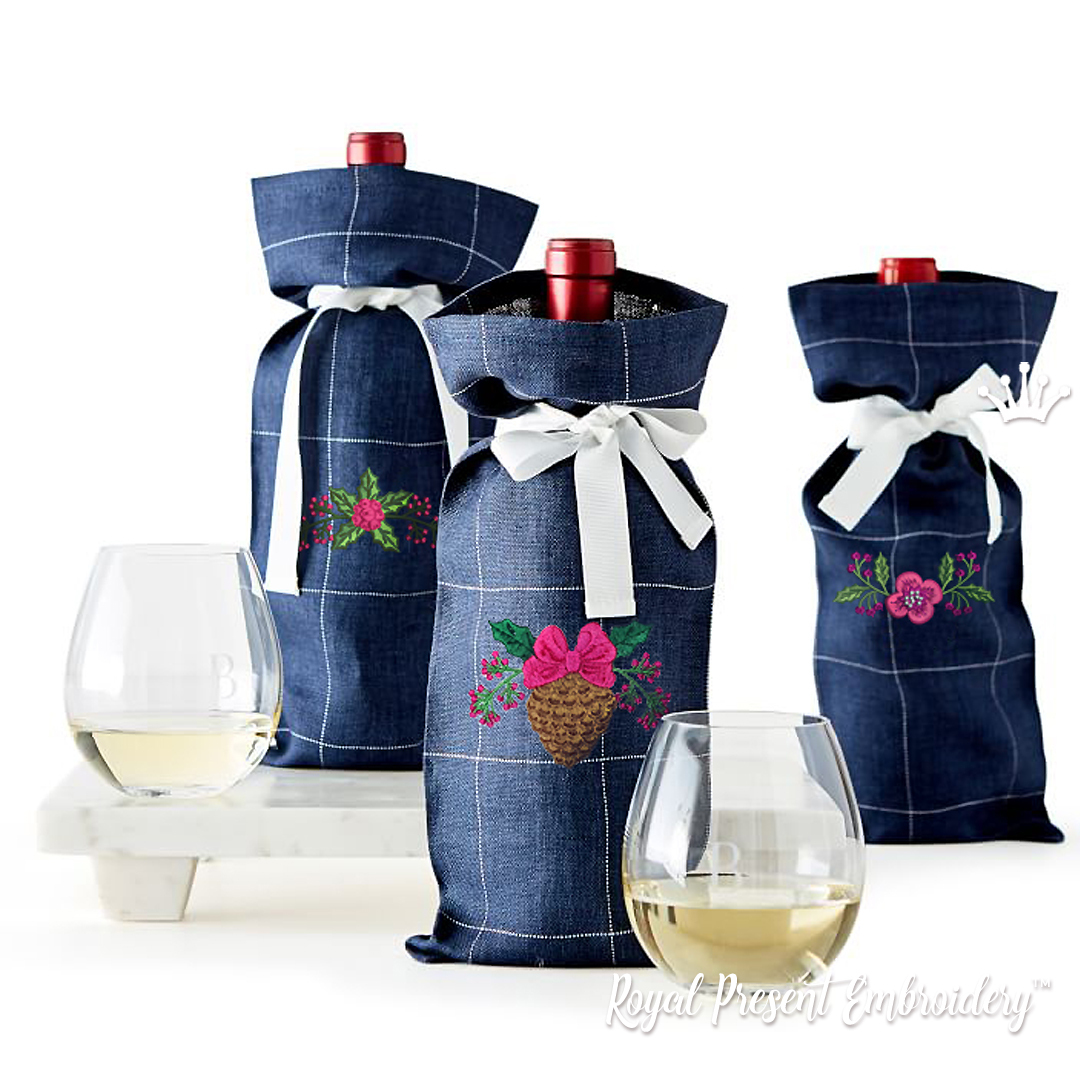
Winter Decorations – 3 Designs
Three compact motifs planned for wine bags, napkins, stockings and other small Christmas textiles.
|
2. A coordinated set of embroidered Christmas napkins
Do not place the same design on every napkin unless a deliberately formal set is wanted. A set of three related motifs creates variety while repeated thread colors keep the table coherent. Print the supplied templates, decide whether the embroidery will sit at the corner, above a hem or near a monogram, and make one placement template that is reused on every napkin.
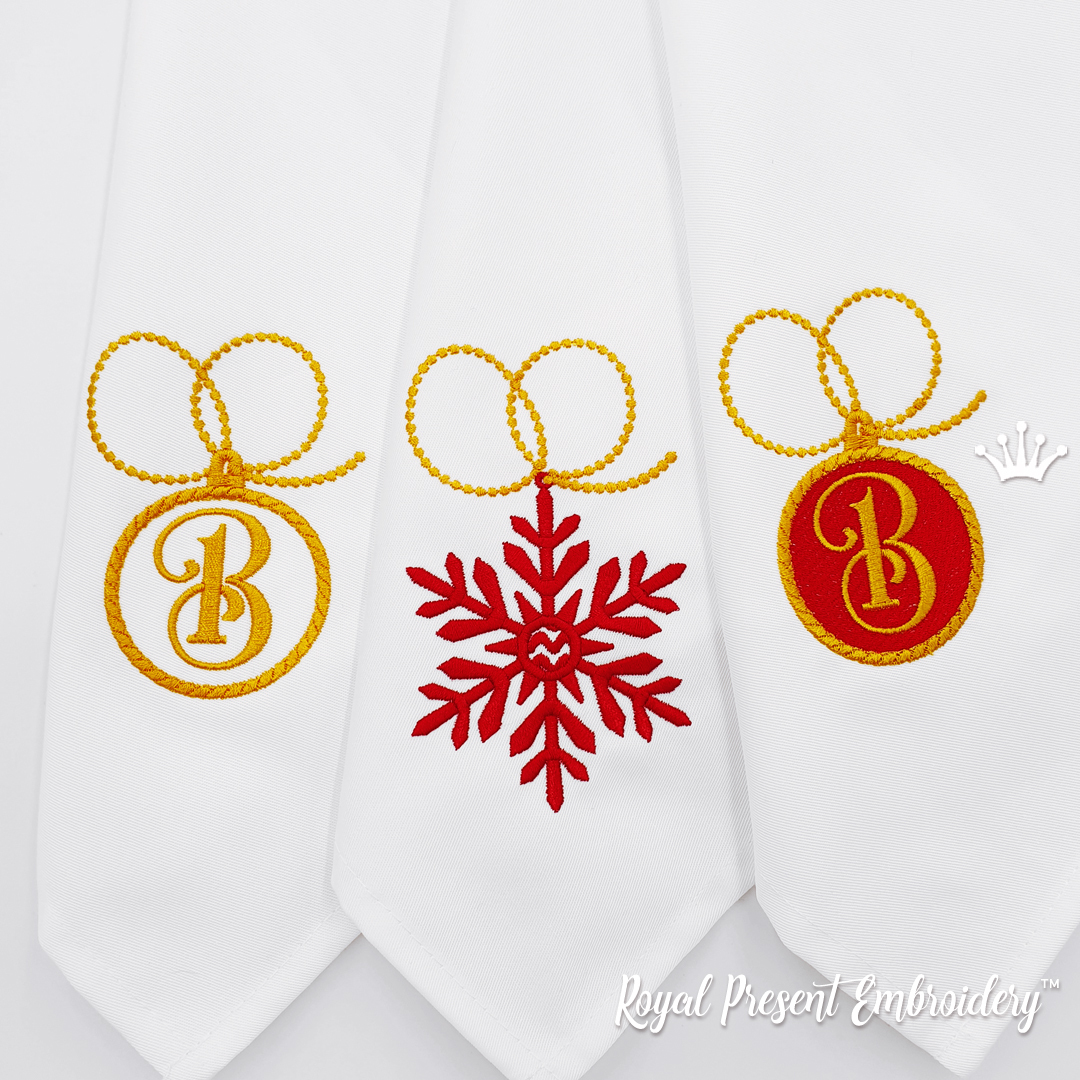
Three Christmas Decorations
Two hanging baubles and one snowflake for three coordinated but non-identical napkins.
|
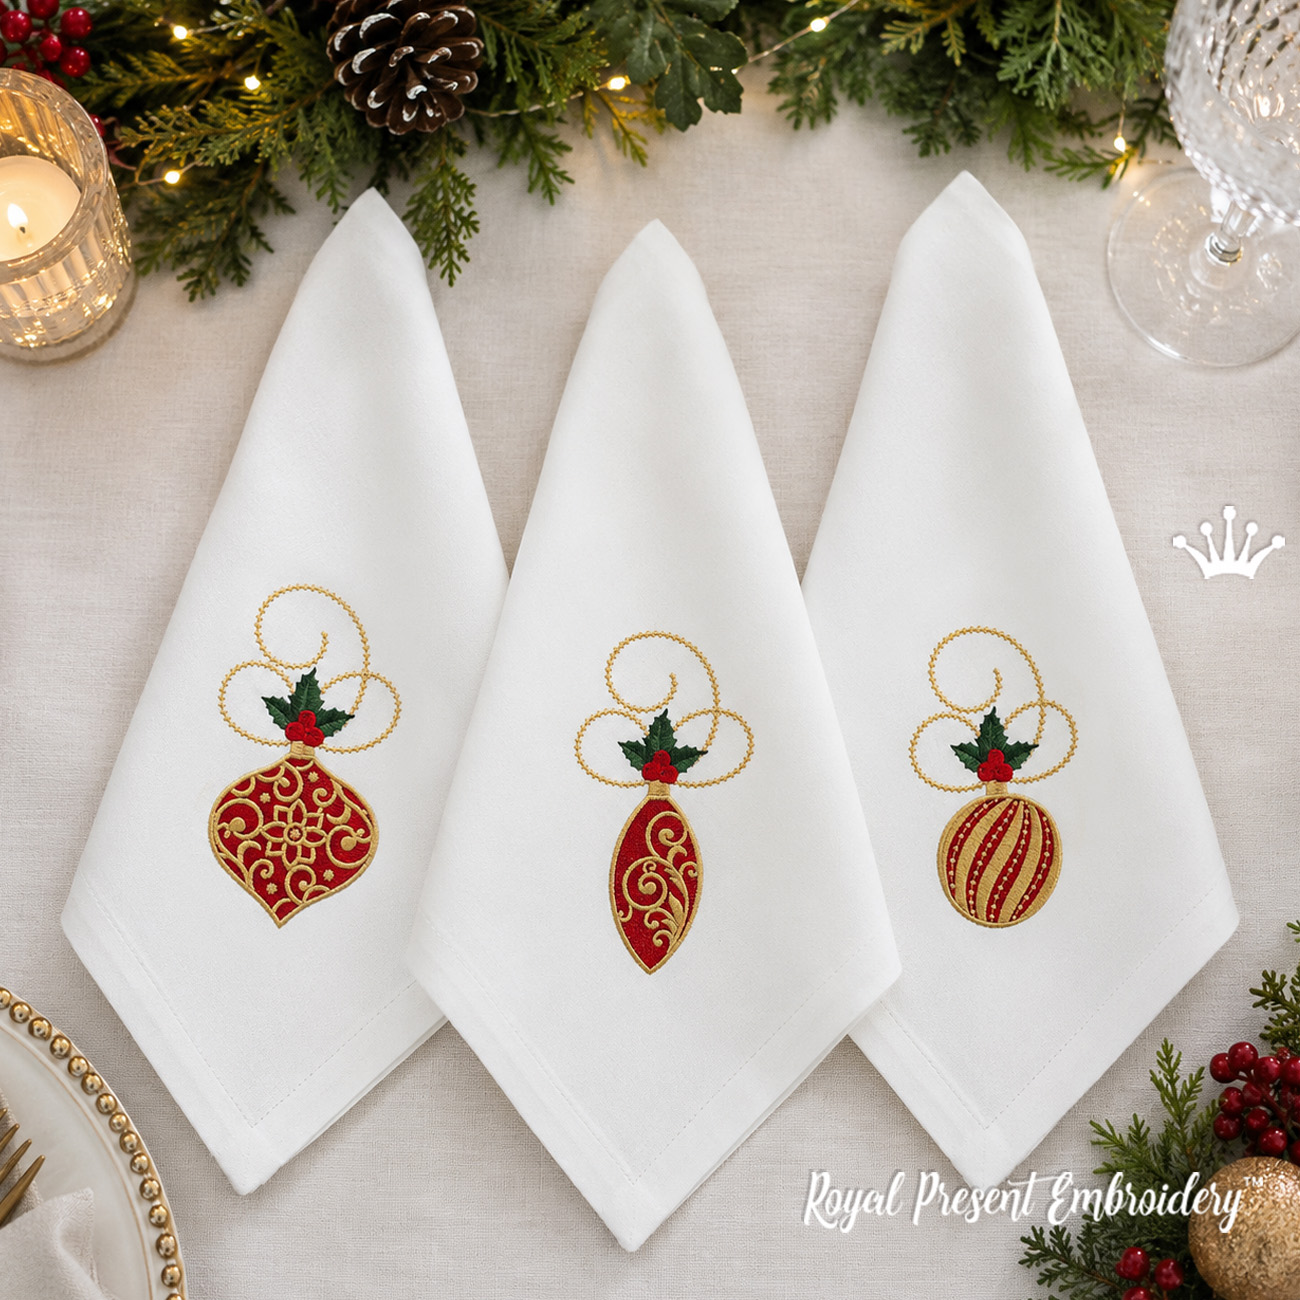
Mini Christmas Ornaments with Holly – Set of 3
Compact matching motifs for napkins, small gift bags and narrow textile areas.
|
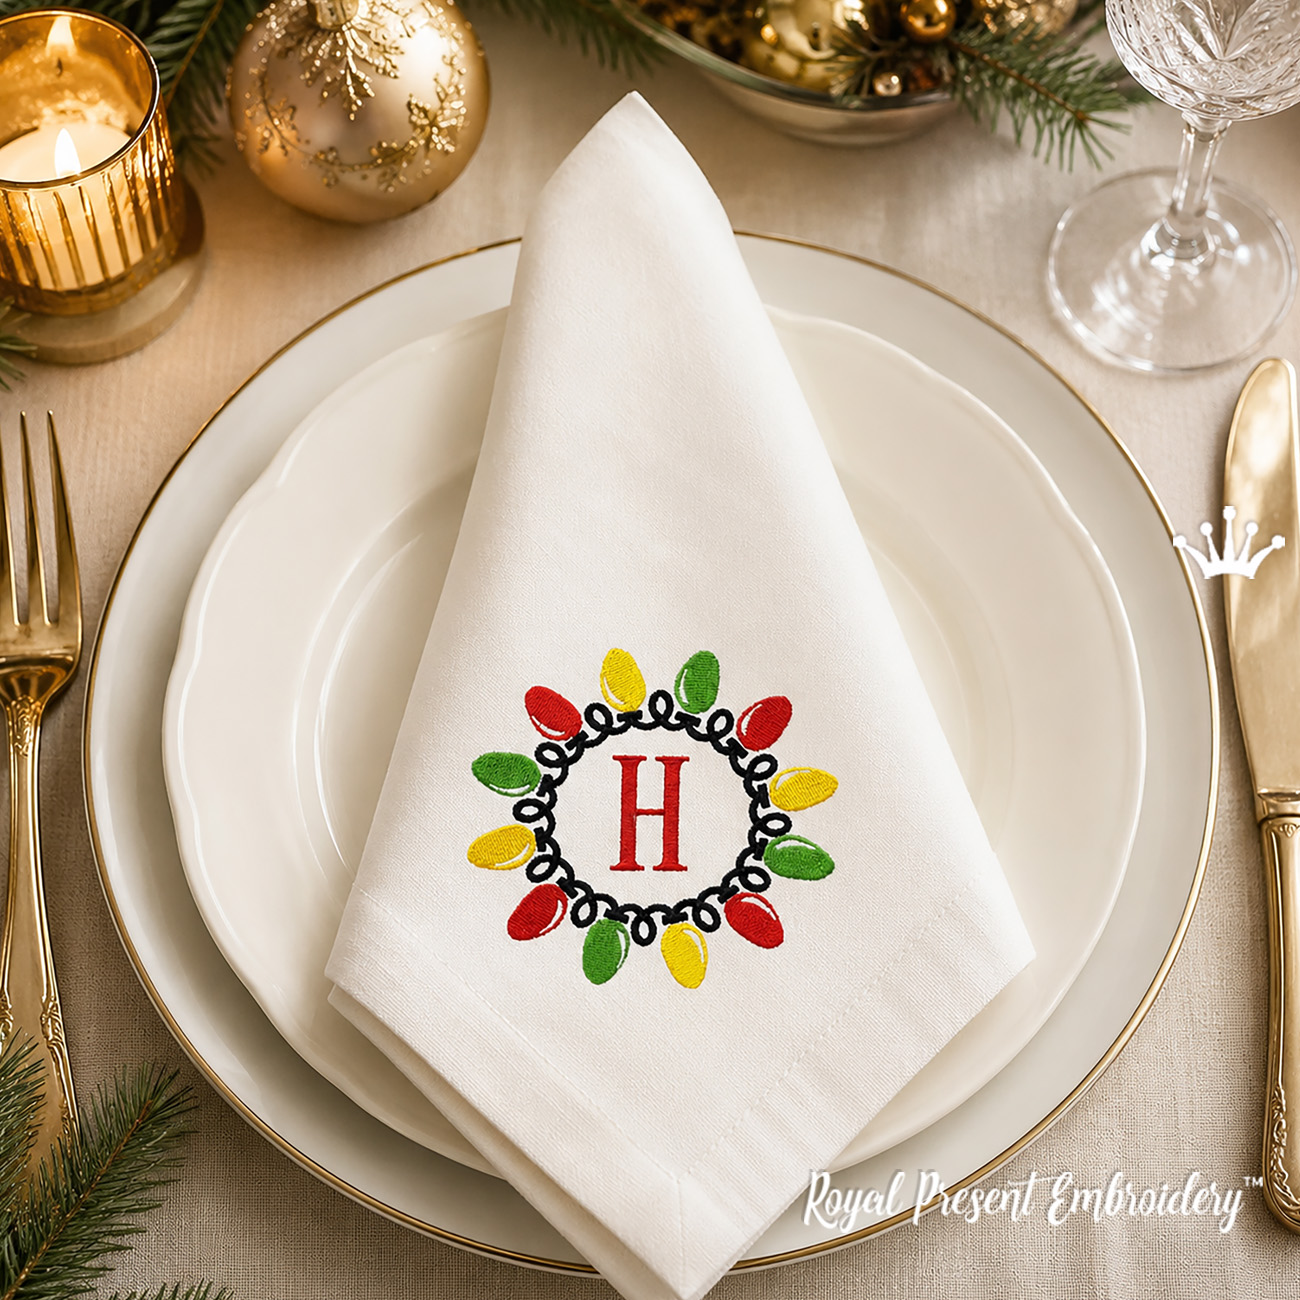
Christmas Lights Garland Frame
A compact frame for a separately added initial; the embroidery font is not included.
|
3. Christmas table runner and placemats
A runner does not need embroidery along its full length. One substantial border at each end is easier to align, faster to stitch and visually calmer than a repeated band. For a full collection, repeat a small element from the border on placemats or napkins. This creates coordination without placing a dense design directly under plates and serving dishes.
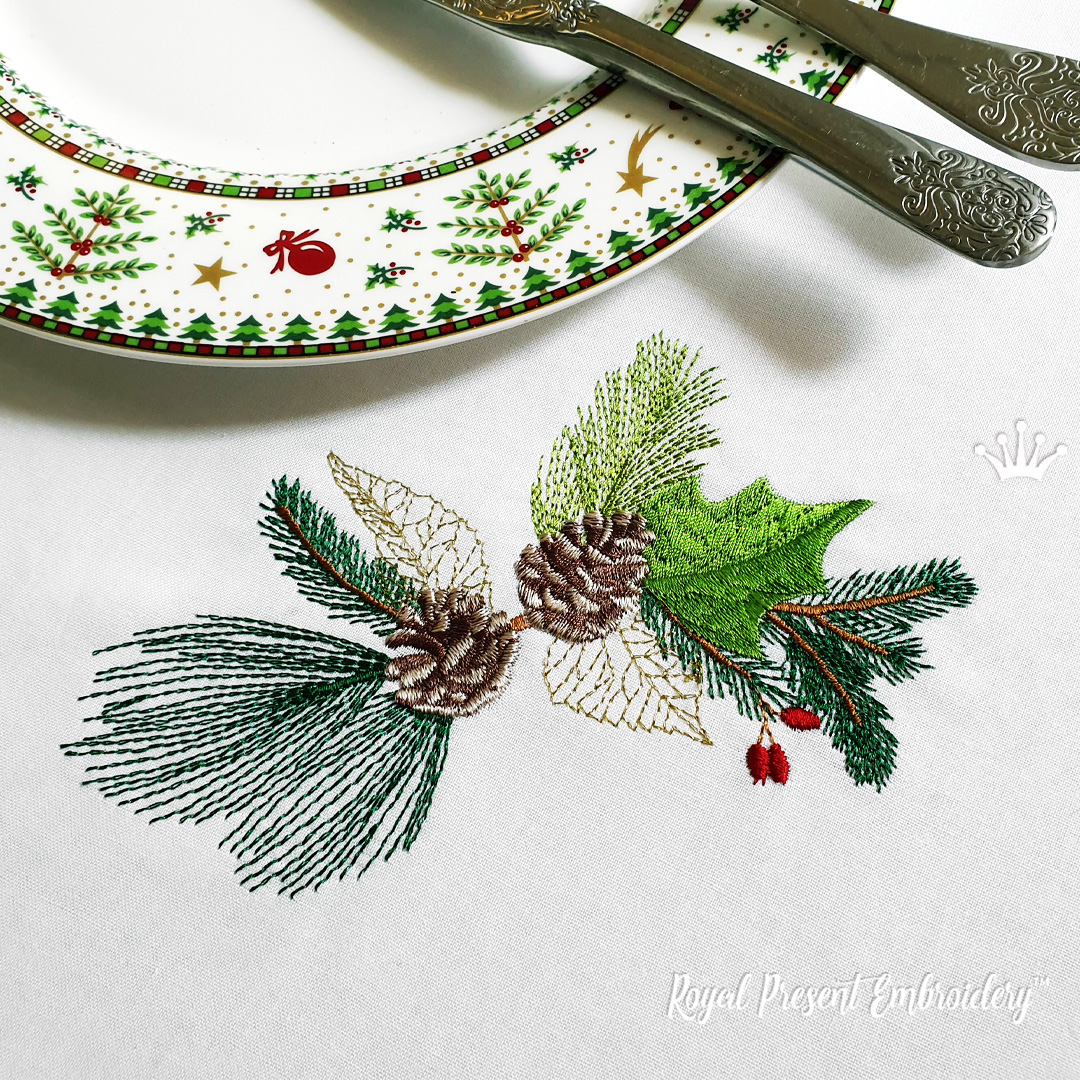
Winter Border with Fir Branches and Pine Cone
A horizontal end treatment for runners, towels and rectangular pillow panels.
|
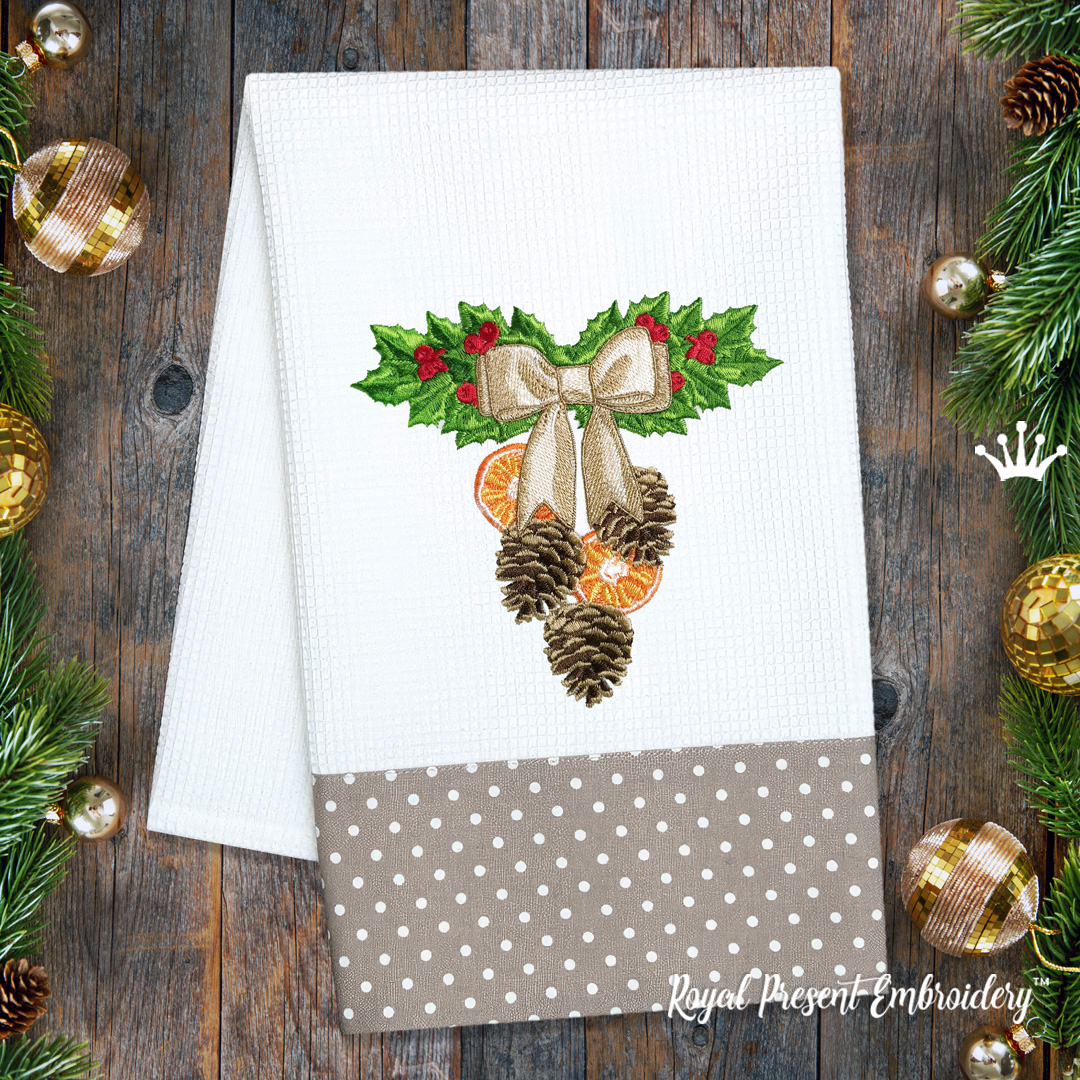
Pine Cones on a Holly Branch – 3 Sizes
A natural winter accent that can repeat across towels, placemats and runner ends.
|
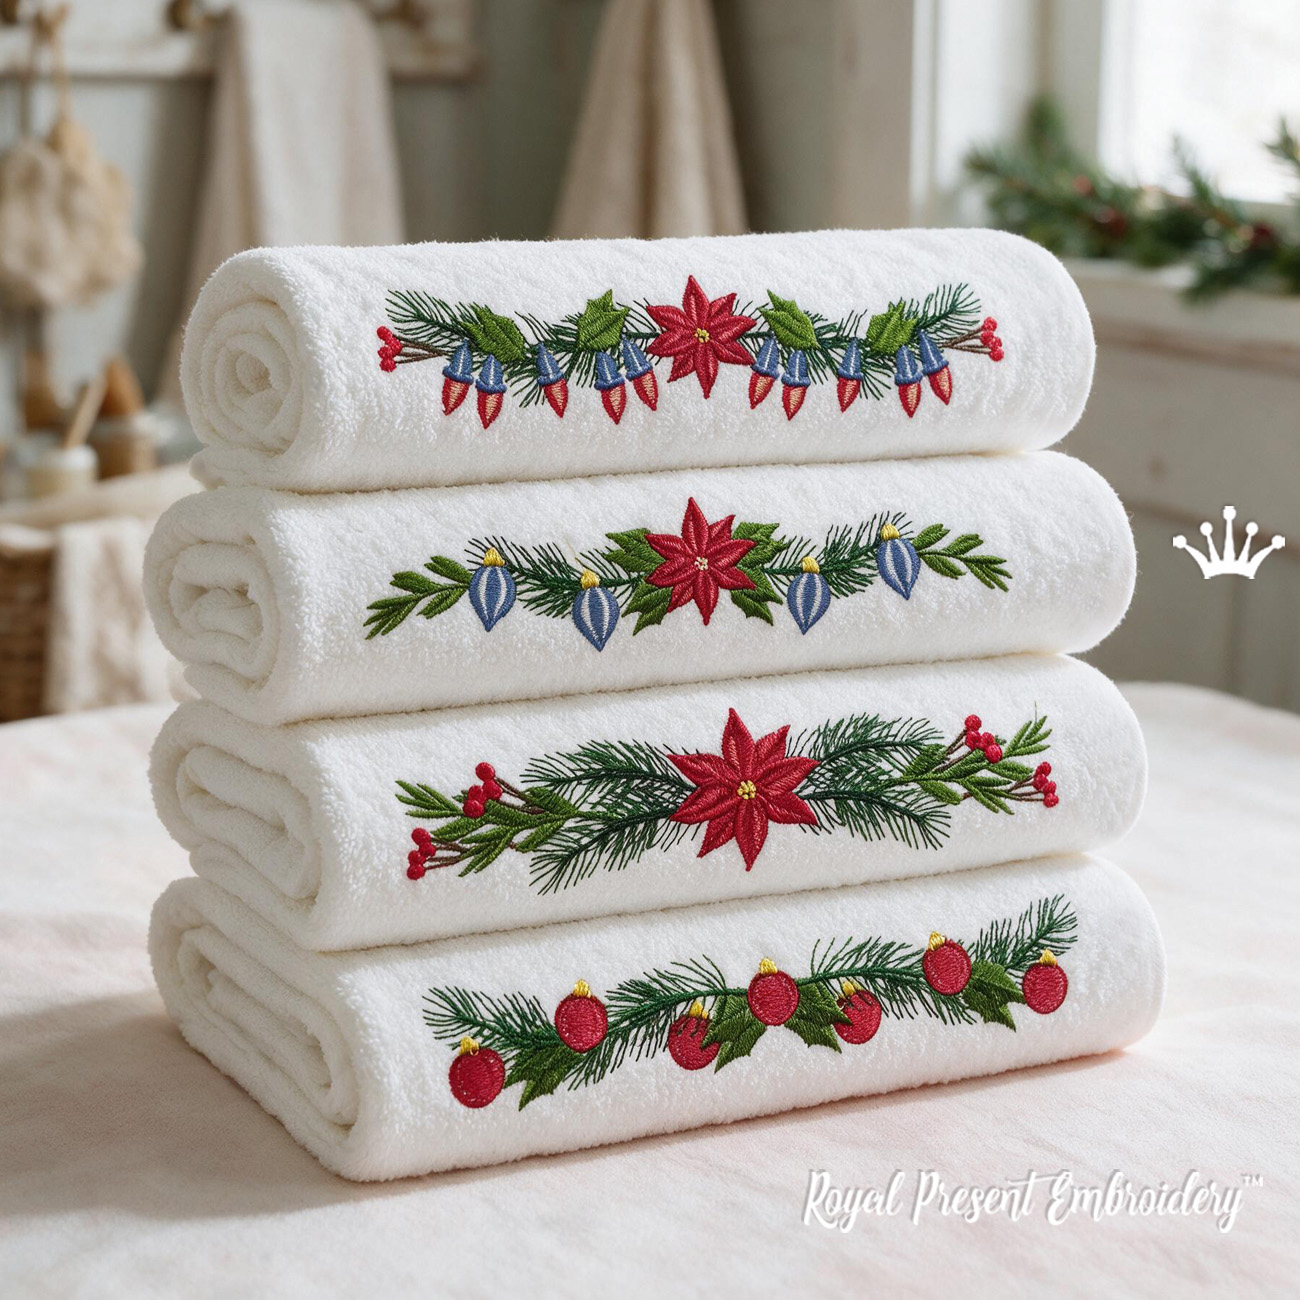
Christmas Poinsettia Borders – 4 in 1
Four coordinated border files for a larger table-linen or towel collection.
|
4. Christmas kitchen and guest towels
Kitchen towels suit small borders and isolated motifs; plush guest towels need a different setup. On terry cloth, use a water-soluble film on top so fine stitches stay above the loops. Underneath, choose tear-away for a stable woven towel or cut-away for a soft, stretchy towel. Do not place the design so low that the presser foot collides with a thick hem.
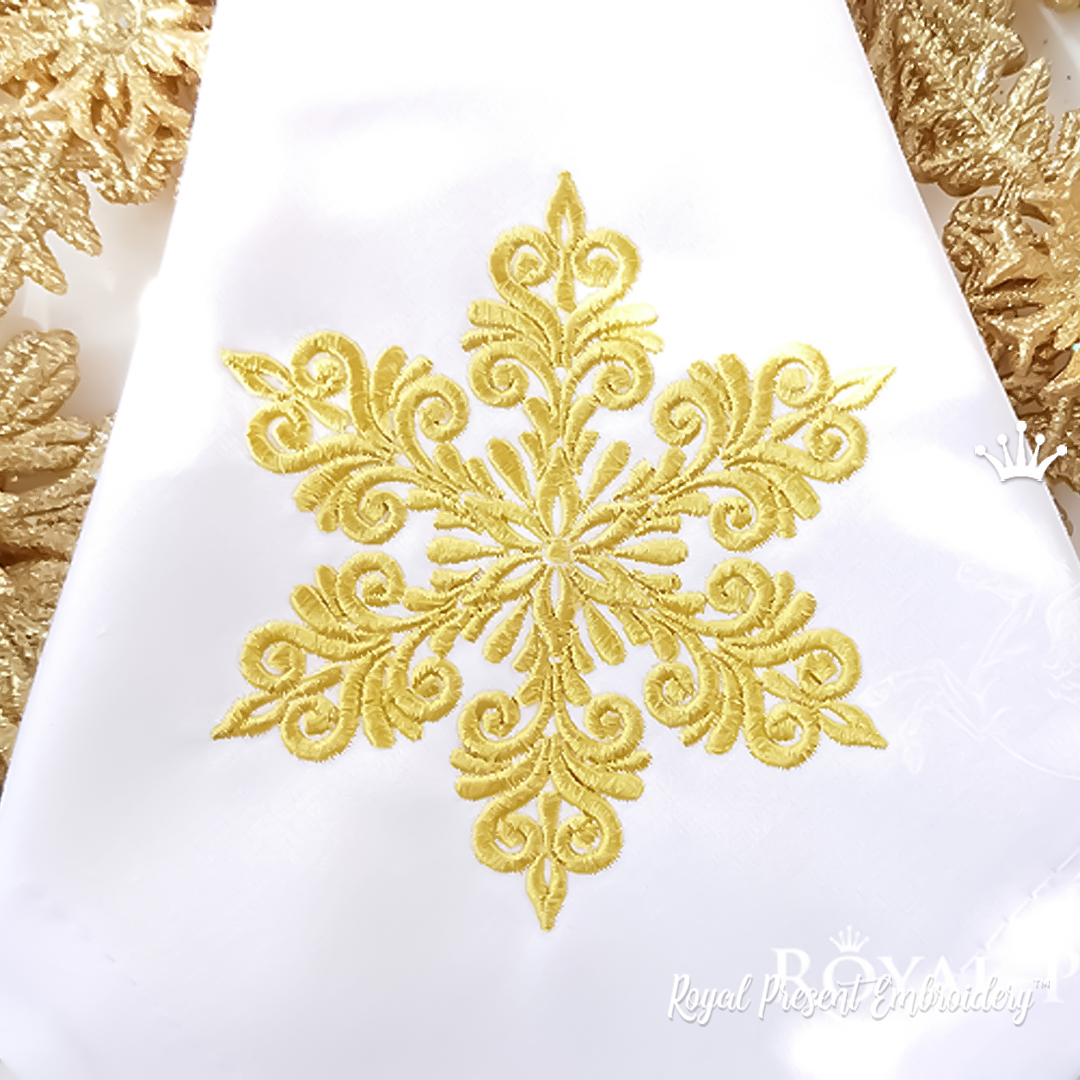
Gold Swirl Christmas Snowflake – 4 Sizes
An ornamental focal motif for guest towels, napkins, cushions and gift panels.
|
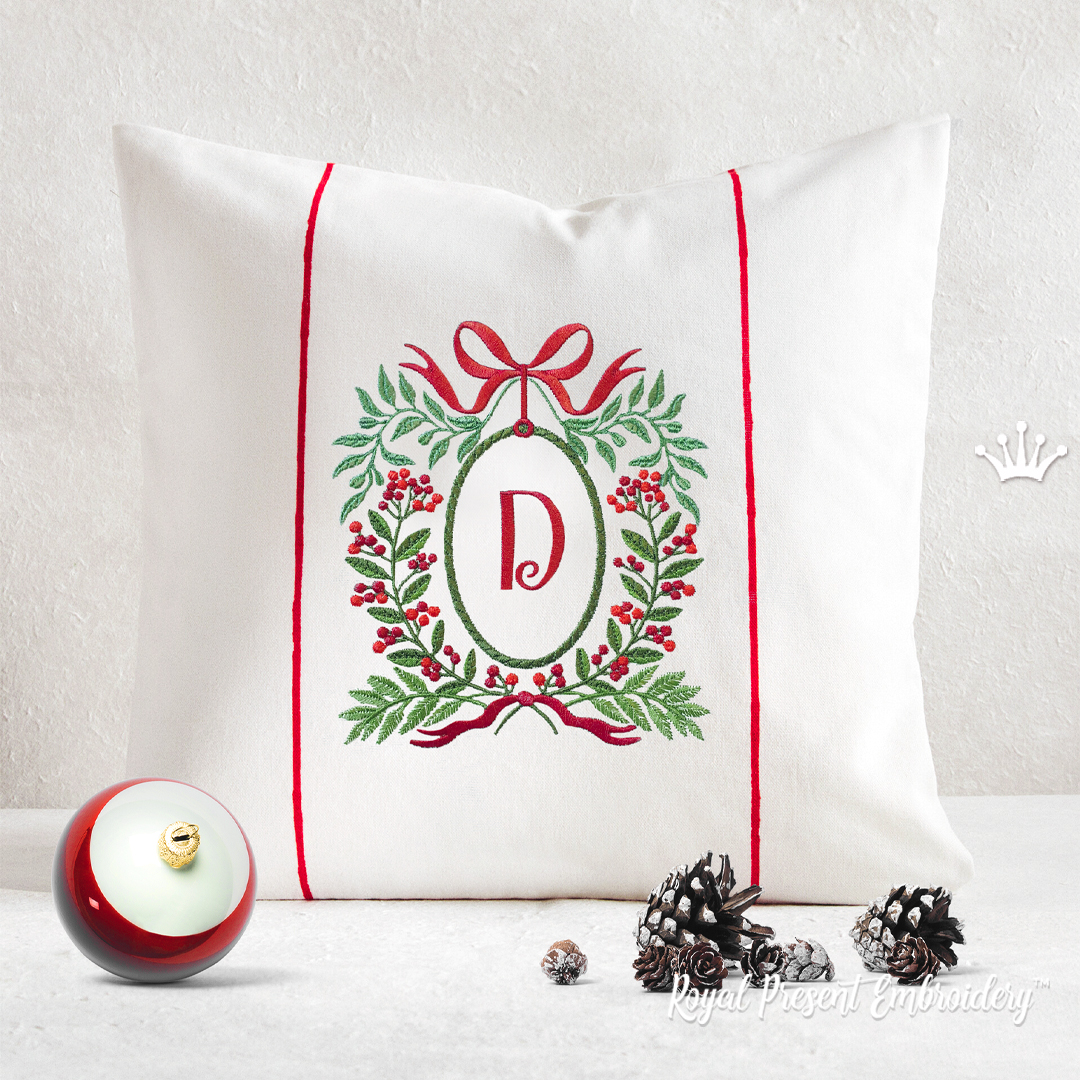
Christmas Monogram Frame – 4 Sizes
Use it for personalized guest towels or gifts; add the letter from a compatible alphabet.
|
5. Personalized Christmas stockings and gift sacks
Embroider the stocking front or sack panel before assembly. Print the design template at full size, place it on the paper pattern and confirm that the embroidery clears the seam allowance, cuff and toe curve. If a name is added, test the alphabet at the intended height on the same fabric and stabilizer. A decorative design does not automatically include the lettering shown in a styled photograph.
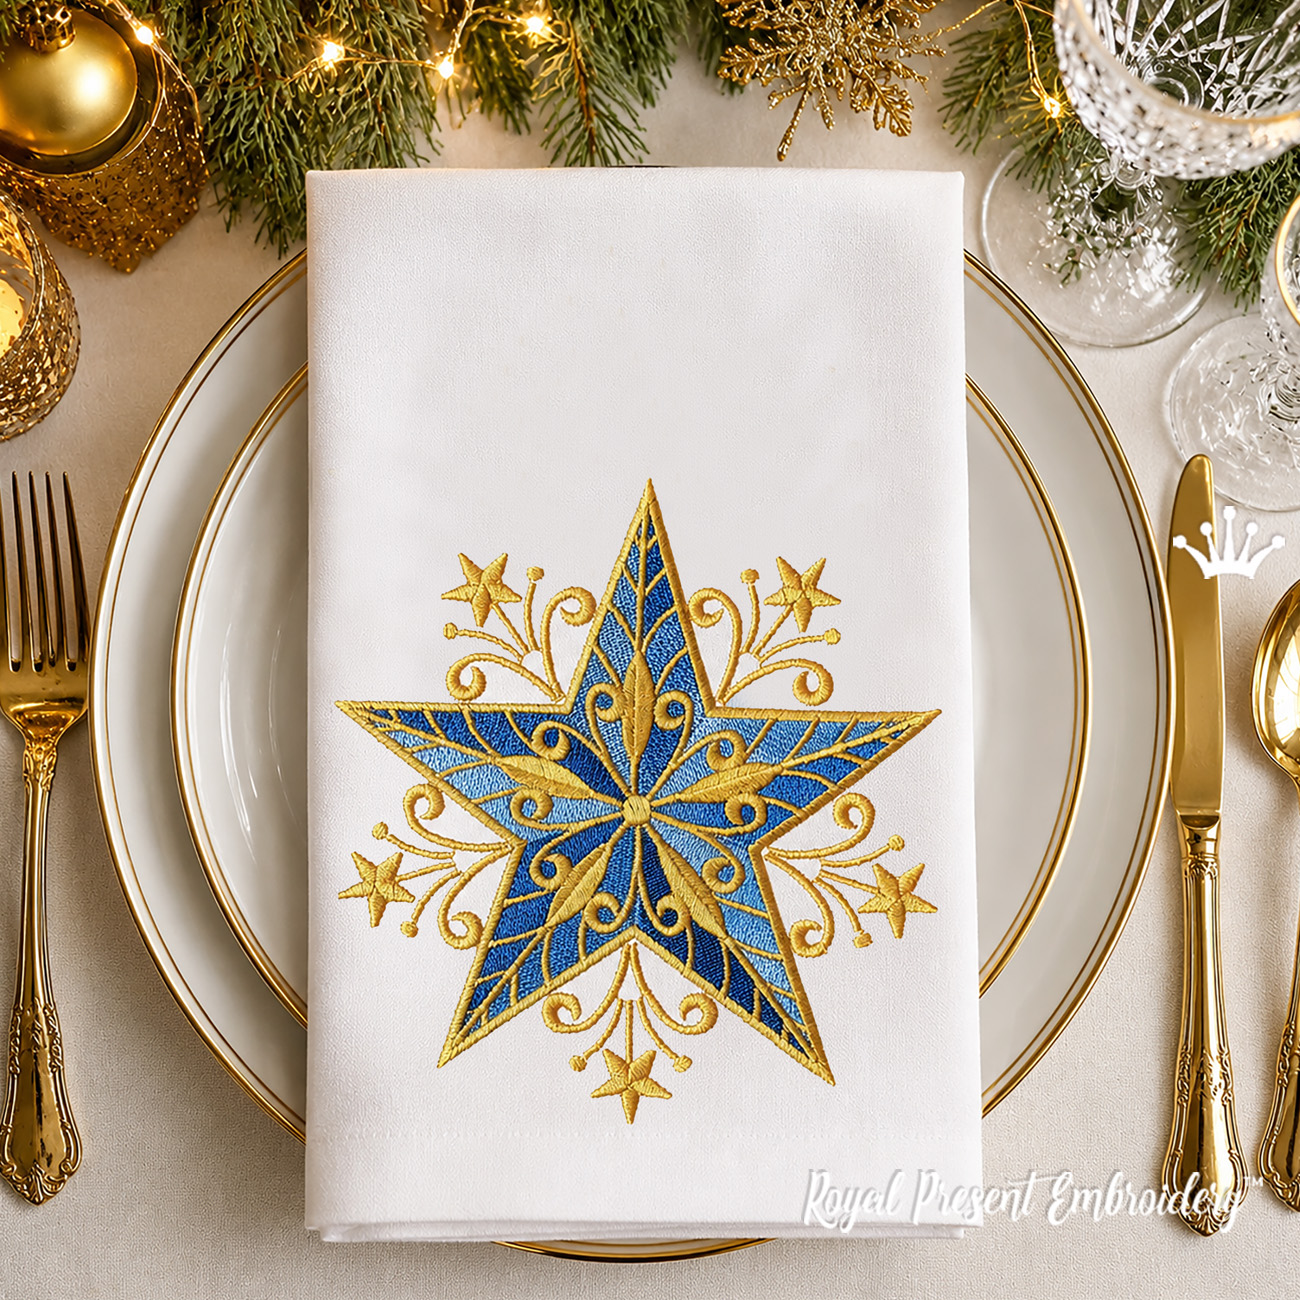
Christmas Star – 2 Sizes
A strong focal motif for a stocking front, gift sack, towel or central table accent.
|
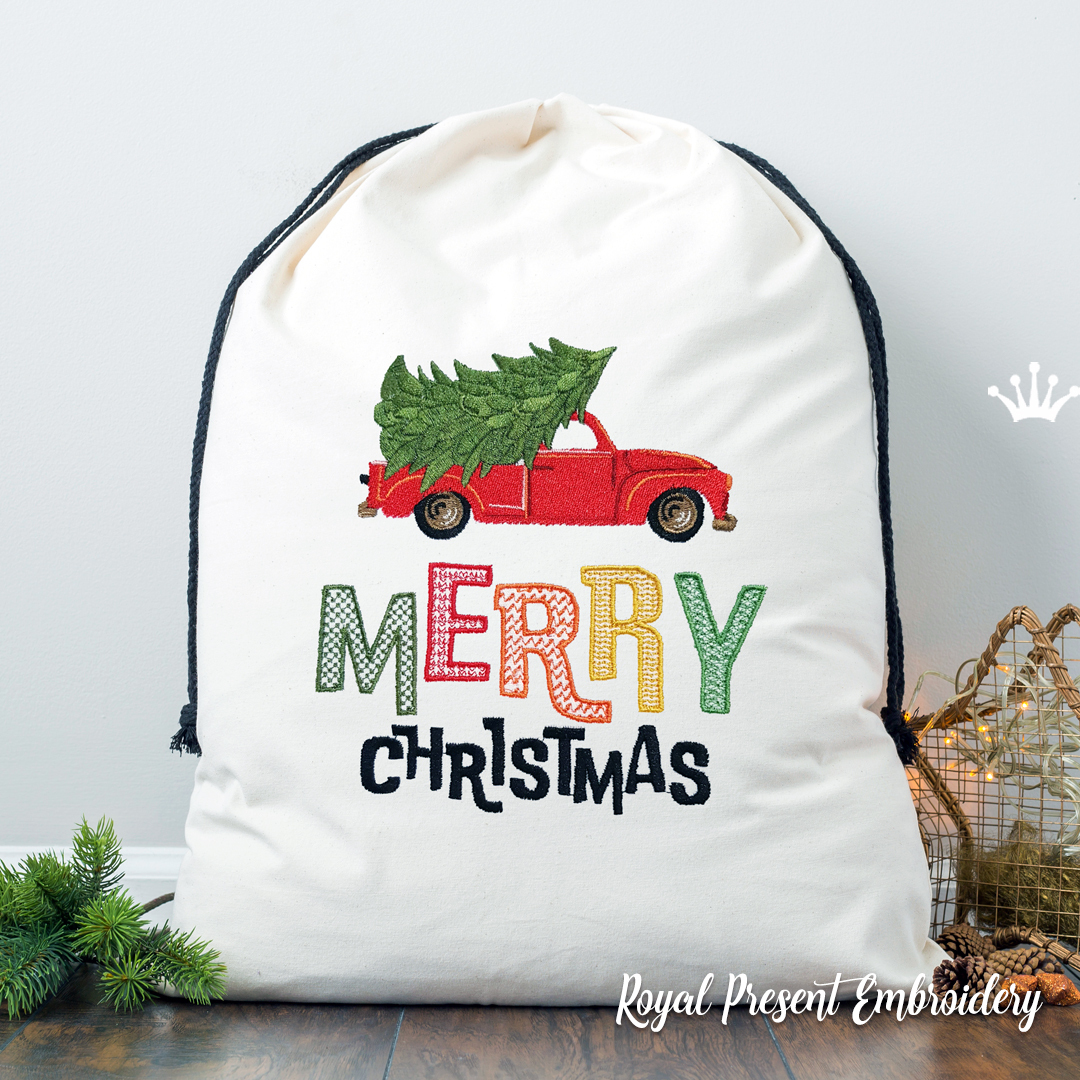
Vintage Christmas Truck – 7 Sizes
A nostalgic red-truck composition for stockings, drawstring sacks and rustic Christmas gifts.
|
6. Sewn Christmas tree ornaments and gift tags
These products are ordinary machine embroidery motifs, not automatic in-the-hoop ornament files. Stitch the motif on felt, linen or cotton backed with stabilizer, then construct the ornament separately. A simple method is to add a second fabric layer, sew around a paper template, insert a ribbon loop, leave a small turning opening, turn and lightly stuff. For a flat tag, use firm felt and finish the edge with a sewing-machine satin stitch or narrow binding.
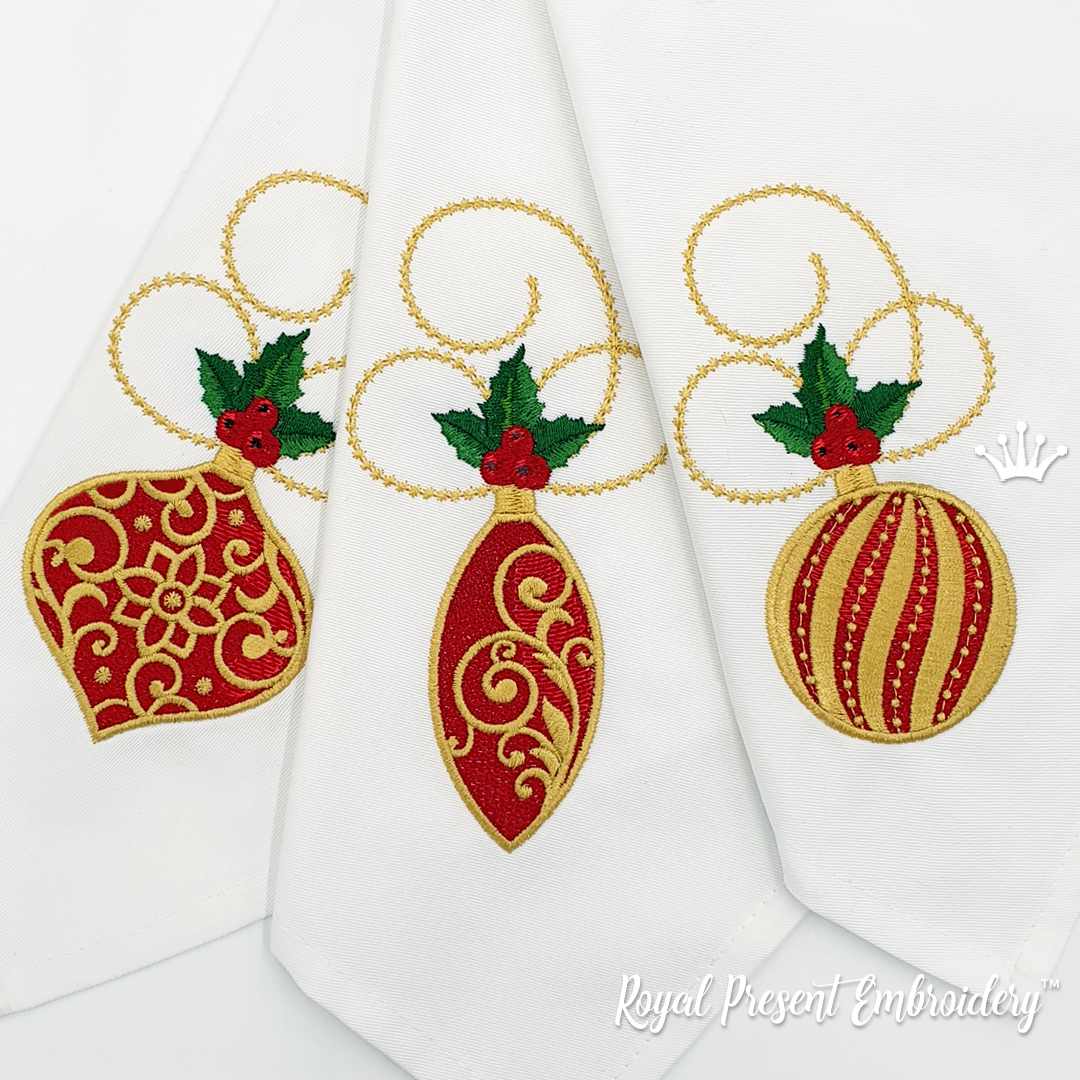
Three Christmas Toys with Ornaments
A coordinated trio for sewn tree ornaments, gift tags, napkins and mini textile panels.
|
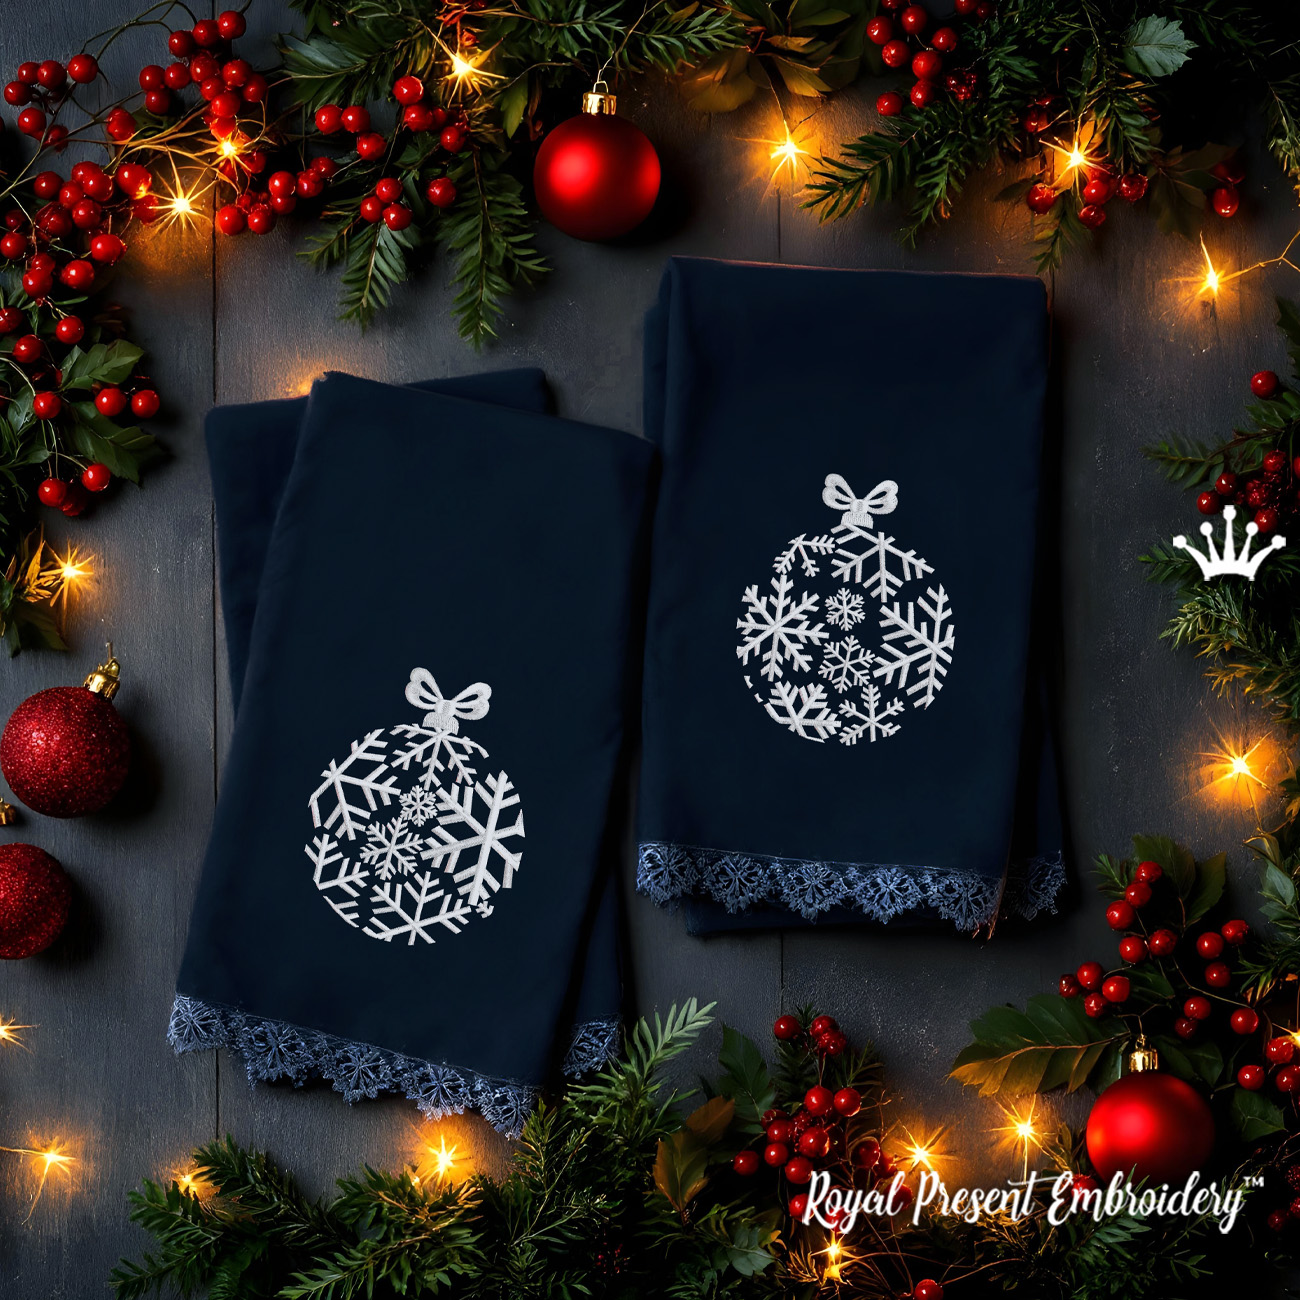
Christmas Balls from Snowflakes – Set
Use contrasting fabric for crisp snowflake detail on ornaments, towels and winter table textiles.
|
7. Christmas pillow from one large scene or several motifs
There are two reliable layouts. The first uses one large design centered on the front panel. The second builds a scene from separate motifs, as in the Santa, sleigh, birds and snowflakes example above. For a multi-design composition, print every template, arrange the complete scene at full size, and mark the center of each file before the first hooping. Embroider all elements while the front panel is still oversize, then square it and add borders, piping, backing and closure.
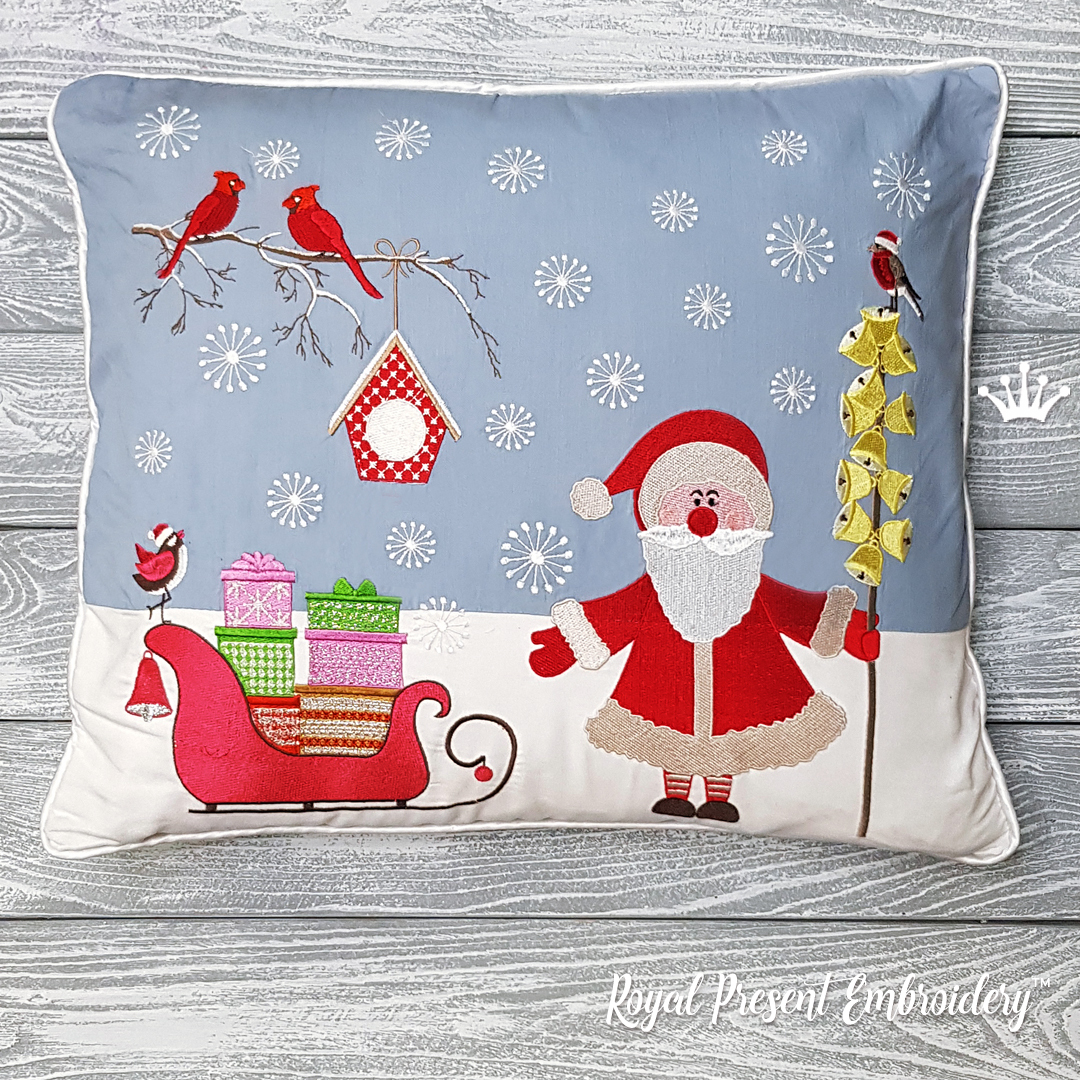
Christmas Pillow Machine Embroidery Set
Santa, sleigh, birds and snowflakes can be arranged into one narrative pillow front.
|
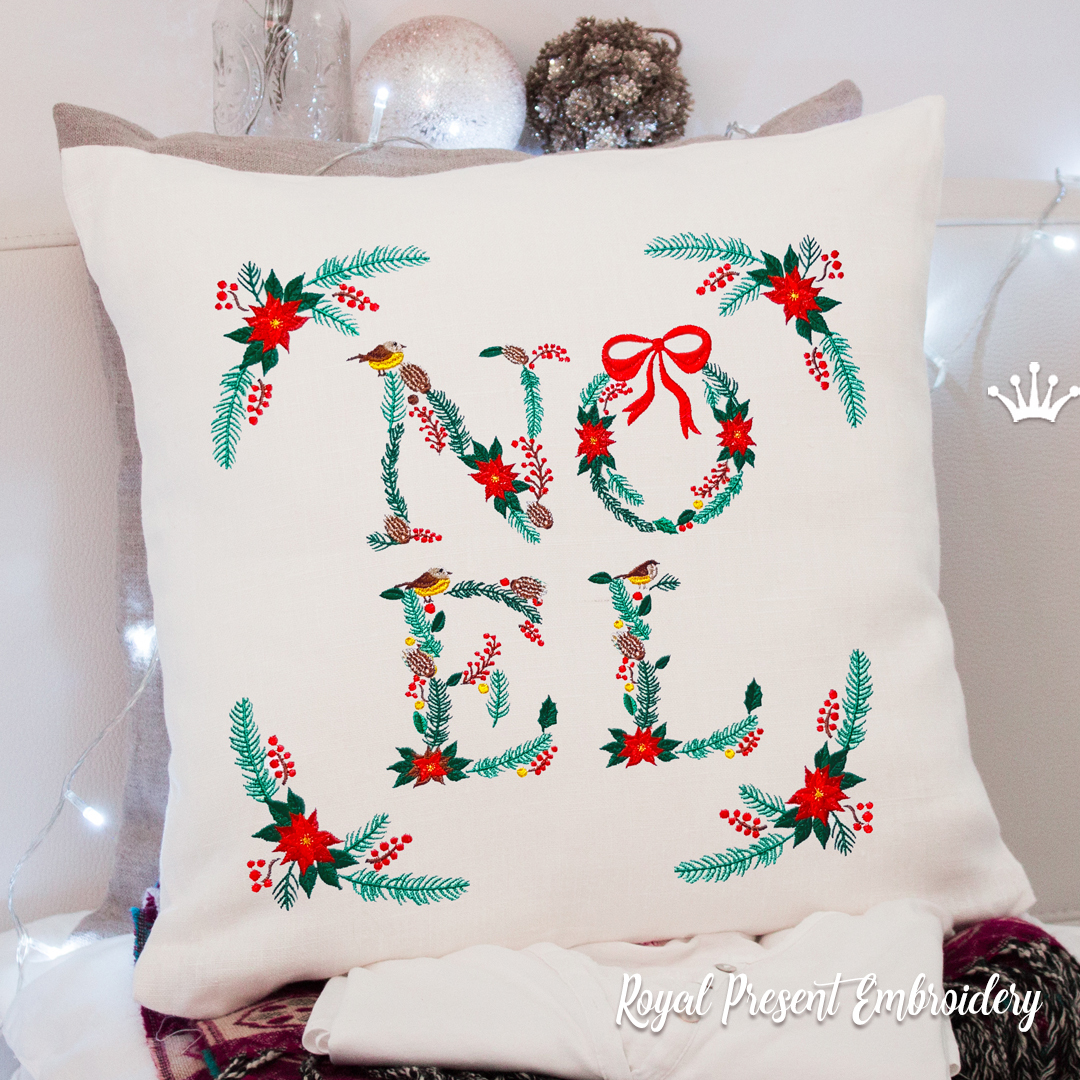
NOEL Inscription with Christmas Corner – 2 Sizes
A ready-made word-and-corner concept for a symmetrical festive cushion.
|

Pair of Red Cardinals with Pine Cones – 4 Sizes
A self-contained winter scene for a pillow center, hoop display or framed textile panel.
|
8. Christmas quilt blocks, framed embroidery and wall panels
Collections work especially well when a large motif and a small decorative element are supplied together. Use the principal file in a central block and repeat the smaller element in corner blocks, sashing or matching accessories. Embroider every block on an oversize square, check that it is still square after the stabilizer is removed, and trim all blocks to the same unfinished dimension only after stitching.
A hoop display is the fastest finish: press the fabric from the reverse over a towel, center the embroidery in a clean display hoop, lace the excess fabric across the back and add a backing circle. For a framed panel, keep embroidery away from the frame rebate and use archival-quality mounting materials if the piece is intended to last.
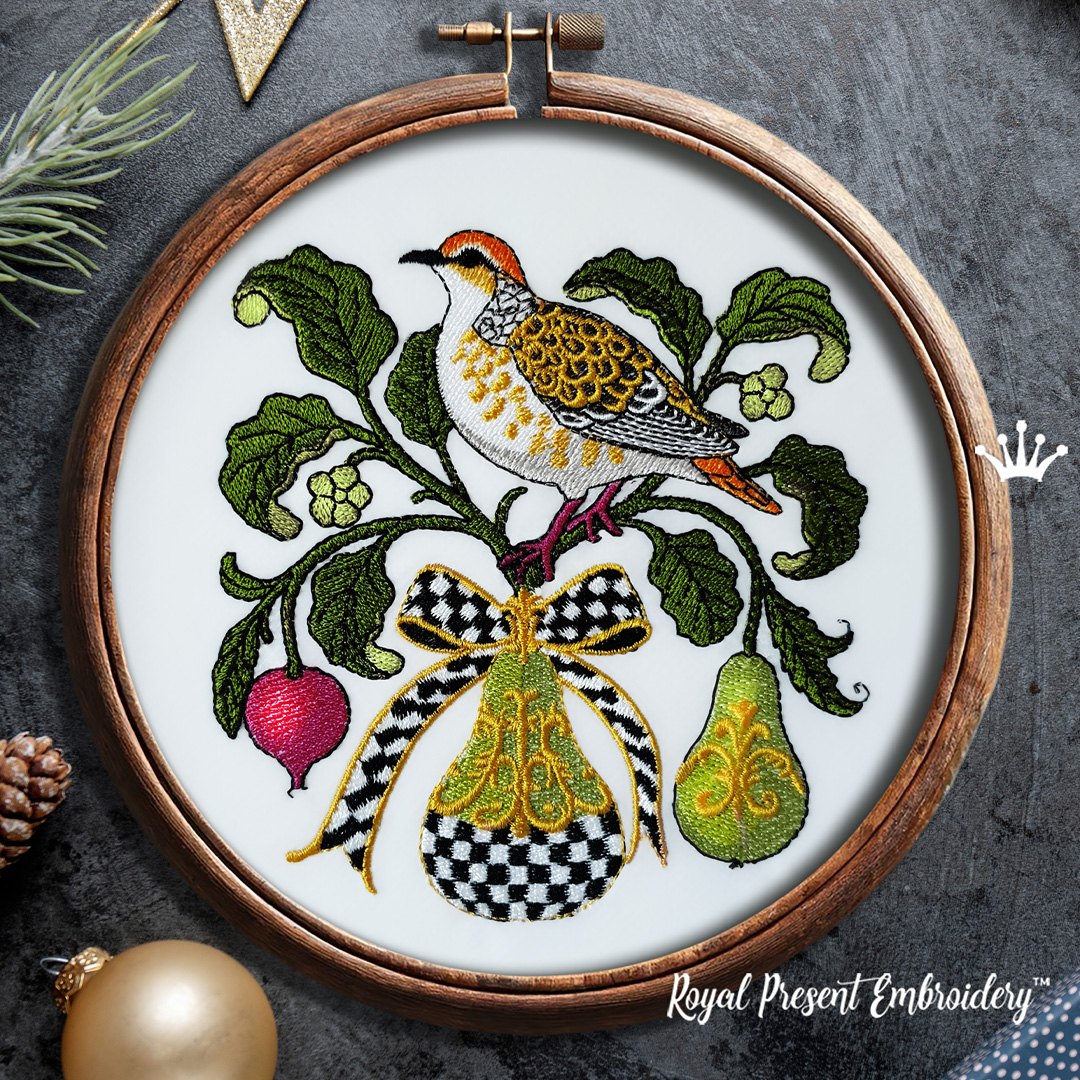
Christmas Partridge in a Pear Tree Set – 4 Sizes
A main bird composition plus coordinating element for the first block in a 12 Days series.
|
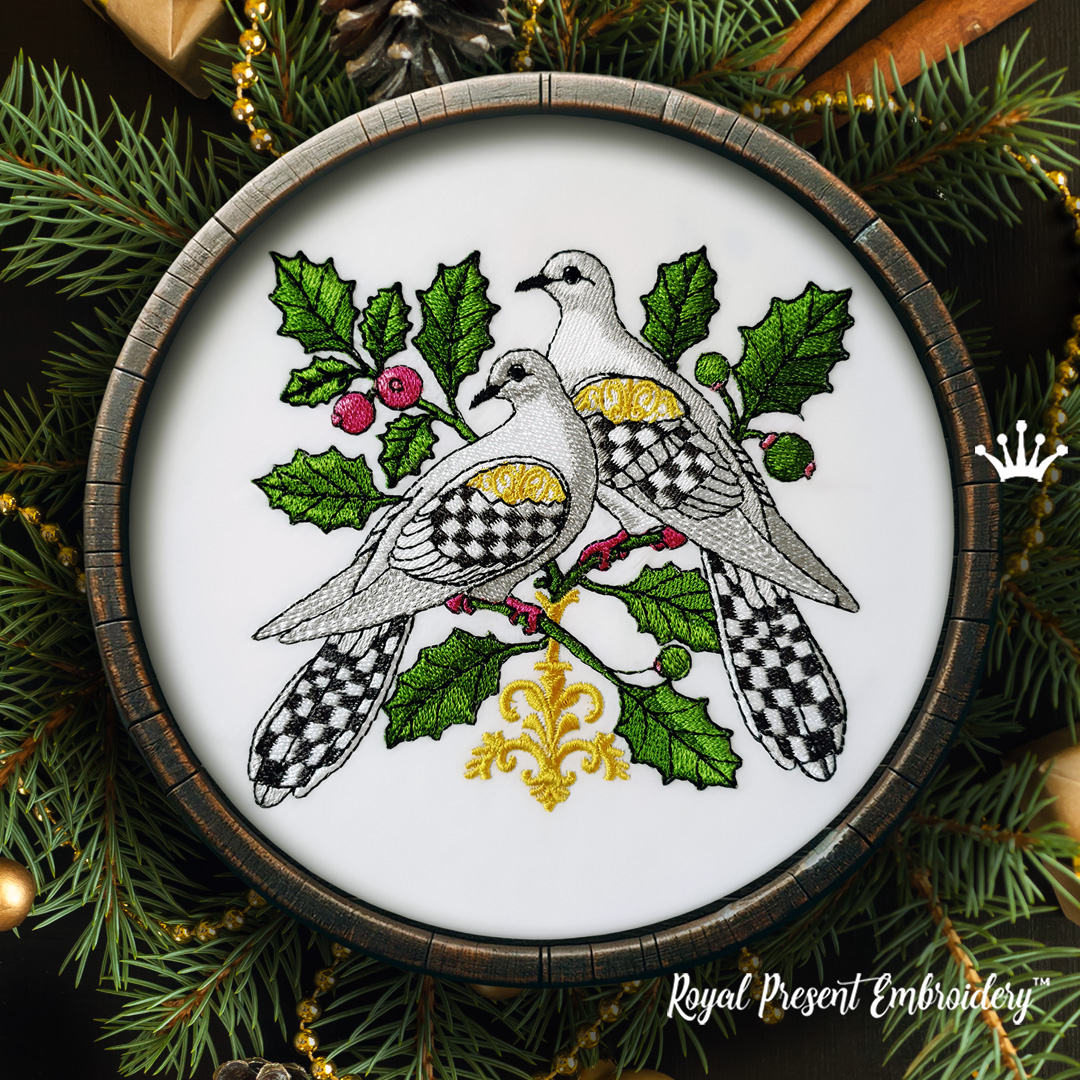
Christmas Two Turtle Doves Set – 4 Sizes
A second coordinated block with a separate decorative element for sashing or accessories.
|
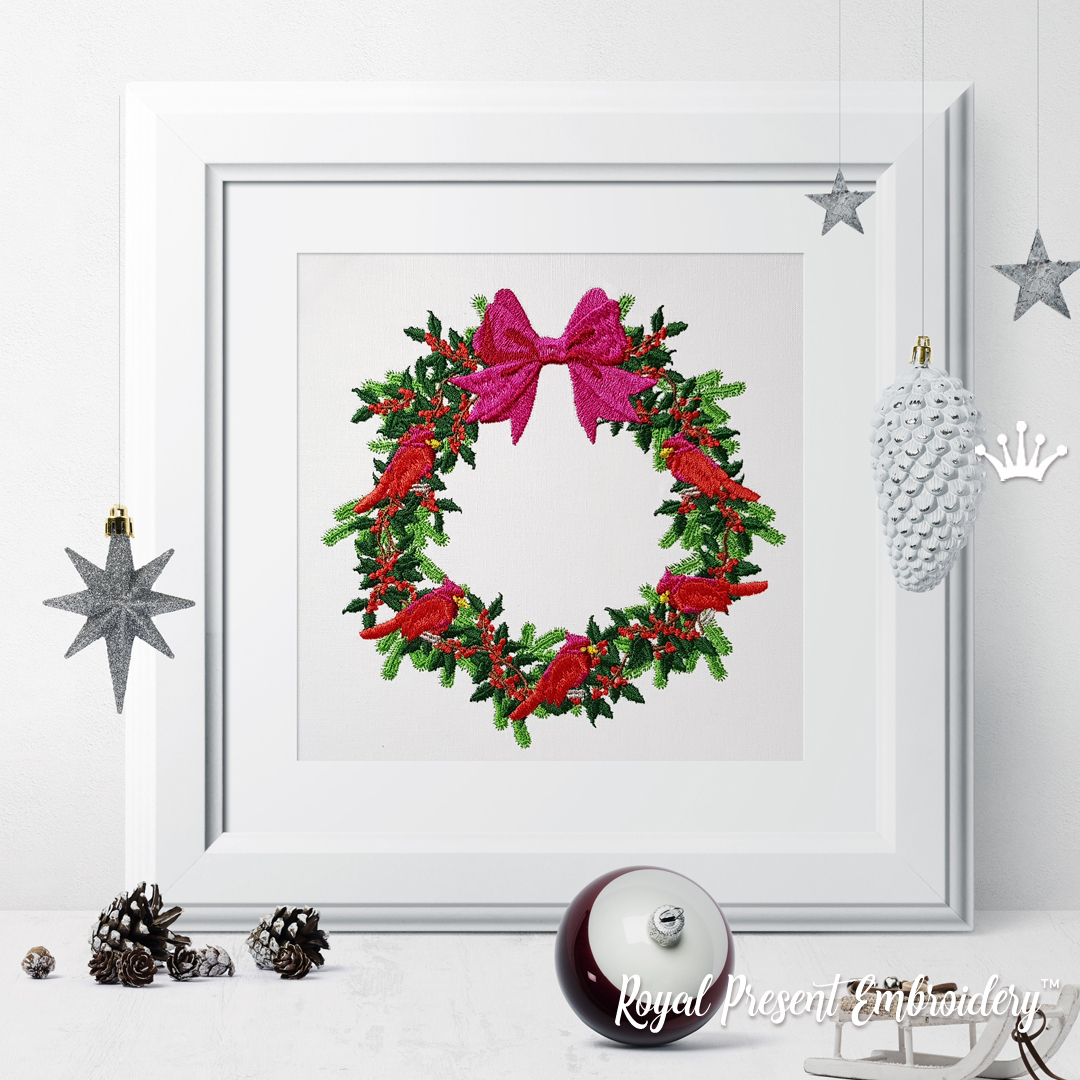
Christmas Festive Wreath – 3 Sizes
A large circular focal design for wall panels, pillows and spacious Christmas textiles.
|
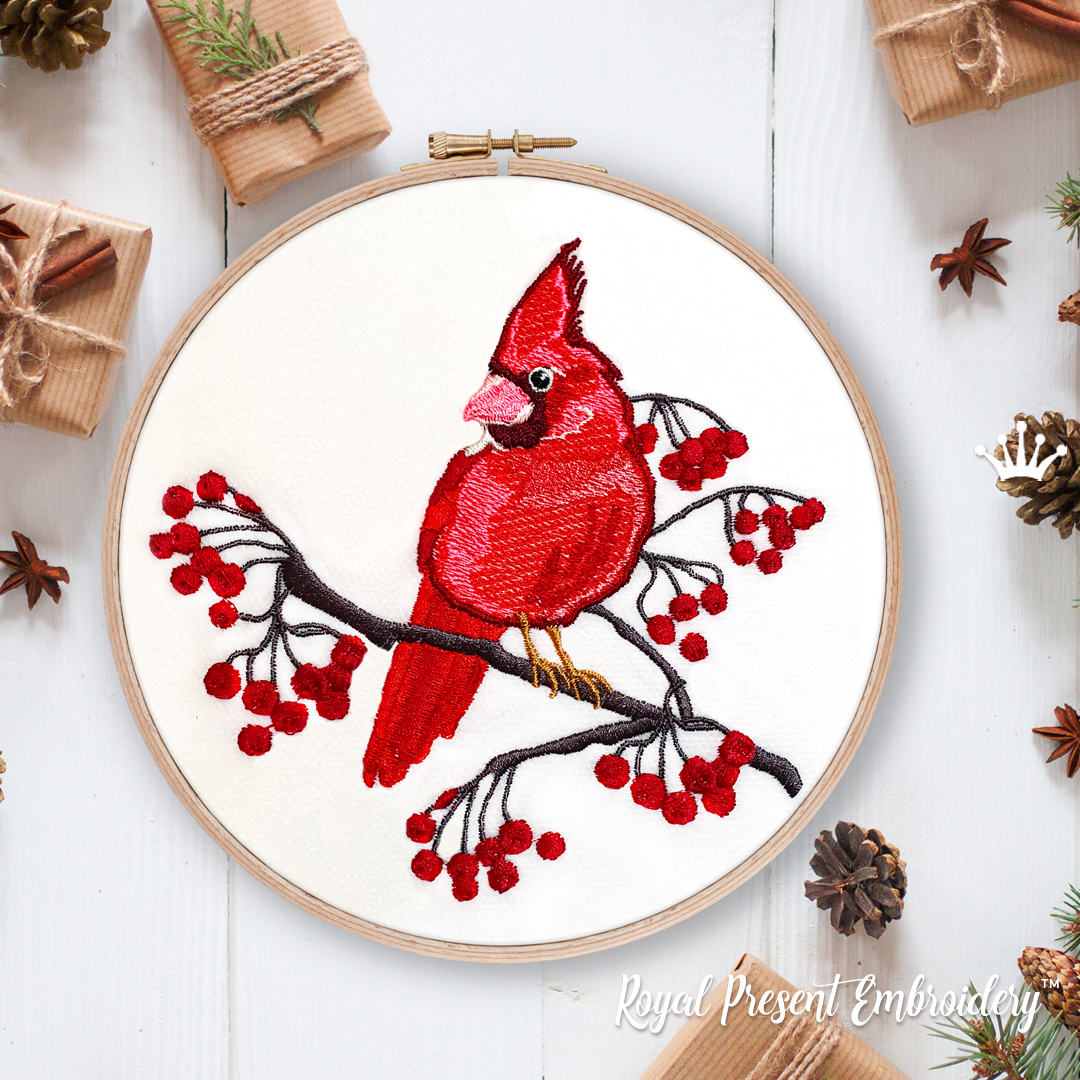
Cardinal Bird on a Rowan Branch – 4 Sizes
A vertical winter bird motif for hoop art, quilt blocks, towel ends and matching gifts.
|
For a full serial project, browse the 12 Days of Christmas machine embroidery collection. Plan the finished quilt or wall hanging before buying every file: record each design's dimensions, choose a common block size and test whether the selected versions create a balanced sequence.
9. Turn one Christmas theme into a small product collection
For a handmade business, do not stitch twenty unrelated samples. Choose one visual family and build five products from it: four napkins, one runner, a guest towel, a wine bag and a pillow. Reuse the same palette, fabric family and photography background. This reduces thread changes, simplifies material purchasing and makes the shop look like a collection rather than a flea market.
- Choose the niche: elegant table linens, rustic winter birds, personalized family gifts or compact 4 × 4 projects. The guide to finding an embroidery-business niche helps narrow the offer.
- Make one master sample: record needle, thread, stabilizer, machine speed, hooping time and finishing time. Use that production sheet for every repeat order.
- Price the whole product: include blank textile, thread, stabilizer, machine time, operator time, sewing, pressing, packaging, platform fees, failed tests and profit. Stitch count alone is not the final retail price; use the cost-per-1,000-stitches guide as one part of the calculation.
- Photograph the real object: show one full product, one embroidery close-up, scale, reverse or lining, and the complete set. Keep colors consistent and avoid mockups that suggest items not included.
- List clearly on Etsy: state that the buyer receives a finished physical item, give dimensions and materials, explain personalization, processing time and care. The Etsy embroidery guide covers product research, photographs and listing promotion.
The Royal Present standard license permits personal use, gifts and small-business use of finished embroidered items. It does not permit resale, sharing or distribution of the digital embroidery files, and industrial or factory production requires different permission. Read the current license and terms of use before offering products for sale.
Fabric, stabilizer and file checklist
- Stable cotton, linen and canvas: begin with quality tear-away; use a second crossed layer for open weave or a denser design after testing.
- Velvet, terry, fleece and textured fabric: use water-soluble topping on the surface and choose the lower stabilizer according to stretch and design density.
- Knit or stretchy fabric: use permanent cut-away and hoop without stretching the textile.
- Hard-to-hoop pieces: embroider before construction whenever possible; otherwise use an adhesive-stabilizer method appropriate to the fabric.
- Metallic thread: use a suitable needle, reduce speed and test the exact thread path and tension before the final piece.
- Digital files: download the ZIP, extract it, then transfer only the machine format and original size needed for the project.
For more detail, use the Royal Present Embroidery Library, check the machine embroidery file-format guide, or open the free online ZIP extraction tool.
Shop more winter and Christmas machine embroidery designs
Continue with the Christmas machine embroidery designs, Christmas ornaments and winter scenes, or Christmas border embroidery designs. Choose the finished product first, verify the file dimensions and machine field, then buy the motif that actually fits the project.
FAQ about winter Christmas embroidery projects
Which winter projects are best for a 4 × 4 in hoop?Small napkin motifs, compact ornaments, gift tags and some separate accents can fit this field, but the product's stated dimensions decide compatibility. A category name or photograph is not proof that every file in a set fits 4 × 4.
Are the featured ornaments made completely in the hoop?No. Unless a product page explicitly states ITH or in the hoop, it supplies ordinary embroidery motifs. Stitch the design first, then cut and sew the ornament using a separate construction method.
Can I add a name or monogram?Yes, when there is enough open space and the chosen alphabet remains legible at the required height. The font is not included unless the product page specifically says it is included. Test the combined layout before stitching the final item.
Can I change the Christmas colors?Yes. Keep value contrast between neighboring areas so outlines and details remain visible. Make a test stitch when replacing rayon with metallic, matte cotton or another thread type because appearance and running behavior can change.
Can I sell items embroidered with Royal Present designs?The standard license allows small-business use of finished embroidered items, while digital-file resale, sharing and industrial production are restricted. Always check the current terms linked above before listing products.
What is the safest order for a sewn embroidery project?Test the design, print the template, mark the oversize flat panel, embroider, inspect and press from the reverse, then trim and assemble. Sewing the object first usually makes accurate hooping harder.
Created by Ludmila Konovalova, Royal Present Embroidery.

Author: Ludmila Konovalova
My name is Ludmila Konovalova, and I lead Royal Present Embroidery. Embroidery for me is more than a profession; it is a legacy of my Ukrainian and Bulgarian heritage, where every woman in my family was a virtuoso in cross-stitch and smooth stitching. This art, passed down through generations, is part of my soul and a symbol of national pride.
Date: 14.11.2025

 Get Sign-In Link
 Login with Google
 Login with Facebook
 Login with Amazon
 Login with Paypal