Winter Decorations – 3 Machine Embroidery Designs
By knowing the speed of your embroidery machine, you can find out how long it will take to embroider a design.
To use the embroidery calculator, click on the number of stitches in the product description.
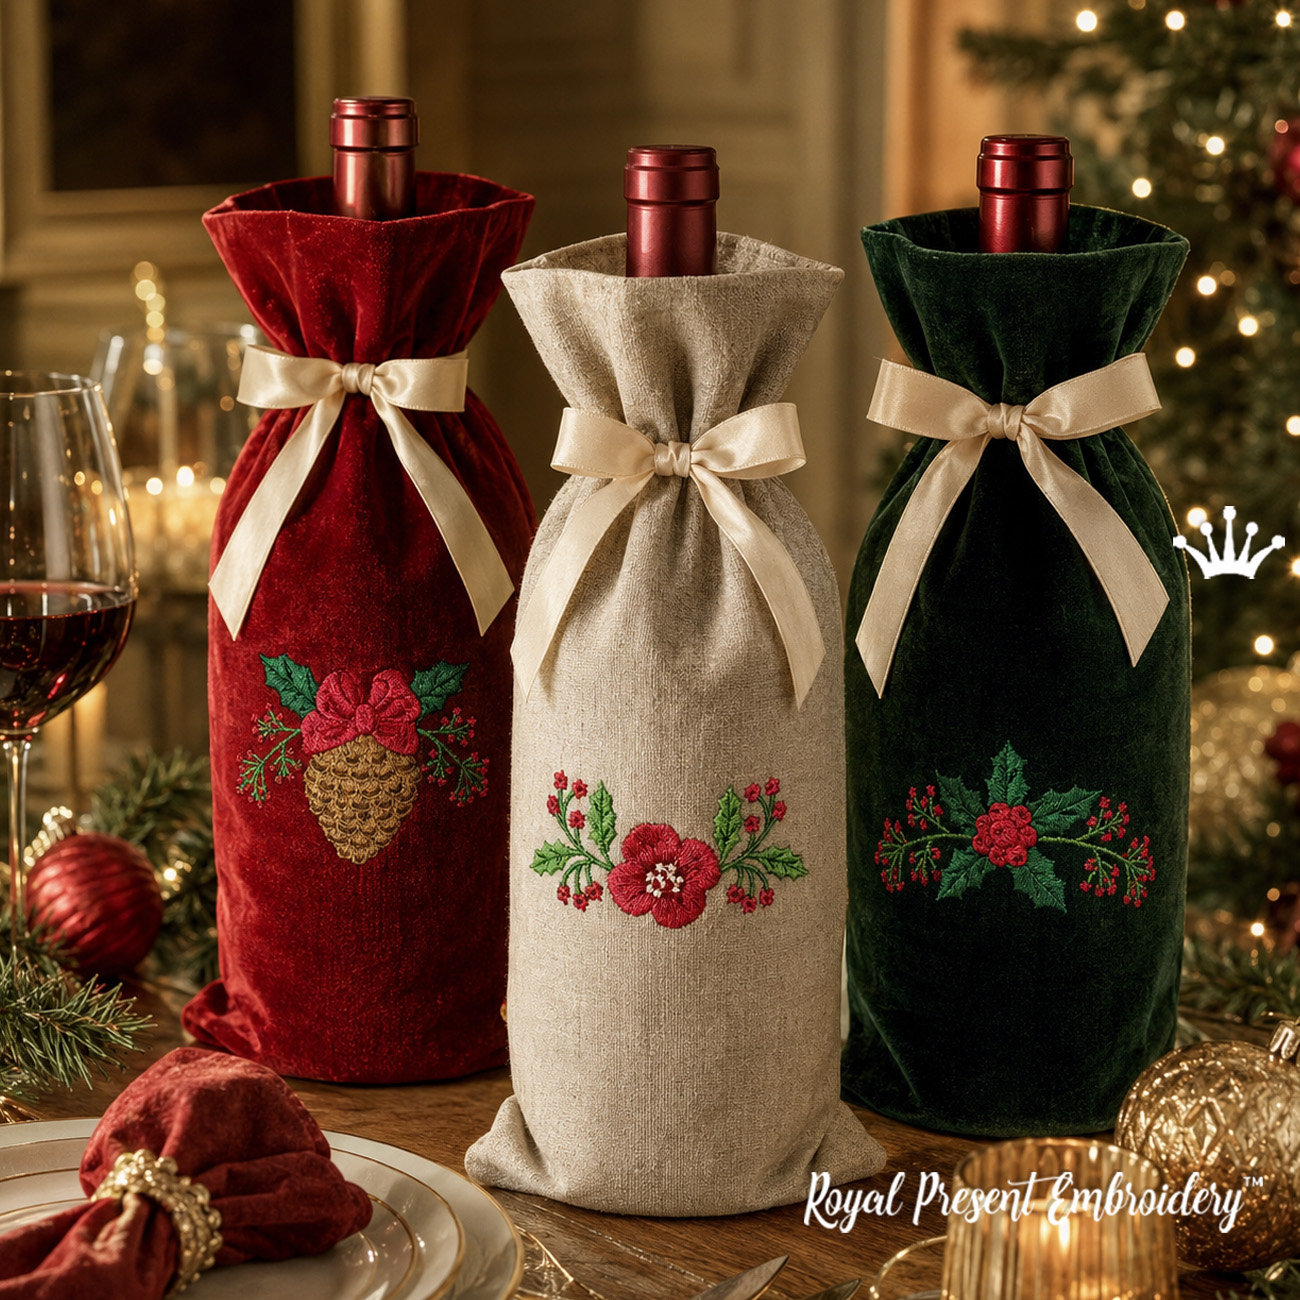
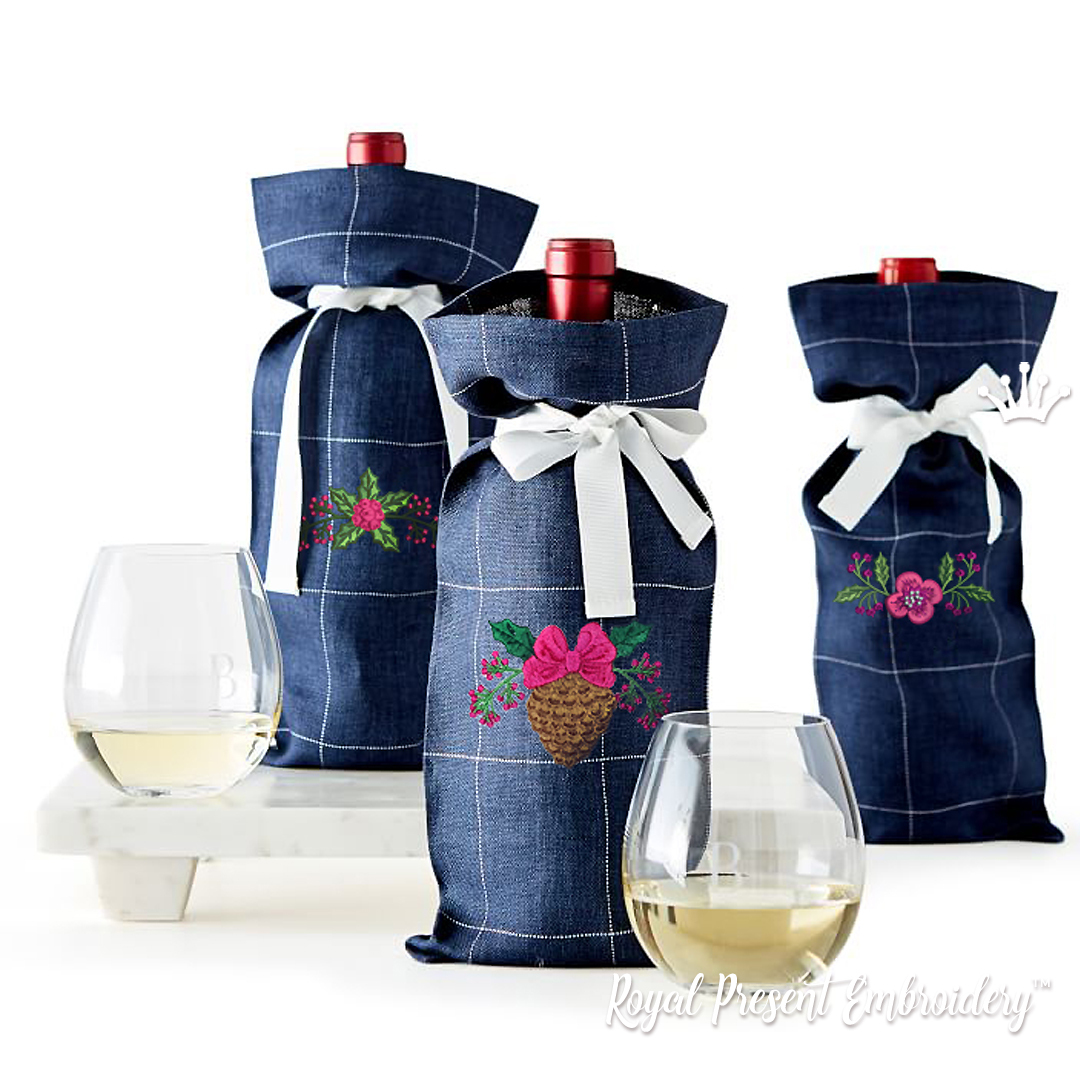
Winter Decorations Machine Embroidery Designs is a coordinated set of three small Christmas motifs: a pine cone with a festive bow, a winter flower with decorative branches, and a holly composition with berries.
Each motif is supplied as a separate embroidery file in one original size. The compact designs are suitable for Christmas wine bottle bags, napkins, kitchen towels, stockings, gift sacks and other projects with a limited embroidery area.
This is a digital product for computerized embroidery machines. Finished embroidery, fabric, thread, stabilizer, sewing patterns and physical products are not included. The purchase provides ready-to-use machine formats; the original editable digitizing file is not supplied.
Original Sizes, Stitches and Formats
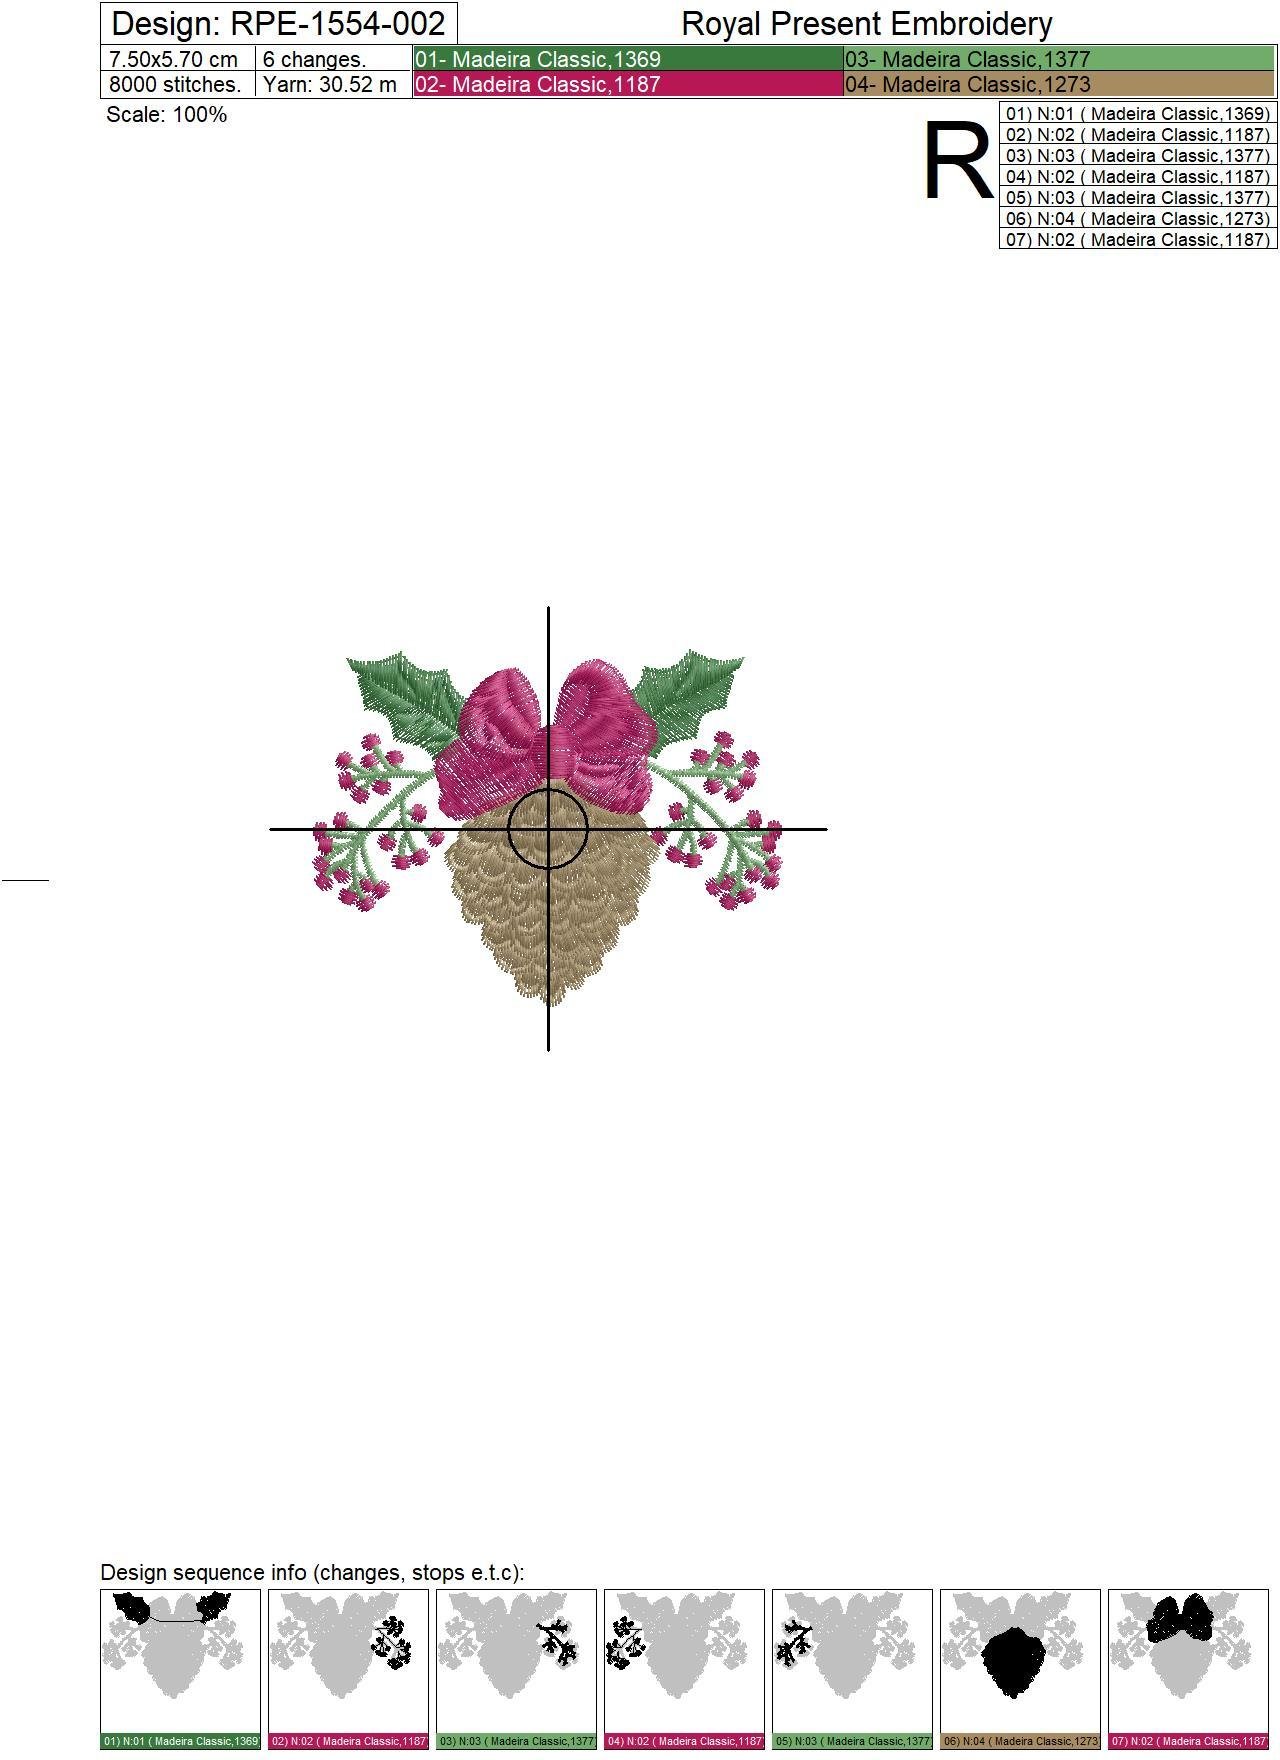
Design 1 — Pine Cone with Bow
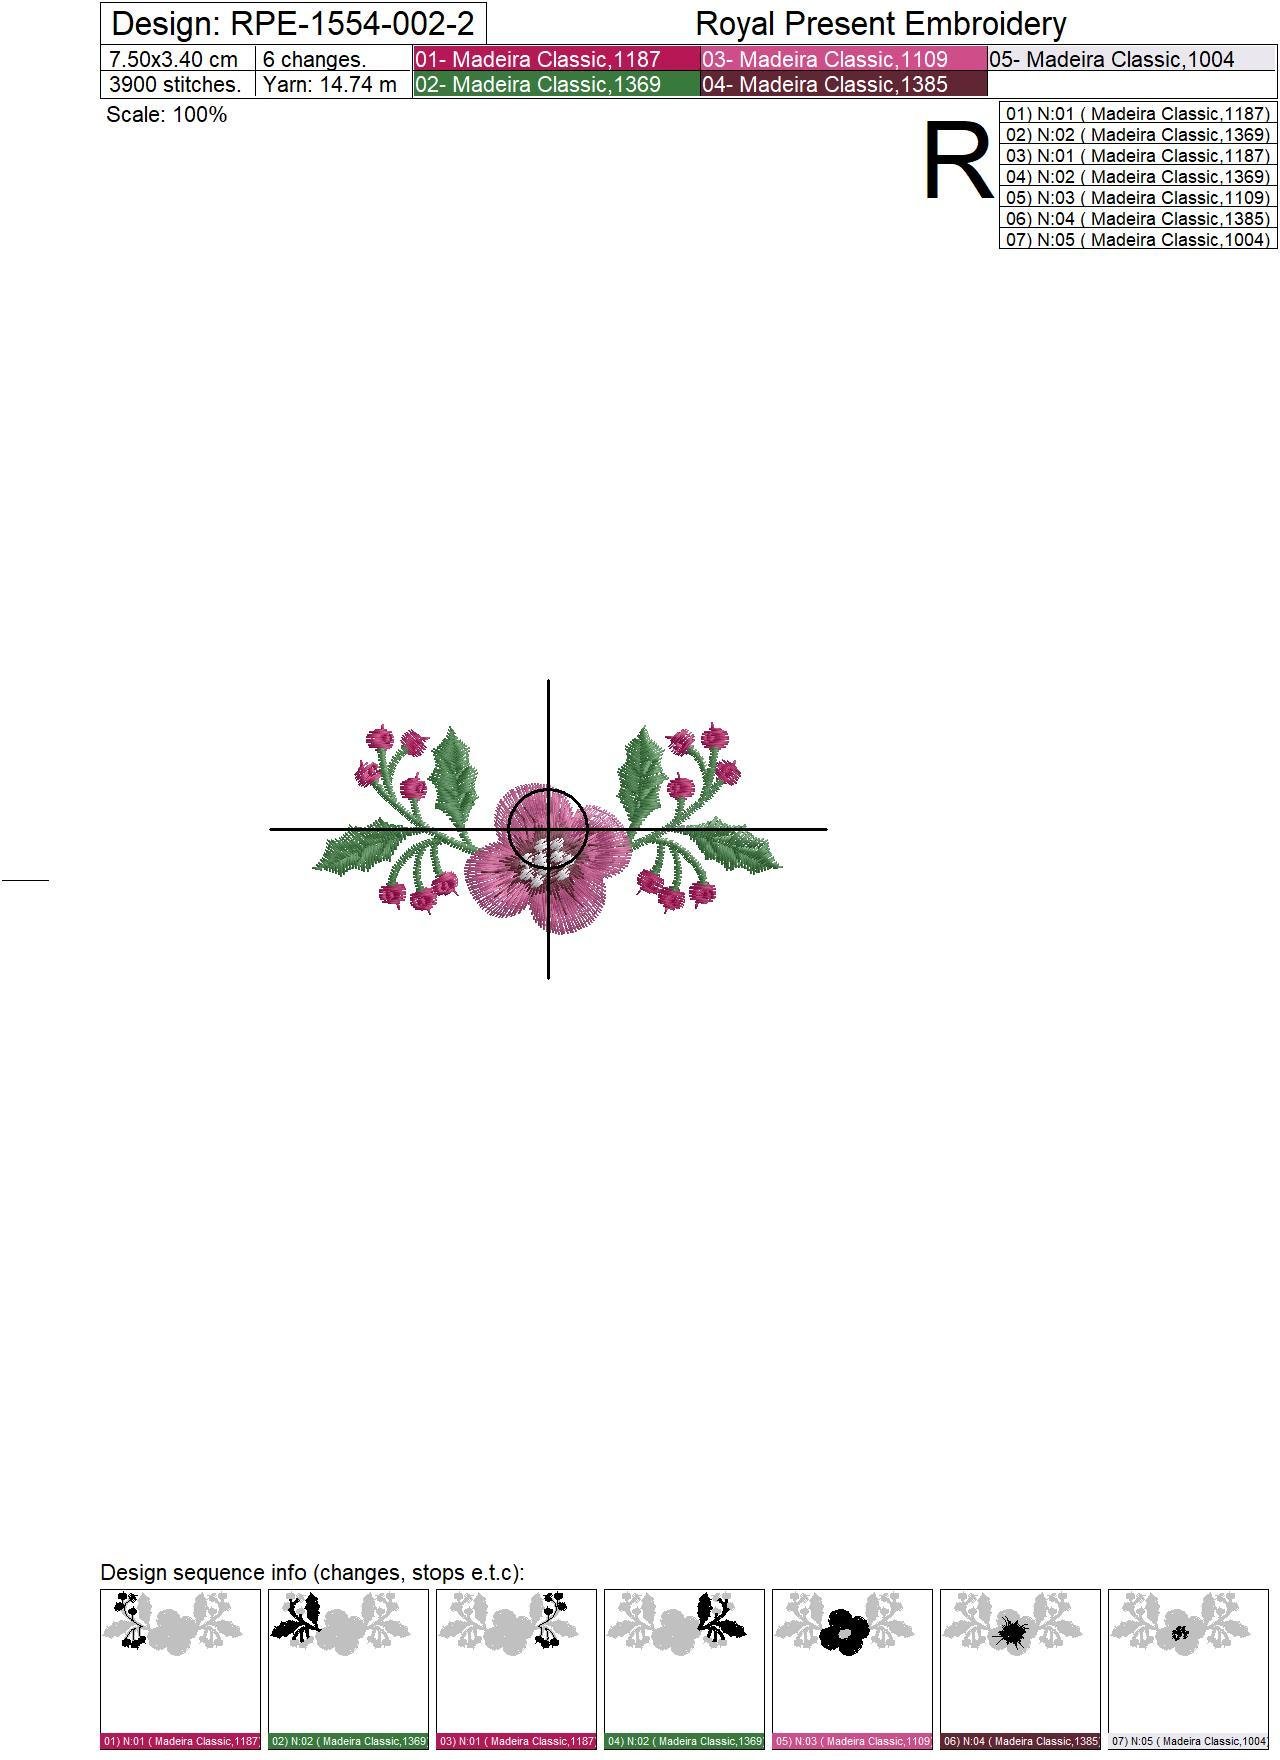
Size: 75.0x57.0 mm (2.95x2.24 "), Stitches: 8017Design 2 — Festive Flower
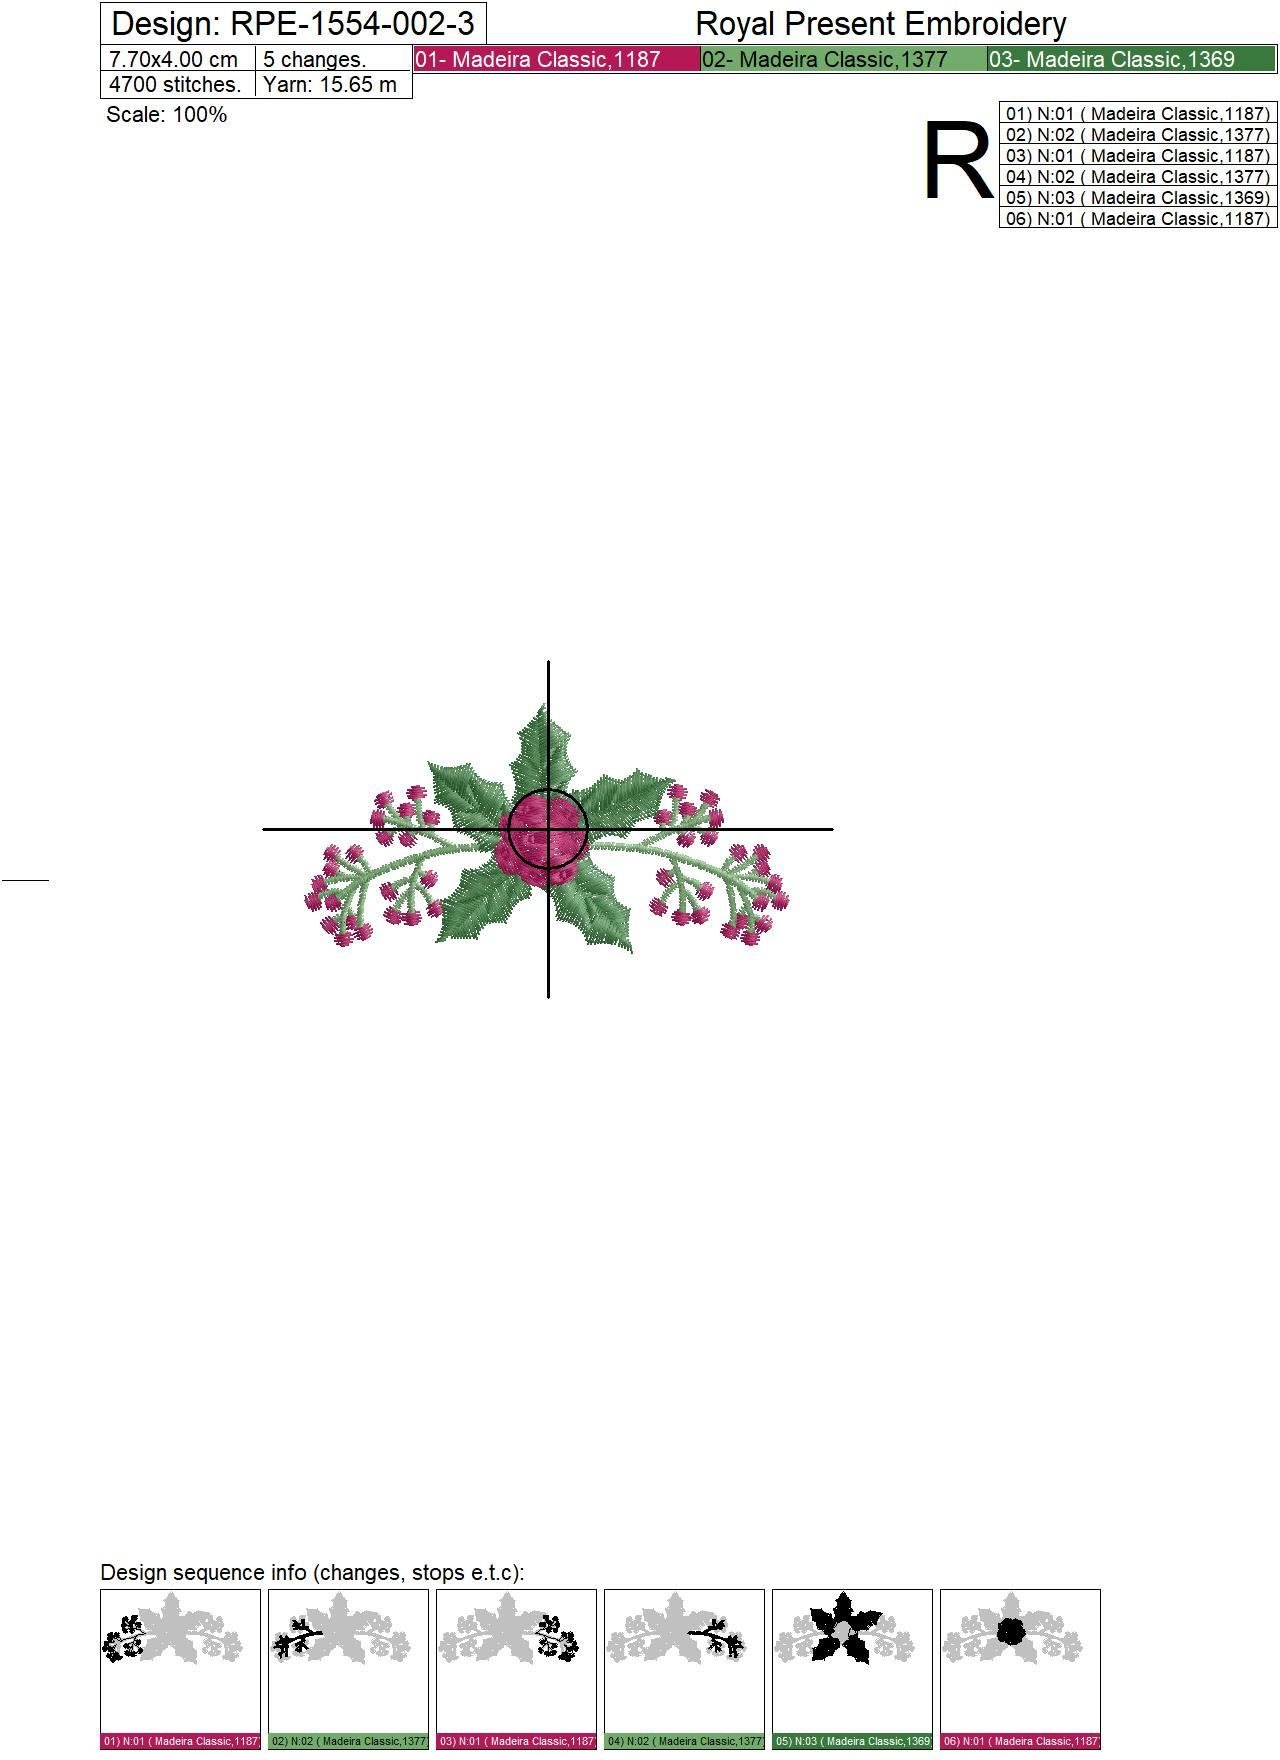
Size: 75.0x34.0 mm (2.95x1.34 "), Stitches: 3868Design 3 — Holly and Berries
Size: 77.0x40.0 mm (3.03x1.57 "), Stitches: 4629Formats: .pes, .pec, .hus, .vip, .dst, .exp, .sew, .dat, .vp3, jef, xxx
Compare the exact dimensions of the required file with the usable embroidery field supported by your machine before purchasing. Transfer only the format intended for your embroidery machine.
What Is Included
- pine cone with a bow, leaves and berry branches;
- festive flower with holly leaves and berries;
- holly composition with berries and decorative branches;
- three separate machine embroidery designs;
- one original size for each design;
- ready-to-use embroidery machine formats.
Important: this product contains three different embroidery designs. It is not one design supplied in three sizes.
Hoop Compatibility
| Design | Original file size | Compatible embroidery field |
|---|---|---|
| Design 1 | 75.0x57.0 mm (2.95x2.24 ") | 80x80 mm (3.15x3.15") or larger |
| Design 2 | 75.0x34.0 mm (2.95x1.34 ") | 80x80 mm (3.15x3.15") or larger |
| Design 3 | 77.0x40.0 mm (3.03x1.57 ") | 80x80 mm (3.15x3.15") or larger |
All three files also fit a 100x100 mm (3.94x3.94") embroidery field, commonly marketed as a 4x4 inch hoop. Check the machine’s usable stitching field rather than the outside dimensions of the plastic frame.
For the difference between nominal hoop names and actual sewing areas, read the embroidery hoop sizes and stitching fields guide.
Madeira Classic Rayon No. 40 Thread Palette
The table contains the seven Madeira Classic Rayon No. 40 colors used across the three designs, with duplicate numbers removed. The color squares are approximate screen previews. Use the Madeira number and a physical thread chart for final matching.
| Color | Madeira Classic | Visible shade and stitched element | Used in |
|---|---|---|---|
| ■ | 1004 | Light cream — flower-centre highlight | Design 2 |
| ■ | 1109 | Pink — main flower petals | Design 2 |
| ■ | 1187 | Raspberry red — bow, berries and central accents | Designs 1, 2 and 3 |
| ■ | 1273 | Tan brown — pine cone | Design 1 |
| ■ | 1369 | Dark green — leaves and main greenery | Designs 1, 2 and 3 |
| ■ | 1377 | Light green — leaves, stems and branches | Designs 1 and 3 |
| ■ | 1385 | Dark burgundy — flower-centre shading | Design 2 |
If you use another thread brand, find the nearest equivalents with the free Madeira thread converter.
Programmed Color-Block Sequences
Design 1 — Pine Cone with Bow:
1369 → 1187 → 1377 → 1187 → 1377 → 1273 → 1187
Design 2 — Festive Flower:
1187 → 1369 → 1187 → 1369 → 1109 → 1385 → 1004
Design 3 — Holly and Berries:
1187 → 1377 → 1187 → 1377 → 1369 → 1187
Do not use automatic color sorting. Repeated Madeira numbers represent separate technical blocks stitched after intervening leaves, branches, fills or decorative details.
Machine Embroidery on a Wine Bottle Bag
Embroider the selected motif on a flat front panel before constructing the wine bag. Mark the finished visible area, side seams, bottom seam and drawstring channel before positioning the embroidery.
- Cut the outer front panel with the required sewing allowances.
- Mark the finished visible area and future seam lines.
- Print the selected design template at full size.
- Position the template within the finished visible area.
- Transfer the centre point and axis lines with a removable marker.
- Hoop the stabilizer and fabric without stretching the grain.
- Check the design boundary before starting the machine.
- Embroider the selected motif.
- Remove the excess stabilizer.
- Complete the wine-bag construction after embroidery.
The sewing pattern and wine-bag construction instructions are not included. These are standard machine embroidery motifs, not in-the-hoop wine bag projects.
Fabric, Stabilizer and Needle
| Material | Stabilizer | Needle | Technique |
|---|---|---|---|
| Cotton or linen | Medium-weight tear-away | Embroidery 75/11 | Prewash fabric that may shrink and hoop it without distortion |
| Canvas or upholstery fabric | Firm tear-away or medium cut-away | Embroidery 80/12 | Test needle penetration and registration on a sample first |
| Denim | Medium cut-away or firm tear-away on stable denim | Embroidery 80/12 | Embroider the flat panel before assembling the item |
| Velvet | Adhesive backing underneath and thin water-soluble topping above | Embroidery 75/11 | Avoid crushing the pile and keep its direction consistent |
| Terry towel | Supporting backing underneath and water-soluble topping above | Embroidery 75/11 or 80/12 | Topping prevents berries and narrow branches from sinking into the loops |
Run a complete test using the same fabric, stabilizer, needle and thread planned for the finished item. For additional backing information, read the guide to choosing machine embroidery stabilizers.
Placement Facts
- Design 1 measures 75.0x57.0 mm (2.95x2.24 ");
- Design 2 measures 75.0x34.0 mm (2.95x1.34 ");
- Design 3 measures 77.0x40.0 mm (3.03x1.57 ").
Calculate placement from the visible part of the finished item, not from the centre of the entire fabric cut. Leave clear space around side seams, the bottom seam, folds, drawstring channels and gathered areas.
When cutting several velvet bottle bags, keep the pile direction consistent. Pieces cut in opposite directions reflect light differently and may appear to be different colors even when cut from the same fabric.
Where to Use the Designs
- Christmas wine and champagne bottle bags;
- kitchen and guest towels;
- table and cocktail napkins;
- Christmas stockings;
- fabric gift bags and sweet bags;
- small decorative cushions;
- Christmas aprons and kitchen accessories;
- fabric ornaments constructed after embroidery;
- small framed textile panels;
- coordinated handmade Christmas gift sets.
For additional fabric, placement and construction ideas, see Winter Decorations Machine Embroidery Designs: 9 Christmas Projects.
Matching Christmas Machine Embroidery Designs
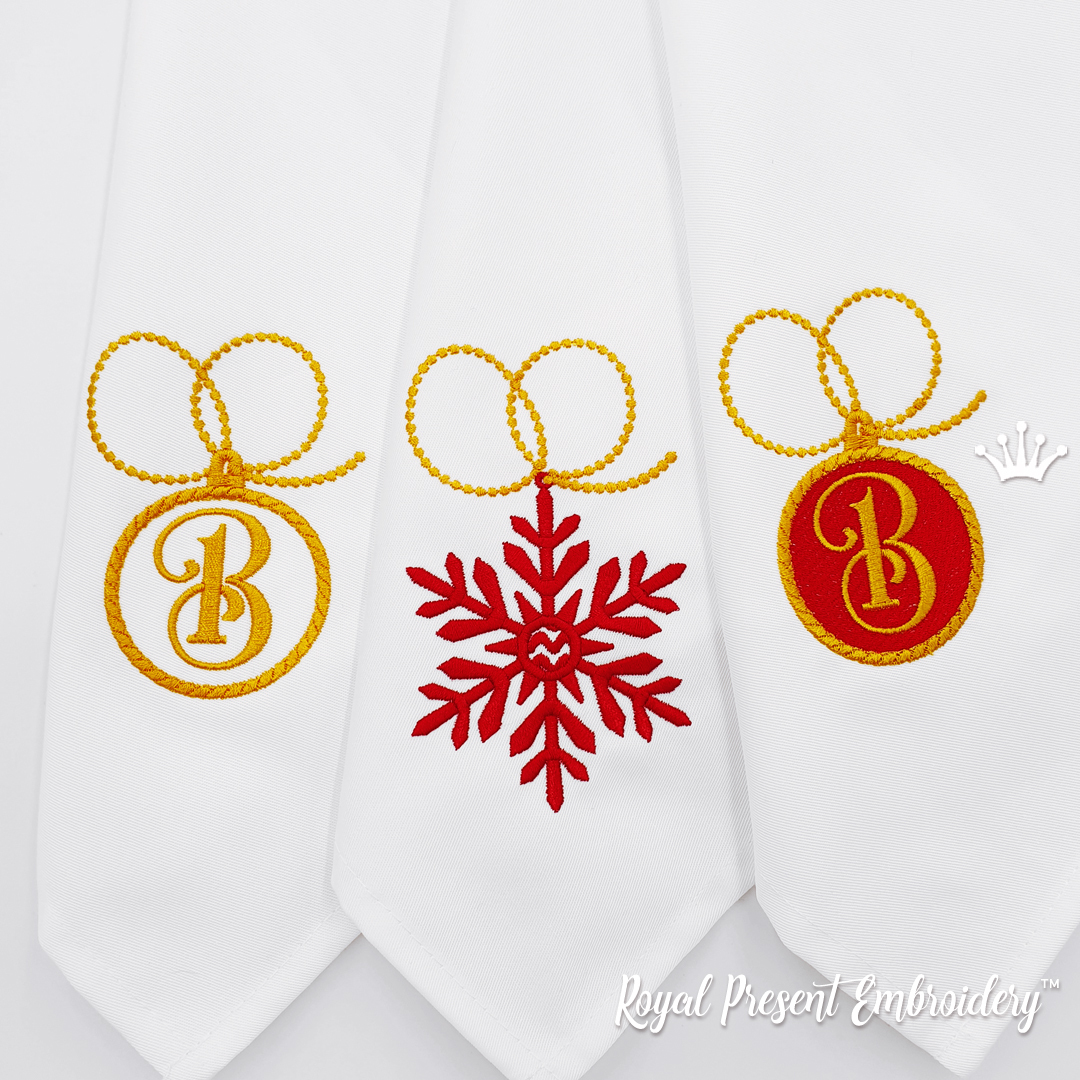 Three Christmas Decorations Machine Embroidery Designs
 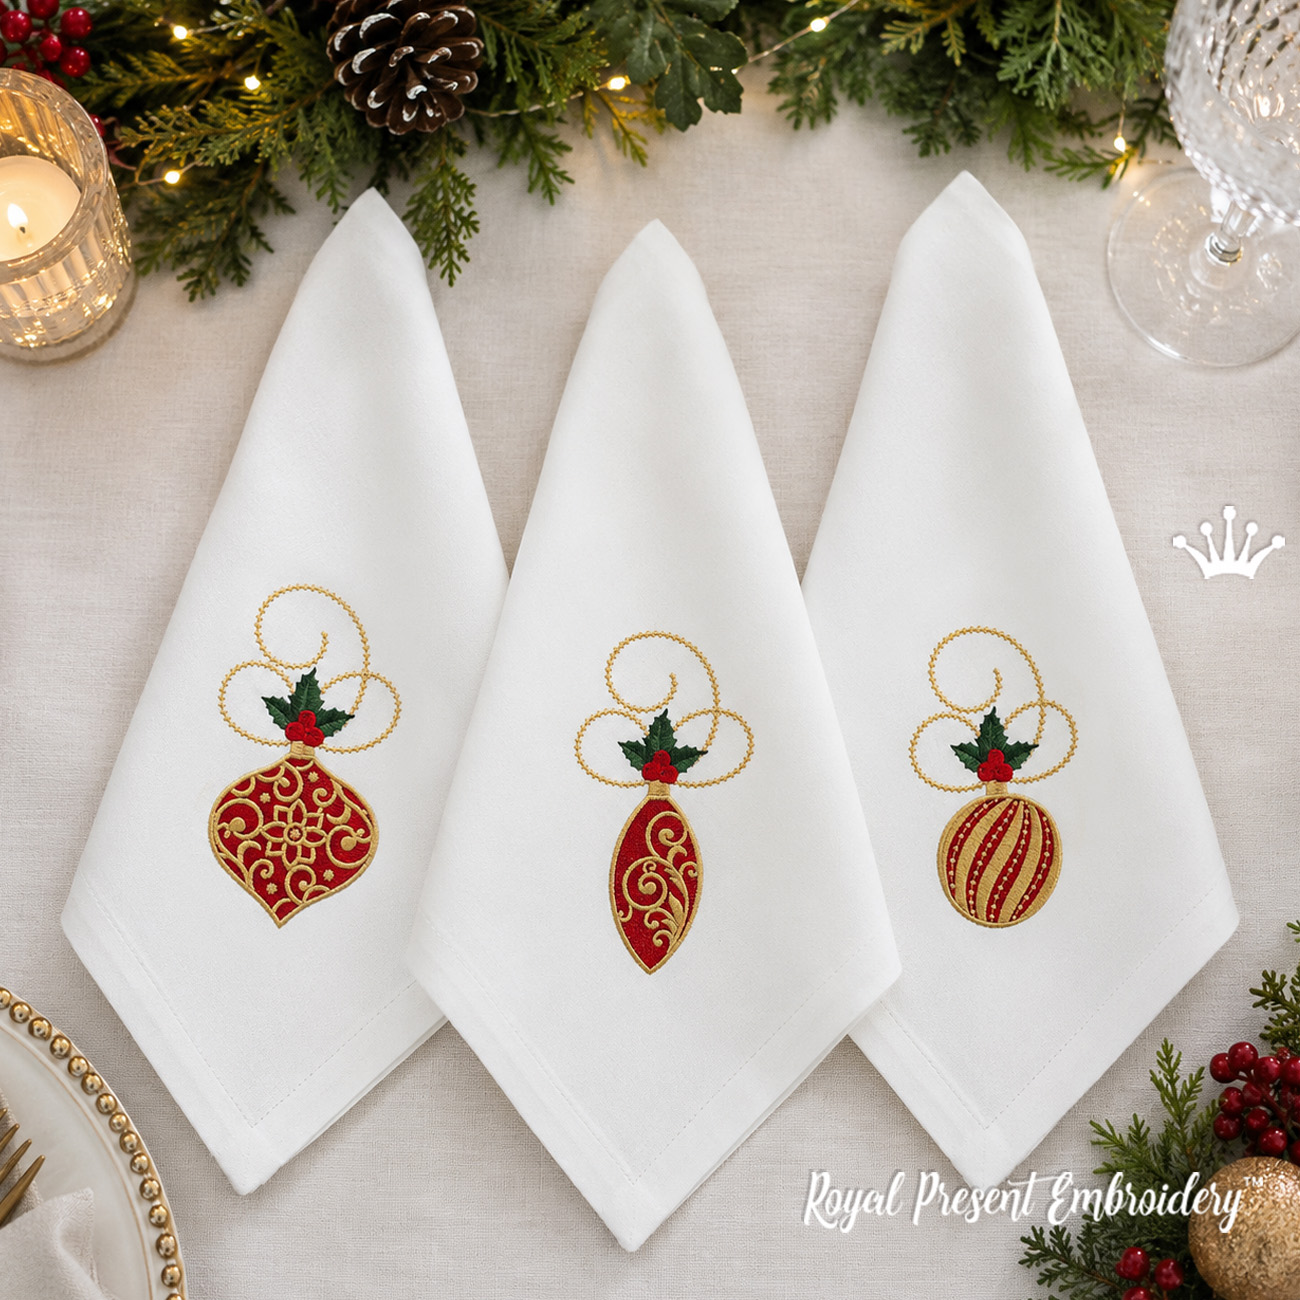 Mini Christmas Ornaments with Holly – Set of 3
 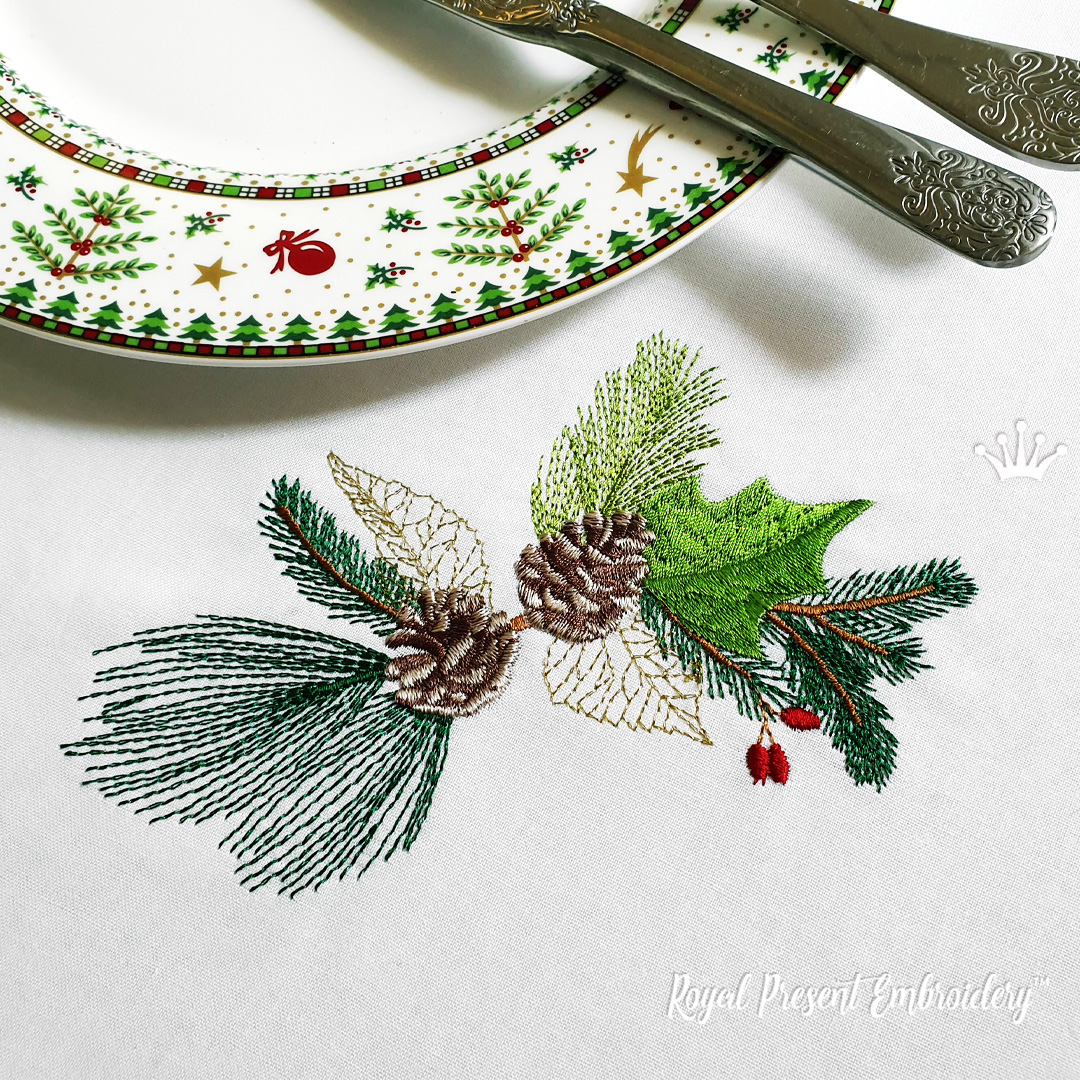 Winter Border with Fir Branches and Pine Cone
 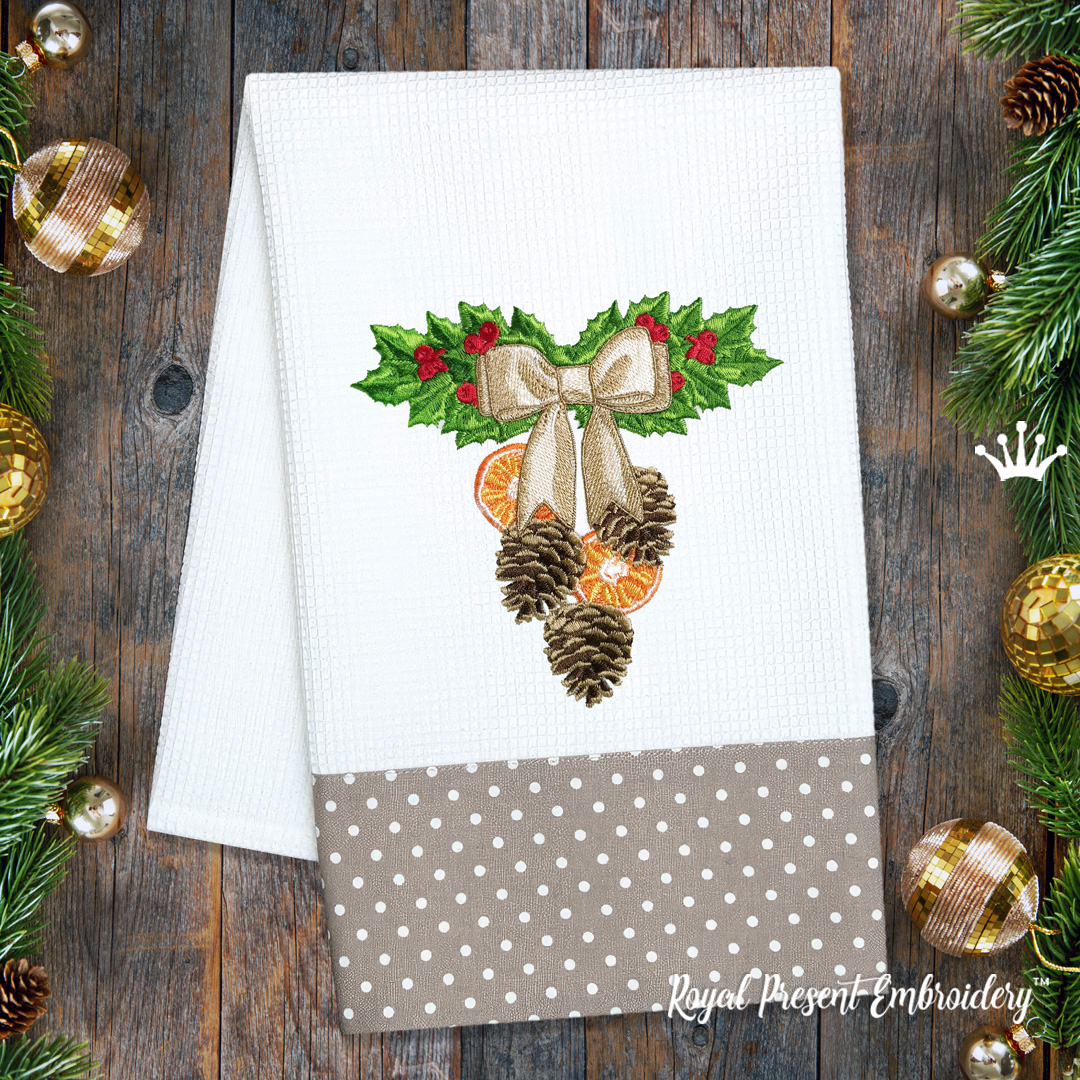 Pine Cones on a Holly Branch – 3 Sizes
 Frequently Asked Questions
Is this one embroidery design supplied in three sizes?
No. The product contains three different winter designs. Each motif is supplied as a separate embroidery file in one original size.
Will all three designs fit an 80x80 mm (3.15x3.15") embroidery field?
Yes. Design 1 measures 75.0x57.0 mm (2.95x2.24 "), Design 2 measures 75.0x34.0 mm (2.95x1.34 "), and Design 3 measures 77.0x40.0 mm (3.03x1.57 "). All three fit within an 80x80 mm (3.15x3.15") embroidery field.
Will the designs fit a 4x4 inch hoop?
Yes. All three files fit a 100x100 mm (3.94x3.94") embroidery field, commonly marketed as a 4x4 inch hoop. Check the maximum usable field supported by your machine.
Is a wine bottle bag sewing pattern included?
No. The product contains digital machine embroidery files only. The wine bag must be cut and sewn separately.
Are these in-the-hoop wine bag designs?
No. Embroider the selected motif on a flat fabric panel and construct the wine bag afterward.
Which Madeira colors are used?
The set uses seven Madeira Classic Rayon No. 40 colors: 1004, 1109, 1187, 1273, 1369, 1377 and 1385. Each design has its own programmed color-block sequence shown above.
Can I change the thread colors?
Yes. Preserve sufficient contrast between the berries, leaves, flower details and pine cone. Keep the original color-block sequence and complete a test stitch before embroidering the finished item.
Can the three designs be combined?
Yes, provided the complete arrangement fits the usable embroidery field of your machine. Check the exact dimensions, spacing and color-block order before stitching the combined composition.

 Get Sign-In Link
 Login with Google
 Login with Facebook
 Login with Amazon
 Login with Paypal