Indian Floral Border for a Zippered Makeup Bag
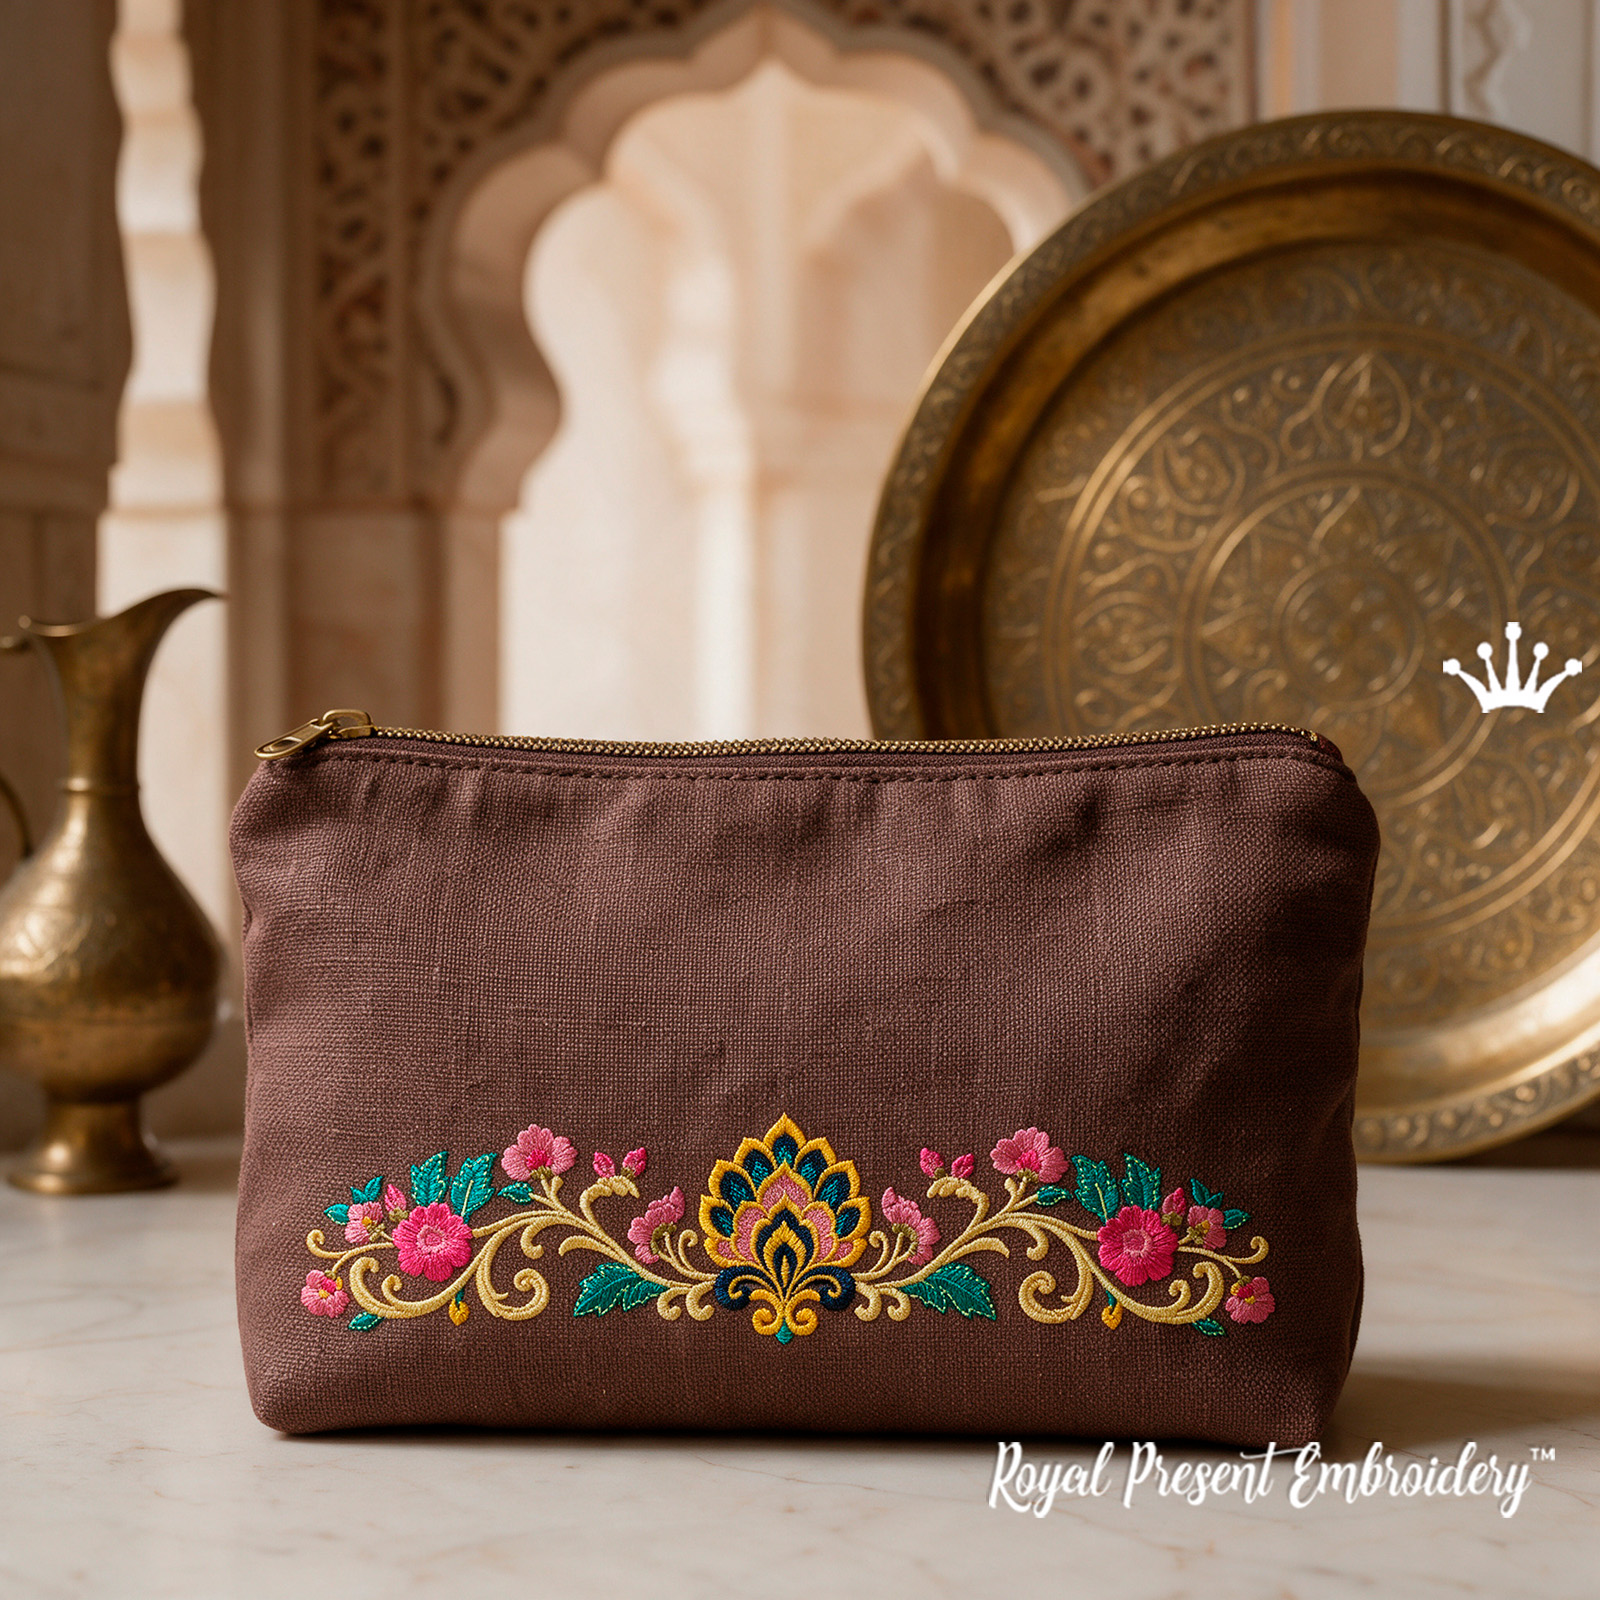
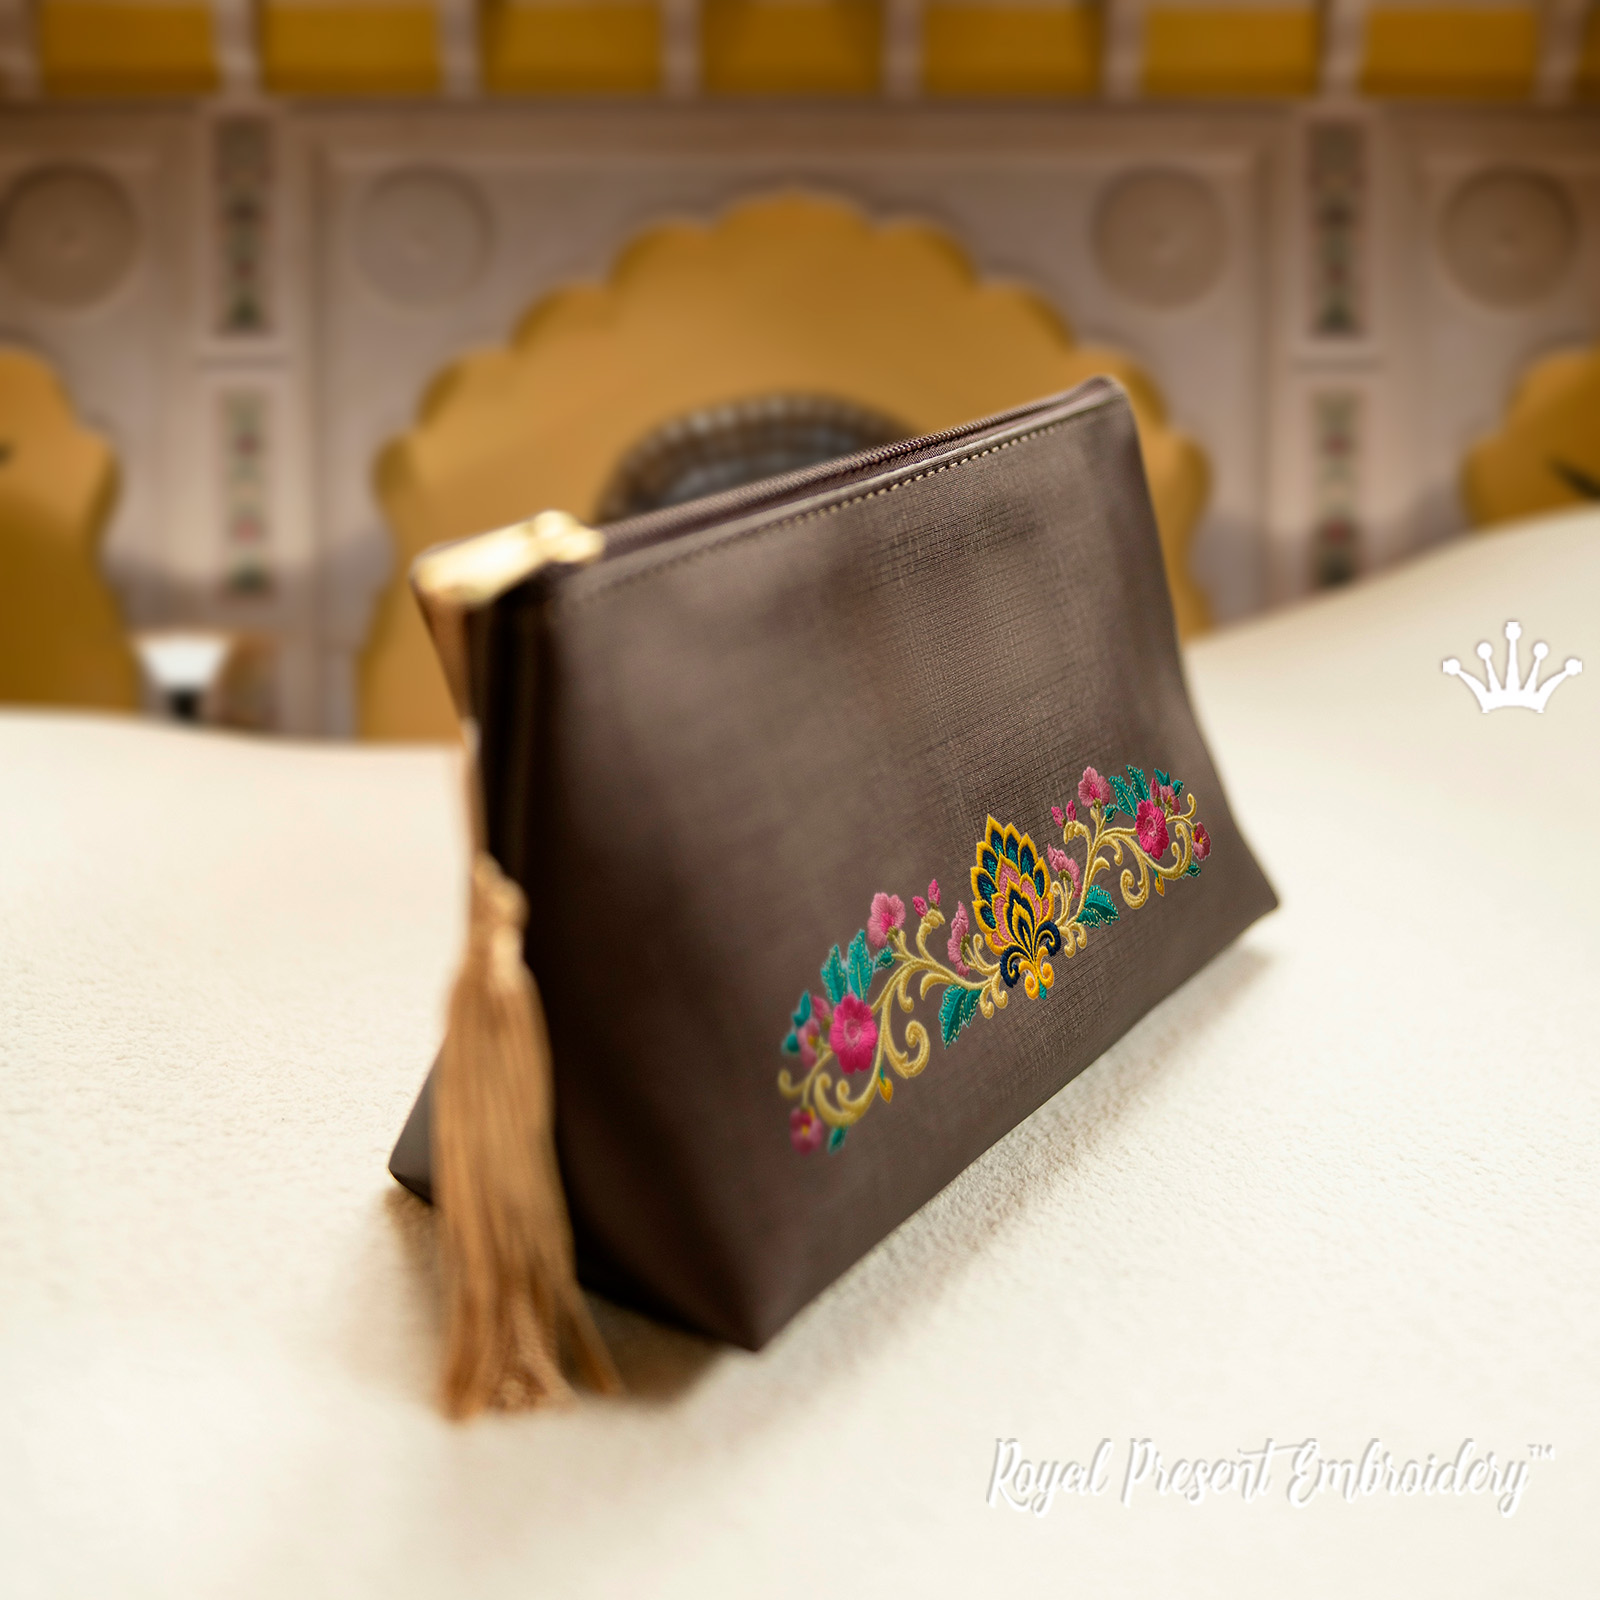
This Indian floral border is a horizontal machine embroidery design with a fan-shaped palmette at the center. Matching branches extend to either side, with pink flowers, teal leaves and warm beige scrolls. The photo shows the border on the front of a zippered makeup bag. The same motif also works on a tote panel or along the edge of a table runner.
The same motif comes in seven ready-to-stitch sizes. These are digital files for an embroidery machine. The bag, sewing pattern and supplies are not included. The file stitches the ornament only; it does not assemble a bag in the hoop.
Design Sizes and Suitable Hoops
Choose a hoop by its usable embroidery field in a single hooping, not its outside dimensions. Rotate the border by 90 degrees if needed. A multi-position 100x170 mm hoop that can stitch only 100x100 mm per position cannot stitch these files in one pass.
For the 178.5, 198.5, 238.5 and 258.5 mm files, the listed hoop leaves just 1.5 mm of total clearance along the long side. Trace the full design boundary before stitching. If there is not enough clearance with your machine and hoop attachment, use a compatible hoop with a larger usable field.
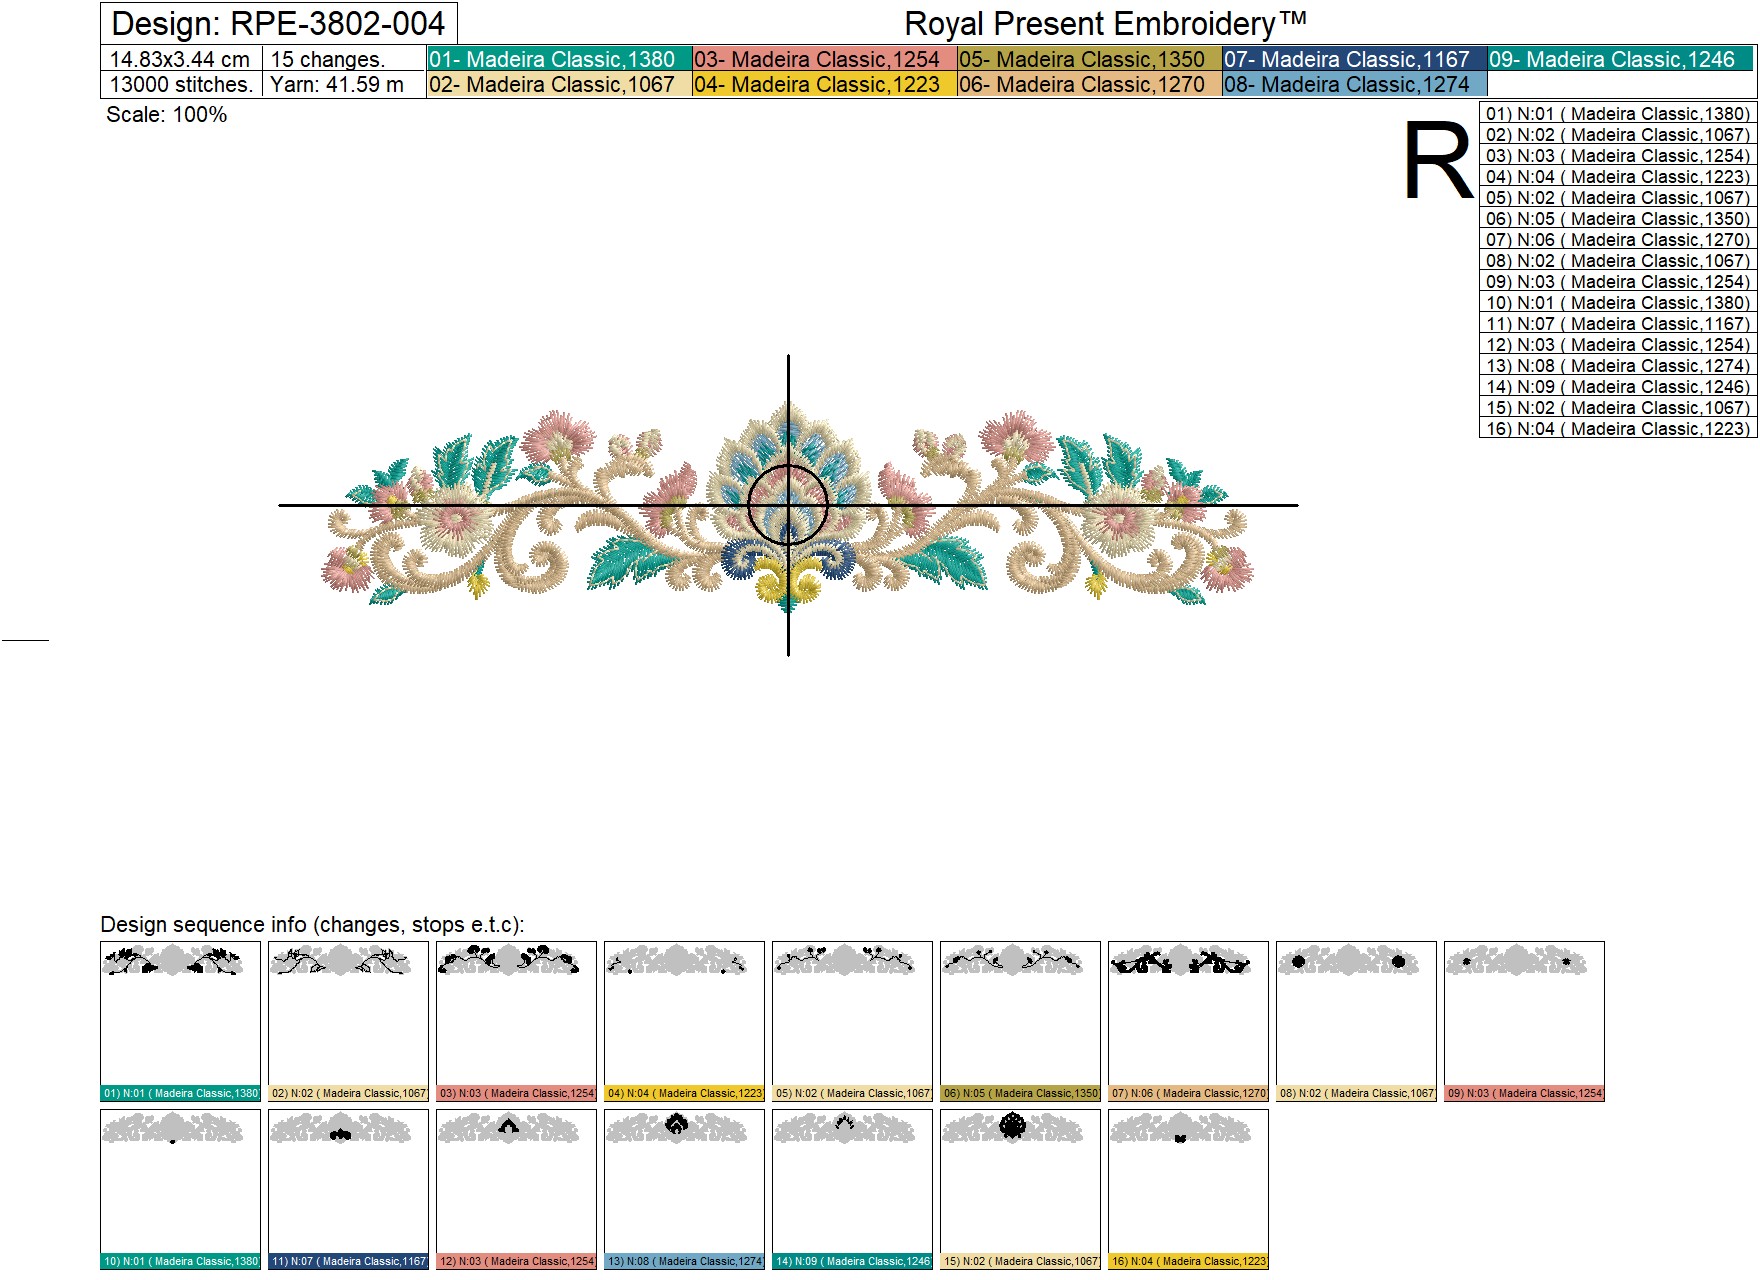
Size: 148.3x34.4 mm (5.84x1.35 "), Stitches: 13000
Hoop: 100x170 mm (4x6.69 ").
Size: 163.1x37.8 mm (6.42x1.49 "), Stitches: 14200
Hoop: 100x170 mm (4x6.69 ").
Size: 178.5x41.4 mm (7.03x1.63 "), Stitches: 14700
Hoop: 130x180 mm (5x7 ").
Size: 198.5x46.0 mm (7.81x1.81 "), Stitches: 16200
Hoop: 140x200 mm (5.51x7.87 ").
Size: 218.5x50.6 mm (8.60x1.99 "), Stitches: 17700
Hoop: 150x240 mm (5.91x9.45 ").
Size: 238.5x55.2 mm (9.39x2.17 "), Stitches: 19400
Hoop: 150x240 mm (5.91x9.45 ").
Size: 258.5x59.8 mm (10.18x2.35 "), Stitches: 21300
Hoop: 160x260 mm (6.30x10.24 ").
Formats: .dat, .dst, .exp, .hus, .jef, .jef+, .pec, .pes, .sew, .shv, .tap, .vip, .vp3, .vp4, .xxx
Designs from the Same Collection
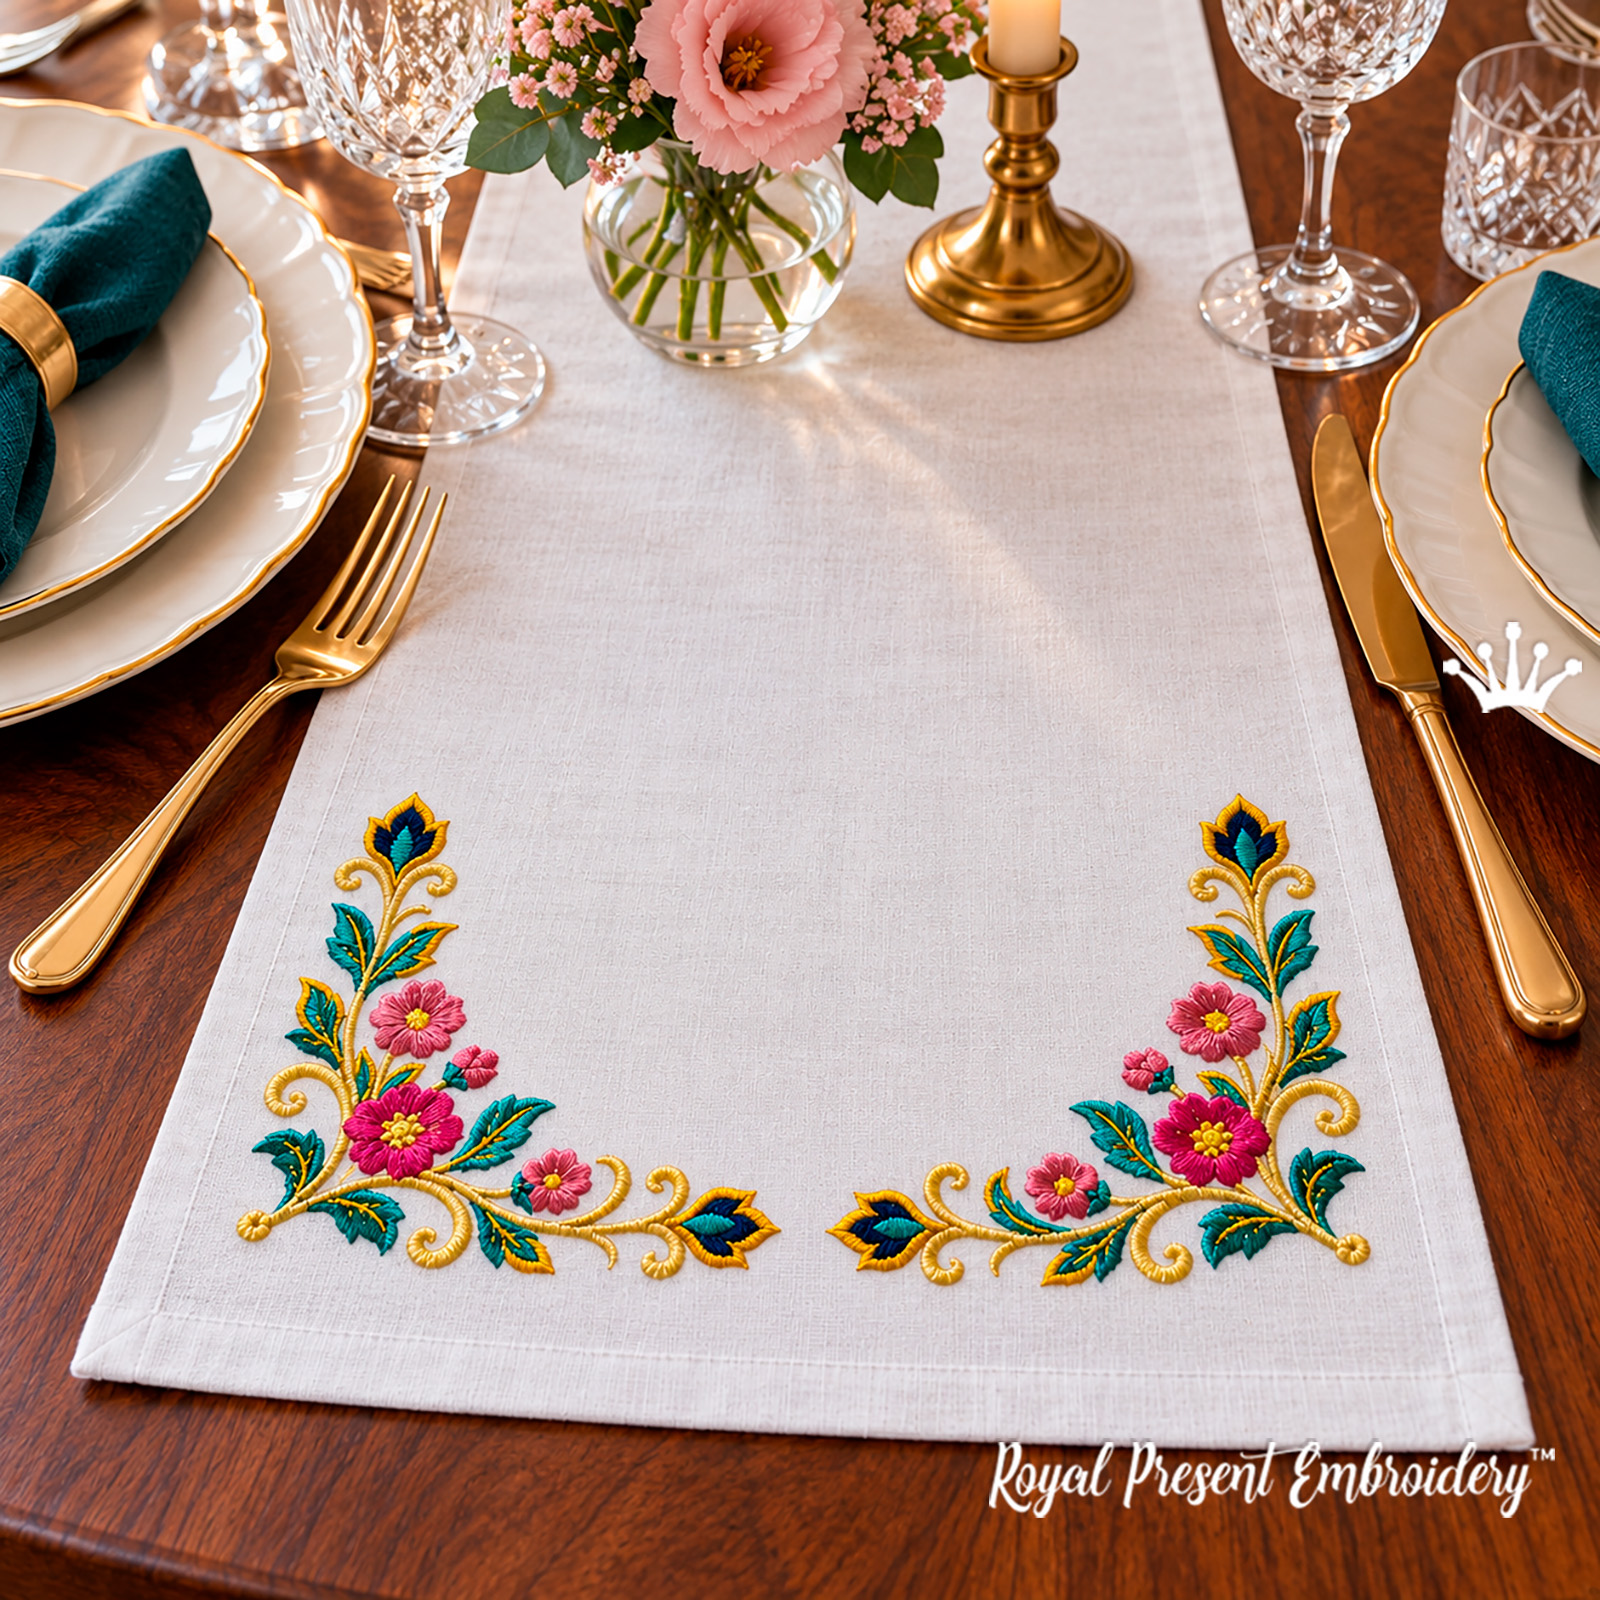 Paired Indian Floral Corners |
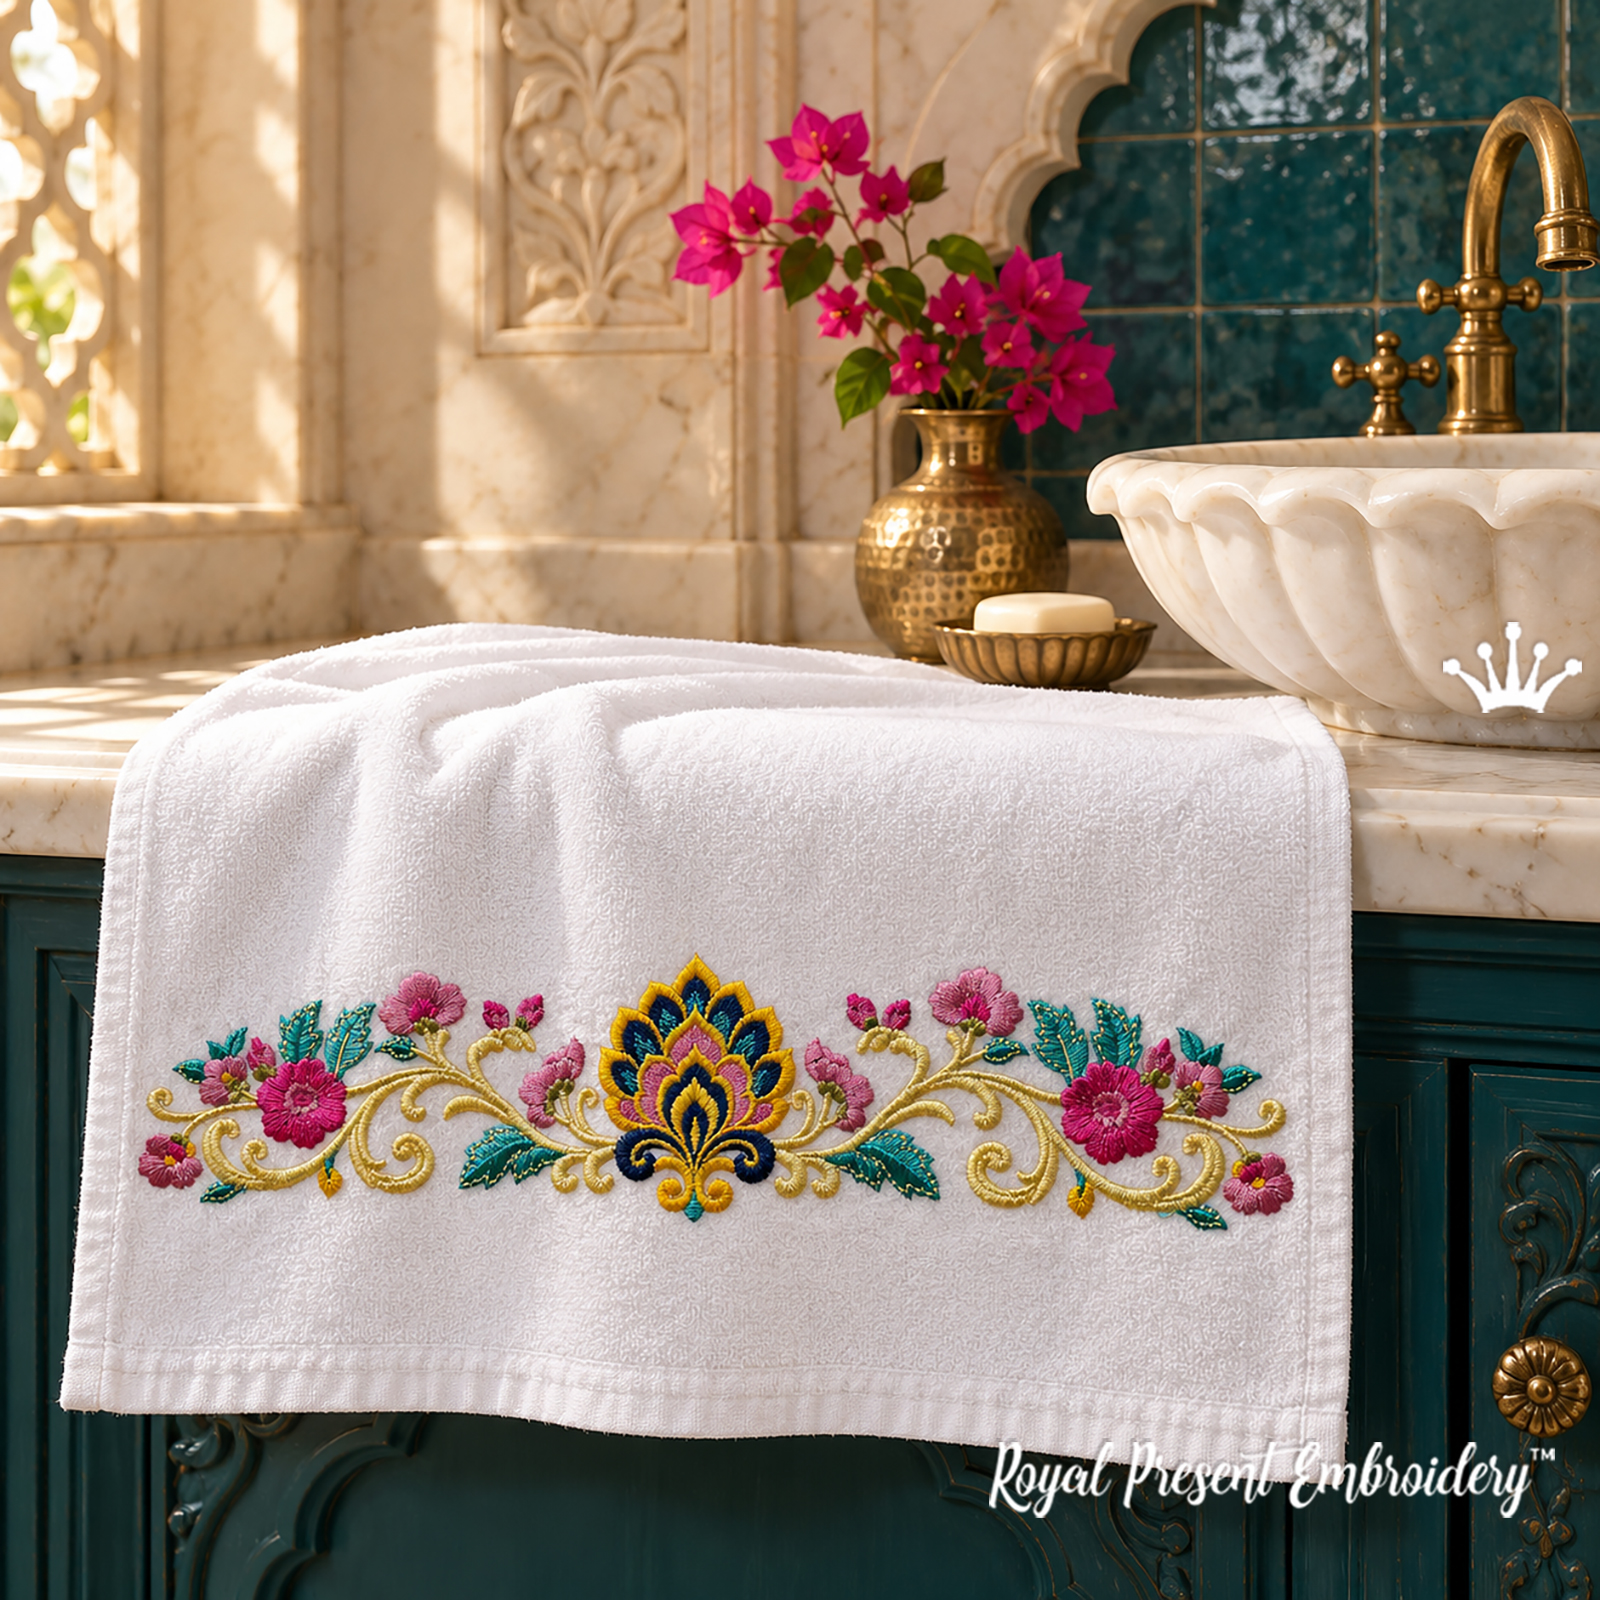 Indian Floral Border for Mega Hoops |
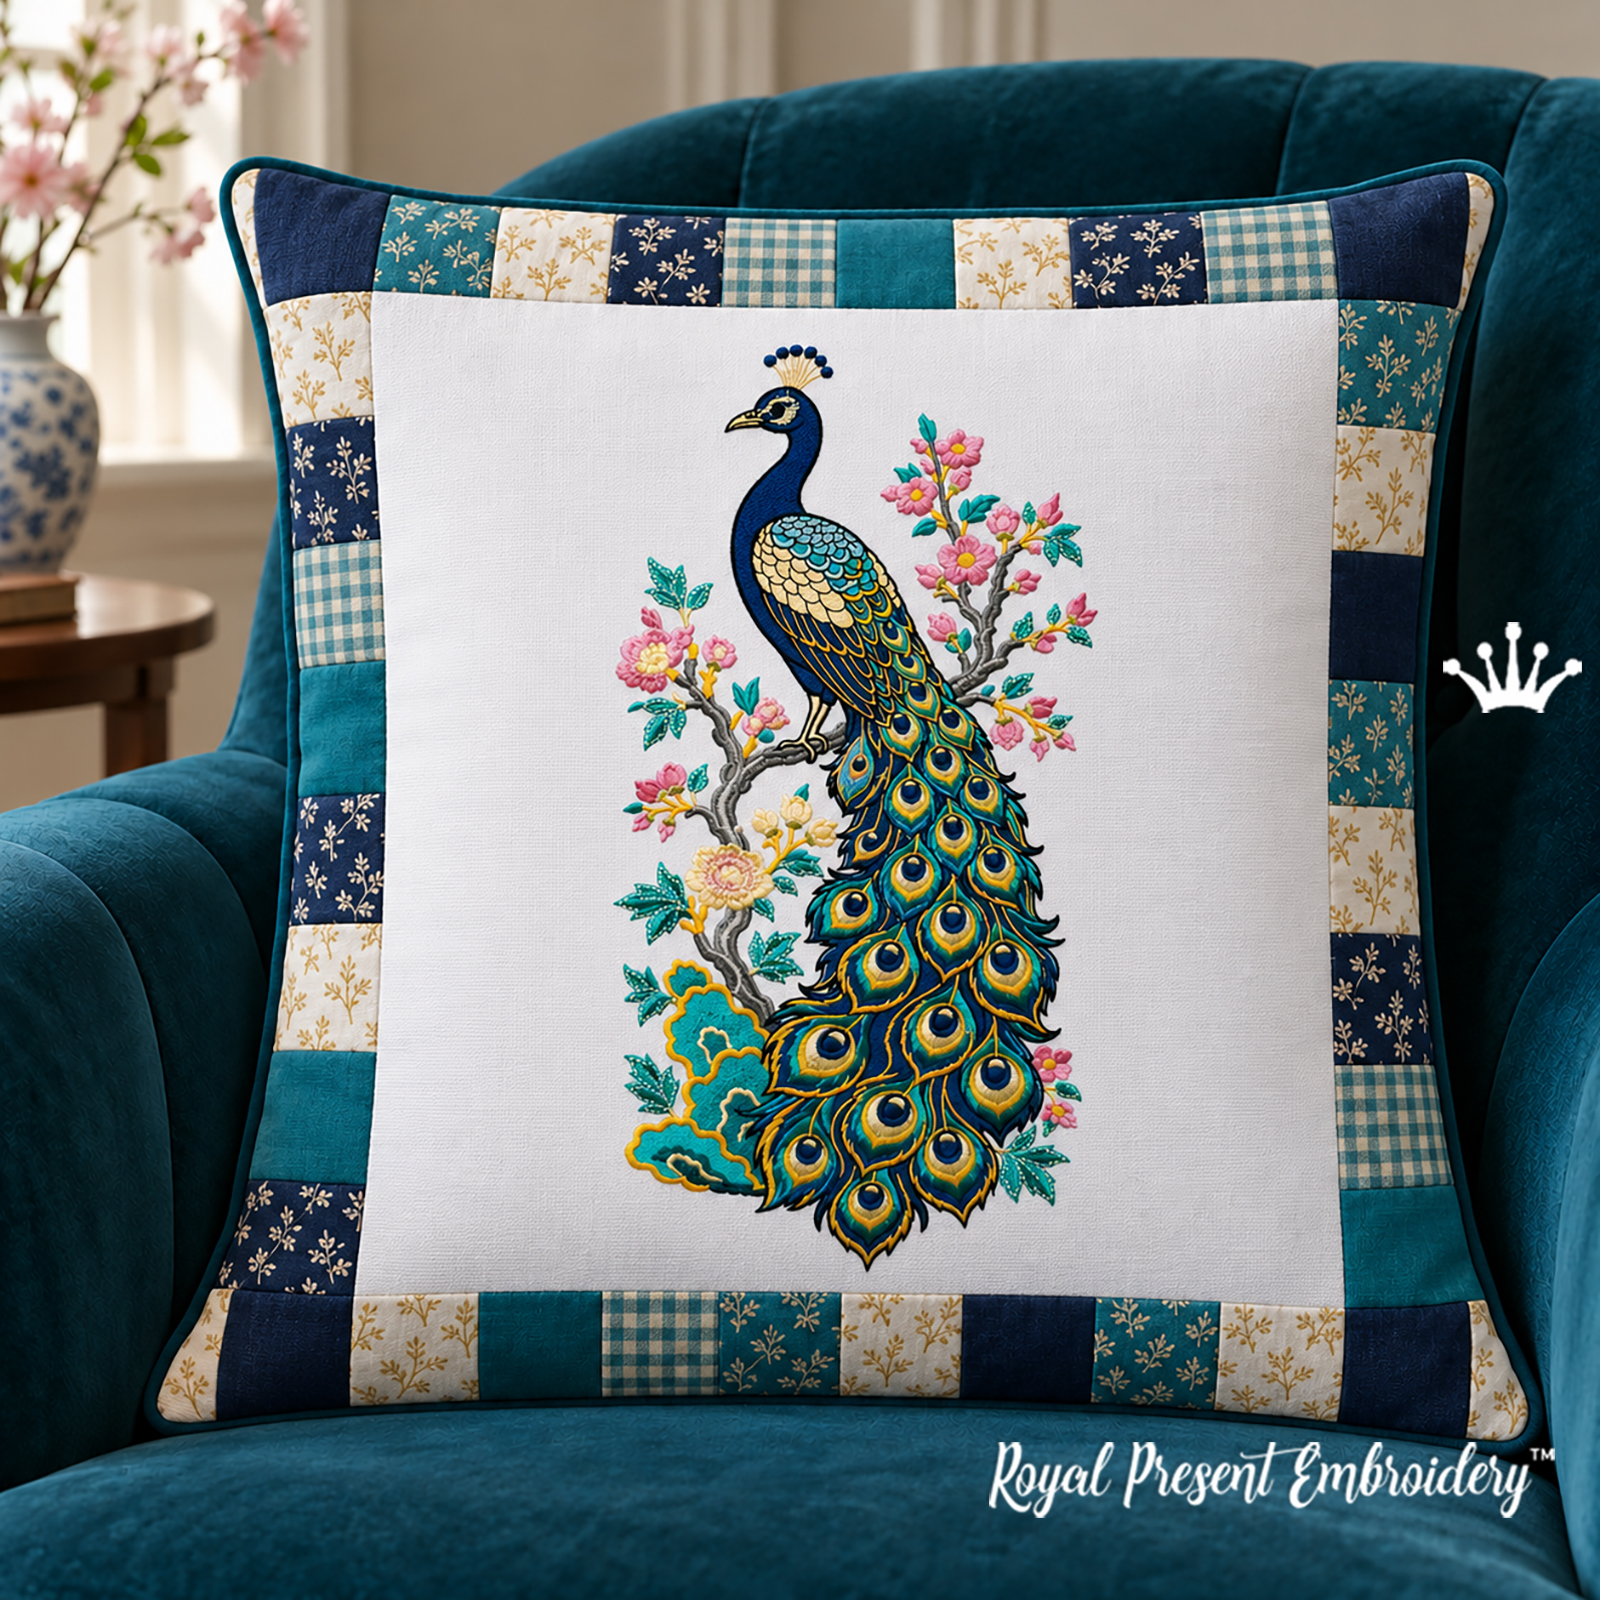 Large Peacock with a Long Tail |
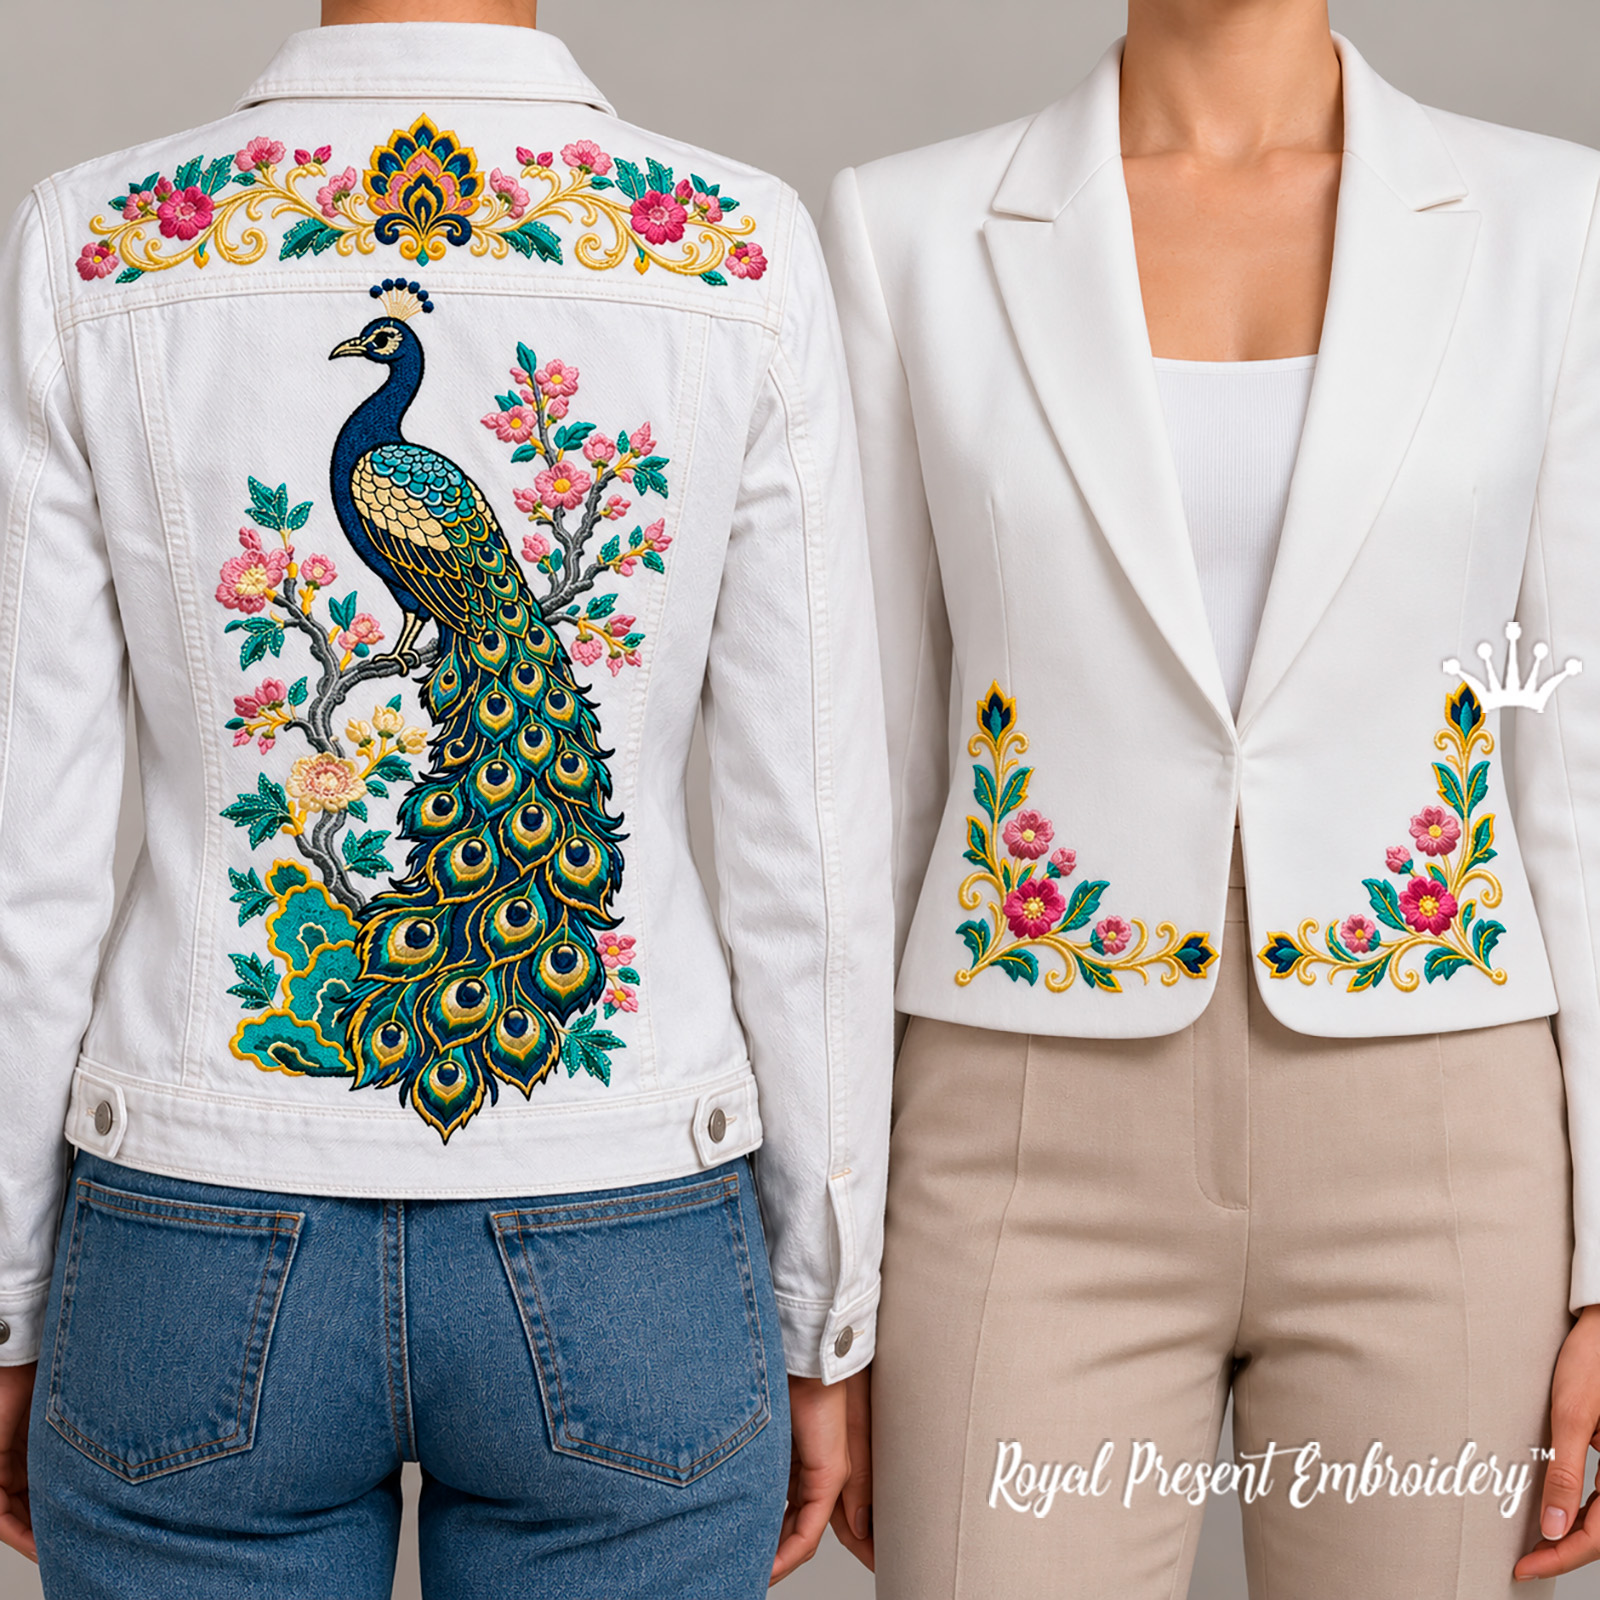 Peacock, Floral Border and Corners Set |
Use the paired corners on napkins or runners. For a larger project in the same palette, choose the mega-hoop border, the long-tailed peacock or the coordinating set. These are separate products.
Madeira Classic Thread Colors
All seven sizes use the same nine Madeira Classic thread numbers. The swatches reproduce the digital samples on the color chart. Match the thread by its Madeira number and a physical sample, since screen settings can change the appearance of the colors.
| Color | Madeira Number | What This Color Stitches |
|---|---|---|
|
|
Madeira Classic 1380 | Main teal areas of the leaves on both sides and the small detail below the central motif. |
|
|
Madeira Classic 1067 | Light petals on the side flowers, leaf veins and the pale outline of the palmette. |
|
|
Madeira Classic 1254 | Pink petals and buds on the side branches, plus pink details on the larger flowers and the palmette. |
|
|
Madeira Classic 1223 | Yellow accents on the side branches and paired curls at the base of the palmette. |
|
|
Madeira Classic 1350 | Olive accents on the side stems and around the buds. |
|
|
Madeira Classic 1270 | Main stems and the large scrolling vines on either side of the center. |
|
|
Madeira Classic 1167 | Paired blue scrolls at the base of the central motif. |
|
|
Madeira Classic 1274 | Light blue sections inside the petals of the central palmette. |
|
|
Madeira Classic 1246 | Deep teal accents inside the upper petals of the palmette. |
How to Embroider the Border on a Makeup Bag
Can I embroider a finished makeup bag?
Yes, if your embroidery machine has a narrow free arm and a compatible hoop. On a commercial tubular machine, the bobbin assembly sits in the projecting lower arm. Slip the pouch over that arm through the open zipper: the front panel sits under the needle and the back panel hangs below the arm. A magnetic frame holds the front panel and stabilizer in place; it does not create that clearance on its own. Tajima's M Frame for the SAI is one example designed for bags and pouches. Some single-needle machines, such as the Brother PR1X, also have a free arm for embroidery. The machine's construction matters more than its needle count.
Check that the whole border fits the usable field of the frame you are using. Keep the back panel clear of the needle and move the lining aside if you want it to remain unstitched. Keep the zipper, slider and bulky seams clear of the needle and presser foot. Trace the full border to make sure the bag and frame clear the machine throughout the movement. If you cannot separate the front panel from the other layers, or the arm and lower part of the frame will not fit through the zipper opening, embroider the panel before assembly.
How do I embroider the front panel on a flatbed machine?
Mark the front panel before adding the zipper and lining. Print a placement template for the chosen size at 100%. Align the palmette with the panel's centerline and set the long axis of the border parallel to the future zipper. Keep the outer flowers clear of the side seam allowances and the lower scrolls clear of the bottom fold or seam.
Hoop the outer fabric and stabilizer together without stretching the fabric. If the cut piece is too small to be held on all sides, embroider a larger piece of fabric first, then cut the panel along your markings. Trim the excess cut-away backing around the design and assemble the bag. Do not hoop a finished pouch flat with both walls together: the needle can stitch through both.
What fabric and stabilizer should I use for a makeup bag?
Smooth cotton canvas, firm twill, non-stretch denim or closely woven linen work well for this border. Quilting cotton is also used for makeup bags. On a lighter fabric, test for puckering around the flowers and scrolls before stitching the finished panel. Cut a separate cotton lining if desired.
For canvas, denim and linen, start with a medium-weight cut-away stabilizer. Cut a piece large enough to be held securely by the hoop on all sides, and hoop it with the fabric. If the layers shift, test a temporary embroidery adhesive on a scrap and apply it to the stabilizer as directed. Preshrink washable fabric before cutting. Add the lining after embroidery: it covers the back of the stitching but does not replace the stabilizer.
What changes when embroidering velvet or faux leather?
Velvet. Hoop the cut-away backing and secure the velvet on top without crushing the pile. Use a compatible temporary adhesive on the stabilizer. A thin water-soluble topping helps keep the fine stitches above the pile; first test that it can be removed without marking the fabric. Topping does not replace the backing.
Faux leather. Start with a stitch-out on a scrap of the same material backed with a medium-weight cut-away. Do not stretch the coating while securing it. Check the edges of the densest areas as well as the back: needle holes may remain visible in the coating. If the surface cracks, puckers or weakens along the perforations, use canvas or another firm woven fabric for this border.

 Get Sign-In Link
 Login with Google
 Login with Facebook
 Login with Amazon
 Login with Paypal

