Complete Peacock, Floral Border and Paired Corners Embroidery Set
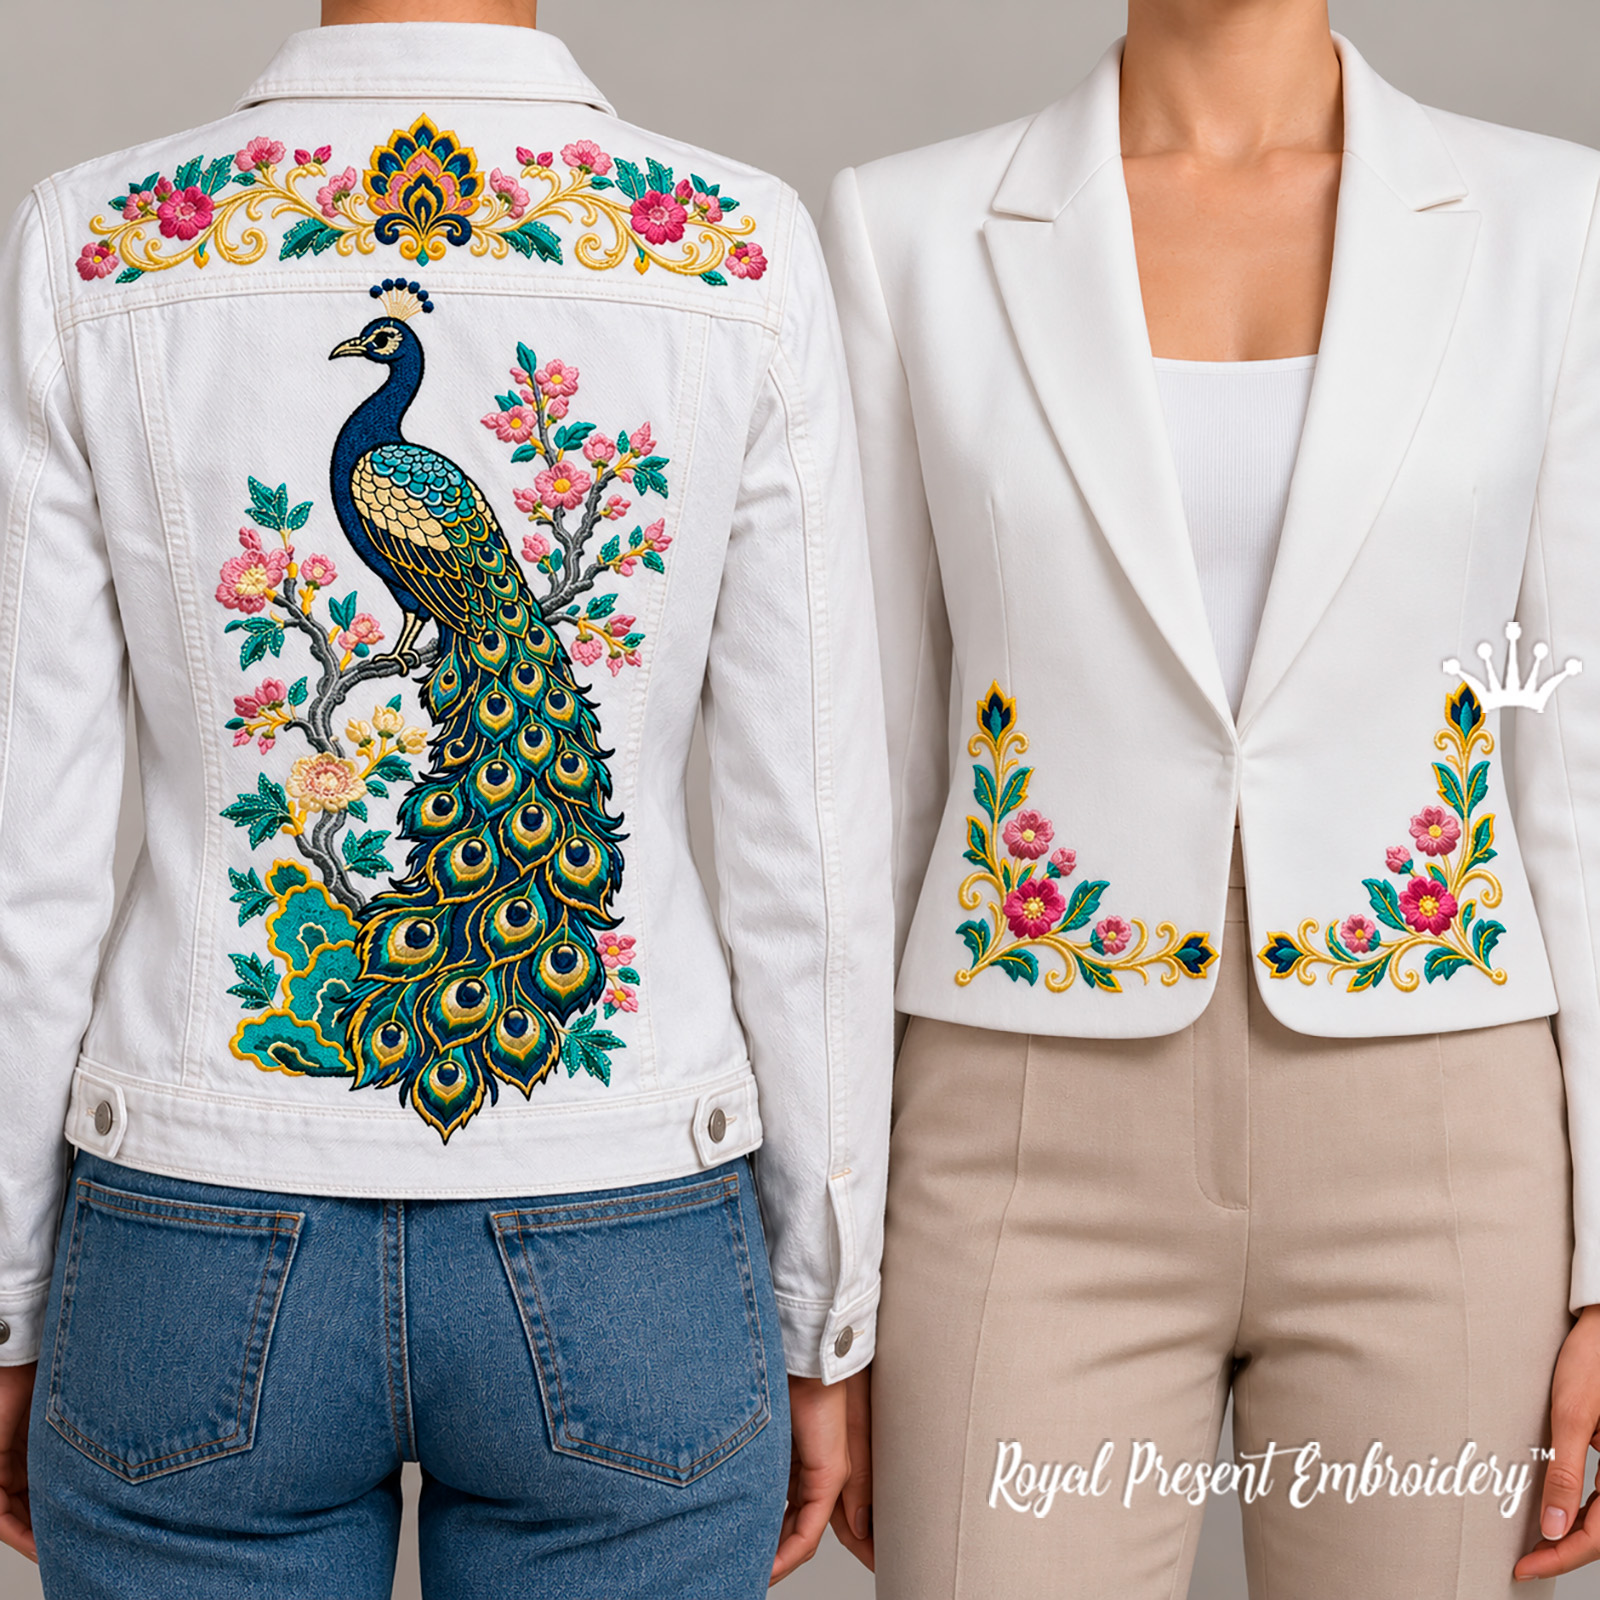
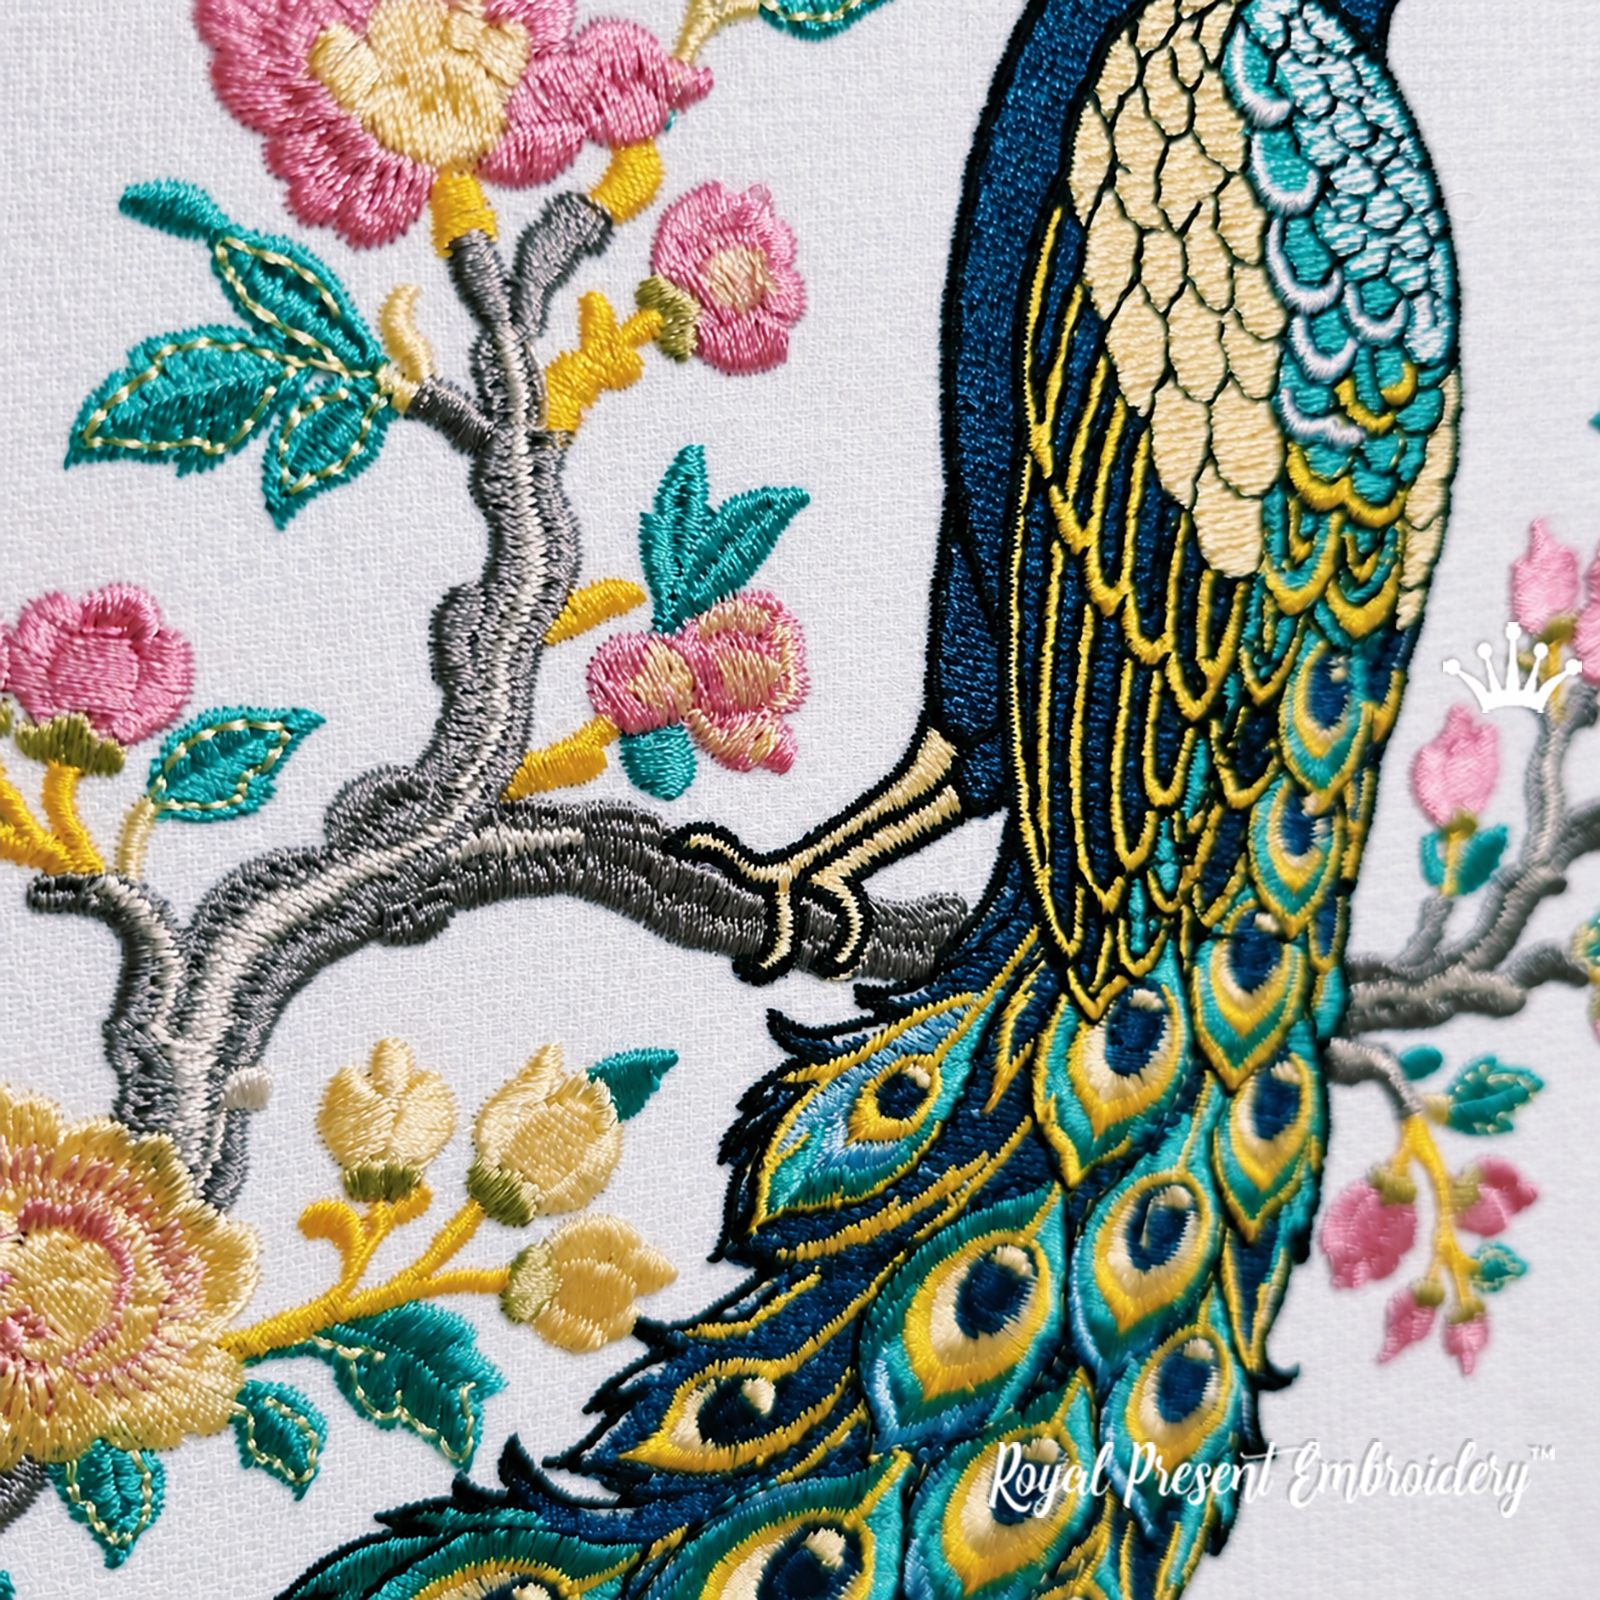
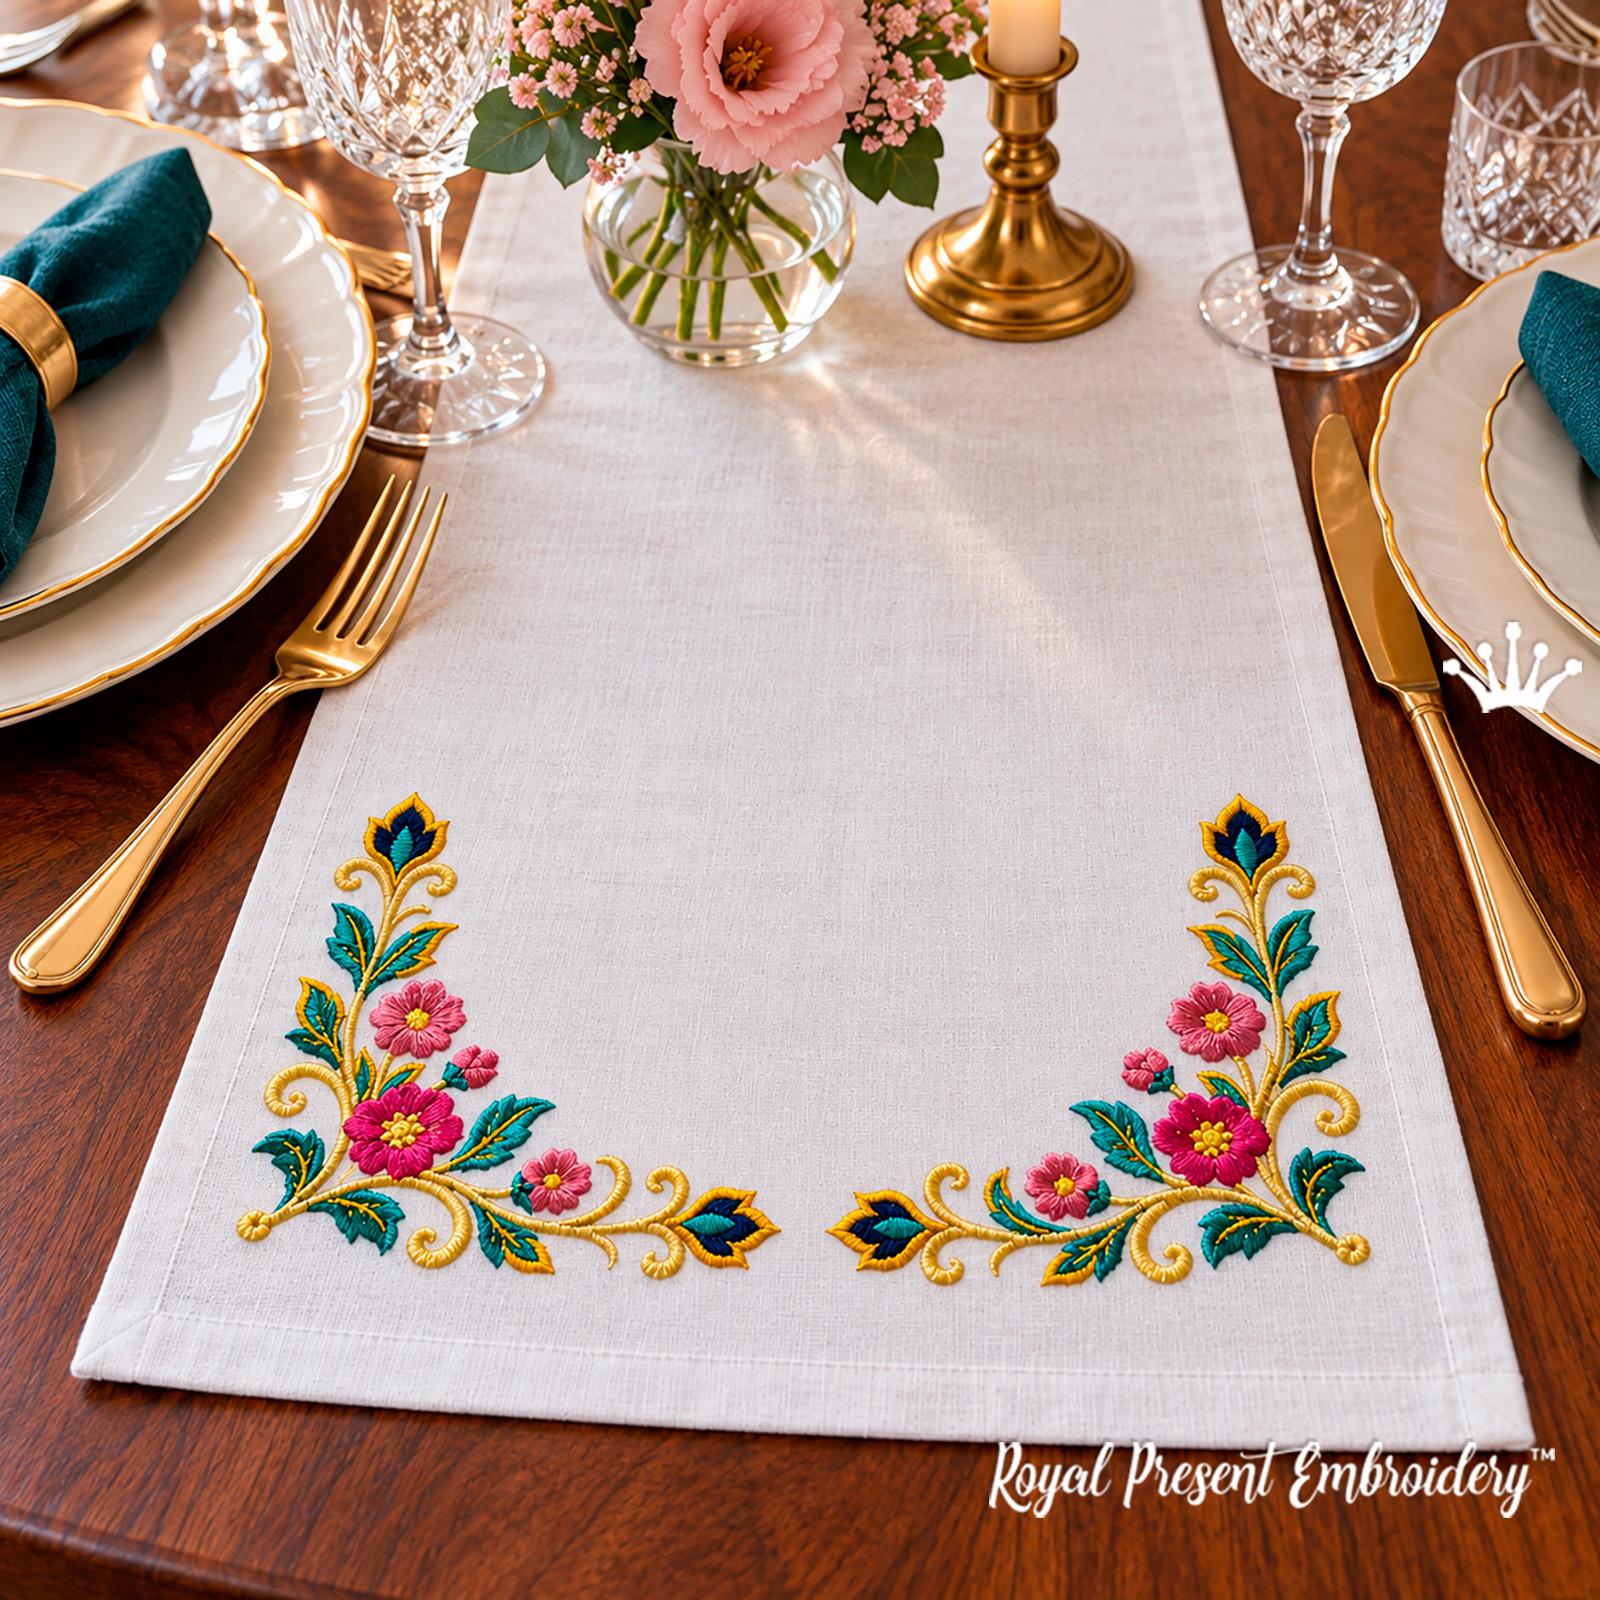
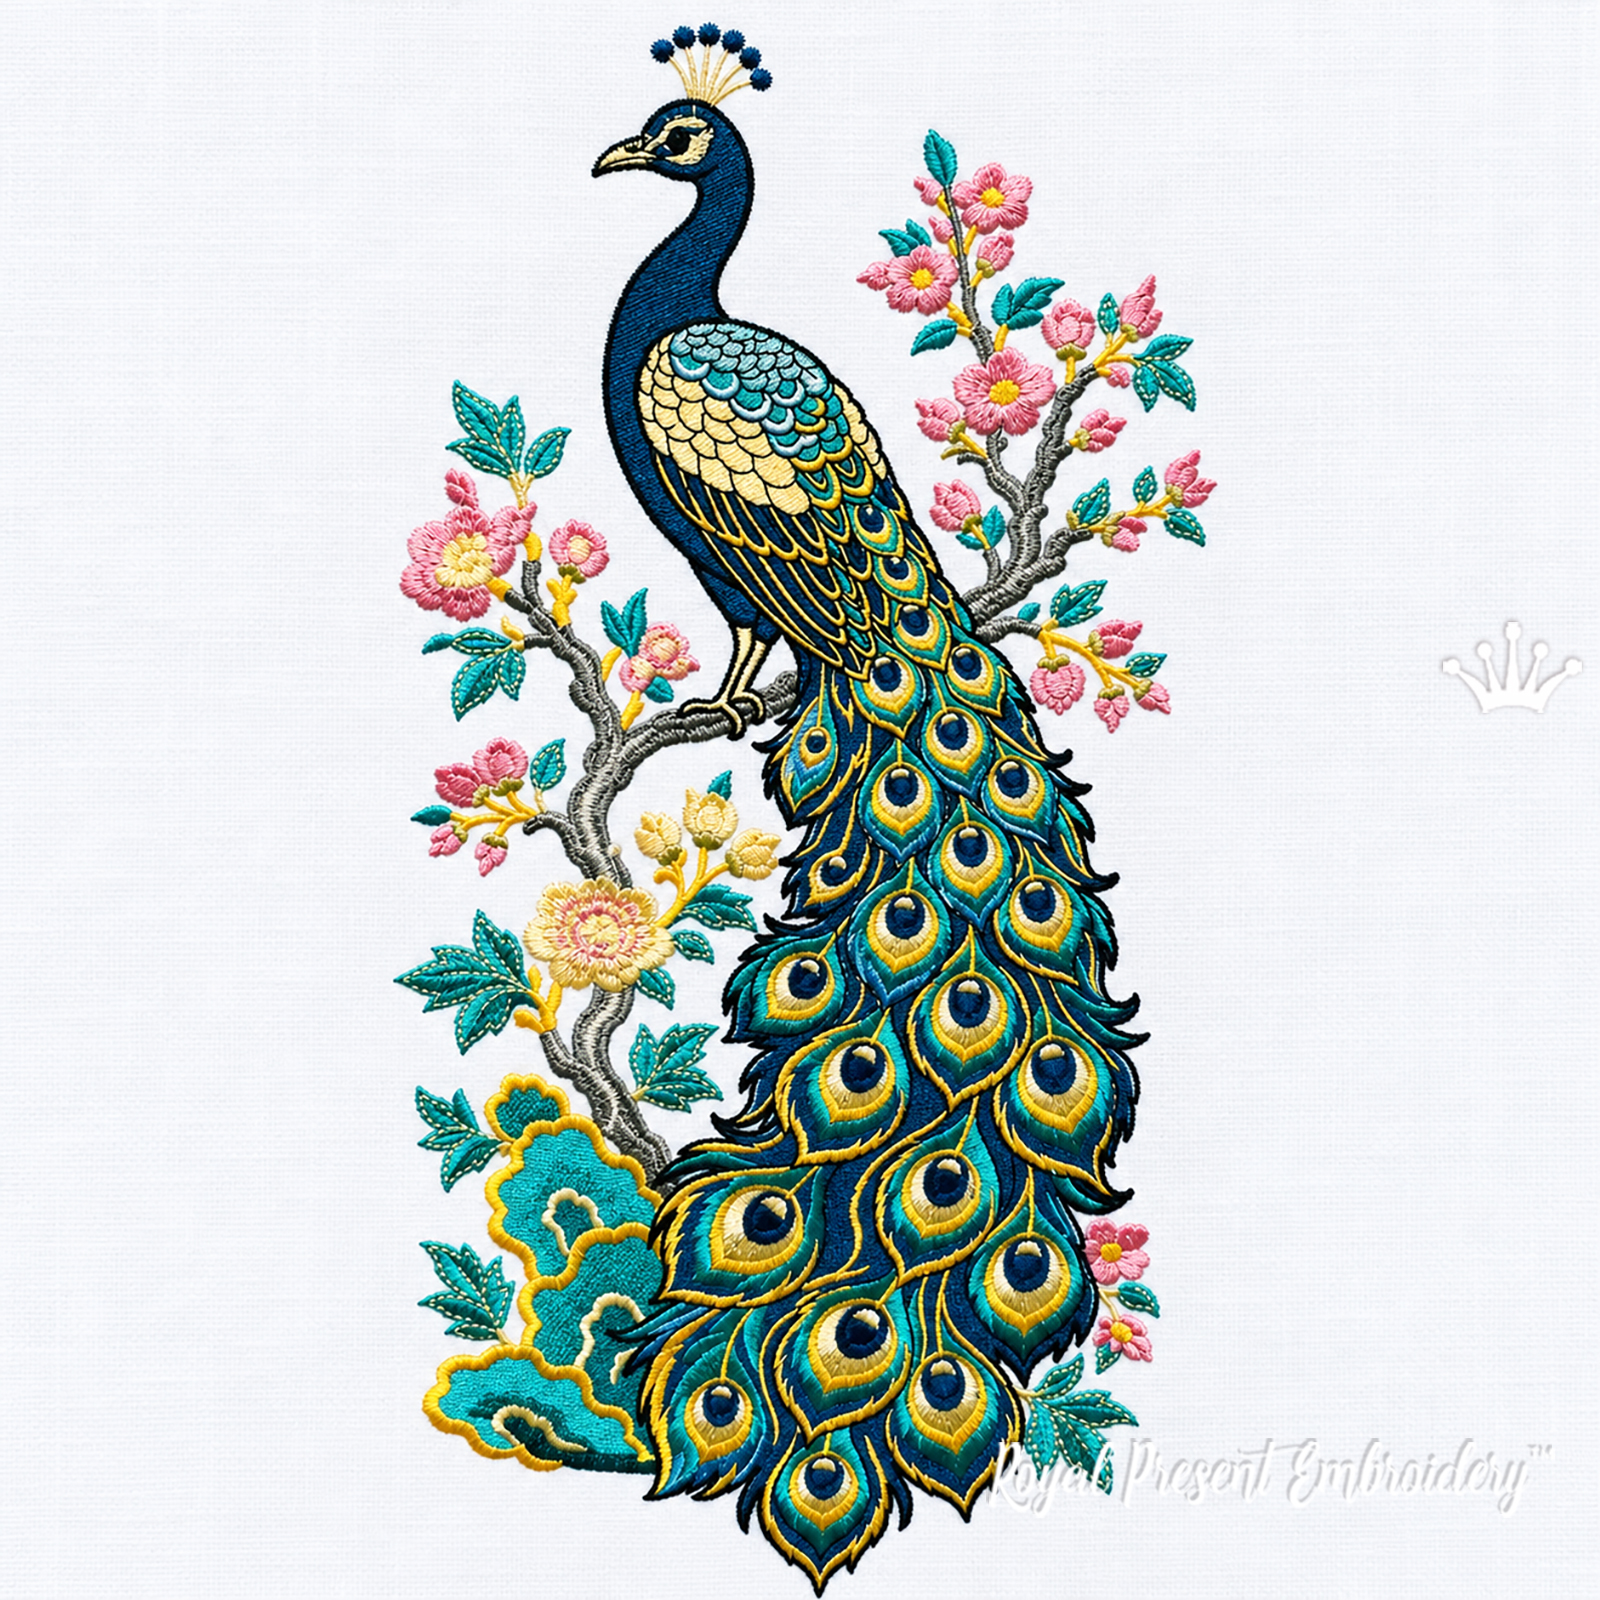
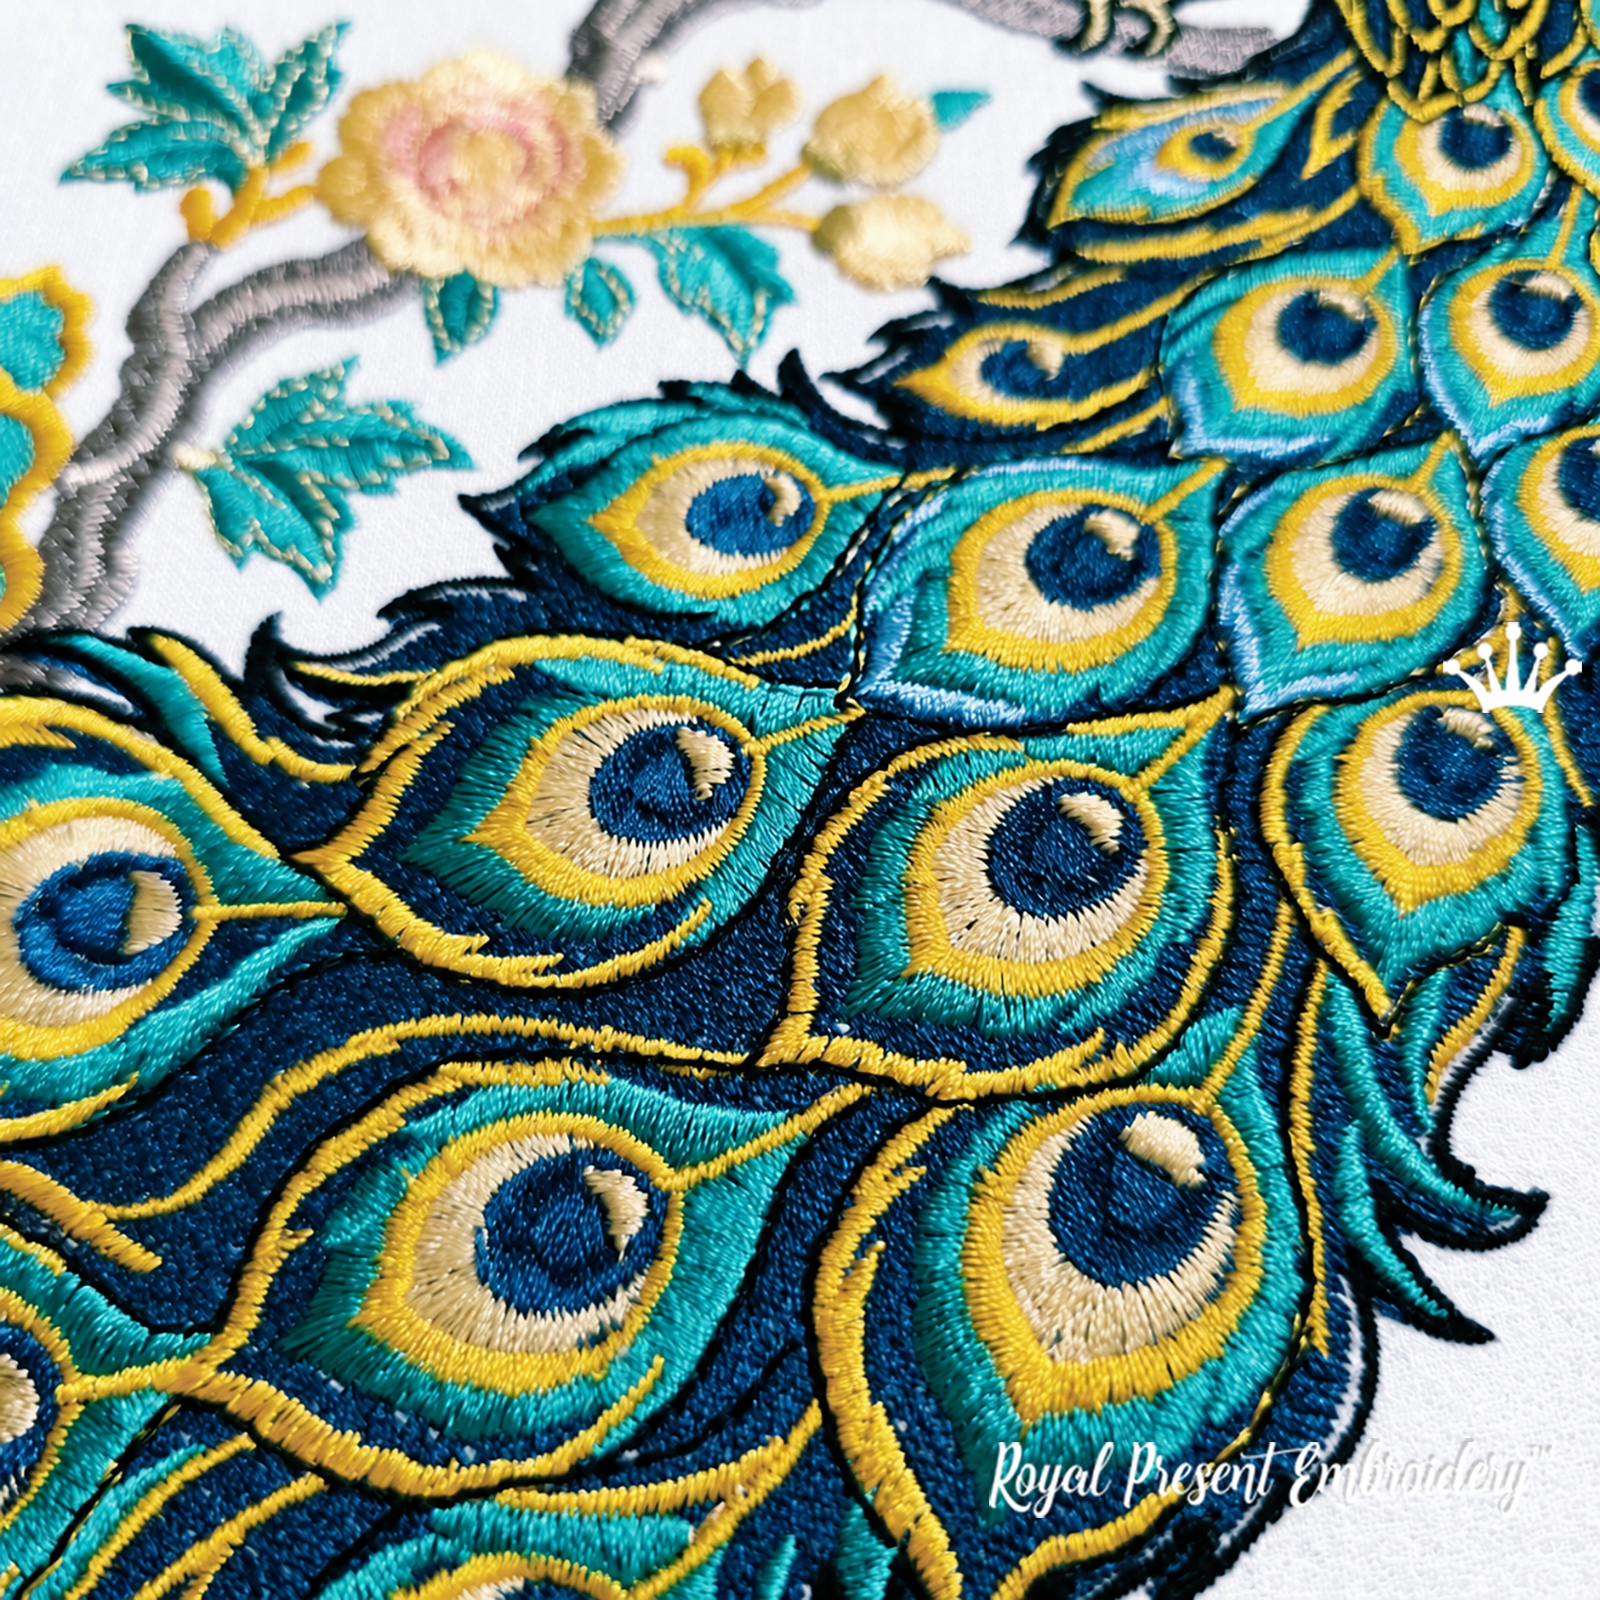
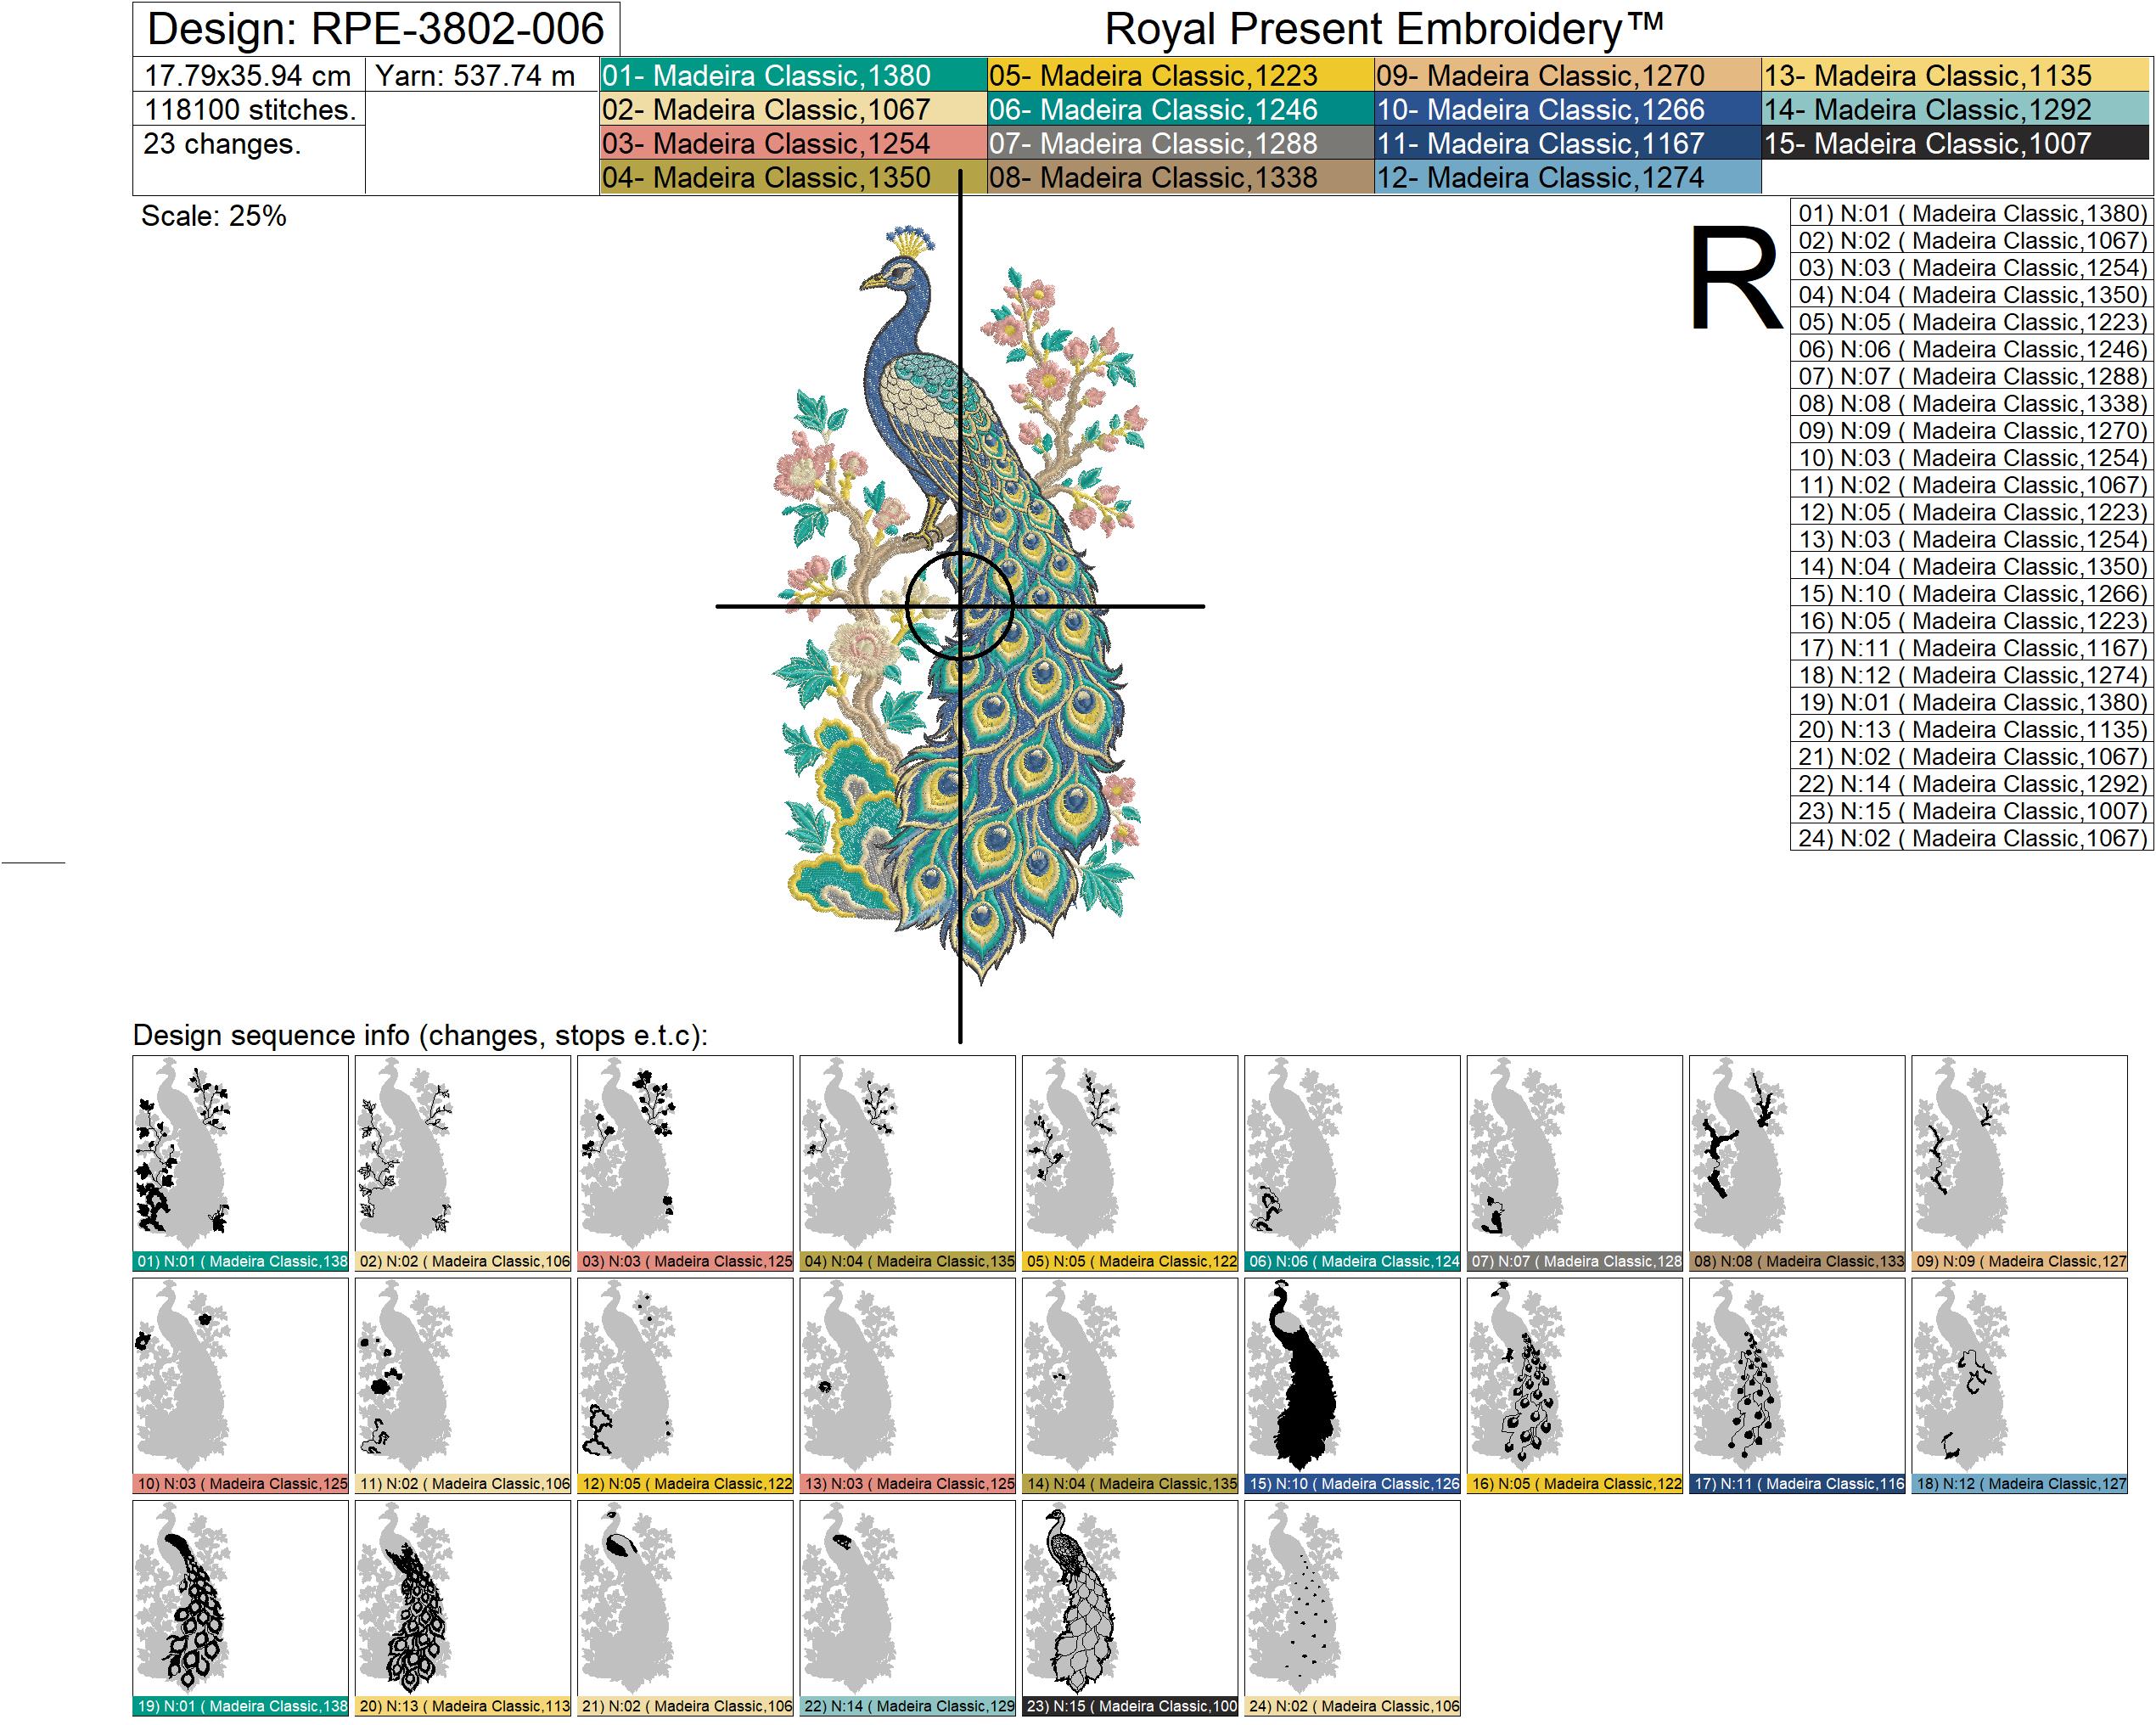
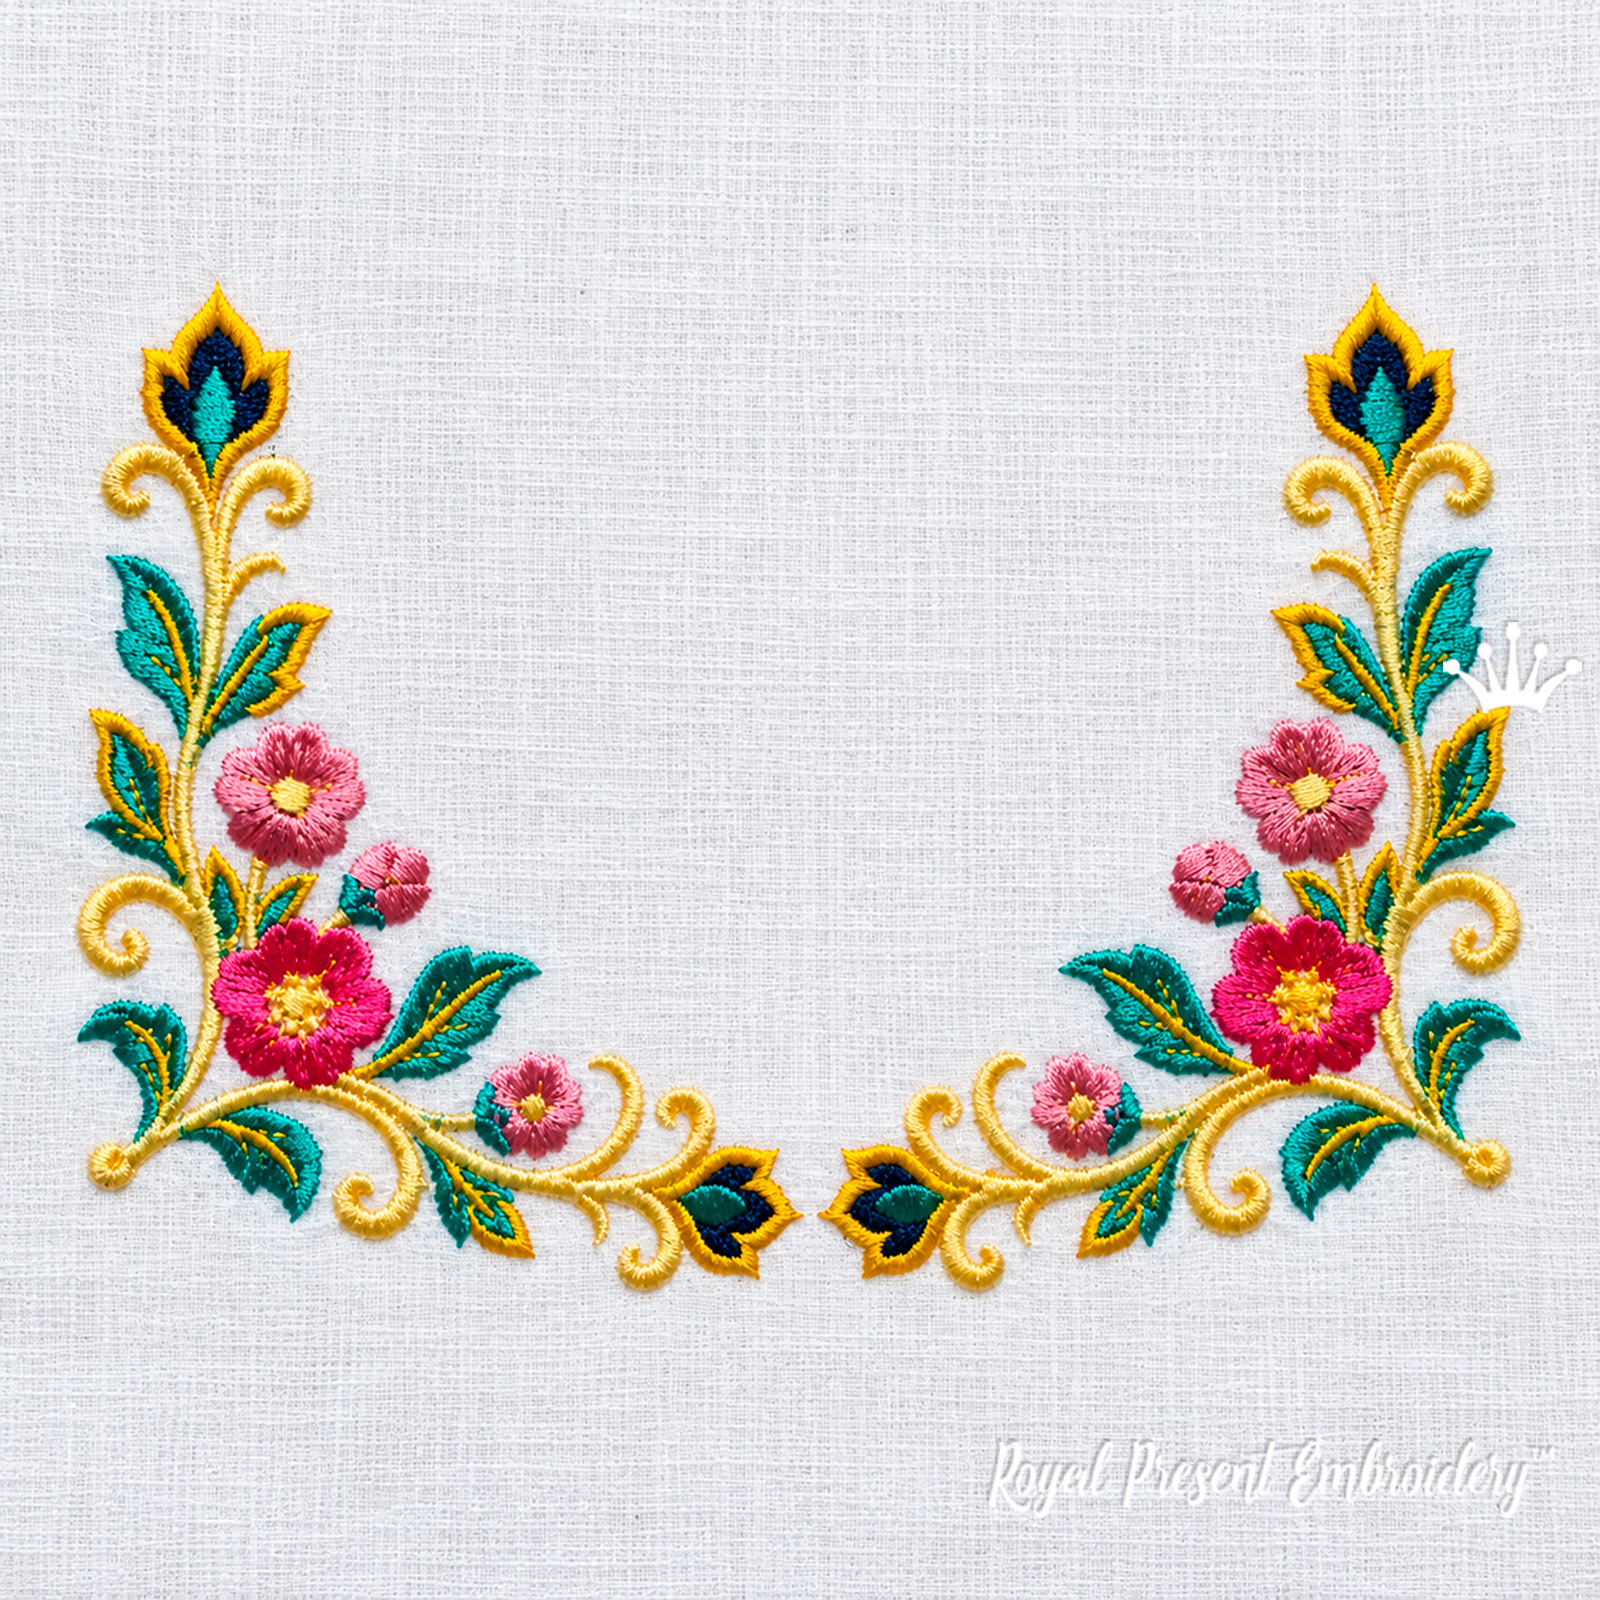
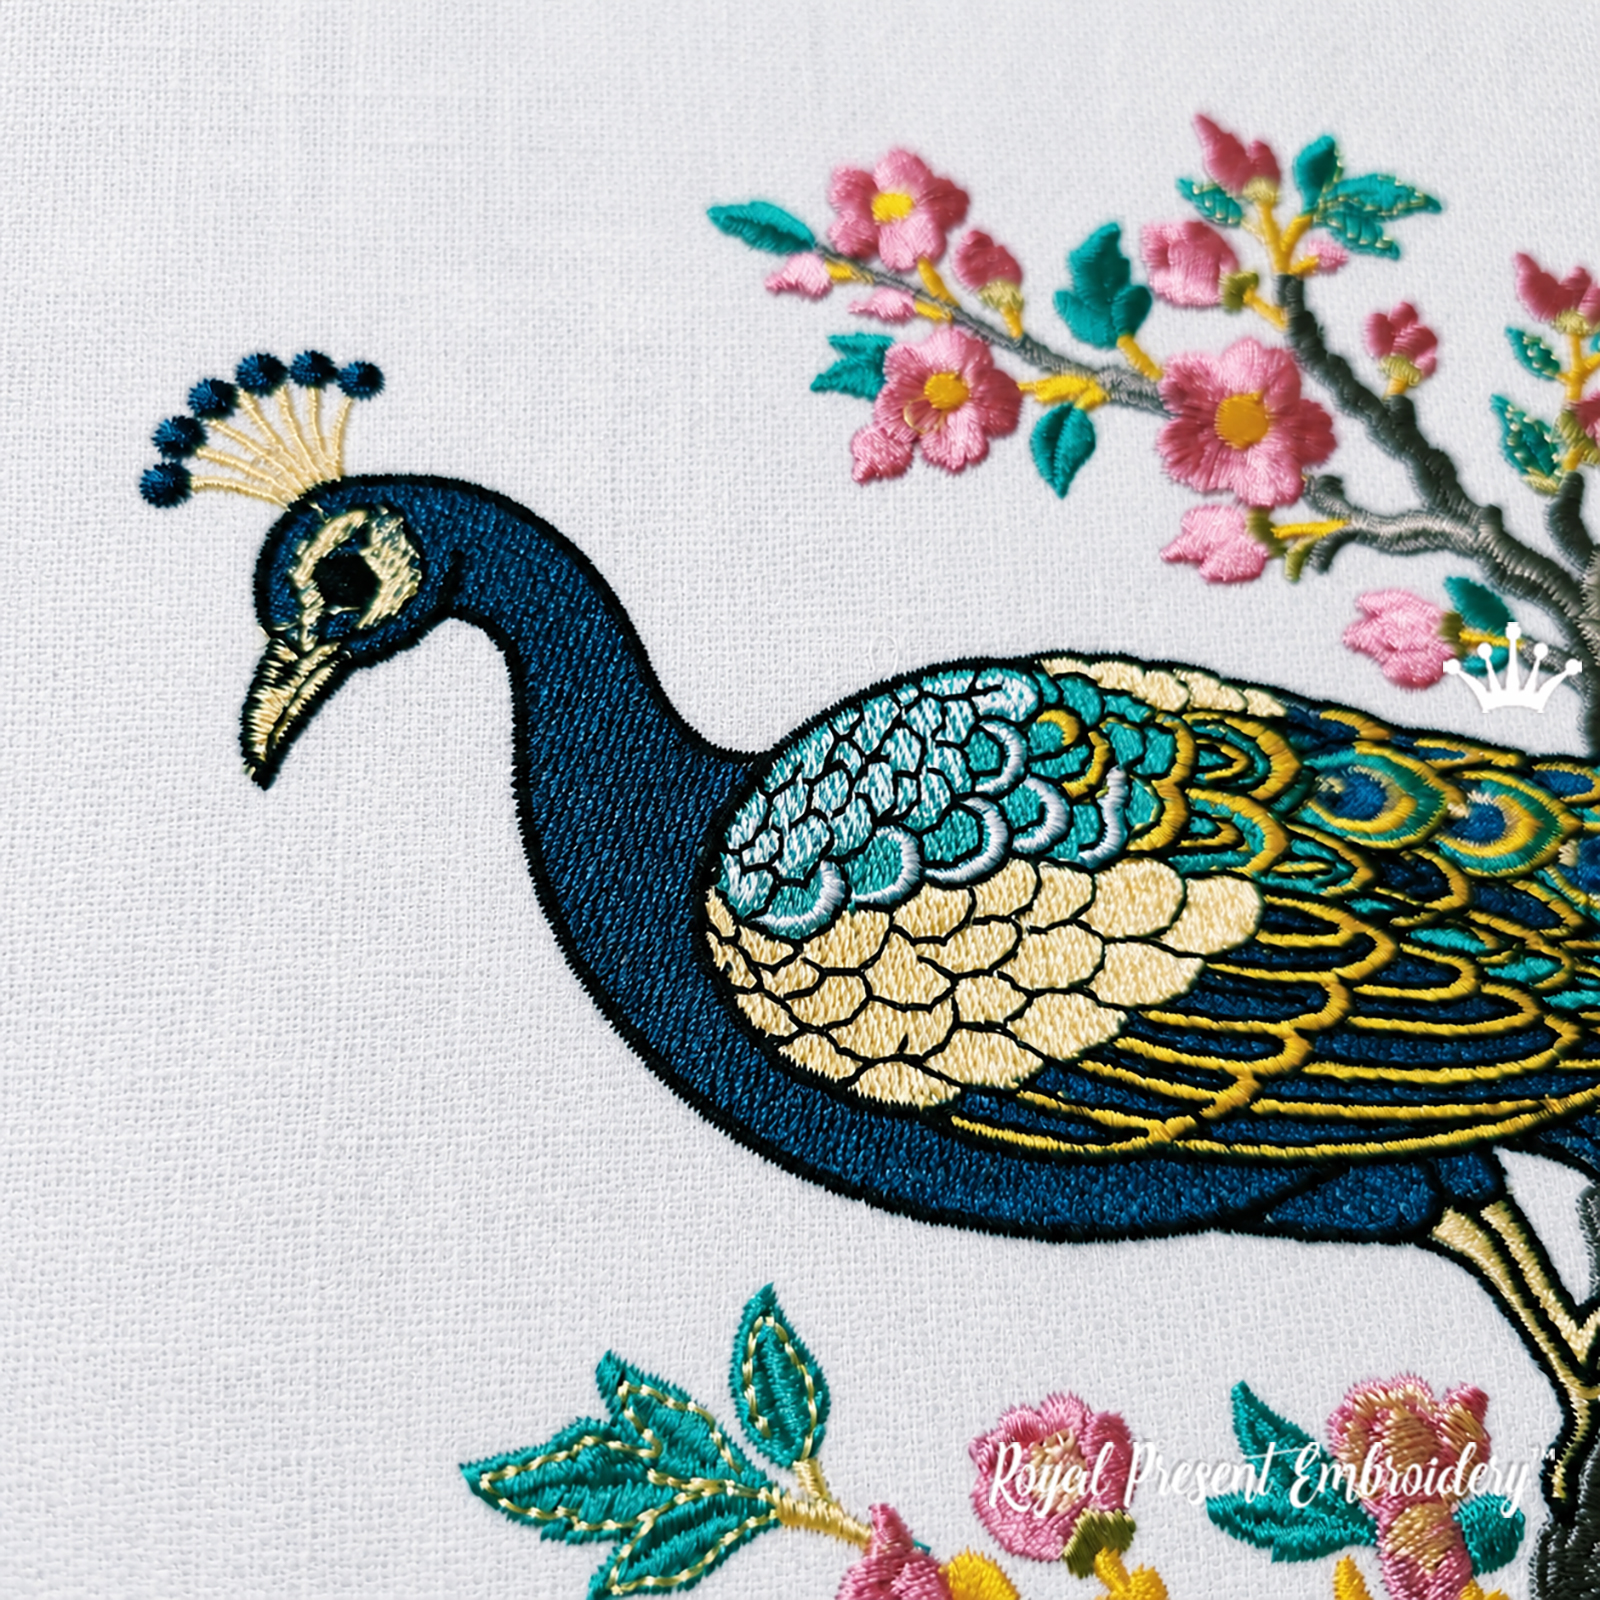
Peacock with Floral Border and Corners is a complete machine embroidery set in an Indian-inspired botanical style. A vertical peacock in profile, with a long cascading tail, stands among flowering branches. The horizontal border features a central fan-shaped palmette, while two L-shaped floral corners form a left and right pair. Pink flowers and buds, teal foliage, blue details and gold-toned scrolls connect the motifs into a coordinated collection. Use the peacock on a jacket back or textile panel, the border above it or on a separate towel, table runner or cushion cover, and the corners near the lower fronts of a jacket or on cloth napkins. Arrange the separate elements to suit your project.
One purchase includes the complete collection of the same motifs offered individually: the large peacock, Indian floral border, left corner and right corner. Each is supplied in all four original sizes, giving 16 size variants with no motifs omitted. The designs remain separate embroidery files and are stitched individually; this is not one merged file or a garment sewing pattern. Finished clothing, textiles, thread and hoops are not included.
Design Sizes and Suitable Hoops
The measurements below are for each individual motif. For each hooping, select a suitable file and a hoop compatible with your machine. The border width is not the width of a complete arrangement with the peacock; the overall dimensions depend on your chosen layout. The corners do not require mega hoops.
Large Peacock with Long Tail — 4 Sizes
Size: 177.9x359.4 mm (7.00x14.15 "), Stitches: 118100
Hoop: 200x360 mm (8x14")
Size: 197.2x398.3 mm (7.76x15.68 "), Stitches: 134500
Hoop: 200x400 mm (8x16")
Size: 218.3x441.4 mm (8.59x17.38 "), Stitches: 155700
Hoop: 240x450 mm (9.5x18")
Size: 238.4x481.8 mm (9.39x18.97 "), Stitches: 175700
Hoop: 360x500 mm (14x20")
Indian Floral Border — 4 Sizes
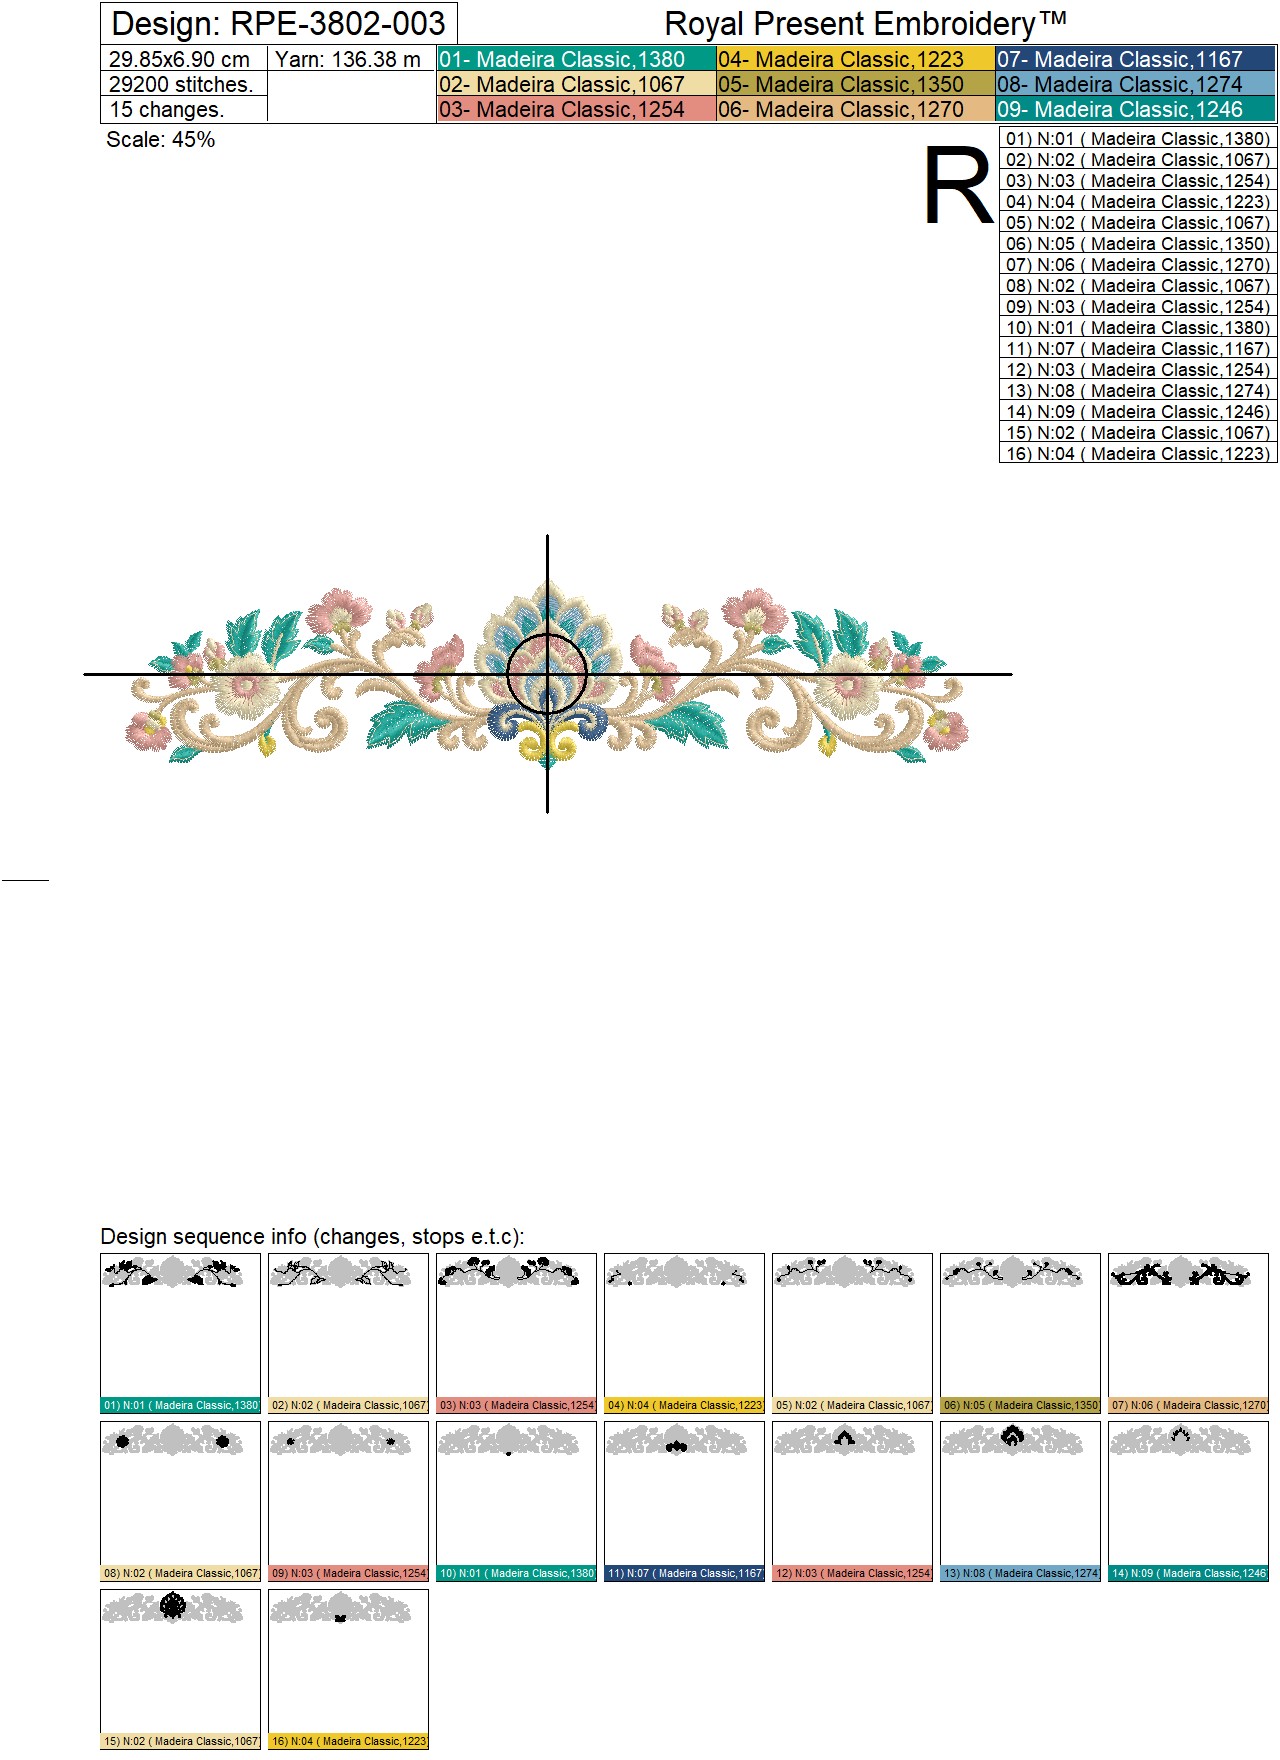
Rotate the border by 90° if needed. With oval hoops, also check the shape of the usable embroidery area. The third border size leaves only 1.5 mm of total clearance in a 360 mm-long embroidery field; run a boundary trace before stitching.
Size: 298.5x69.0 mm (11.75x2.72 "), Stitches: 29200
Hoop: 100x300 mm (4x11.81 ") — a border frame; if your machine does not use this frame, a compatible 180x300 mm (7.09x11.81 ") hoop is another option.
Size: 328.3x75.9 mm (12.93x2.99 "), Stitches: 32600
Hoop: 200x360 mm (8x14 ").
Size: 358.5x82.9 mm (14.11x3.26 "), Stitches: 36100
Hoop: 200x360 mm (8x14 ").
Size: 394.3x91.2 mm (15.52x3.59 "), Stitches: 40400
Hoop: 210x400 mm (8.27x15.75 ") — for example, BERNINA Maxi Hoop on a compatible machine.
Left Floral Corner — 4 Sizes
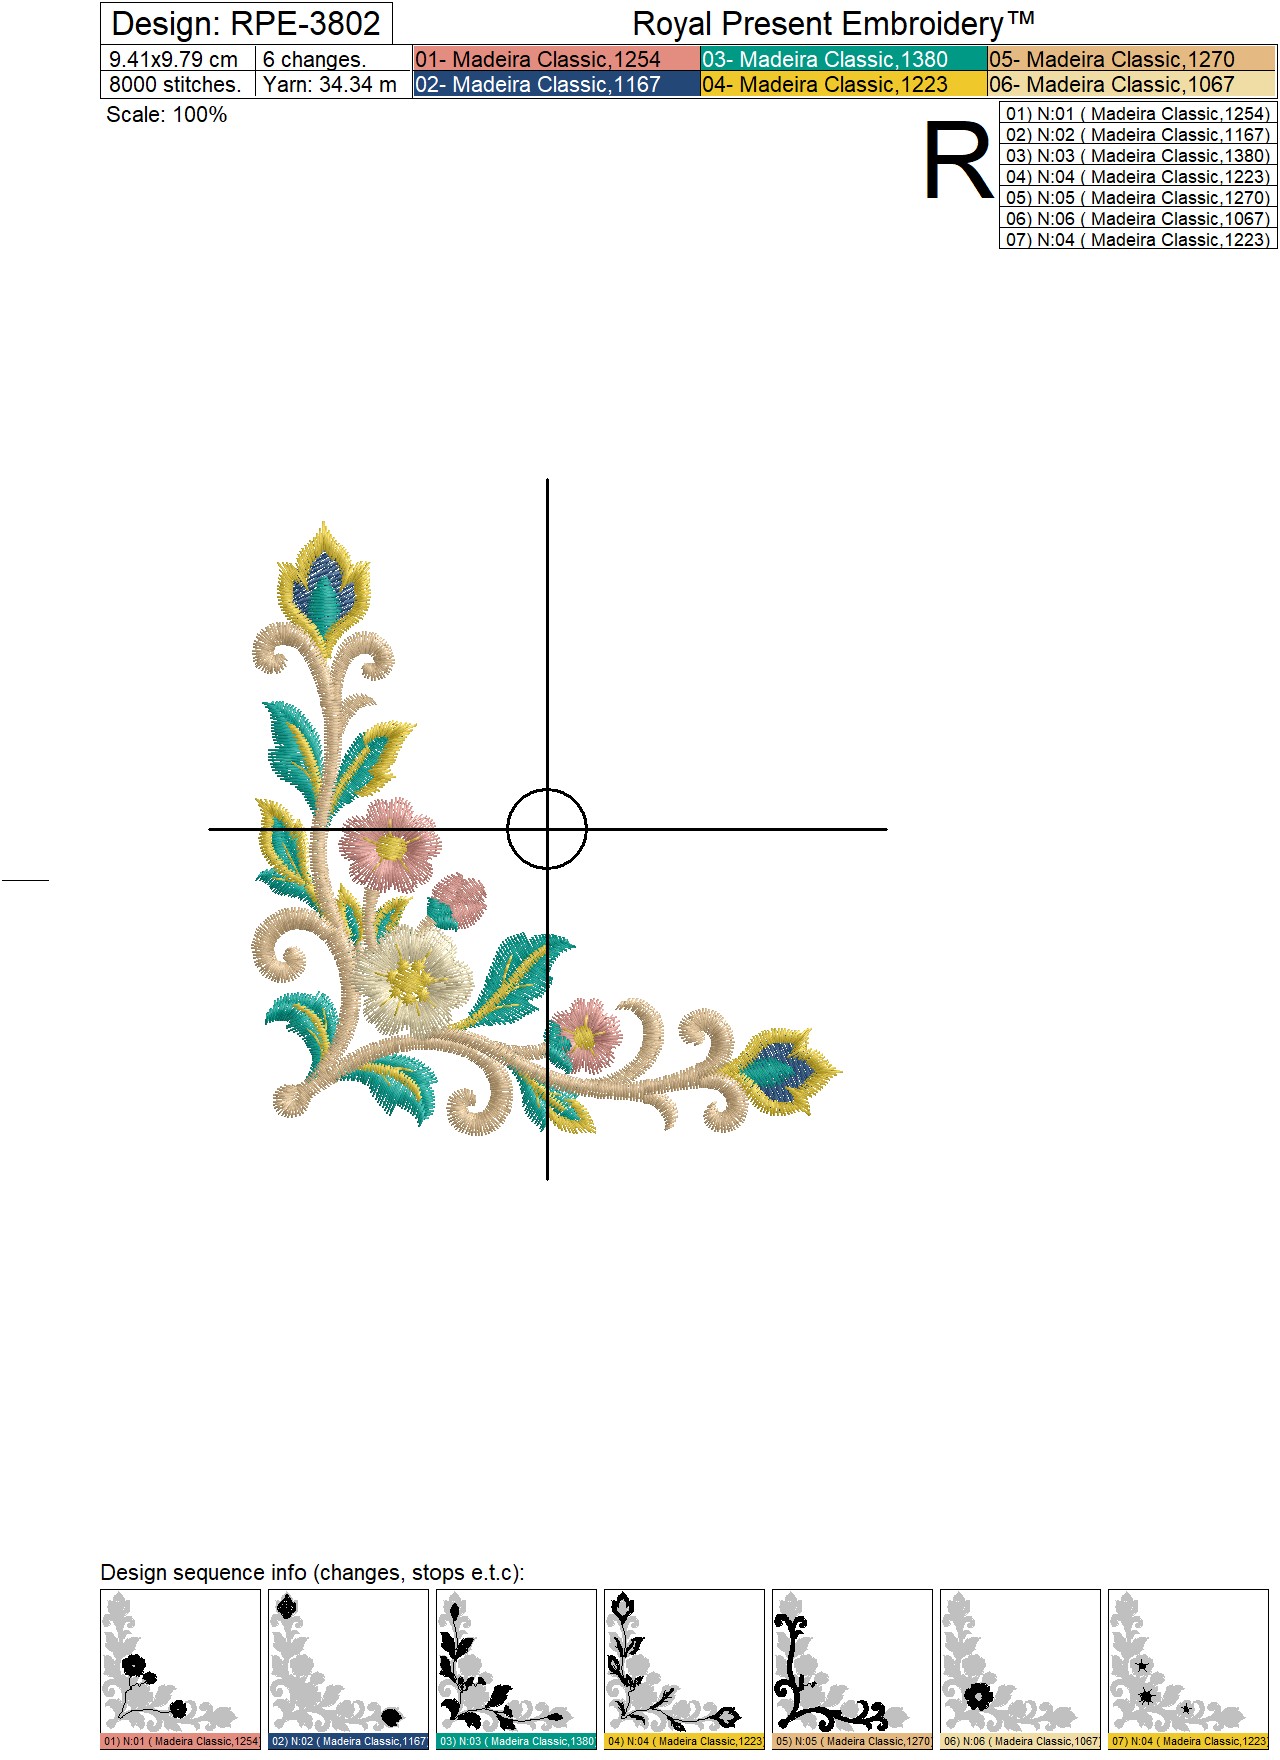
Size: 94.1x97.9 mm (3.70x3.85 "), Stitches: 8000
Hoop: 100x100 mm (4x4 ").
Size: 103.4x107.7 mm (4.07x4.24 "), Stitches: 8900
Hoop: 130x180 mm (5x7 ").
Size: 113.7x118.5 mm (4.48x4.67 "), Stitches: 9900
Hoop: 130x180 mm (5x7 ").
Size: 125.0x130.3 mm (4.92x5.13 "), Stitches: 11000
Hoop: 130x180 mm (5x7 ").
Right Floral Corner — 4 Sizes
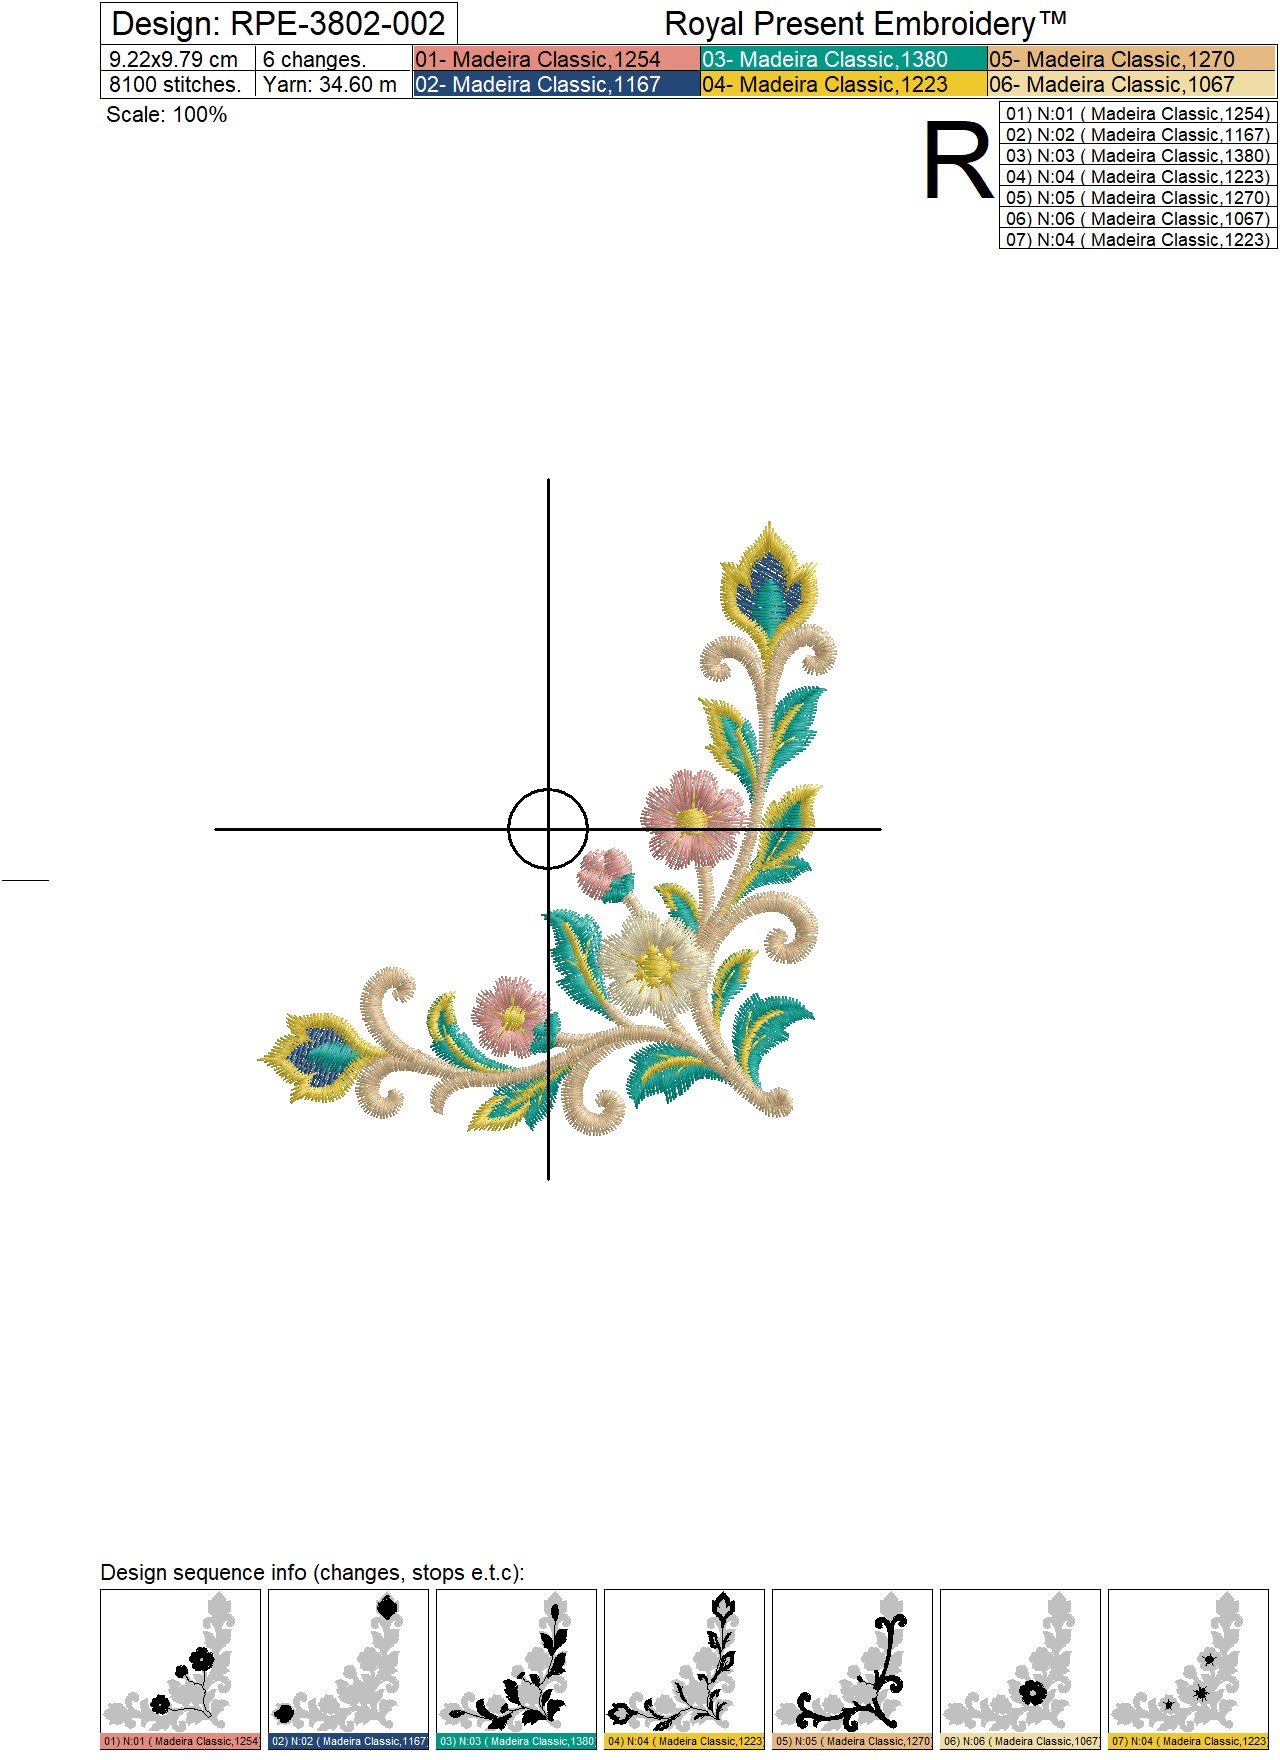
Size: 92.2x97.9 mm (3.63x3.85 "), Stitches: 8100
Hoop: 100x100 mm (4x4 ").
Size: 101.4x107.7 mm (3.99x4.24 "), Stitches: 9100
Hoop: 130x180 mm (5x7 ").
Size: 111.4x118.3 mm (4.39x4.66 "), Stitches: 10100
Hoop: 130x180 mm (5x7 ").
Size: 122.5x130.1 mm (4.82x5.12 "), Stitches: 11200
Hoop: 130x180 mm (5x7 ").
Peacock Formats: .dst, .jef, .pec, .vip, .hus, .pes, .exp, .sew, .dat, .vp3, .xxx
Border and Both Corners Formats: .dat, .dst, .exp, .hus, .jef, .jef+, .pec, .pes, .sew, .shv, .tap, .vip, .vp3, .vp4, .xxx
Recommended Designs
 Peacock Feather — 2 Sizes |
 Peacock Feathers Set — 3 Sizes |
 Peacock Feathers Mandala — 3 Sizes |
 Tiny Floral Corners |
The feather, feather set and mandala continue the peacock theme on other pieces in a textile collection. The tiny floral motifs provide separate botanical accents. These are individual products and are not included in this complete set.
Madeira Classic Color Chart
The complete set uses 15 different Madeira Classic thread numbers: 15 in the peacock, 9 in the border and 6 in each corner. The squares reproduce the digital swatches from the color charts, not the shades in the styled photographs. When selecting physical thread, use the thread number and a genuine Madeira shade card; a screen and lighting cannot reproduce the color exactly.
| Color | Madeira Number | What It Stitches and Where It Is Used |
|---|---|---|
|
|
Madeira Classic 1380 | Peacock: teal leaves and areas of the plumage. Border: leaves and details of the central palmette. Both corners: leaves, the base of the bud and details inside the pointed elements. |
|
|
Madeira Classic 1067 | Peacock: pale feathers, floral details and tail accents. Border: light scrolls, the palmette surround and floral details. Both corners: pale petals of the large flower where the branches meet. |
|
|
Madeira Classic 1254 | Peacock: pink flower petals. Border: flower and bud petals, and pink areas of the central motif. Both corners: petals of the smaller open flowers and the bud. |
|
|
Madeira Classic 1350 | Peacock: olive shading on branches and botanical details. Border: details at the bases of the buds and flower calyxes. This number is not used in the corners. |
|
|
Madeira Classic 1223 | Peacock: golden-yellow outlines, crest details and flower centers. Border: flower centers, lower scrolls and finishing lines on the palmette. Both corners: flower centers, leaf veins and outlines, and borders around the pointed elements. |
|
|
Madeira Classic 1246 | Peacock: dark teal botanical details and areas of the plumage. Border: dark teal leaf lines and the pointed element beneath the palmette. This number is not used in the corners. |
|
|
Madeira Classic 1288 | Peacock only: gray shading in botanical and floral details. |
|
|
Madeira Classic 1338 | Peacock only: brown-beige branches and stems. |
|
|
Madeira Classic 1270 | Peacock: warm, light-colored details on branches and flowers. Border: shading lines on stems and larger scrolls. Both corners: main stems, curved branches and botanical scrolls. |
|
|
Madeira Classic 1266 | Peacock only: blue areas of the body and tail. |
|
|
Madeira Classic 1167 | Peacock: dark blue outlines and plumage details. Border: dark blue areas in the lower section of the central palmette. Both corners: blue inner sections of the pointed ornamental details. |
|
|
Madeira Classic 1274 | Peacock: light blue accents in the feathers and crest. Border: light blue inner areas of the central palmette. This number is not used in the corners. |
|
|
Madeira Classic 1135 | Peacock only: pale gold feathers and tail accents. |
|
|
Madeira Classic 1292 | Peacock only: light teal accents in the plumage. |
|
|
Madeira Classic 1007 | Peacock only: dark outlines and small finishing details throughout the composition. |
FAQ — Using the Complete Set on Jackets
How can I plan the peacock, border and corners on one jacket?
Print full-size templates of all the files you plan to use and arrange them on the garment or pattern pieces. Align the peacock with the vertical centerline of the back, give the border its own horizontal axis, and place the corners on separate front panels if that is your chosen layout. Leave suitable space between the motifs and construction seams. Select the size of each component independently: matching size numbers do not create a ready-made overall layout. The left and right corners have slightly different dimensions, so balance their outer embroidery boundaries rather than relying only on their center points.
Which fabric and stabilizer should I use for the large peacock on a jacket?
For the densely stitched composition and long tail, start with a stable, non-stretch fabric such as denim, cotton twill or firm canvas. Medium-weight cut-away stabilizer is a practical choice for medium- to heavyweight denim because it continues to support the embroidery during wear and laundering. Cut one piece large enough to extend beyond the outer hoop so both fabric and backing can be gripped around the entire perimeter. Do not stretch the fabric while hooping. Test the combination on the same material first; temporary adhesive alone does not replace stabilizer.
How can I embroider the set on a ready-made jacket with a lining?
Embroider only through the outer fabric and stabilizer, keeping the lining separate. Find an accessible lining seam and carefully open a section large enough to position the hoop and allow the outer panel to move freely. After embroidery, trim the excess stabilizer and close the lining seam. Before stitching, check that the other side of the garment, a pocket, fastening or loose lining is not trapped under the hoop. If you cannot lay the required panel flat and provide free hoop movement, it is safer to embroider before assembling the jacket. Keep thick seams outside the design wherever possible.
What should I check when a file almost fills the mega hoop?
The first peacock is 359.4 mm long, leaving only 0.6 mm of total clearance in a 360 mm-long embroidery field. The third border leaves 1.5 mm along the same field length. Check the actual available stitching area with the selected presser foot on your machine, not just the commercial hoop name. Run a boundary trace before the first stitch and confirm that the file is positioned within the allowed area. Do not add a machine basting outline outside the motif until you have checked that the basting also fits inside the embroidery field.

 Get Sign-In Link
 Login with Google
 Login with Facebook
 Login with Amazon
 Login with Paypal

