Paired Indian Floral Corners for Table Linens
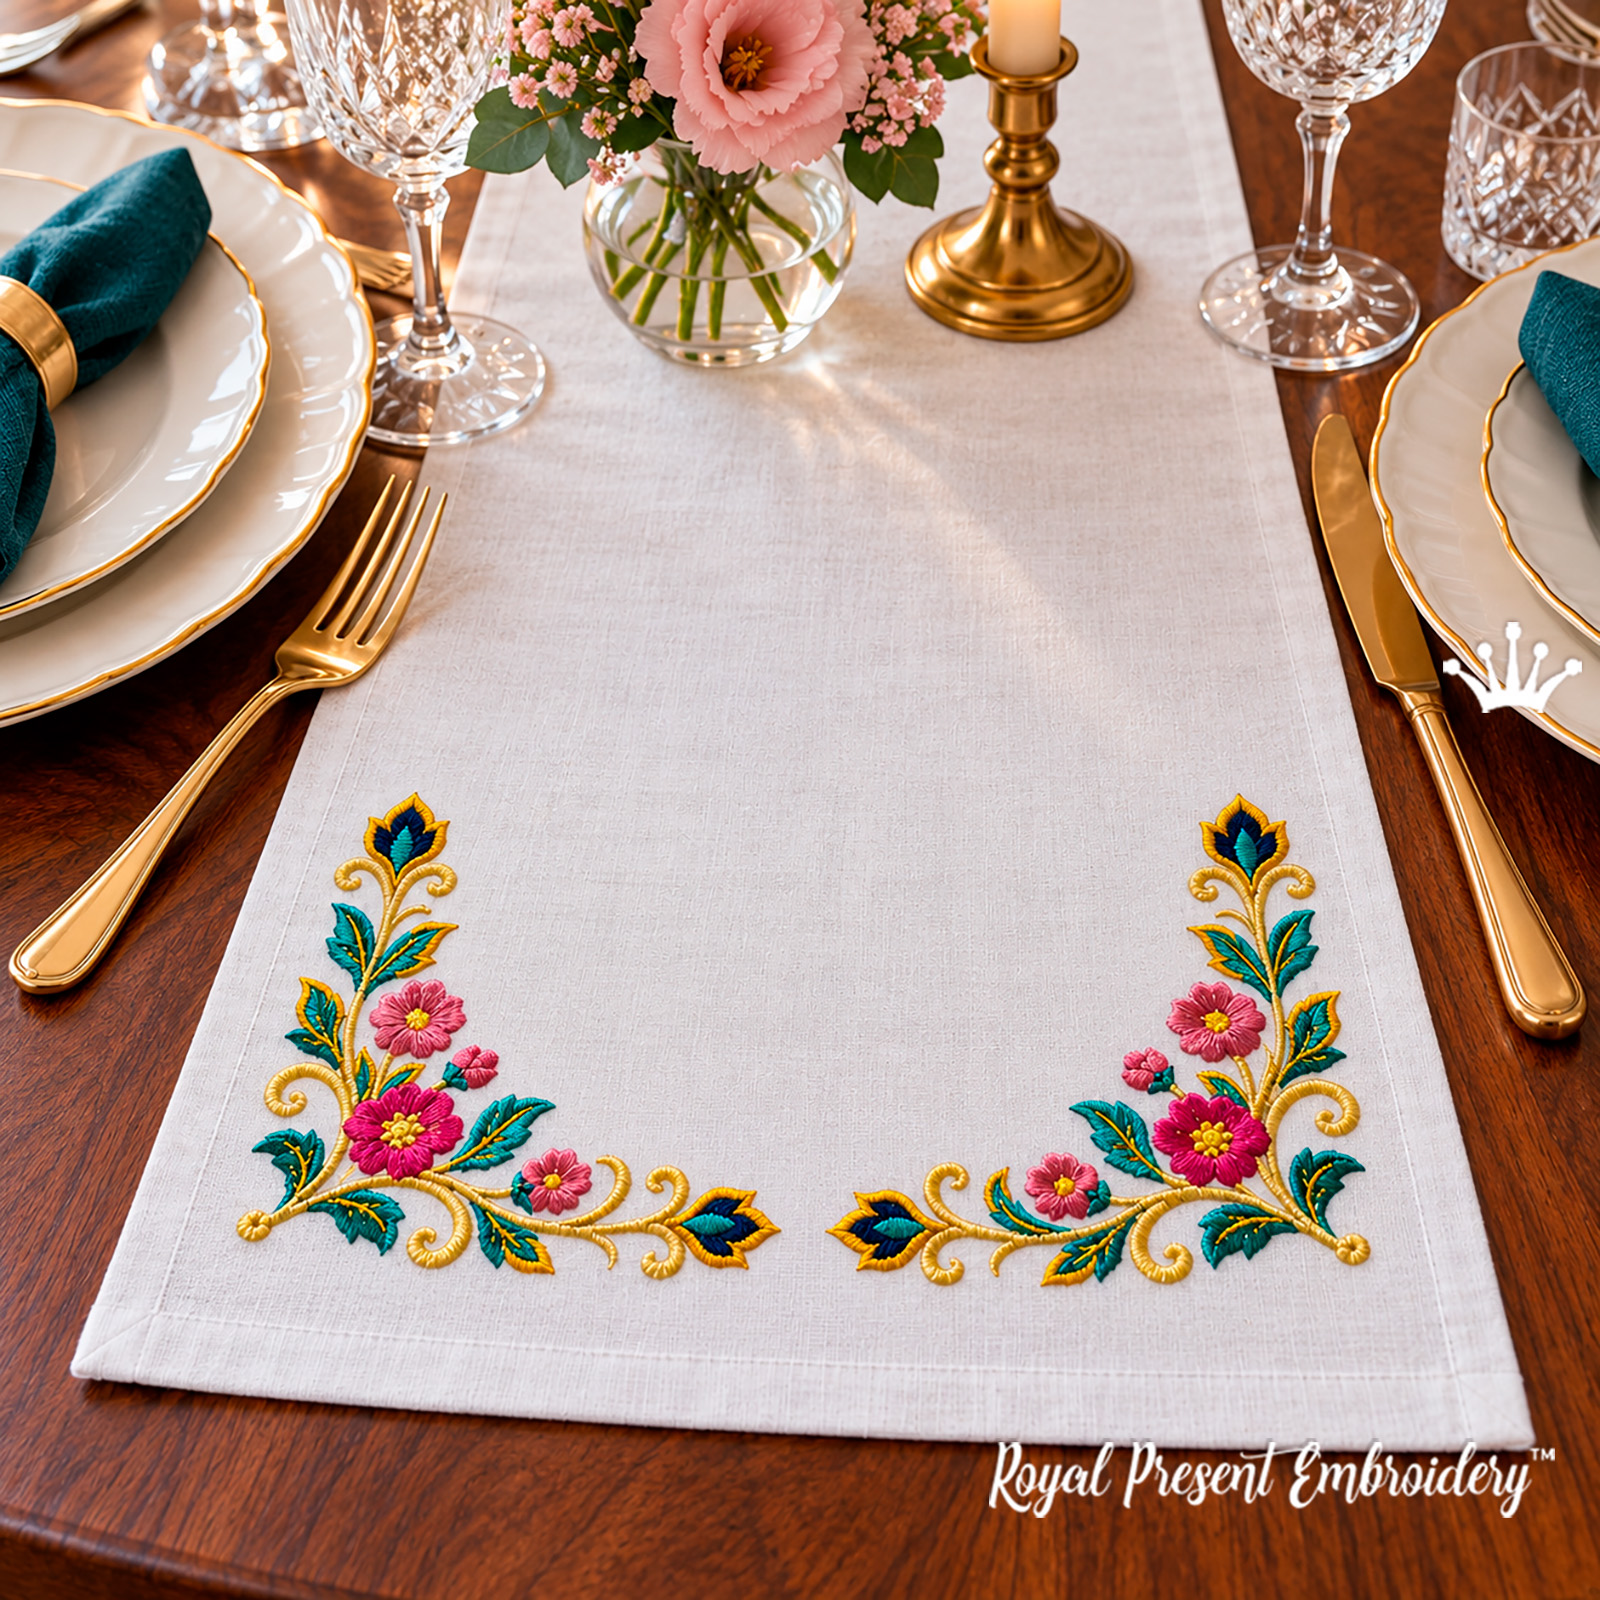
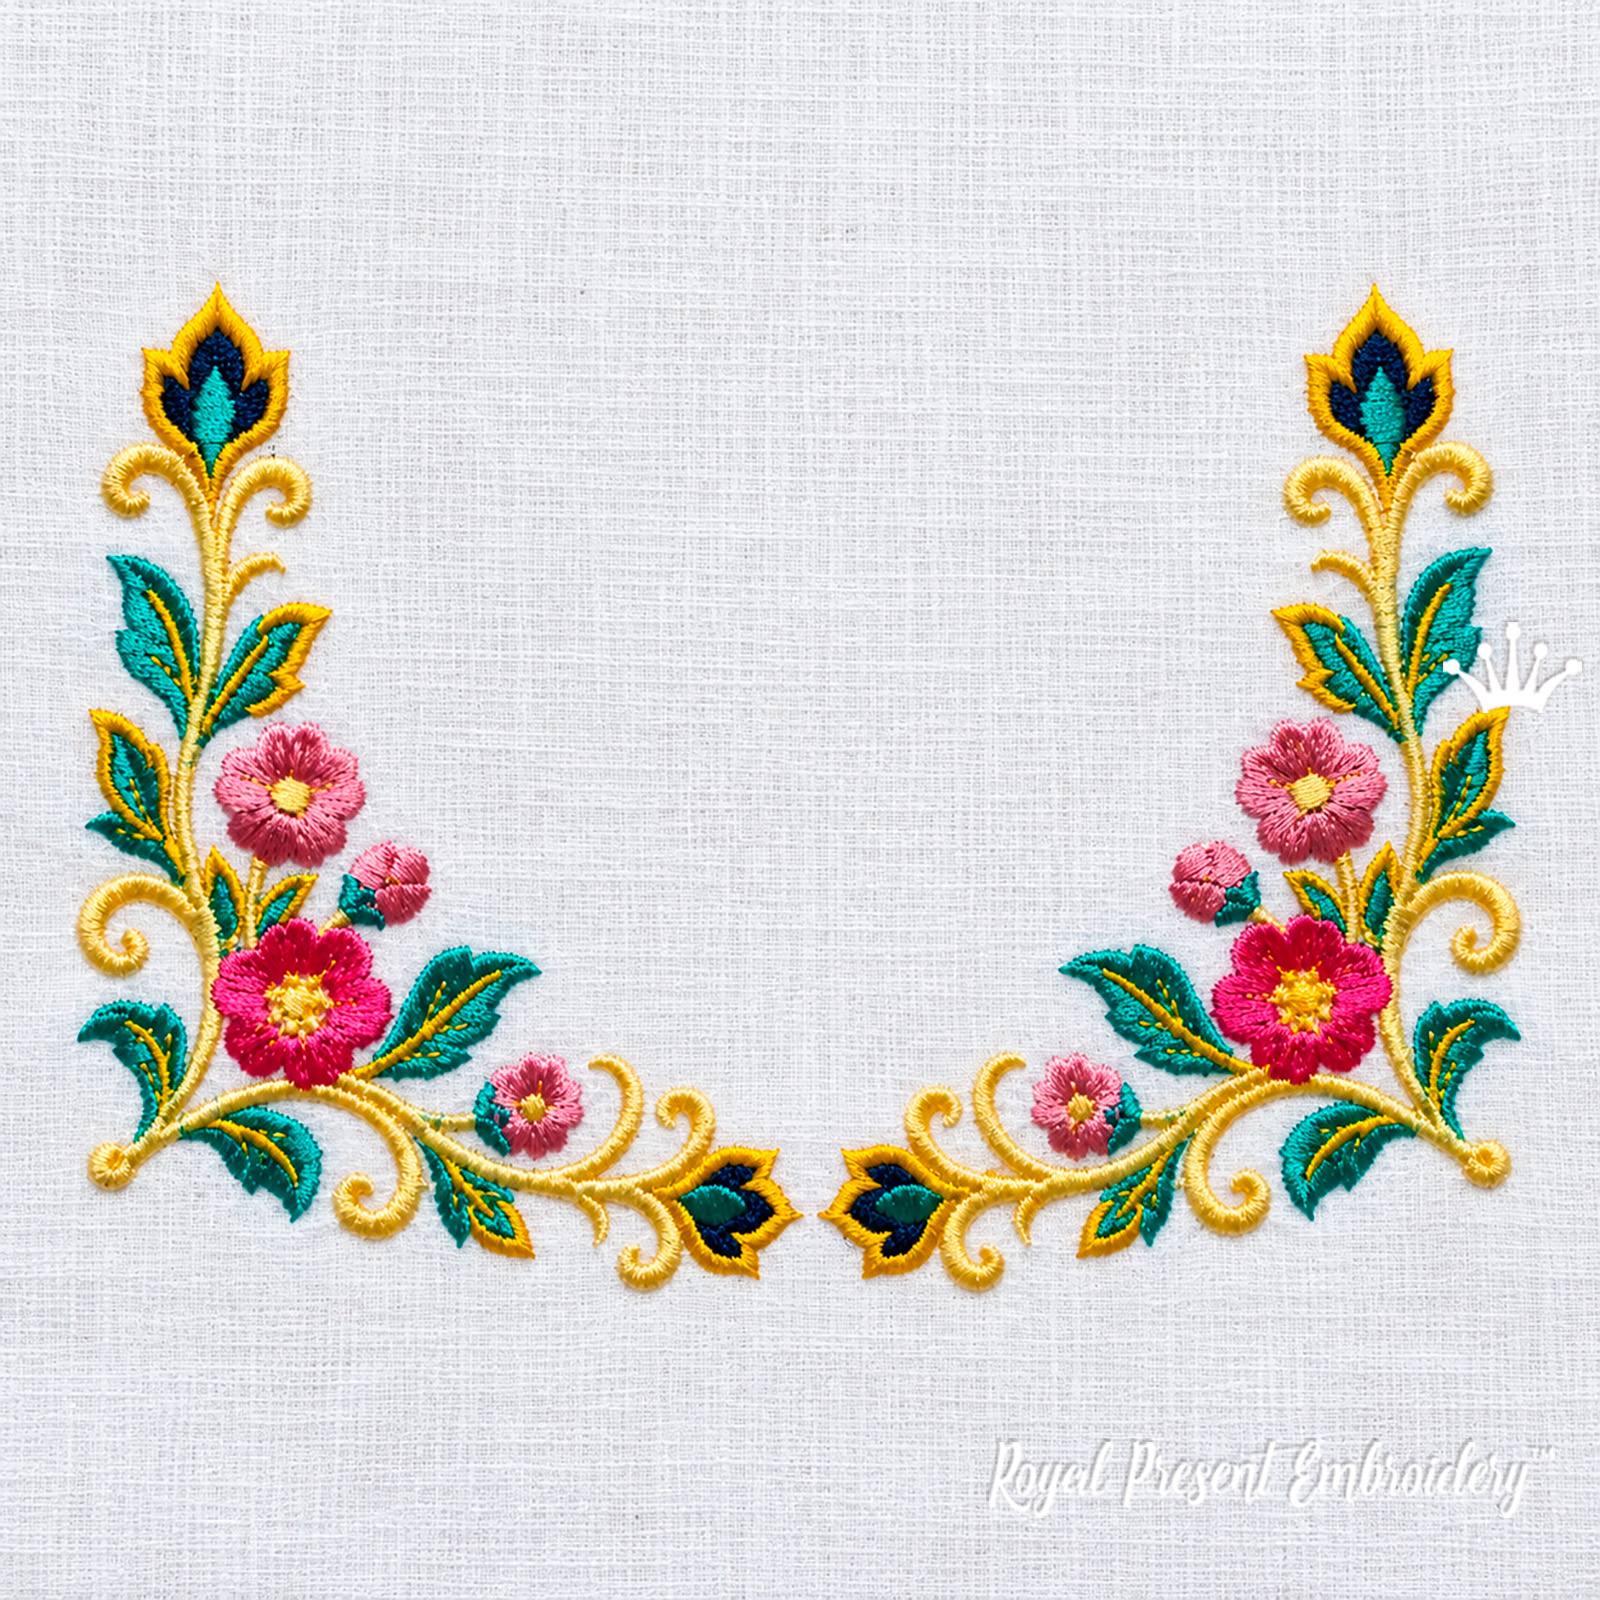
Paired Indian Floral Corners is a machine embroidery design set featuring flowers, a bud, teal leaves, pointed blue details, and gold-toned botanical scrolls. The left and right L-shaped motifs frame the corners of cloth napkins, table runners, tablecloths, and fabric placemats. Arrange them as a pair at one end of a runner, as shown in the preview, or stitch one corner on each napkin. The curved branches outline the corner while leaving the center of the fabric open.
The set contains two separate motifs, each supplied in four sizes, for a total of eight size variants. This is a digital embroidery file download; finished table linens, fabric, thread, and hoops are not included.
Design Sizes and Suitable Hoops
The measurements below are for each individual corner, not the complete paired arrangement. Choose the same size option for the left and right motifs. Stitch each motif separately. Check hoop compatibility with your machine and run a boundary trace before starting; the shape of the usable stitching area also matters.
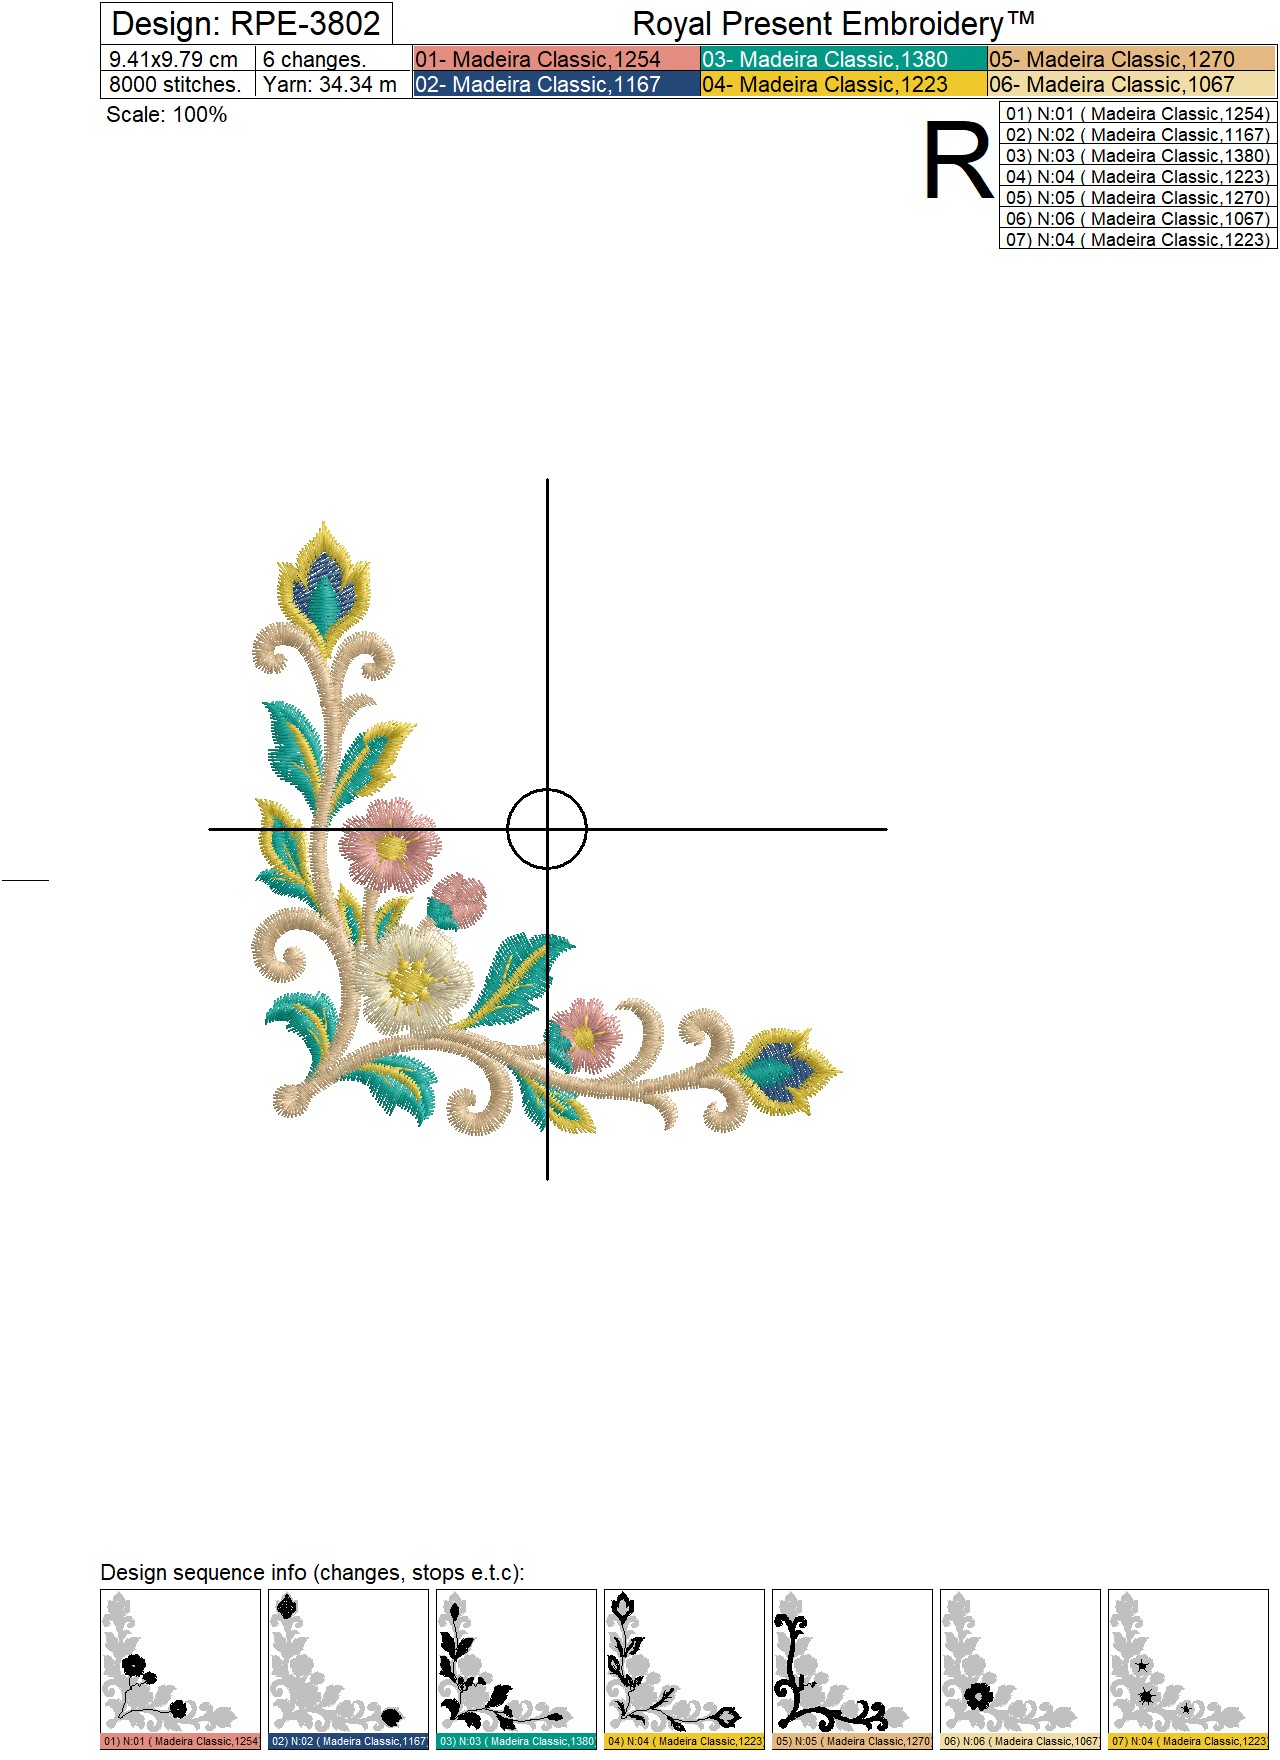
Left Corner
Size: 94.1x97.9 mm (3.70x3.85 "), Stitches: 8000
Hoop: 100x100 mm (4x4 ").
Size: 103.4x107.7 mm (4.07x4.24 "), Stitches: 8900
Hoop: 130x180 mm (5x7 ").
Size: 113.7x118.5 mm (4.48x4.67 "), Stitches: 9900
Hoop: 130x180 mm (5x7 ").
Size: 125.0x130.3 mm (4.92x5.13 "), Stitches: 11000
Hoop: 130x180 mm (5x7 ").
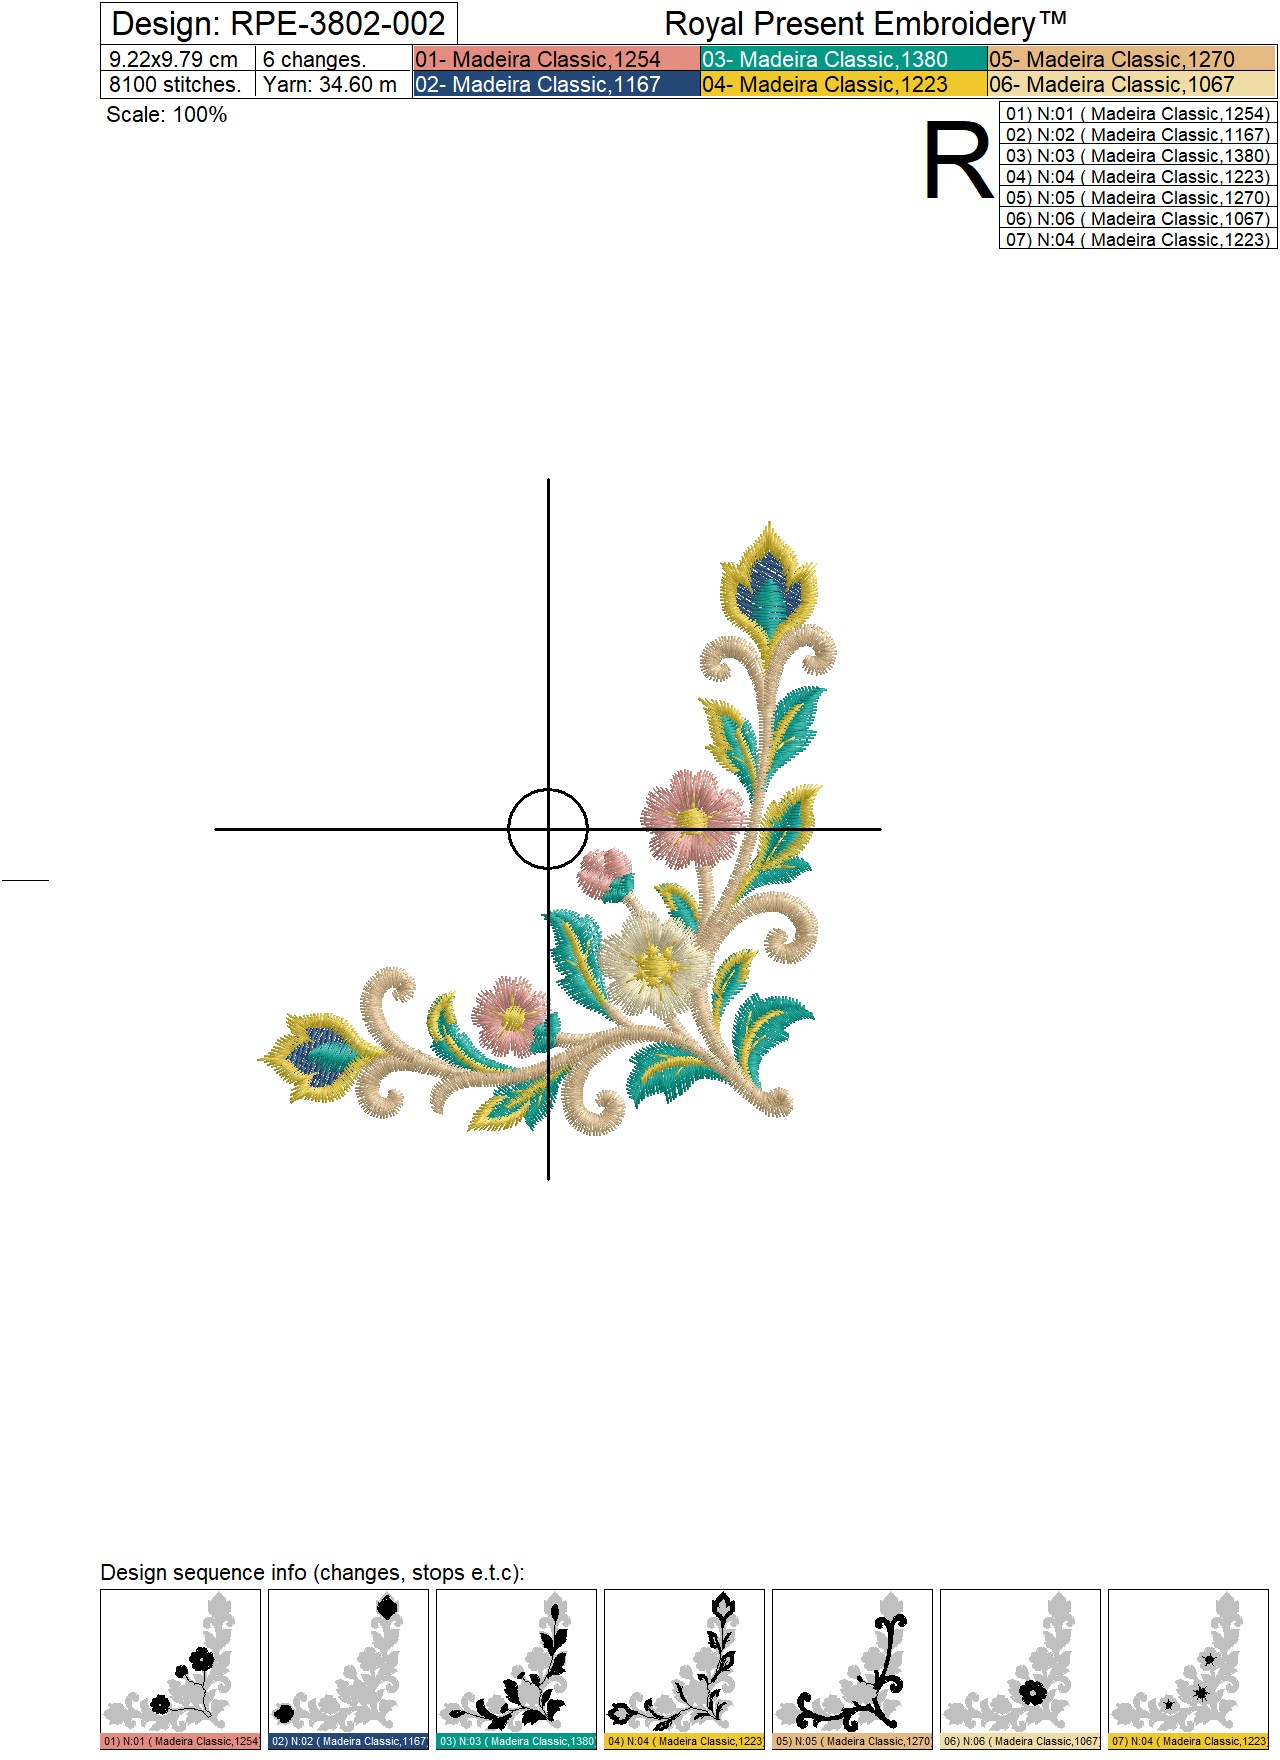
Right Corner
Size: 92.2x97.9 mm (3.63x3.85 "), Stitches: 8100
Hoop: 100x100 mm (4x4 ").
Size: 101.4x107.7 mm (3.99x4.24 "), Stitches: 9100
Hoop: 130x180 mm (5x7 ").
Size: 111.4x118.3 mm (4.39x4.66 "), Stitches: 10100
Hoop: 130x180 mm (5x7 ").
Size: 122.5x130.1 mm (4.82x5.12 "), Stitches: 11200
Hoop: 130x180 mm (5x7 ").
Formats: .dat, .dst, .exp, .hus, .jef, .jef+, .pec, .pes, .sew, .shv, .tap, .vip, .vp3, .vp4, .xxx
Recommended Designs
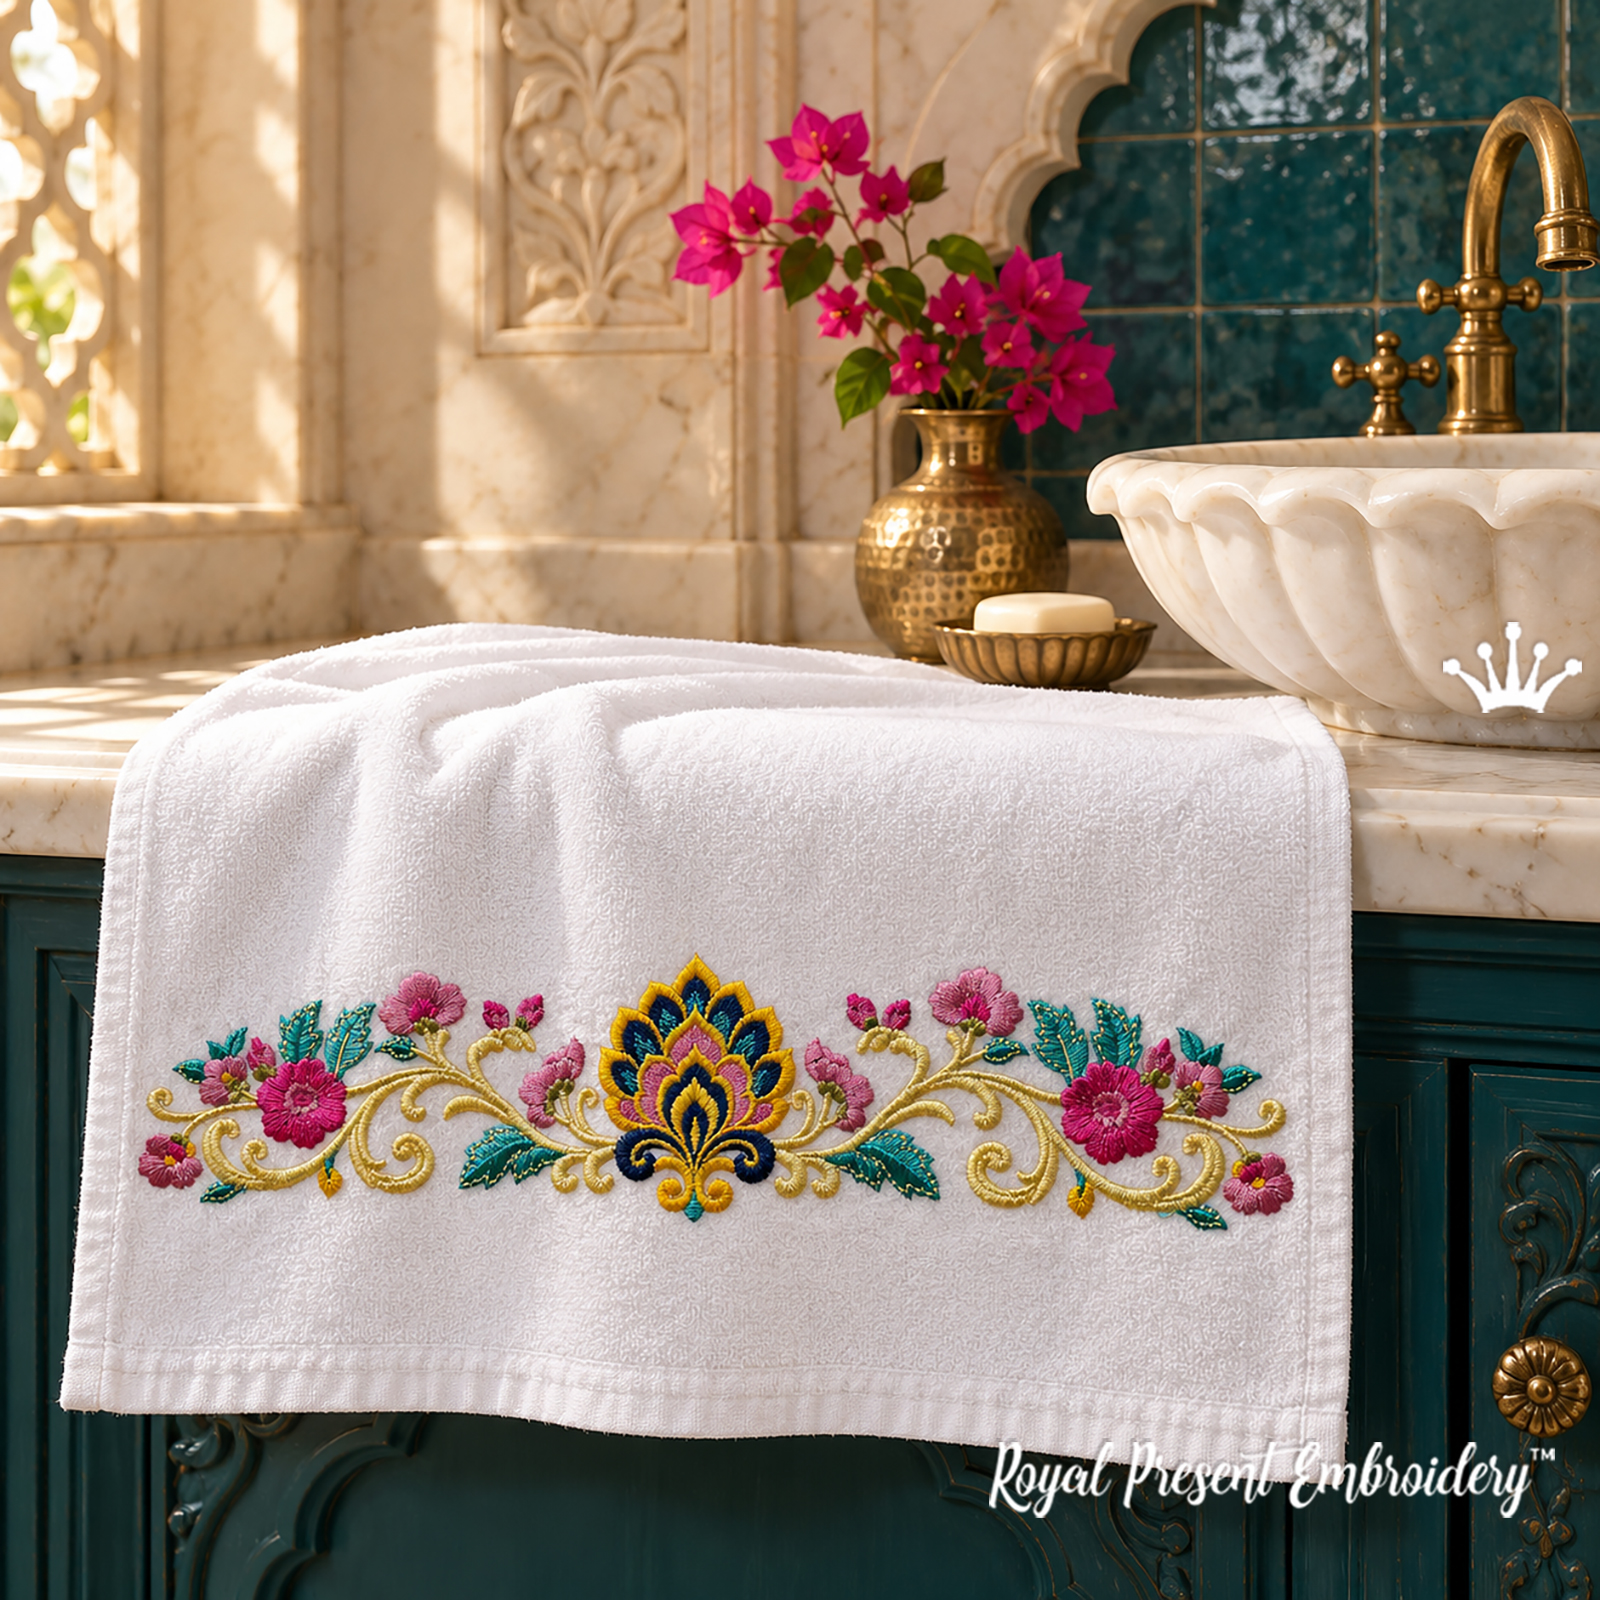 Indian Floral Border for Mega Hoops |
 Oriental Floral Border — 3 Sizes |
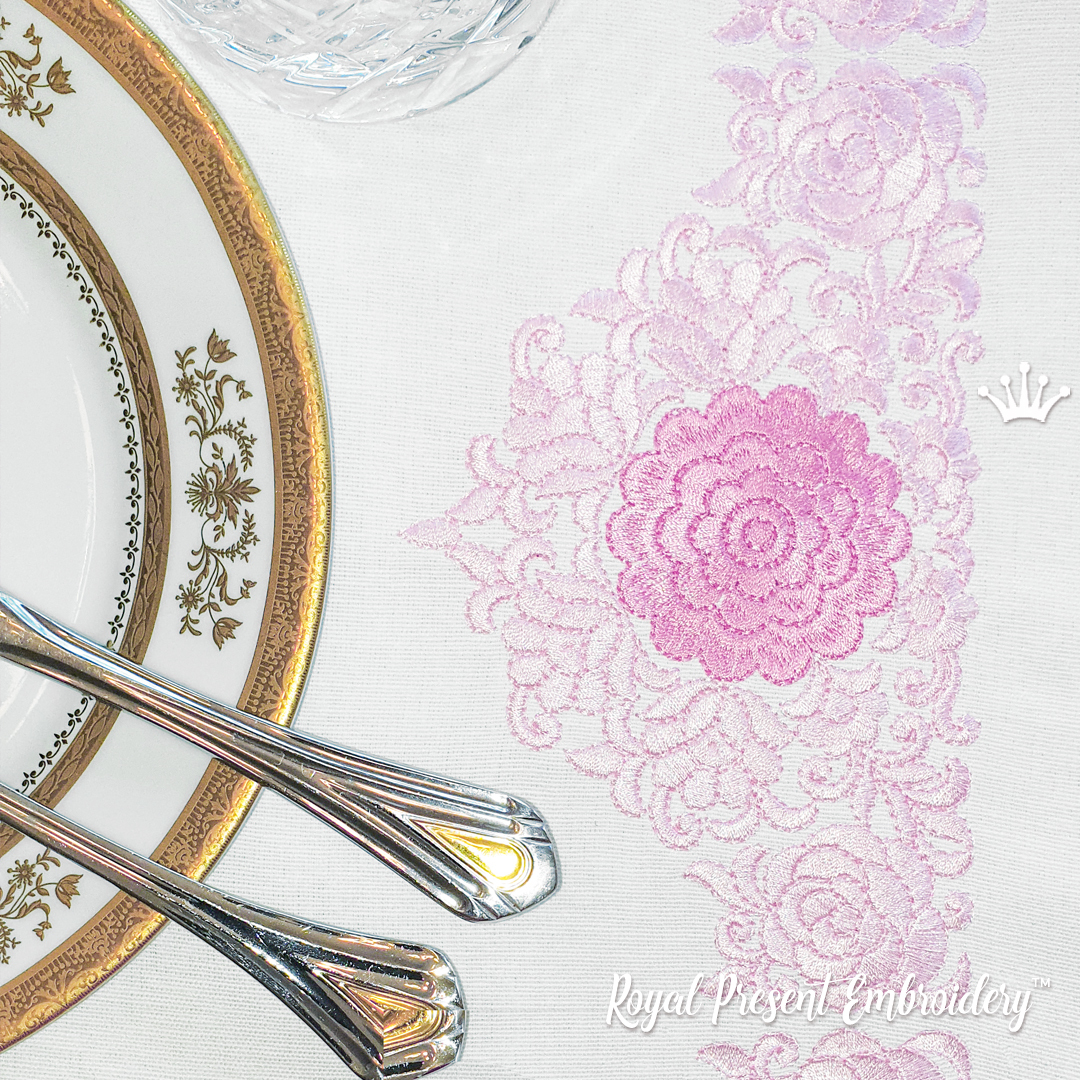 Oriental Floral Border — 6 Sizes |
 Floral Hemisphere — 5 Sizes |
Indian Floral Border for Mega Hoops is the closest companion: it repeats the flowers, teal foliage, and gold-toned scrolls of these corners. The other floral borders and semicircular motif share an ornamental botanical theme for additional pieces in a coordinated table or bathroom collection.
Madeira Classic Color Chart
The supplied charts specify the same six Madeira Classic colors for both corners in all sizes. These squares reproduce the digital swatches in the charts, not the shades in the styled photograph. A screen cannot reproduce physical thread exactly; use the thread number and a genuine Madeira shade card when selecting thread.
| Color | Madeira Number | What It Stitches |
|---|---|---|
|
|
Madeira Classic 1254 | Petals of the two smaller open flowers and the bud. |
|
|
Madeira Classic 1167 | Blue inner sections of the two pointed ornamental details at the ends of the branches. |
|
|
Madeira Classic 1380 | Leaves, the base of the bud, and teal details inside the pointed elements. |
|
|
Madeira Classic 1223 | Flower centers, leaf veins and selected outlines, and borders around the pointed elements. |
|
|
Madeira Classic 1270 | Main stems, curved branches, and botanical scrolls. |
|
|
Madeira Classic 1067 | Pale petals of the large flower where the two branches meet. |
FAQ — Stitching Paired Corners on Table Linens
How do I align the pair when the left and right corners have slightly different widths?
Choose the same size option for both motifs and print a full-size template of each file with its center and axes. Arrange the templates on the fabric, then measure from the outer embroidery boundaries to the finished fabric edges and check the gap between the corners. Do not simply copy one center offset to the other side: the file dimensions differ slightly. Once the layout is balanced, mark a separate center and axes for each corner. Stitch the motifs individually, keeping those placement marks.
How can I embroider near a finished napkin edge when the fabric does not reach the hoop?
Do not stretch the linen to make it reach the hoop. Hoop a piece of stabilizer that is firmly gripped around the entire frame, then secure the napkin on top. If using a suitable temporary embroidery adhesive, apply it to the stabilizer away from the machine and align the fabric using your template and centerlines. Add a basting outline outside the motif only if it fits within the embroidery field. Before stitching, check every needle path, including basting, and keep the thick hem, excess fabric, and any pins clear.
Which stabilizer should I choose for a linen runner, and how large should I cut it?
Test a medium-weight tear-away on firm, stable linen; for soft or loosely woven linen, start with a soft cut-away. Consider the weave and stability of the fabric, not just the total stitch count: the flowers and scrolls create localized areas of heavier stitching. Cut the backing large enough to extend beyond the outer hoop so it can be gripped securely around the entire perimeter. Prepare a separate piece for each hooping. Test the combination on the same linen and check for puckering after unhooping.
Should I embroider the corners before hemming or on the finished item?
When making a runner or napkin from scratch, it is usually easier to embroider on an oversized fabric piece before hemming. Prewash and press the fabric according to its intended care. Mark the finished edge and hem allowance first, measuring embroidery placement from the finished edge rather than the raw cut edge. Keep enough extra fabric for secure hooping, then trim and hem after embroidery. For an already finished item, check the paper template carefully so the stitches and presser-foot movement do not cross a thick mitered hem.

 Get Sign-In Link
 Login with Google
 Login with Facebook
 Login with Amazon
 Login with Paypal

