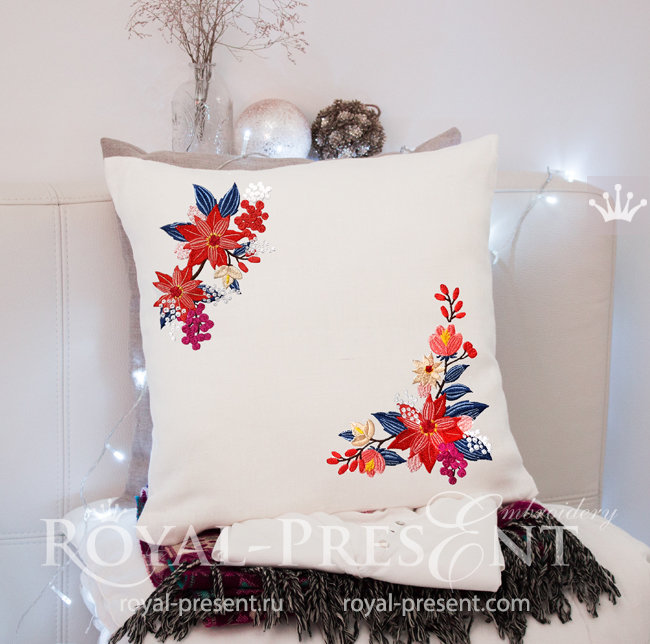
 Winter Poinsettia Corners Machine Embroidery Set – 3 Sizes
 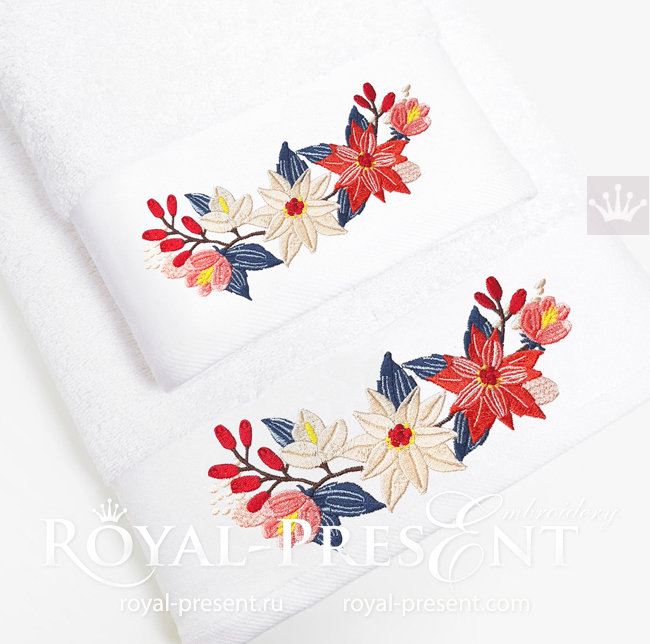 Winter Poinsettia Border Machine Embroidery Design – 2 Sizes
 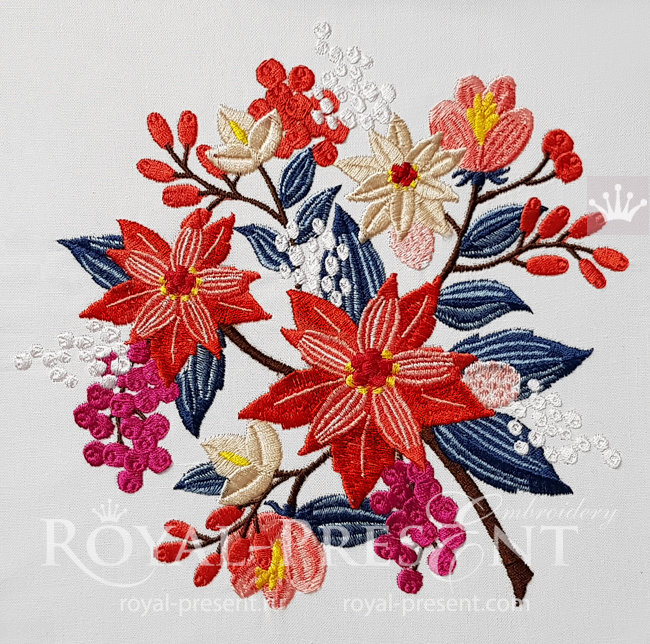 Winter Poinsettias Machine Embroidery Design – 3 Sizes
 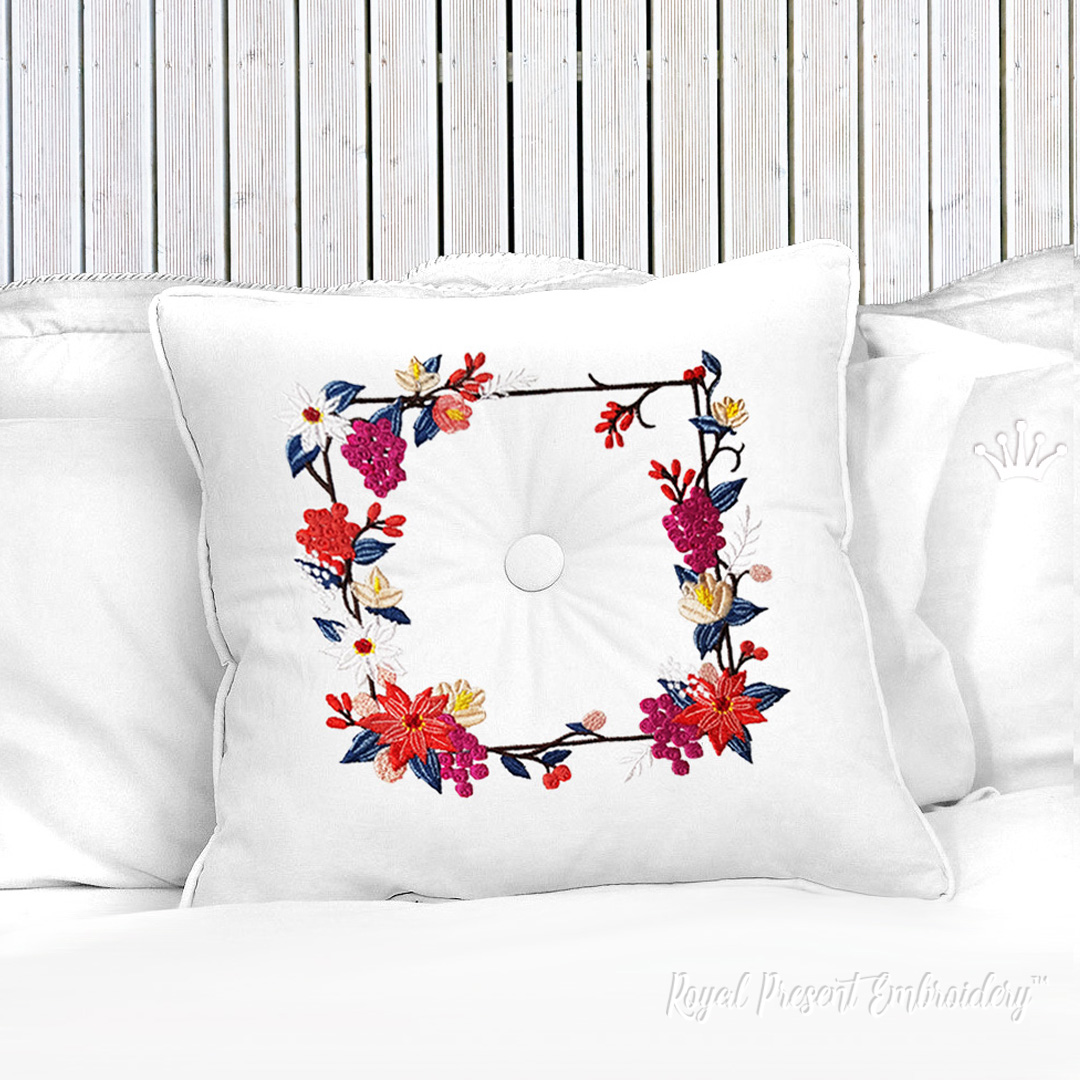 Winter Square Border Machine Embroidery Design – 5 Sizes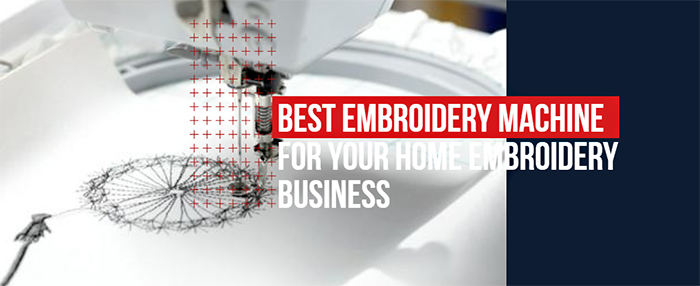
Best embroidery machine for home business
So, you’re looking for the best embroidery machine for your home embroidery business. If you’re reading this article, it means that you haven’t set your mind on anything definite yet. It’s...
By knowing the speed of your embroidery machine, you can find out how long it will take to embroider a design.
To use the embroidery calculator, click on the number of stitches in the product description.
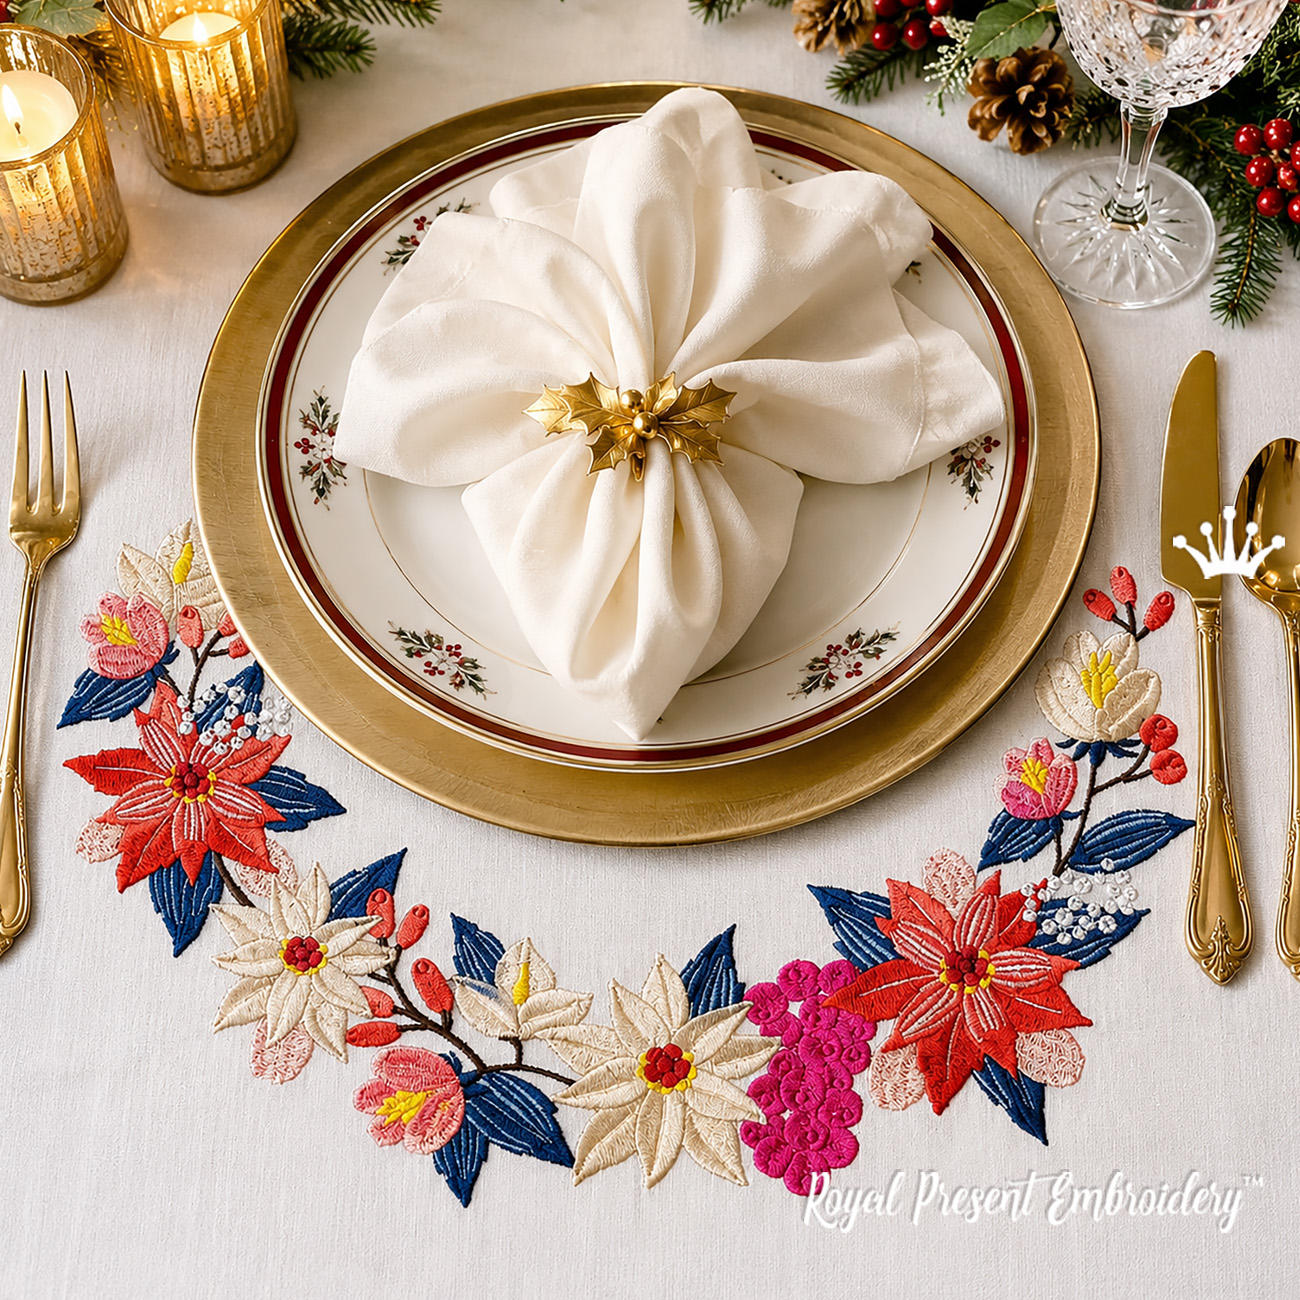
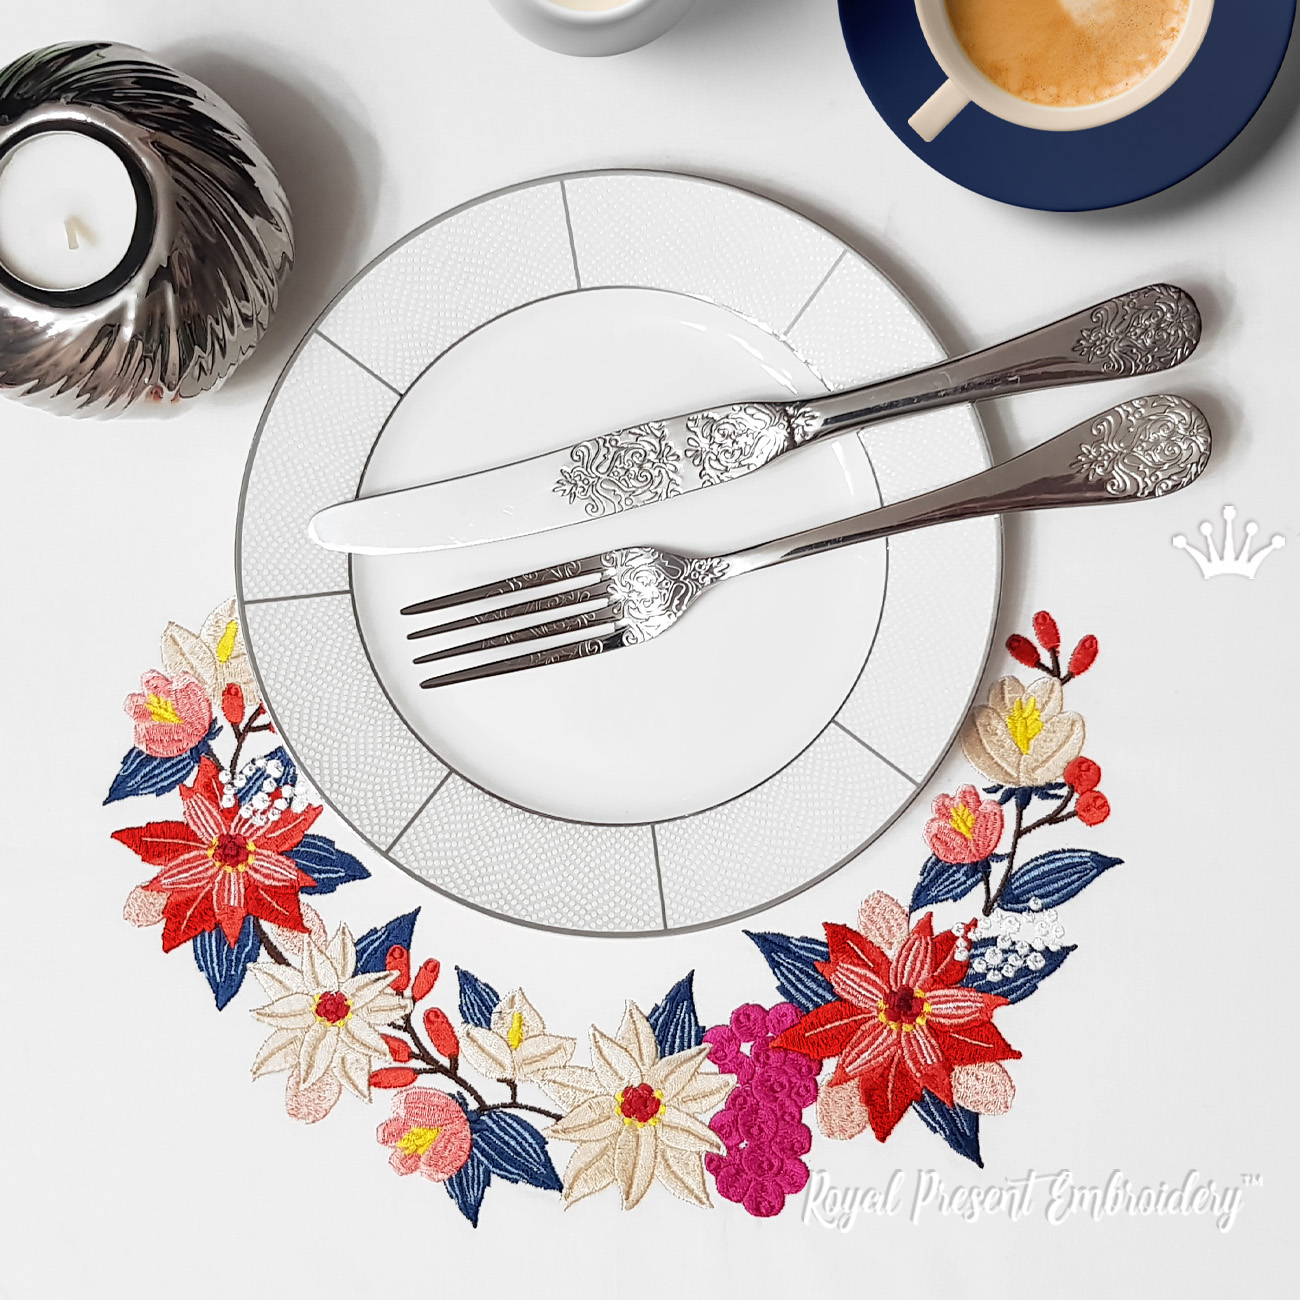
This download contains one open, curved poinsettia border machine embroidery design in two sizes. Each size is a complete single-hooping design for Christmas tablecloths, table runners, placemats, large napkins and cushion covers; this is a digital file, not a finished embroidered item.
Sizes, Stitches and Formats
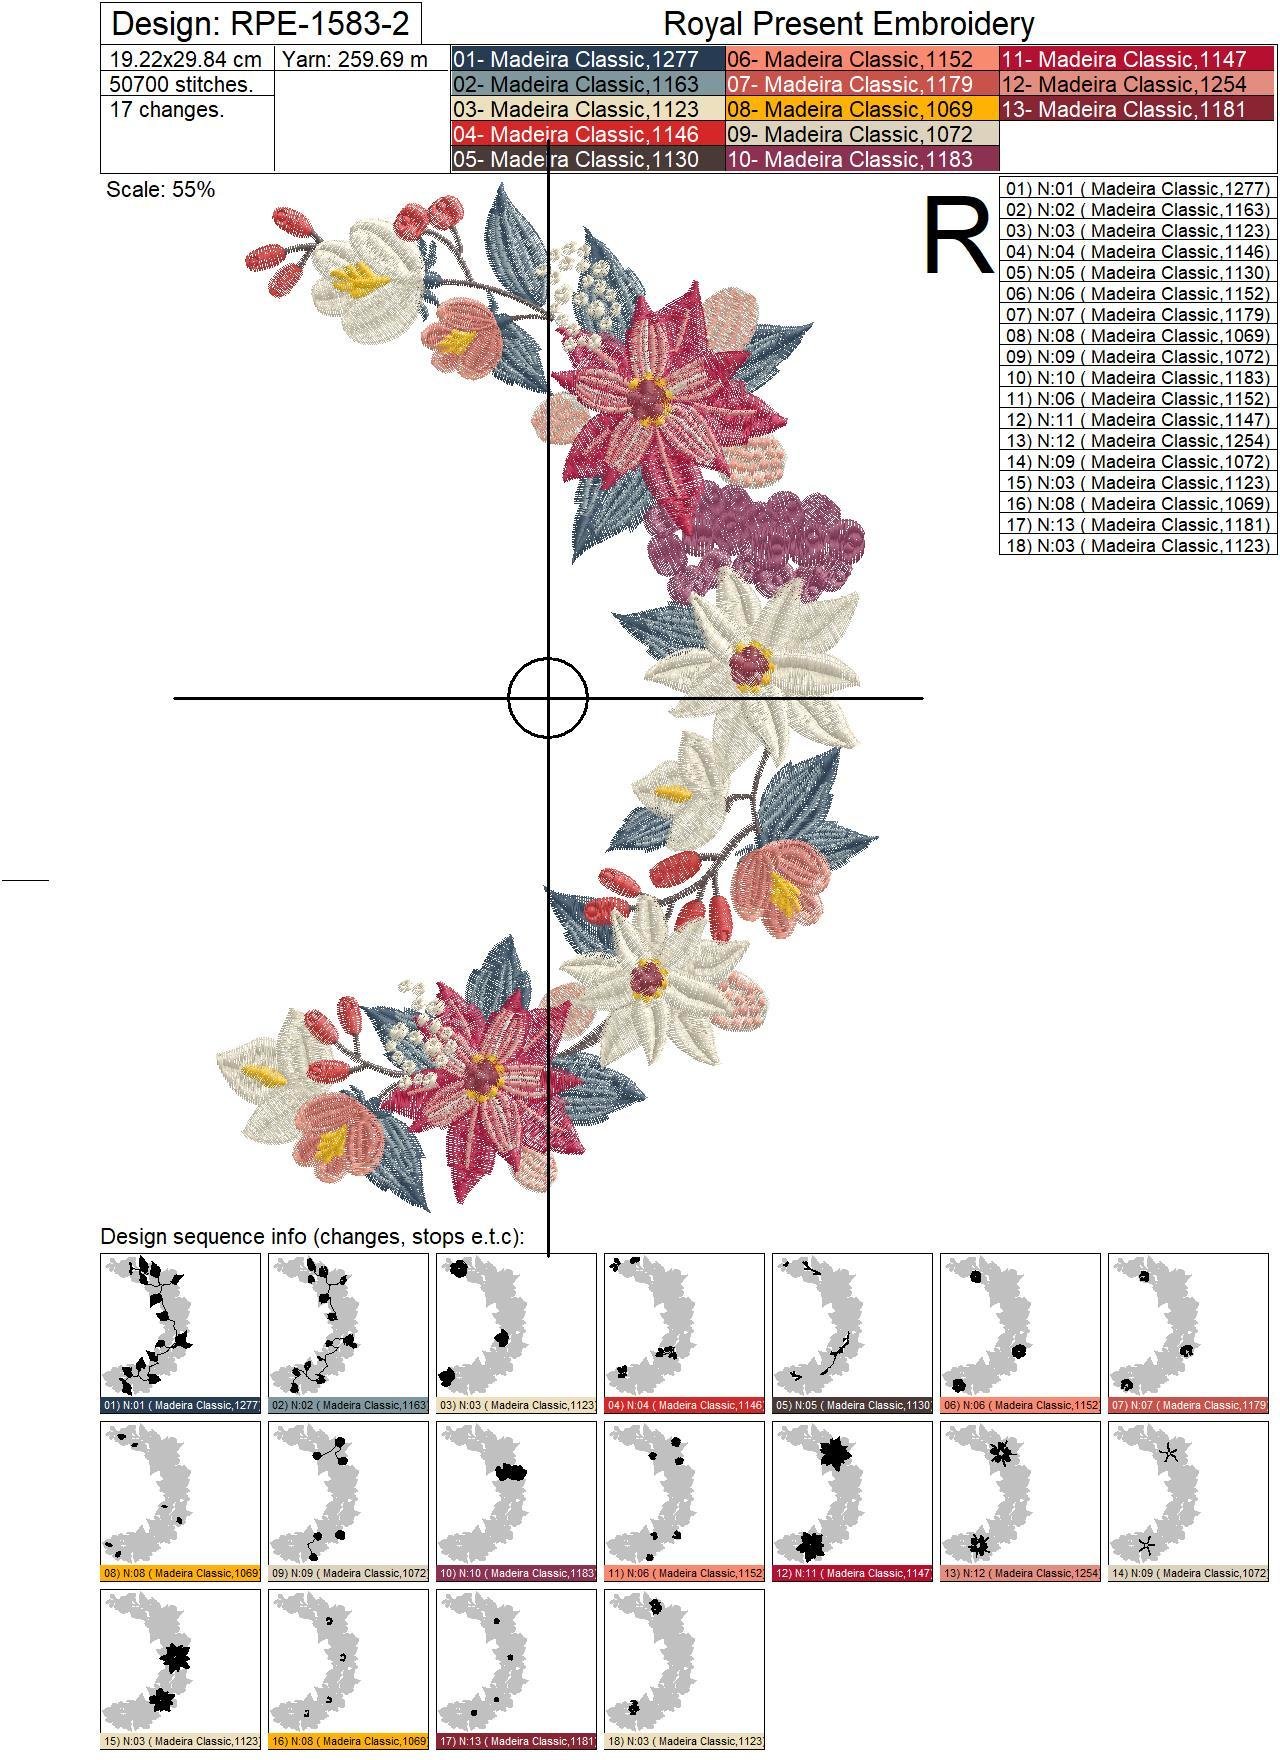
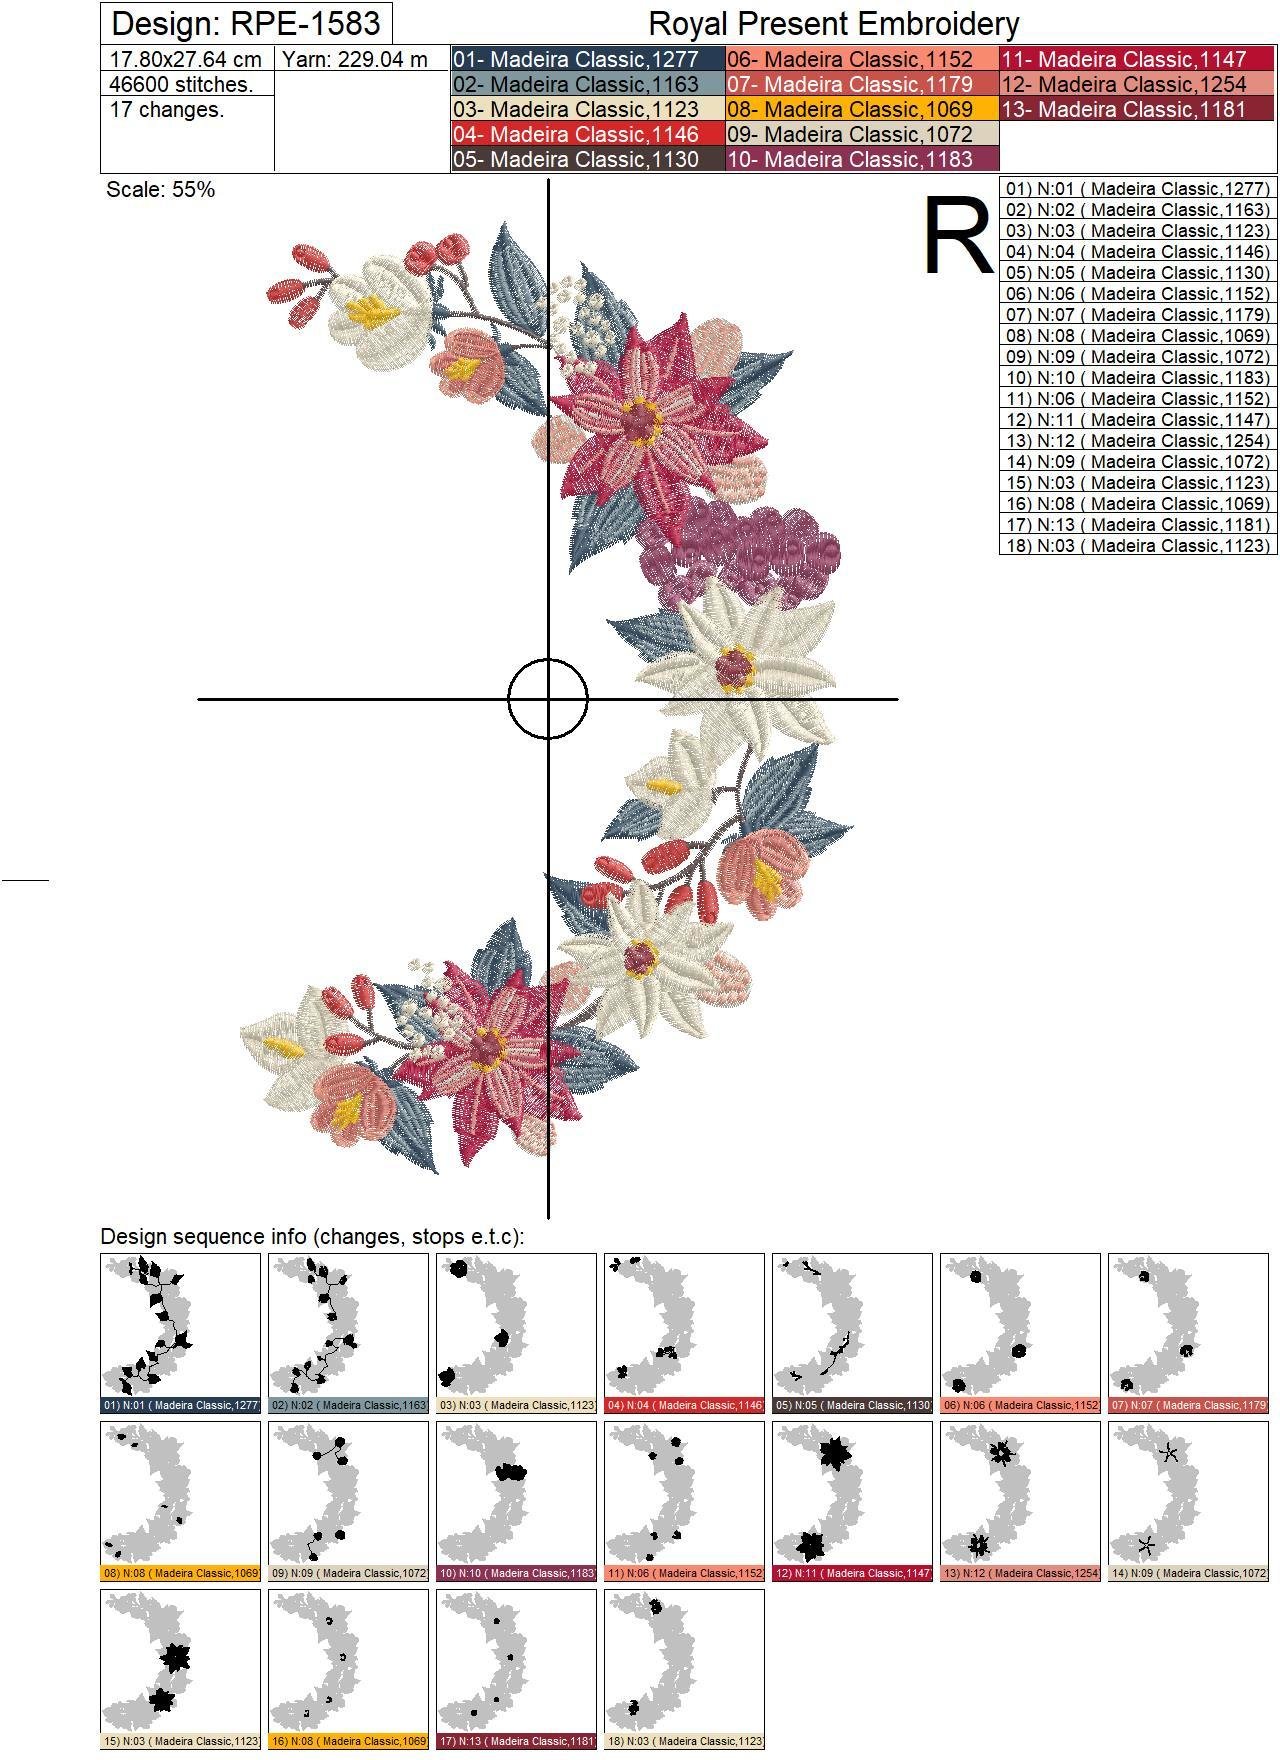
Size: 178.0x276.4 mm (7.01x10.88 "), Stitches: 46608
Size: 192.2x298.4 mm (7.57x11.75 "), Stitches: 50722
Formats: .pes, .pec, .hus, .vip, .dst, .exp, .sew, .exp, .dat, .vp3, .jef, xxx
The 178.0x276.4 mm file requires an actual embroidery field of at least 178.0 × 276.4 mm and is generally suitable for the 180 × 300 mm hoop class. The 192.2x298.4 mm file requires at least 192.2 × 298.4 mm and will not fit a machine limited to an embroidery field of 180 × 300 mm. Check the usable field stated for your machine model and trace the design perimeter before stitching.
| Set contents | 1 digital machine embroidery design in 2 sizes |
|---|---|
| Composition | Open curved floral border with an unstitched center |
| Hooping | Each size is embroidered in one hooping; no alignment or joining is required |
| Technique | Standard machine embroidery; not appliqué, ITH, a closed wreath or a split design |
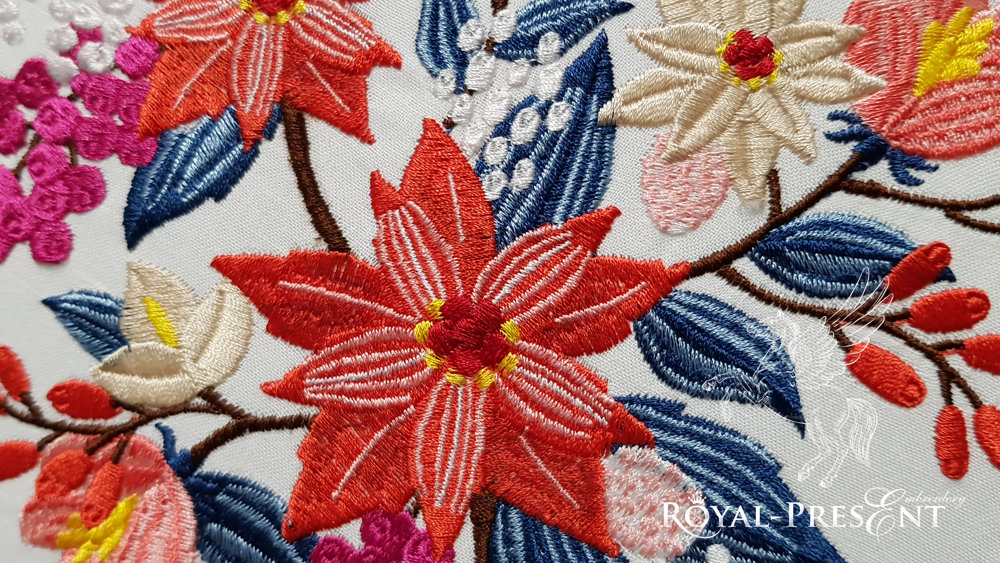
| Motifs | Red and ivory poinsettias, peach flowers and buds, berries, brown branches and blue-gray leaves |
| Color program | 13 Madeira Classic Rayon 40 colors, 18 color blocks and 17 color changes in both sizes |
| Upper-thread estimate | 229.04 m for the smaller size; 259.69 m for the larger size, as estimated in the source color charts |
| Designer | Ludmila Konovalova |
| Delivery | The ZIP archive is available for instant download after purchase and contains the machine formats and color charts |
Both source charts use the same 13 thread colors in the same 18-block sequence. Colors 1123, 1152, 1069 and 1072 return later because separate parts of the layered flowers must be stitched at different stages.
| Color | Madeira Classic Rayon 40 | Blocks | What it stitches | |
|---|---|---|---|---|
|
|
1277 — Blueberry Smash | 1 | Main dark blue fills of the leaves | |
|
|
1163 — Steel Gray | 2 | Lighter blue-gray leaf layers, veins and highlights | |
|
|
1123 — Parchment Beige | 3, 15, 18 | Main ivory poinsettia fills, pale bands on the red poinsettias and final light accents | |
|
|
1146 — Tomato Red | 4 | Bright red elongated berries and buds | |
|
|
1130 — Chocolate Chip Brown | 5 | Branches, stems and dark connecting details | |
|
|
1152 — Peach Tea | 6, 11 | Peach flower and bud fills plus light details in the layered poinsettias | |
|
|
1179 — Sweet Potato | 7 | Warm coral shading on the peach flowers and buds | |
|
|
1069 — Sunshine Yellow | 8, 16 | Golden-yellow flower centers and small yellow details | |
|
|
1072 — Coconut Cream | 9, 14 | Cream berry details, pale highlights and inner lines on the ivory flowers | |
|
|
1183 — Cranberry | 10 | Cranberry-purple berry cluster | |
|
|
1147 — Christmas Red | 12 | Main red fills of the large poinsettias | |
|
|
1254 — Dark Salmon | 13 | Salmon overlays, stripes and dimensional shading on the poinsettias | |
|
|
1181 — Candy Apple Red | 17 | Deep red flower centers, shadows and final dark accents |
The thread numbers and block order are taken from the source color charts supplied for RPE-1583. Commercial color names can vary slightly between regional Madeira catalogs, so use the thread number as the primary reference. Screen swatches are approximate and do not replace a physical thread chart.
Print the template for the selected size at 100% scale. Position a plate or a paper template of the intended central element inside the open curve, then mark the design center and both axes on the fabric. Keep the fabric grain straight and use the machine's tracing function before starting.
For stable woven linen or cotton around 150–200 g/m², begin with one layer of medium-weight tear-away stabilizer, such as Madeira Cotton Soft 50 g/m², and hoop the fabric with the stabilizer. For loose-weave linen, use two lighter tear-away layers placed in different directions. Do not stretch the fabric while hooping. A fresh 75/11 embroidery needle and an initial speed of about 500–650 stitches per minute are practical starting points; test the complete design on the same fabric and stabilizer first. See the guide to tear-away stabilizers.
These companion products repeat the same blue-gray foliage, red and ivory poinsettias, peach flowers, brown branches and berry accents.
Browse the complete Poinsettia Machine Embroidery Designs collection.
Print the full-size color chart or design template at Actual Size or 100% scale; switch off Fit, Shrink oversized pages and any automatic scaling. If the design does not fit on one sheet, select Poster or Tile mode so the printer divides it between several sheets. Trim the printed overlap, match the registration areas and tape the sheets together without changing the printed size. Print and assemble as many paper copies as the number of border repeats planned for the tablecloth.
Lay the tablecloth completely flat and mark its center, the horizontal and vertical centerlines and an equal guide distance from the finished edge. Arrange all paper copies around the cloth before embroidering anything. Keep the distance from the edge and the spacing between neighboring repeats identical, then temporarily secure the templates with removable tape or pins placed outside the embroidery area. Transfer the center and both axes of every repeat to the fabric. Hoop and embroider one marked position at a time, aligning the machine needle with the transferred center and checking the complete perimeter with the machine's Trace function before each start.
Measure the printed design from its outermost stitch points and compare it with the selected file size shown on the color chart: 178.0x276.4 mm or 192.2x298.4 mm. Do not begin marking the tablecloth if either measurement differs. Reprint using Actual Size or 100% scale, with all page-fitting options disabled.
Complete the full paper layout first instead of positioning the next repeat by eye after each hooping. Use the tablecloth centerlines and one measured line parallel to each finished edge as fixed references. Mark the center and both axes of every paper coupon, then confirm equal gaps between adjacent embroidery outlines. For opposite sides, measure from the same centerline so the layout remains symmetrical.
For stable woven linen or cotton around 150–200 g/m², start with one layer of medium-weight tear-away stabilizer such as Madeira Cotton Soft 50 g/m². For loose or open-weave linen, use two lighter tear-away layers placed in different directions. Hoop the fabric and stabilizer together without stretching or distorting the grain. Keep the remaining tablecloth supported at the same height as the machine bed so its weight cannot pull the hoop, and test one complete repeat on the same fabric before stitching the finished cloth.
The 178.0x276.4 mm file requires an actual embroidery field of at least 178.0 × 276.4 mm and generally fits the 180 × 300 mm hoop class. The 192.2x298.4 mm file requires at least 192.2 × 298.4 mm and normally needs a 200 × 300 mm hoop or larger. Check the usable embroidery field for the exact machine-and-hoop combination; the hoop's marketing name alone does not guarantee that the file will fit.
So, you’re looking for the best embroidery machine for your home embroidery business. If you’re reading this article, it means that you haven’t set your mind on anything definite yet. It’s...
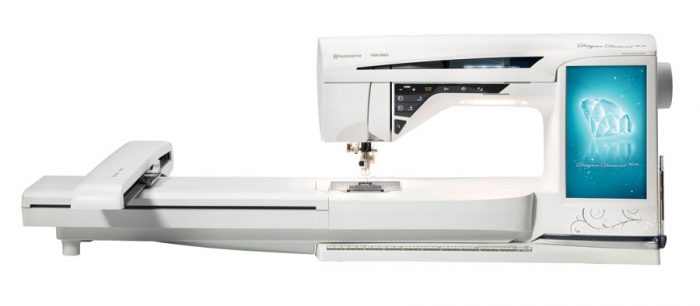
Formats: VP3/VIP/HUS/DST/SHV Before we actually speak about Husqvarna hoop sizes and formats for embroidery, let’s speak about the topic in general. Bigger is not always better Experience...
Metallic thread can turn a machine-embroidered snowflake into a true point of light. Silver resembles frost and ice, pale gold adds warmth to Christmas linens, and a flat holographic ribbon...
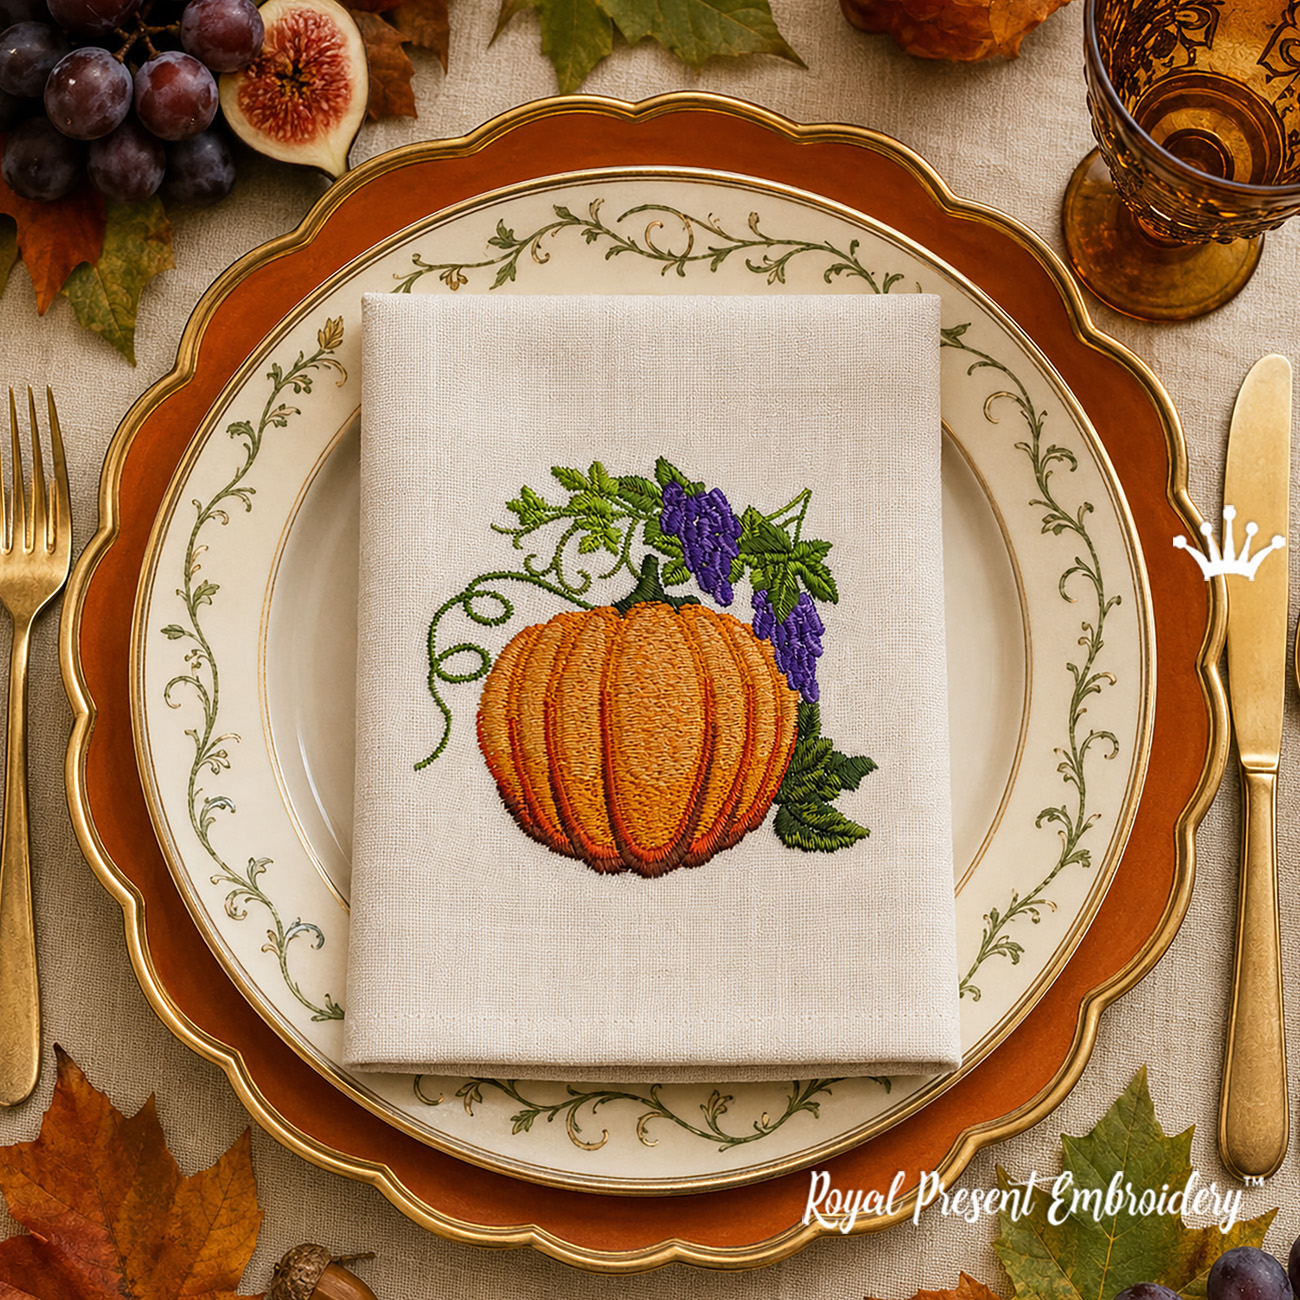
What is this free download? This is a complete digital machine embroidery design featuring an autumn pumpkin, purple grapes and green leaves. Download it directly from this page without creating an accou...
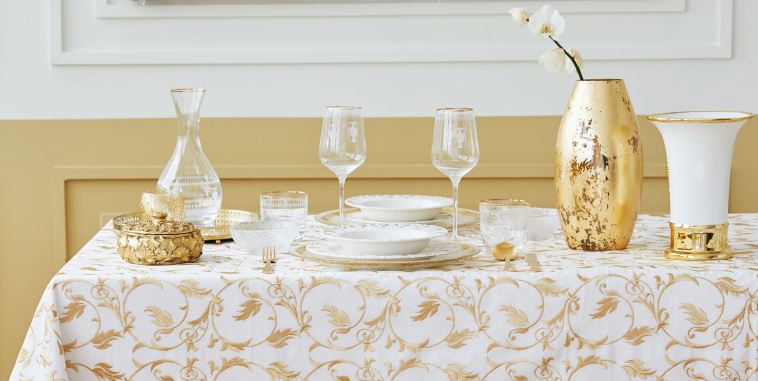
One of the imperative criteria for a successful embroidery project is coordinating your embroidery machine abilities with the design you are contemplating creating. Some embroidery machines c...
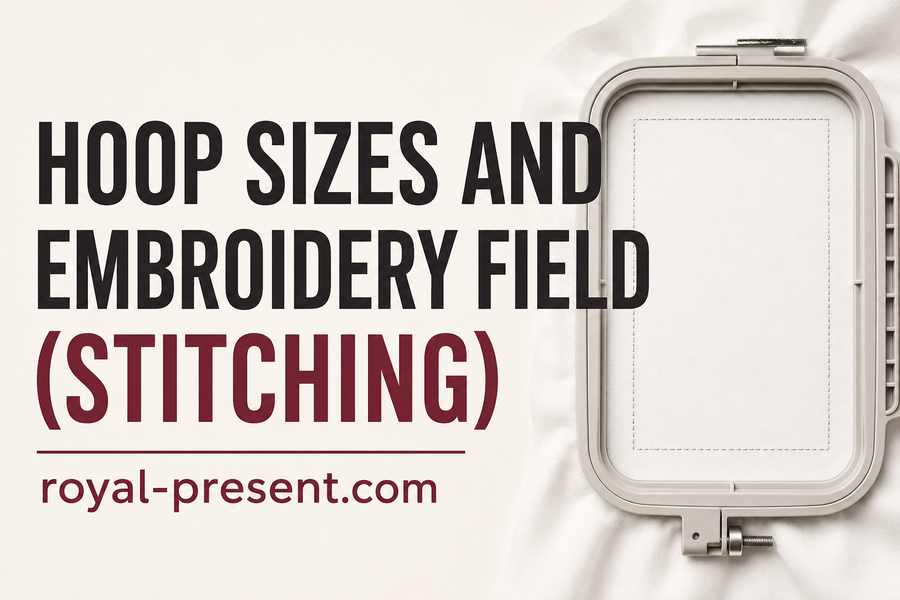
Embroidery Hoop Sizes Explained: Why 5×7 Means 130×180 mm Quick answer: names such as 4×4, 5×7 and 6×10 are convenient rounded hoop-size labels. They are not always exact inch measurements. For examp...

The 10 Best Embroidery Machines for Custom Designs in 2023 Embroidery, an age-old art, has witnessed remarkable technological advances, rendering it easier than ever to conceive breathtaking custom de...
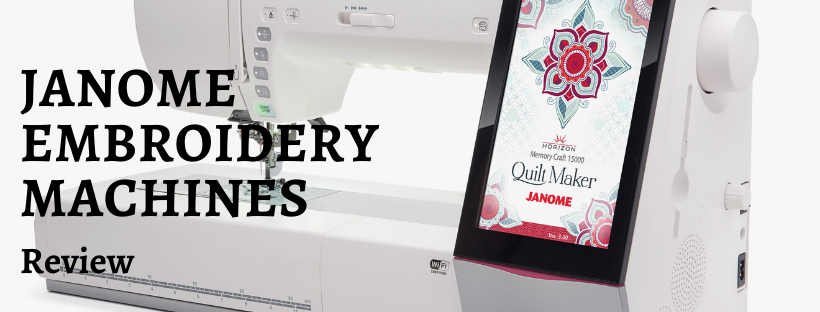
“Janome embroidery machine is the sales leader among embroidery machines available on the market. All models are of high quality, with additional functions for embroidery and are able to work even...
Embroidery process is a partnership between an embroidery machine and an embroiderer. At most times, it’s a beautiful partnership, with wonderful stitch-perfect results and lots of creative s...

 Get Sign-In Link
 Login with Google
 Login with Facebook
 Login with Amazon
 Login with Paypal