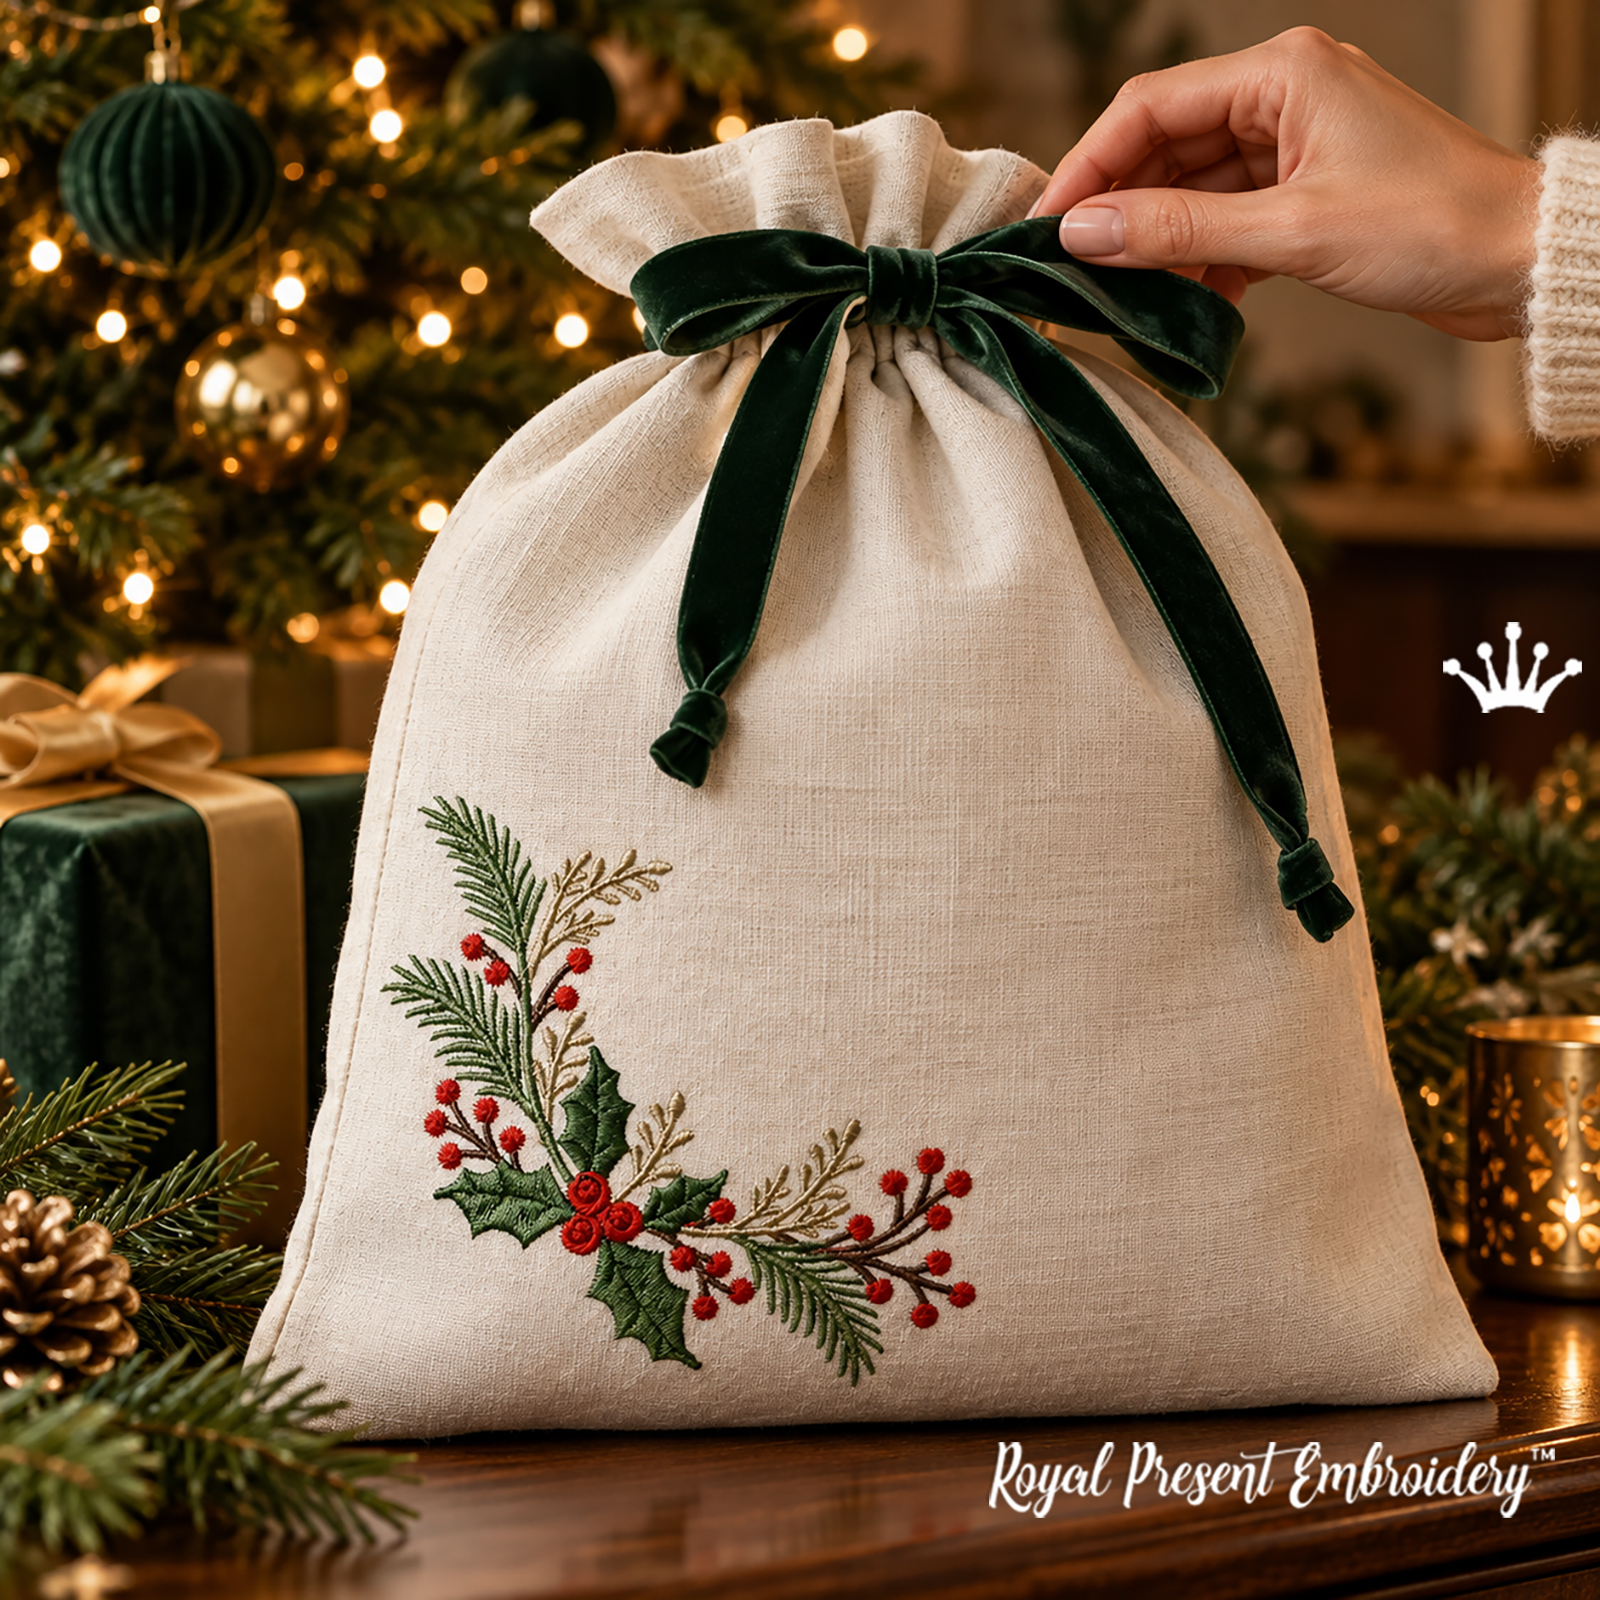
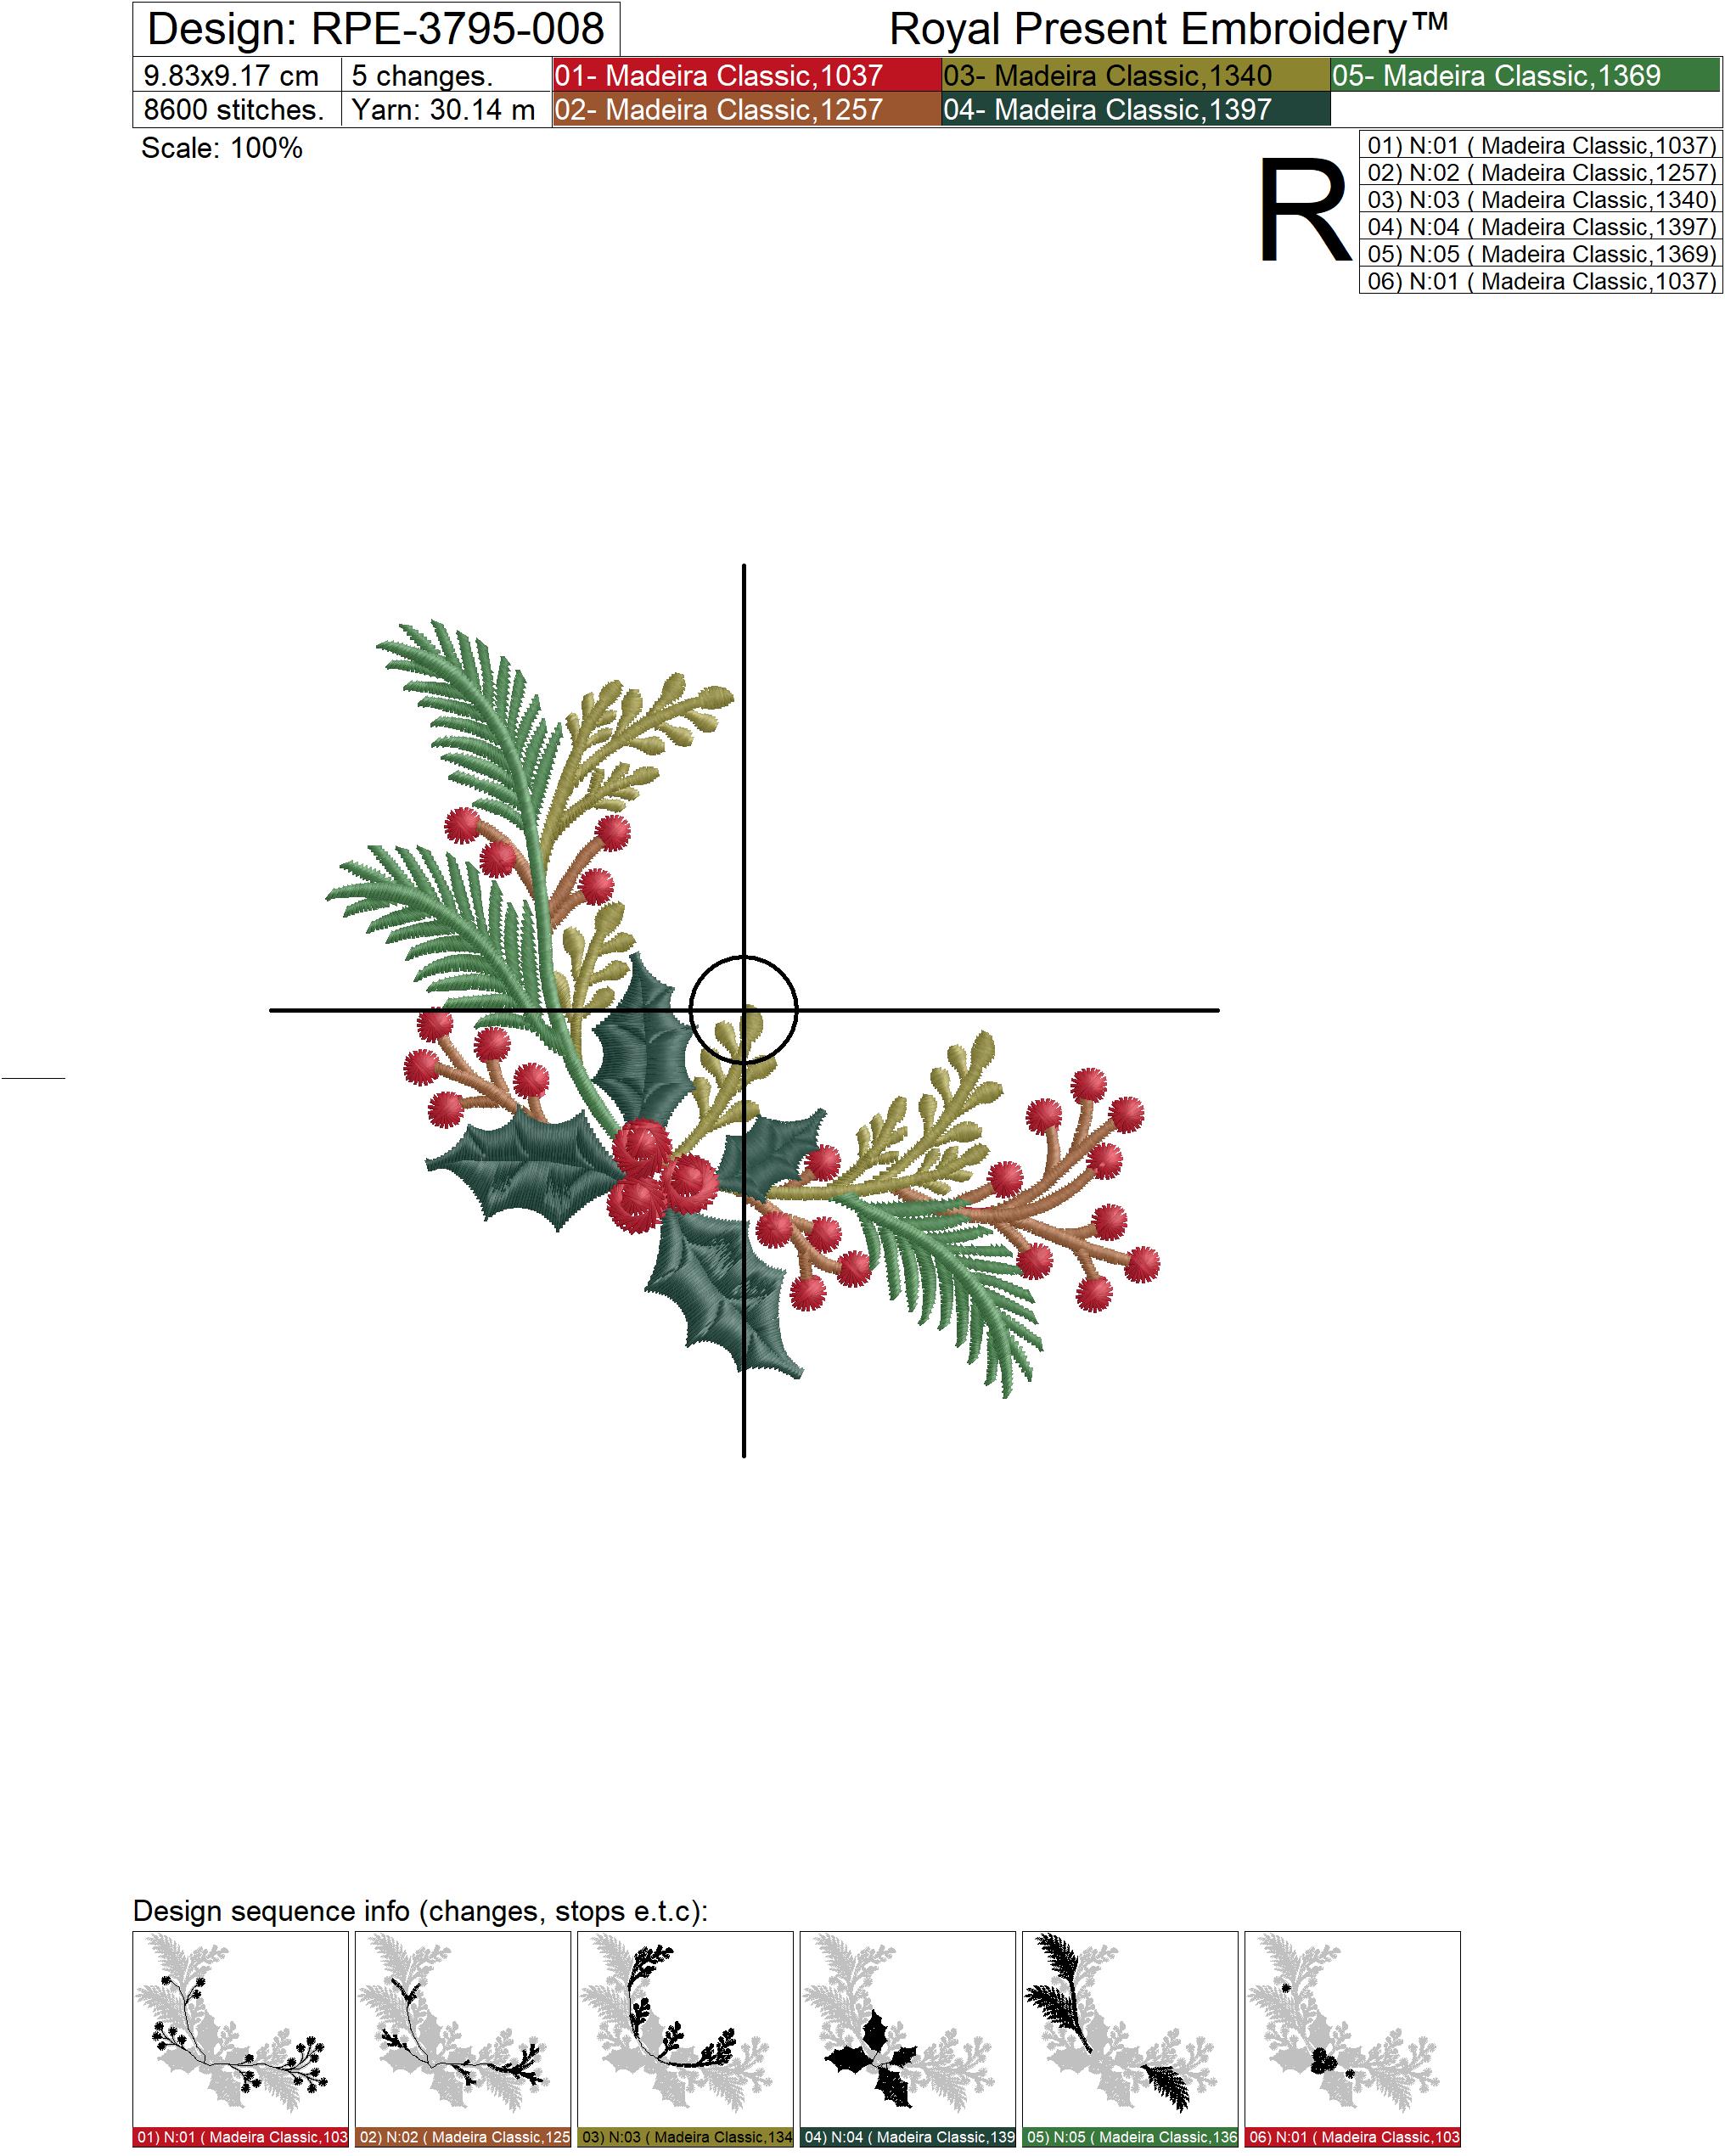
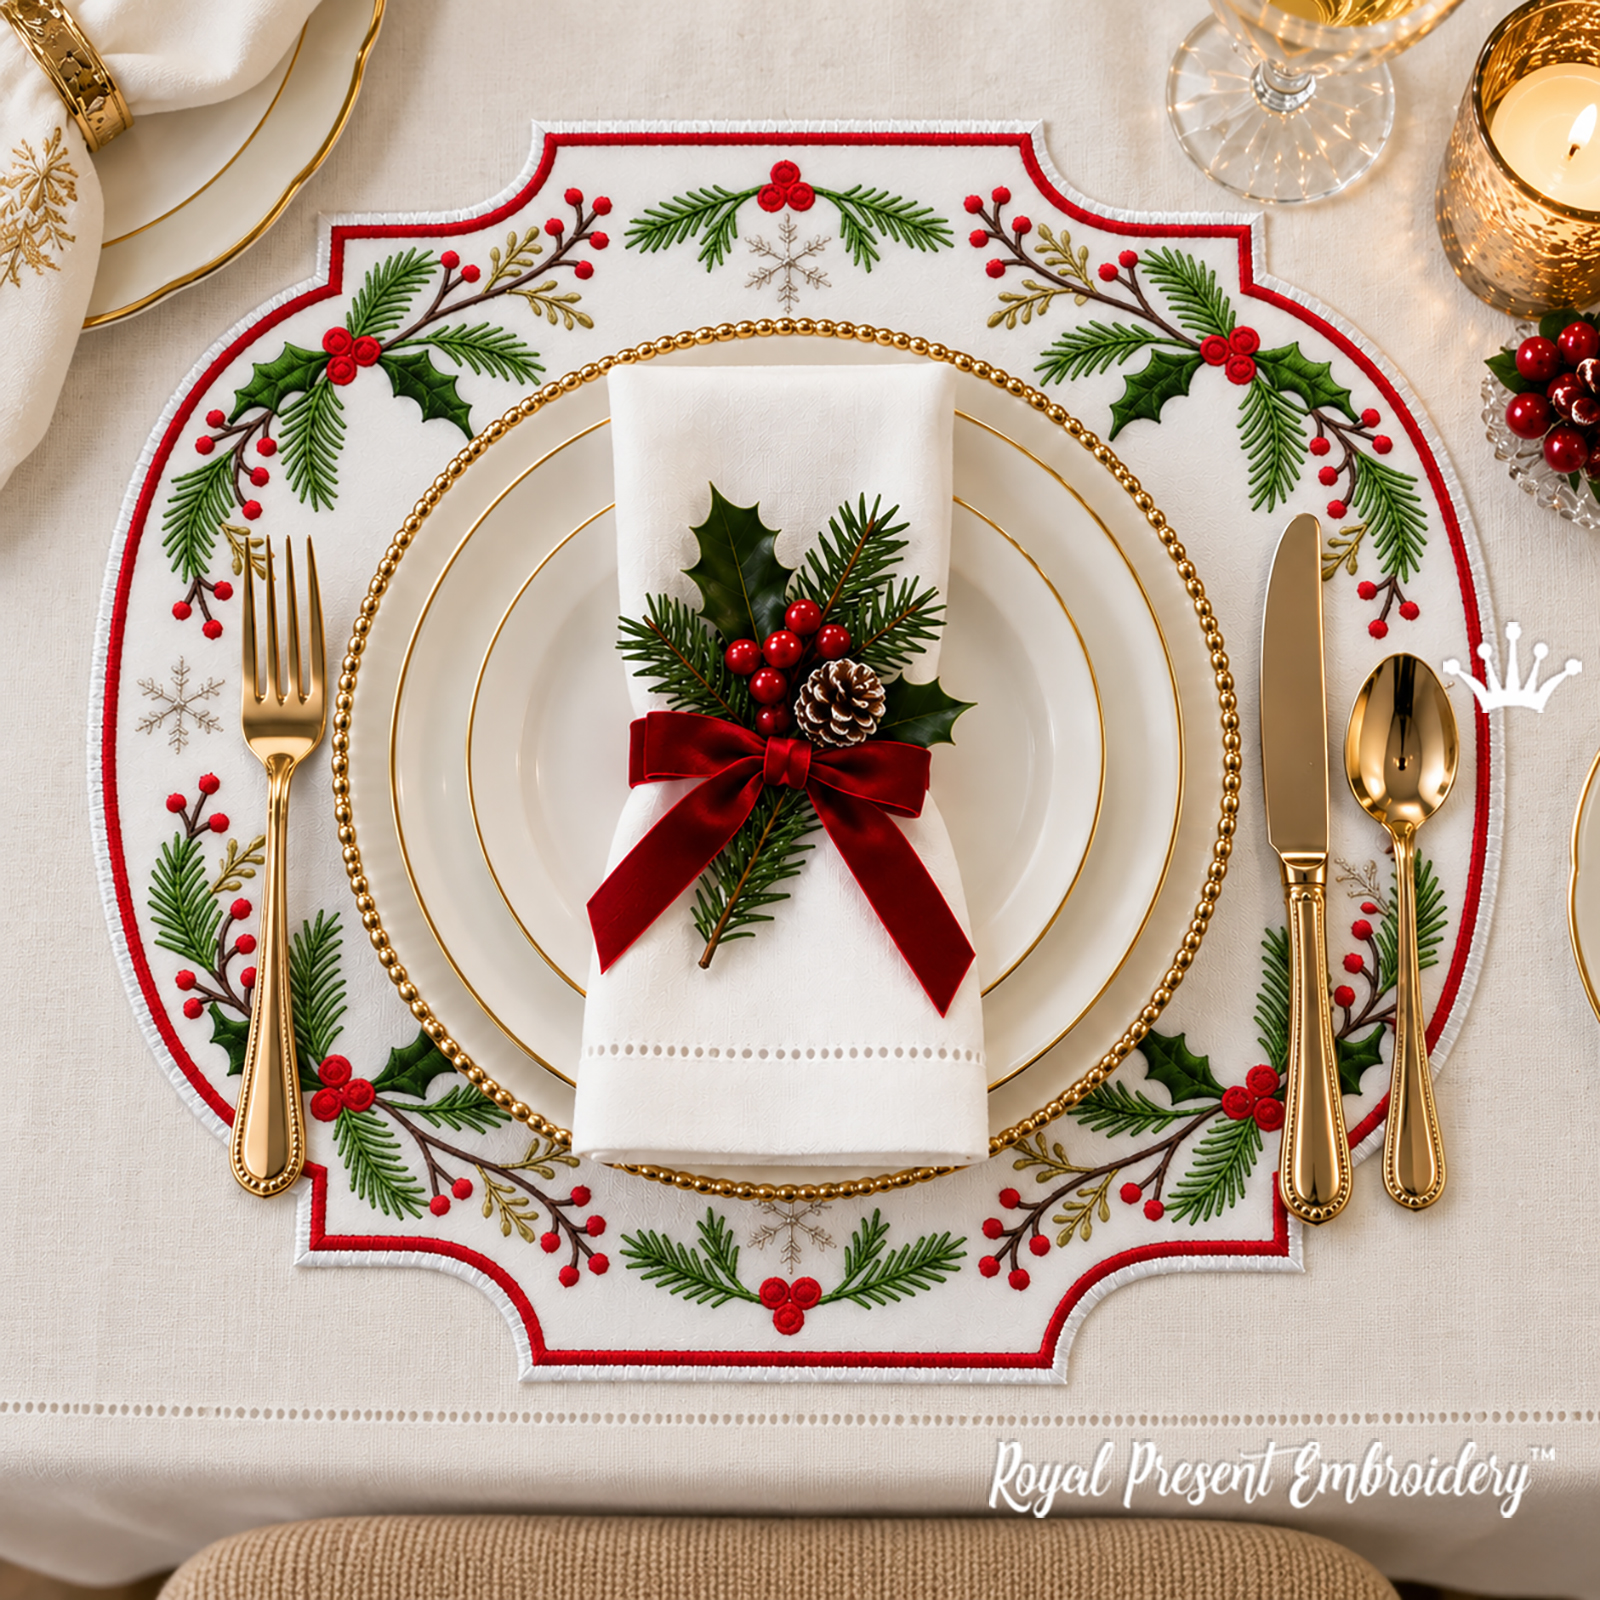
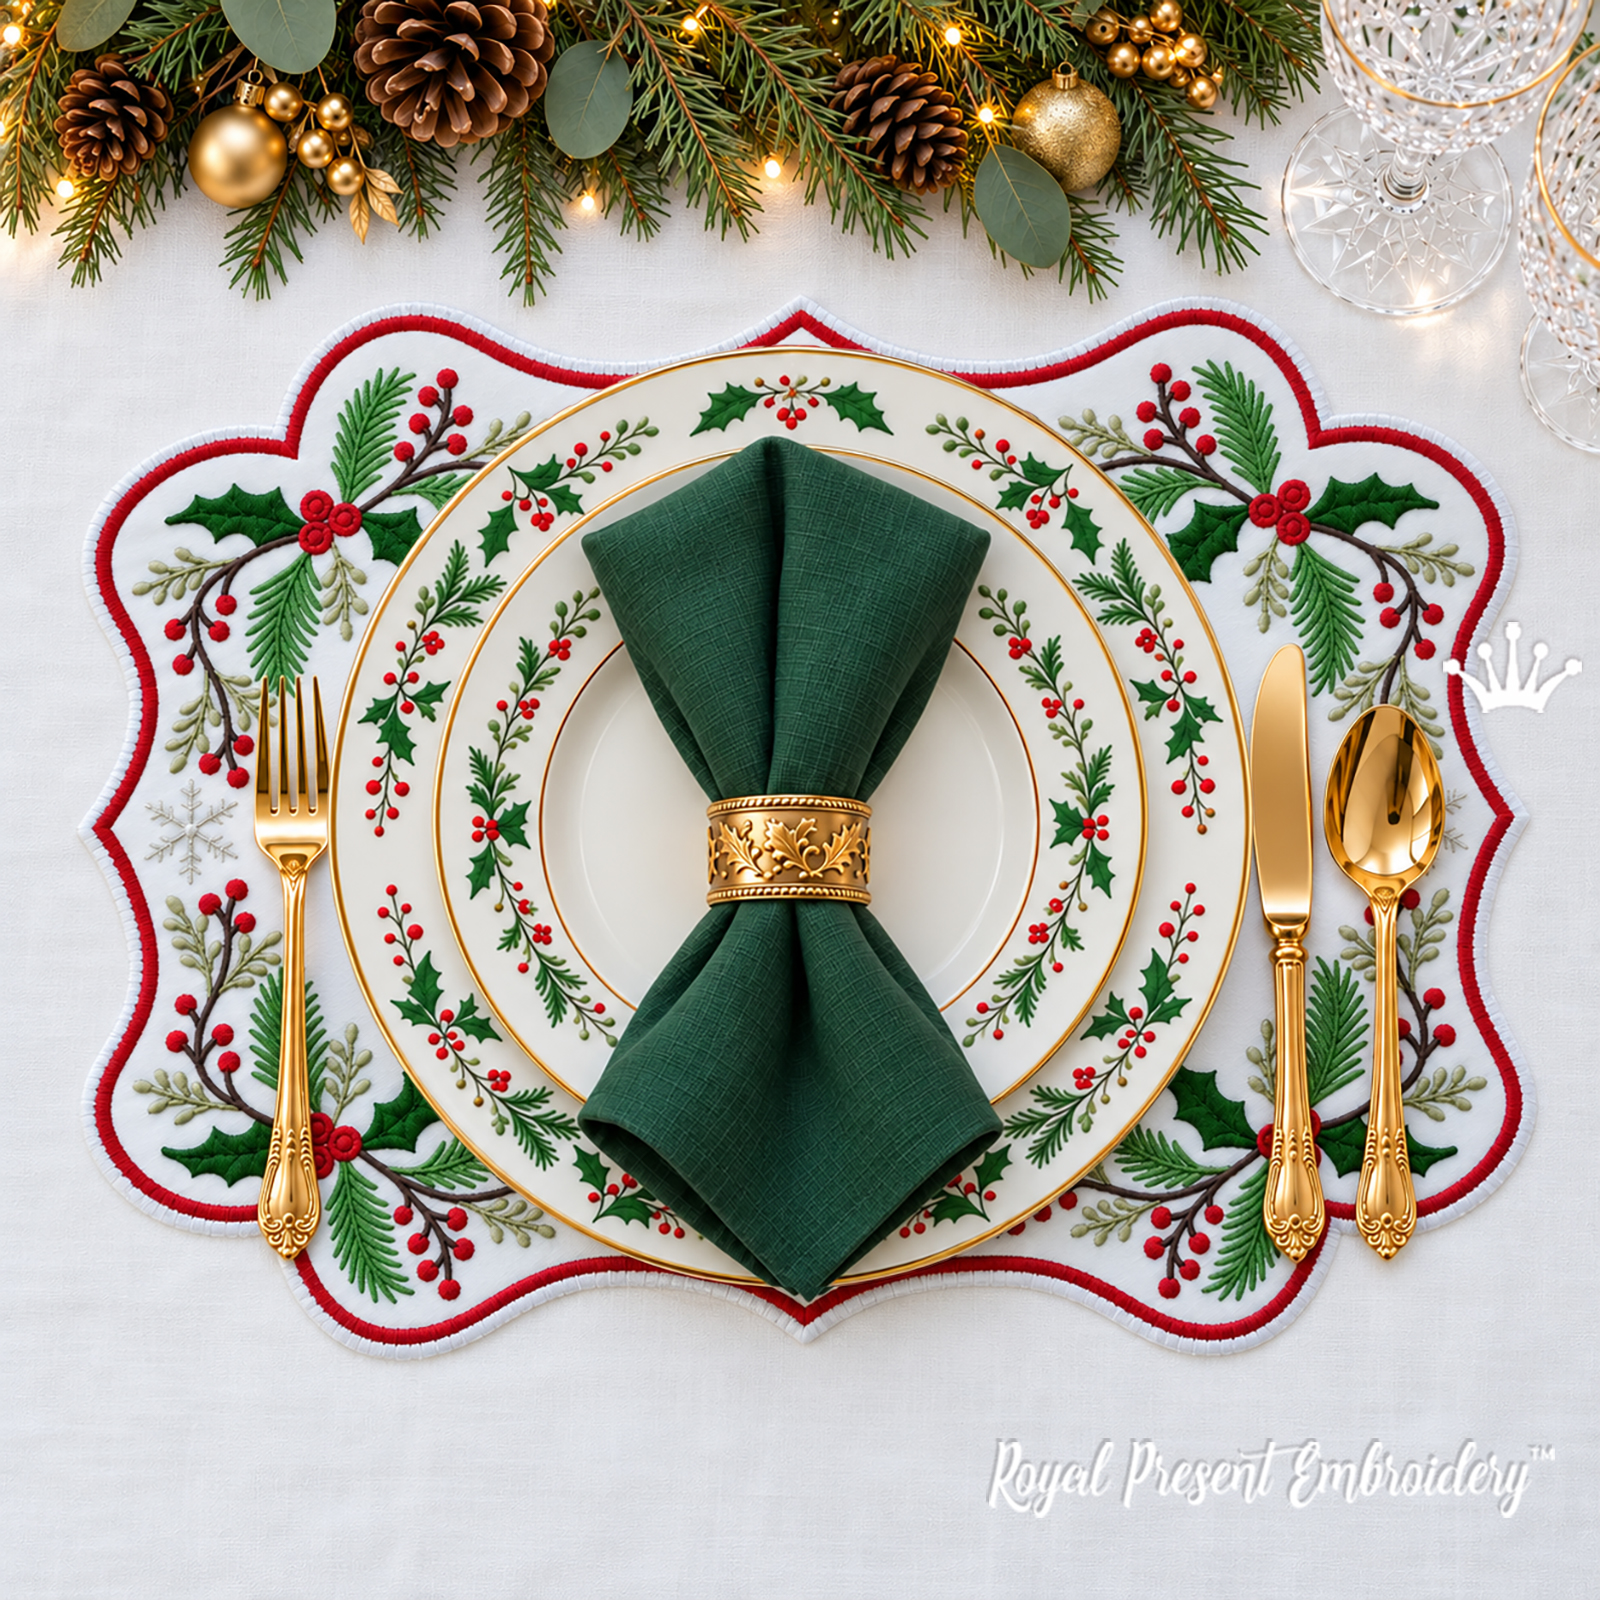
This small Christmas corner combines fir sprigs, dark holly leaves, red berries, brown berry stems and olive-gold shoots. It is a digital machine embroidery design for the corner of a napkin, table runner or placemat and is supplied in five ready-to-stitch sizes.
Sizes, stitches and hoops
| Exact design size and stitch count | Minimum suitable hoop |
|---|---|
| Size: 98.3x91.7 mm (3.87x3.61 "), Stitches: 8600 | 100x100 mm (4x4") |
| Size: 108.1x100.9 mm (4.26x3.97 "), Stitches: 9500 | 130x180 mm (5x7") |
| Size: 118.8x110.9 mm (4.68x4.37 "), Stitches: 10500 | 130x180 mm (5x7") |
| Size: 130.7x122.0 mm (5.15x4.80 "), Stitches: 11600 | 140x200 mm (5.5x8") |
| Size: 143.8x134.1 mm (5.66x5.28 "), Stitches: 13000 | 150x150 mm (6x6") |
Formats: .dst, .jef, .pec, .vip, .hus, .pes, .exp, .sew, .dat, .vp3, .xxx
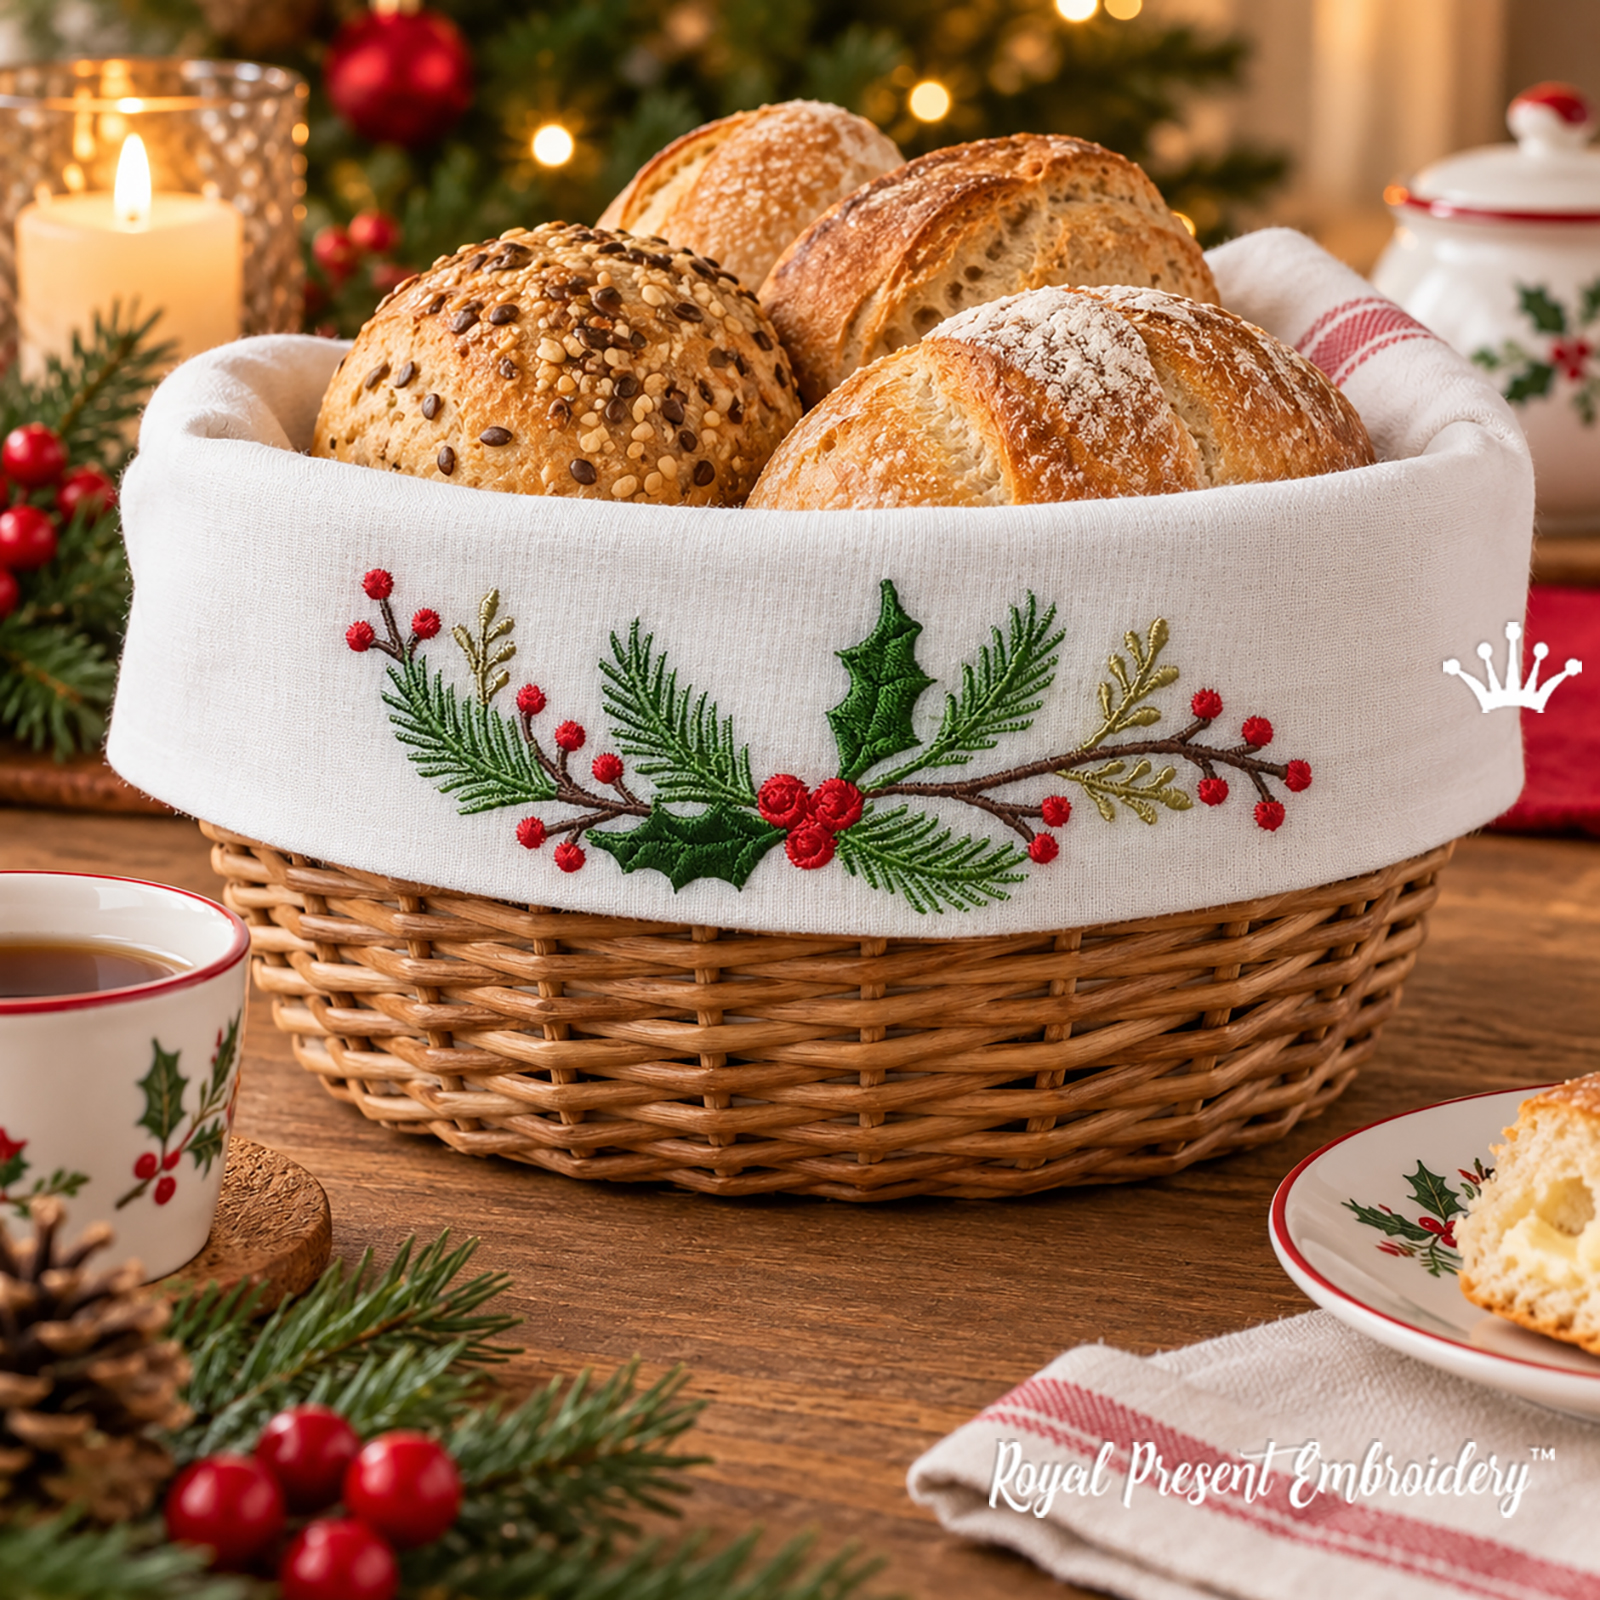
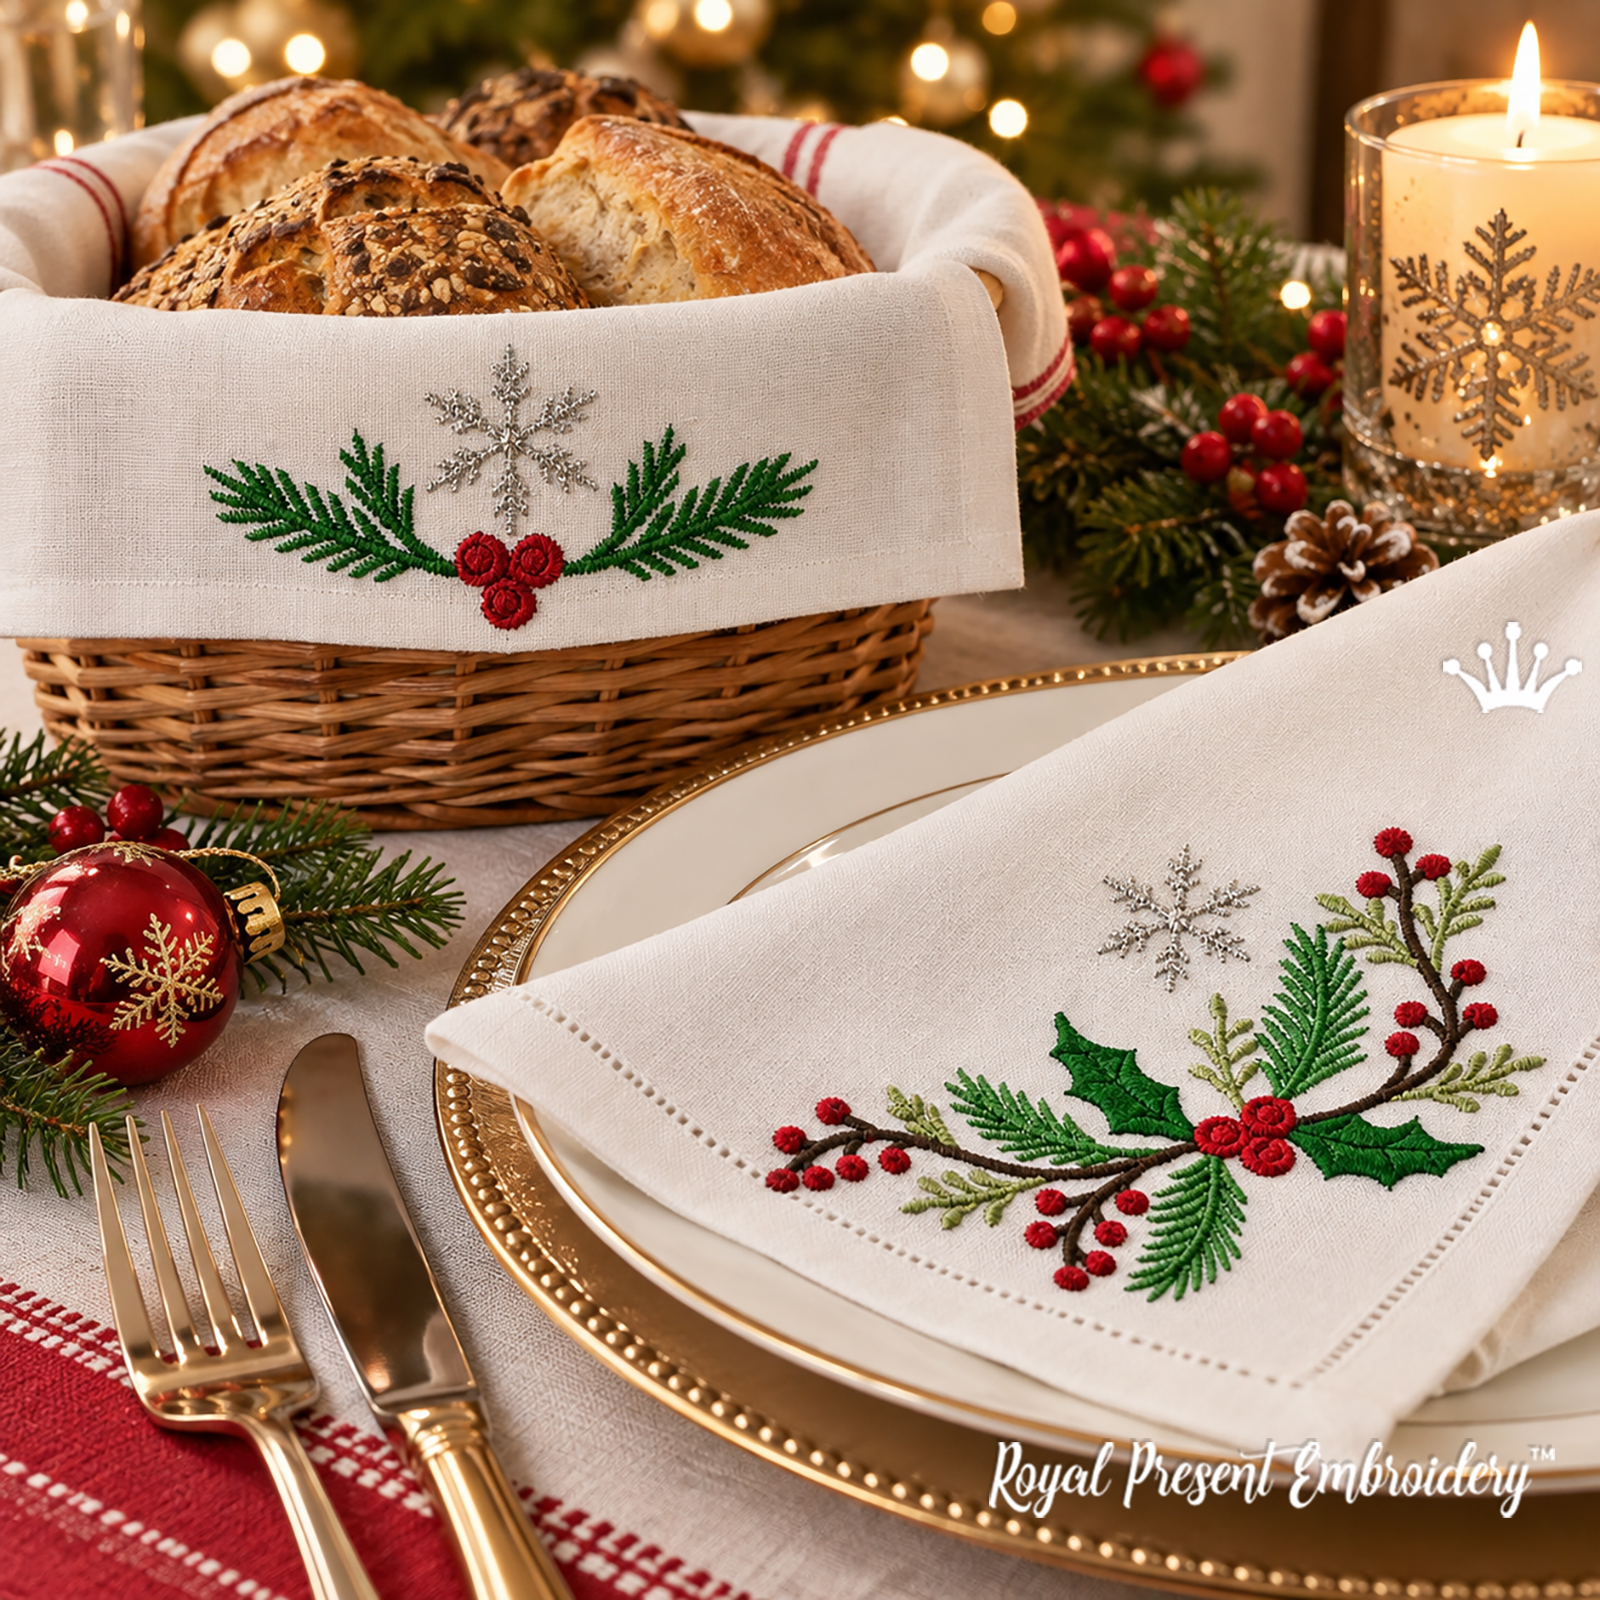
Coordinating Christmas designs
|
|
|
|
Madeira Classic 40 colour chart
The colour blocks reproduce the working shades from the supplied colour chart. Match thread by Madeira number rather than by a screen colour.
| Colour | Madeira Classic 40 | Used for |
|---|---|---|
|
|
1037 | red berries |
|
|
1257 | brown berry stems and branches |
|
|
1340 | olive-gold shoots |
|
|
1397 | dark holly leaves |
|
|
1369 | fir sprigs |
FAQ
Which fabric and stabilizer give the cleanest result?
Use stable linen, linen-cotton or firm woven cotton without stretch. Pre-wash and press the fabric before marking the corner. For a first test, use lower support with a combined weight of roughly one third of the fabric weight; on loose linen, test the full motif because the fine fir needles and berries must sit on top of the weave instead of sinking into it.
How do I position the corner accurately on a napkin or runner?
Print the template from the archive at 100% and place it on the actual item before hooping. Mark the corner point and keep the composition facing inward, away from the raw edge. Leave room for the hem: the stitch field must not cross a folded edge, seam or binding.
How can I embroider a finished napkin or runner that will not fit inside the hoop?
Hoop a self-adhesive tear-away stabilizer, score only its release paper inside the hoop and smooth the finished item onto the exposed adhesive without stretching it. Keep the reverse layer of the item outside the stitching area, then run the machine trace before the first stitch so the needle cannot catch a hem or the back of the piece.
What prevents puckering around the leaves and berry clusters?
Hoop the fabric and stabilizer flat but never drum-tight. If the fabric shifts independently from the stabilizer, secure the layers with temporary adhesive before embroidery. On smooth linen no topping is needed; use water-soluble topping only on pile, fleece, velvet or another textured surface so the fine details remain visible.

 Get Sign-In Link
 Login with Google
 Login with Facebook
 Login with Amazon
 Login with Paypal