By knowing the speed of your embroidery machine, you can find out how long it will take to embroider a design. To use the embroidery calculator, click on the number of stitches in the product description.
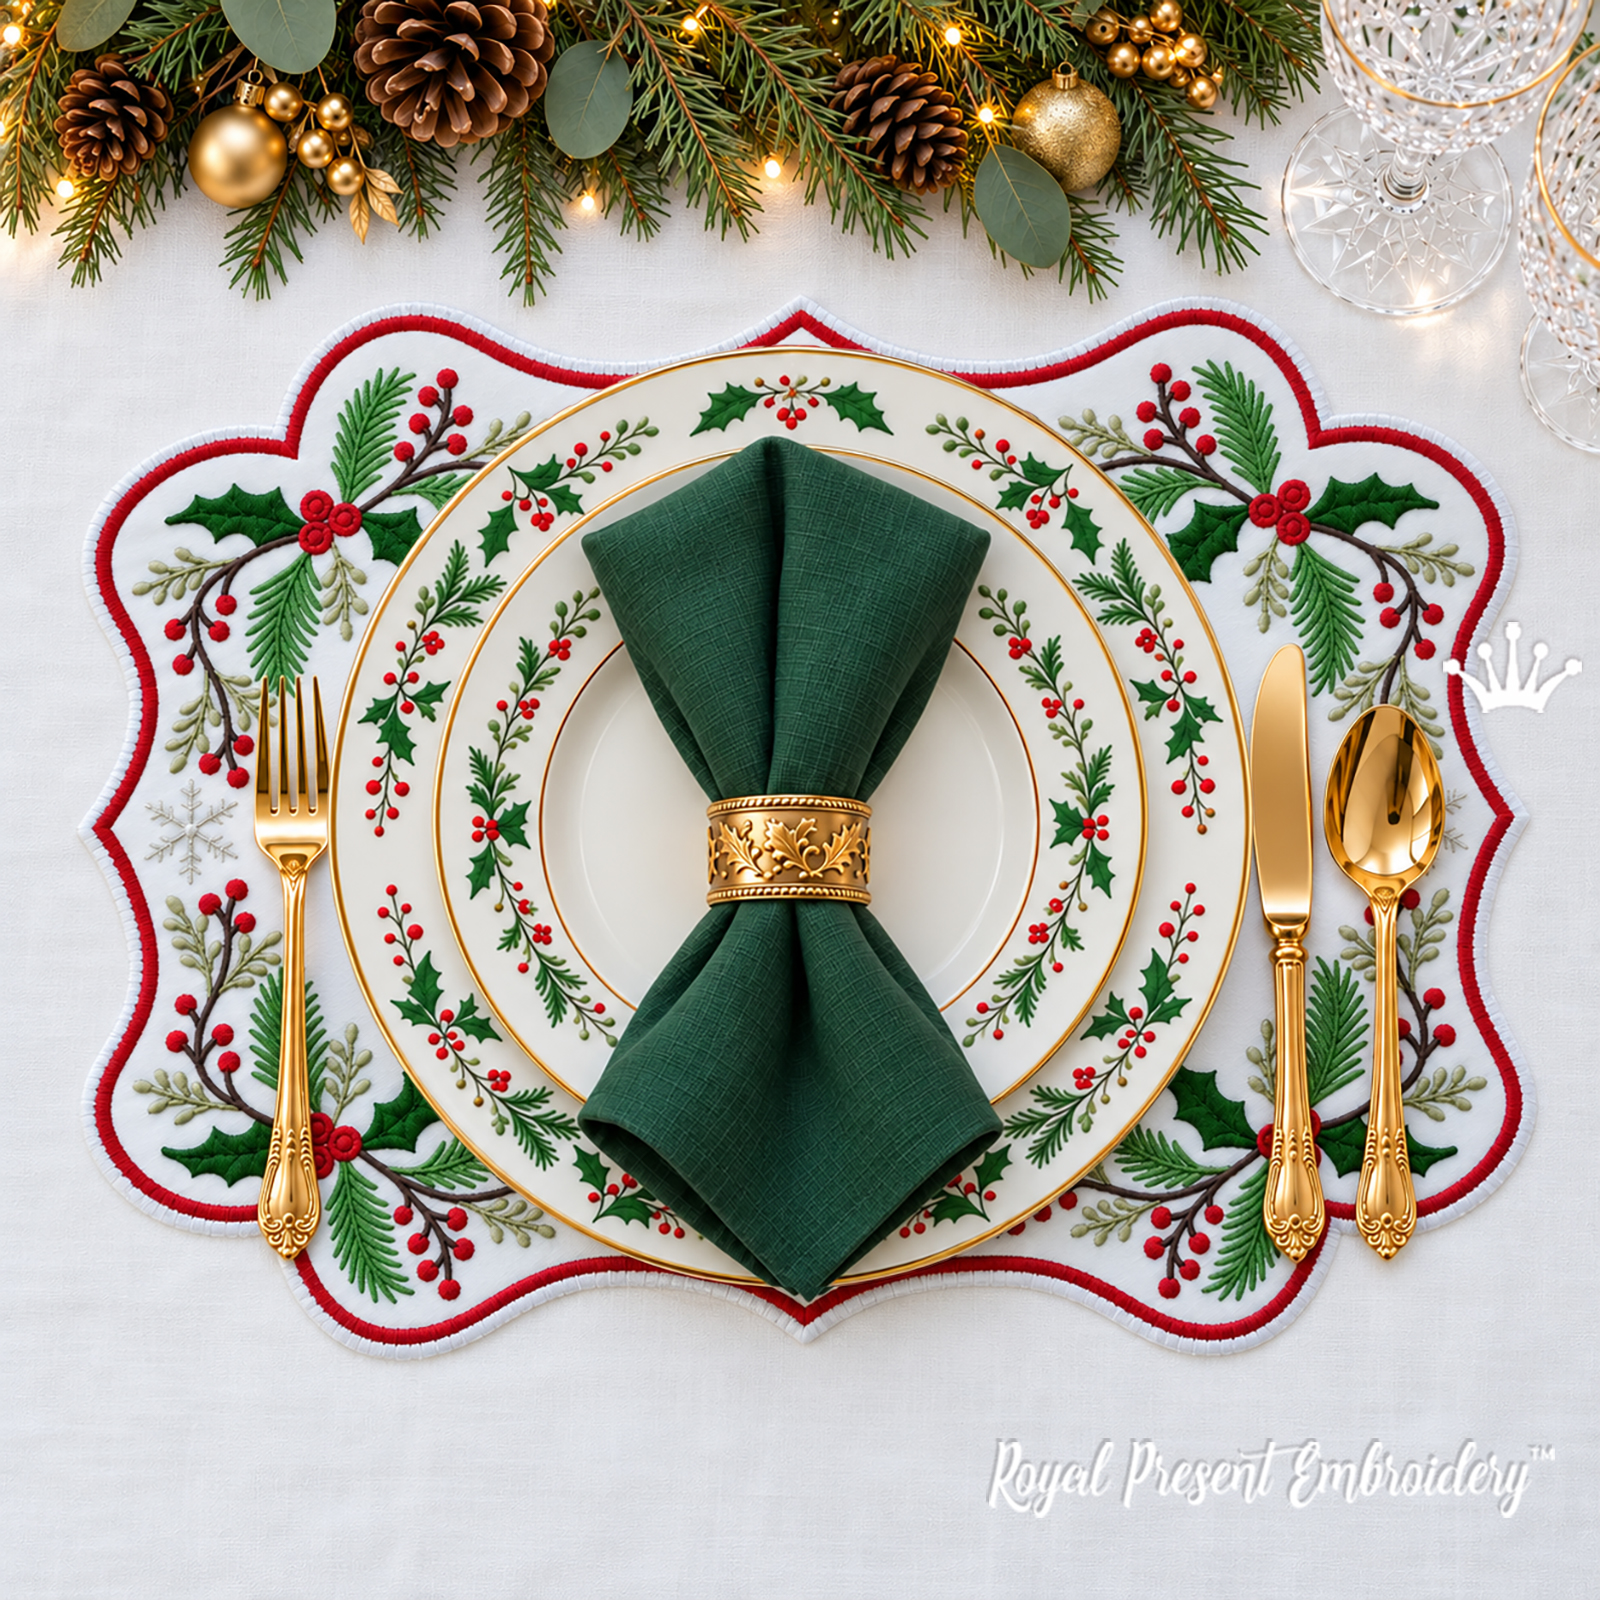
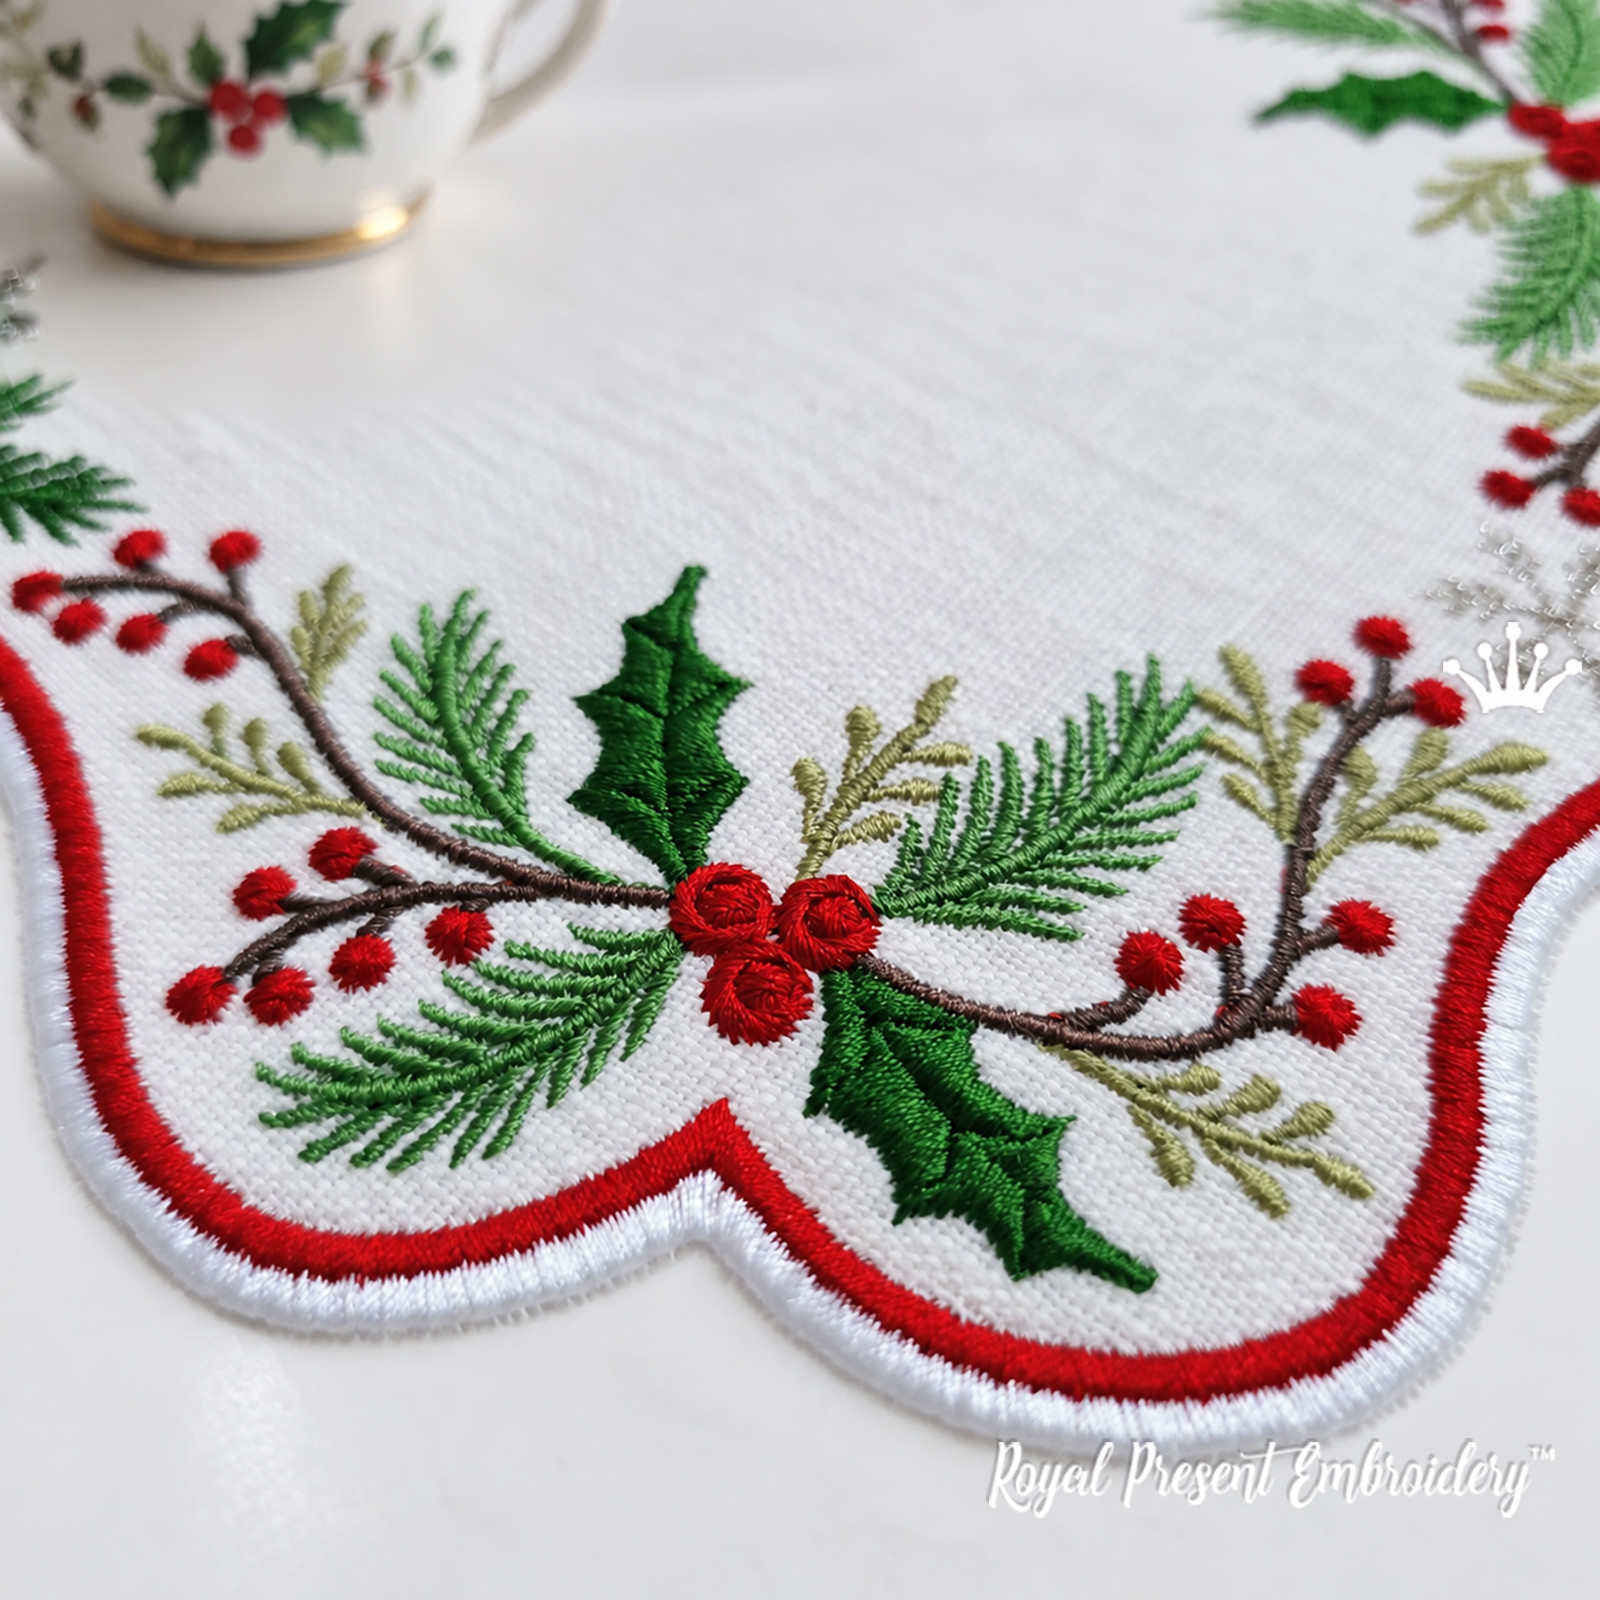
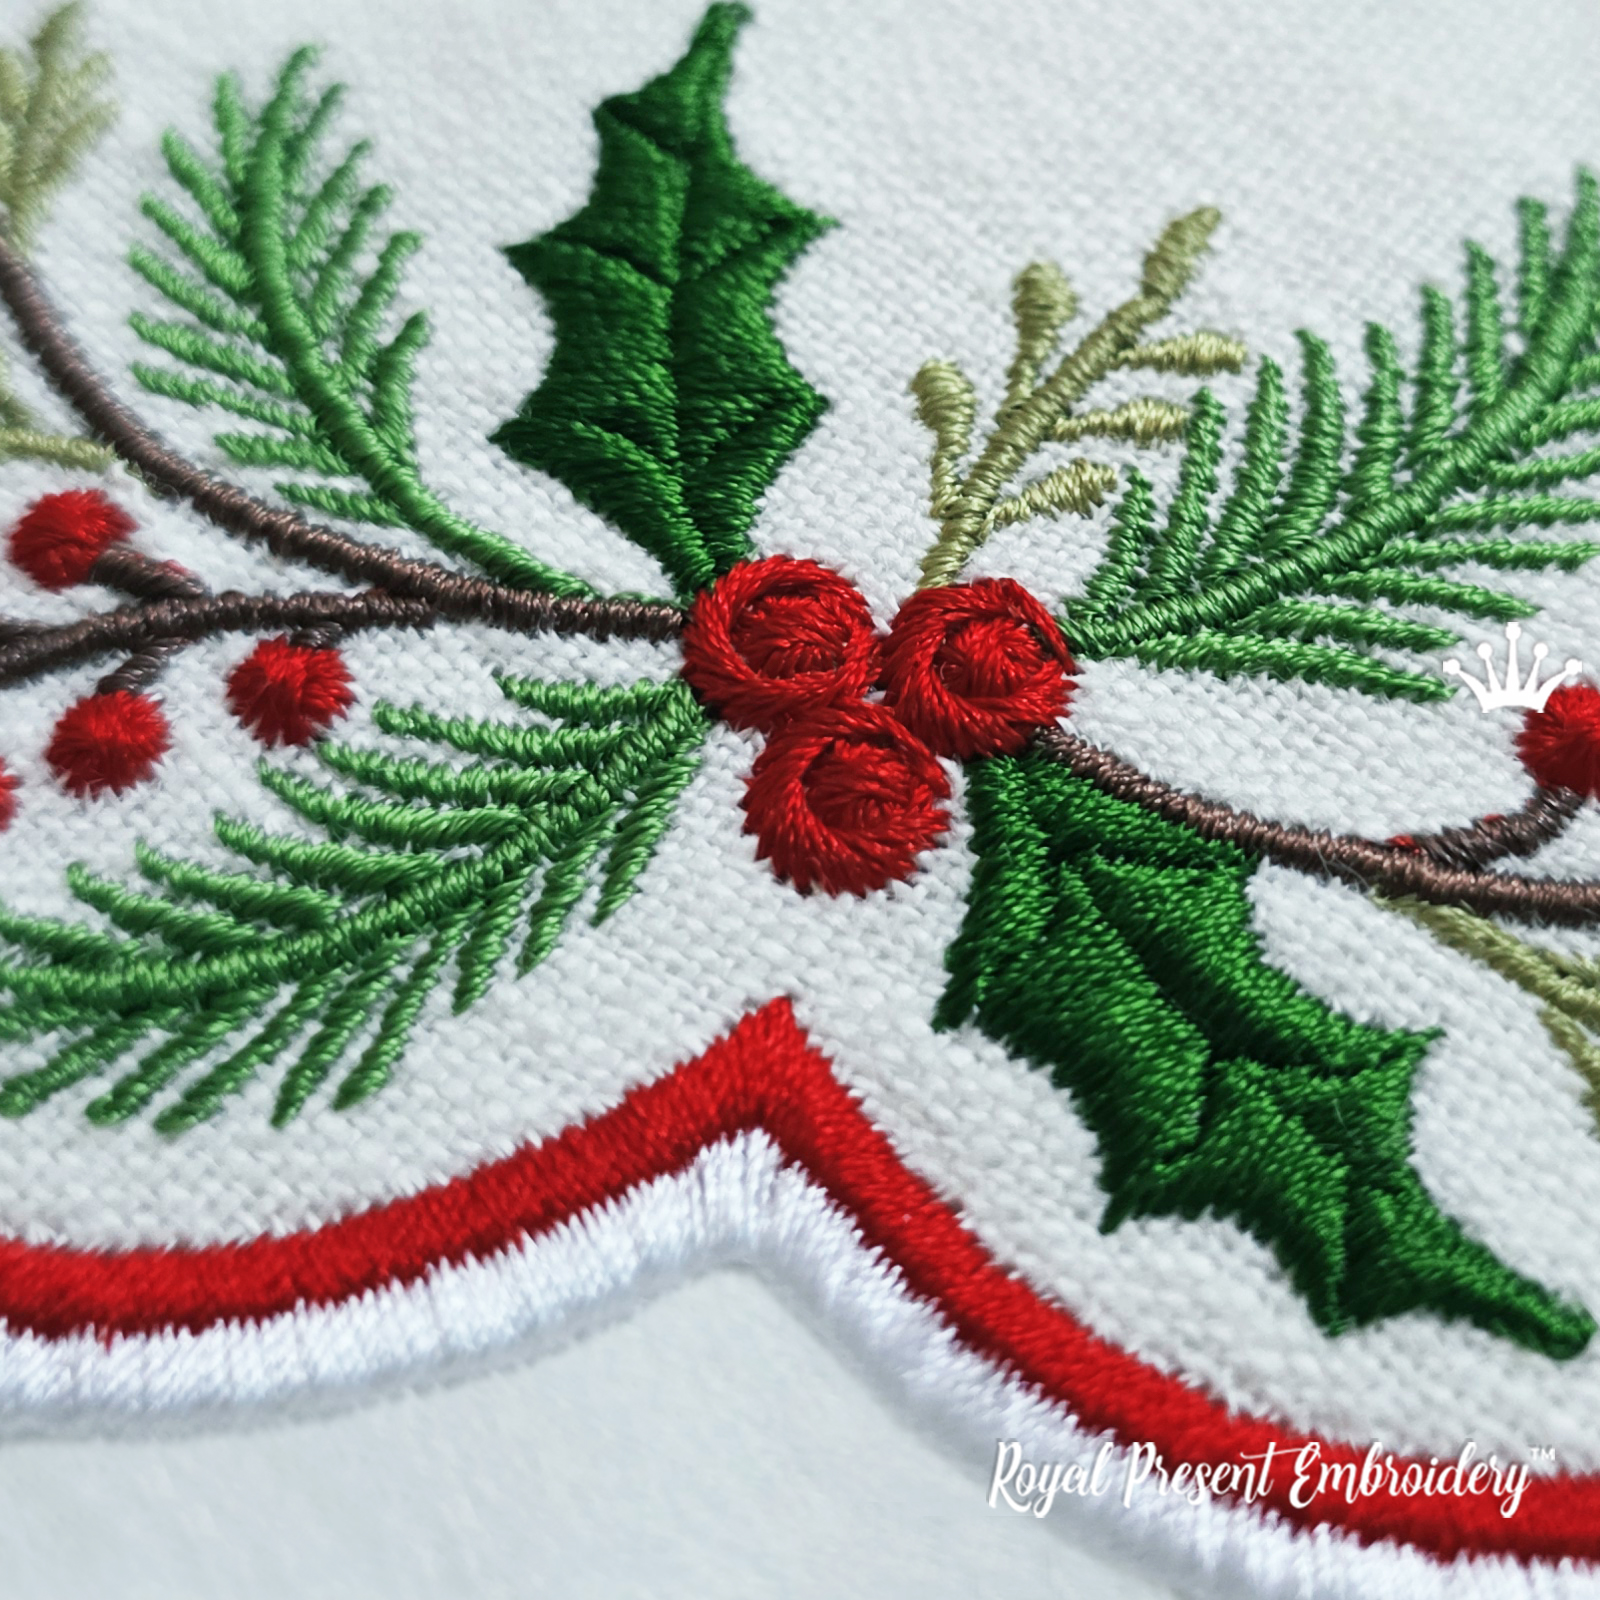
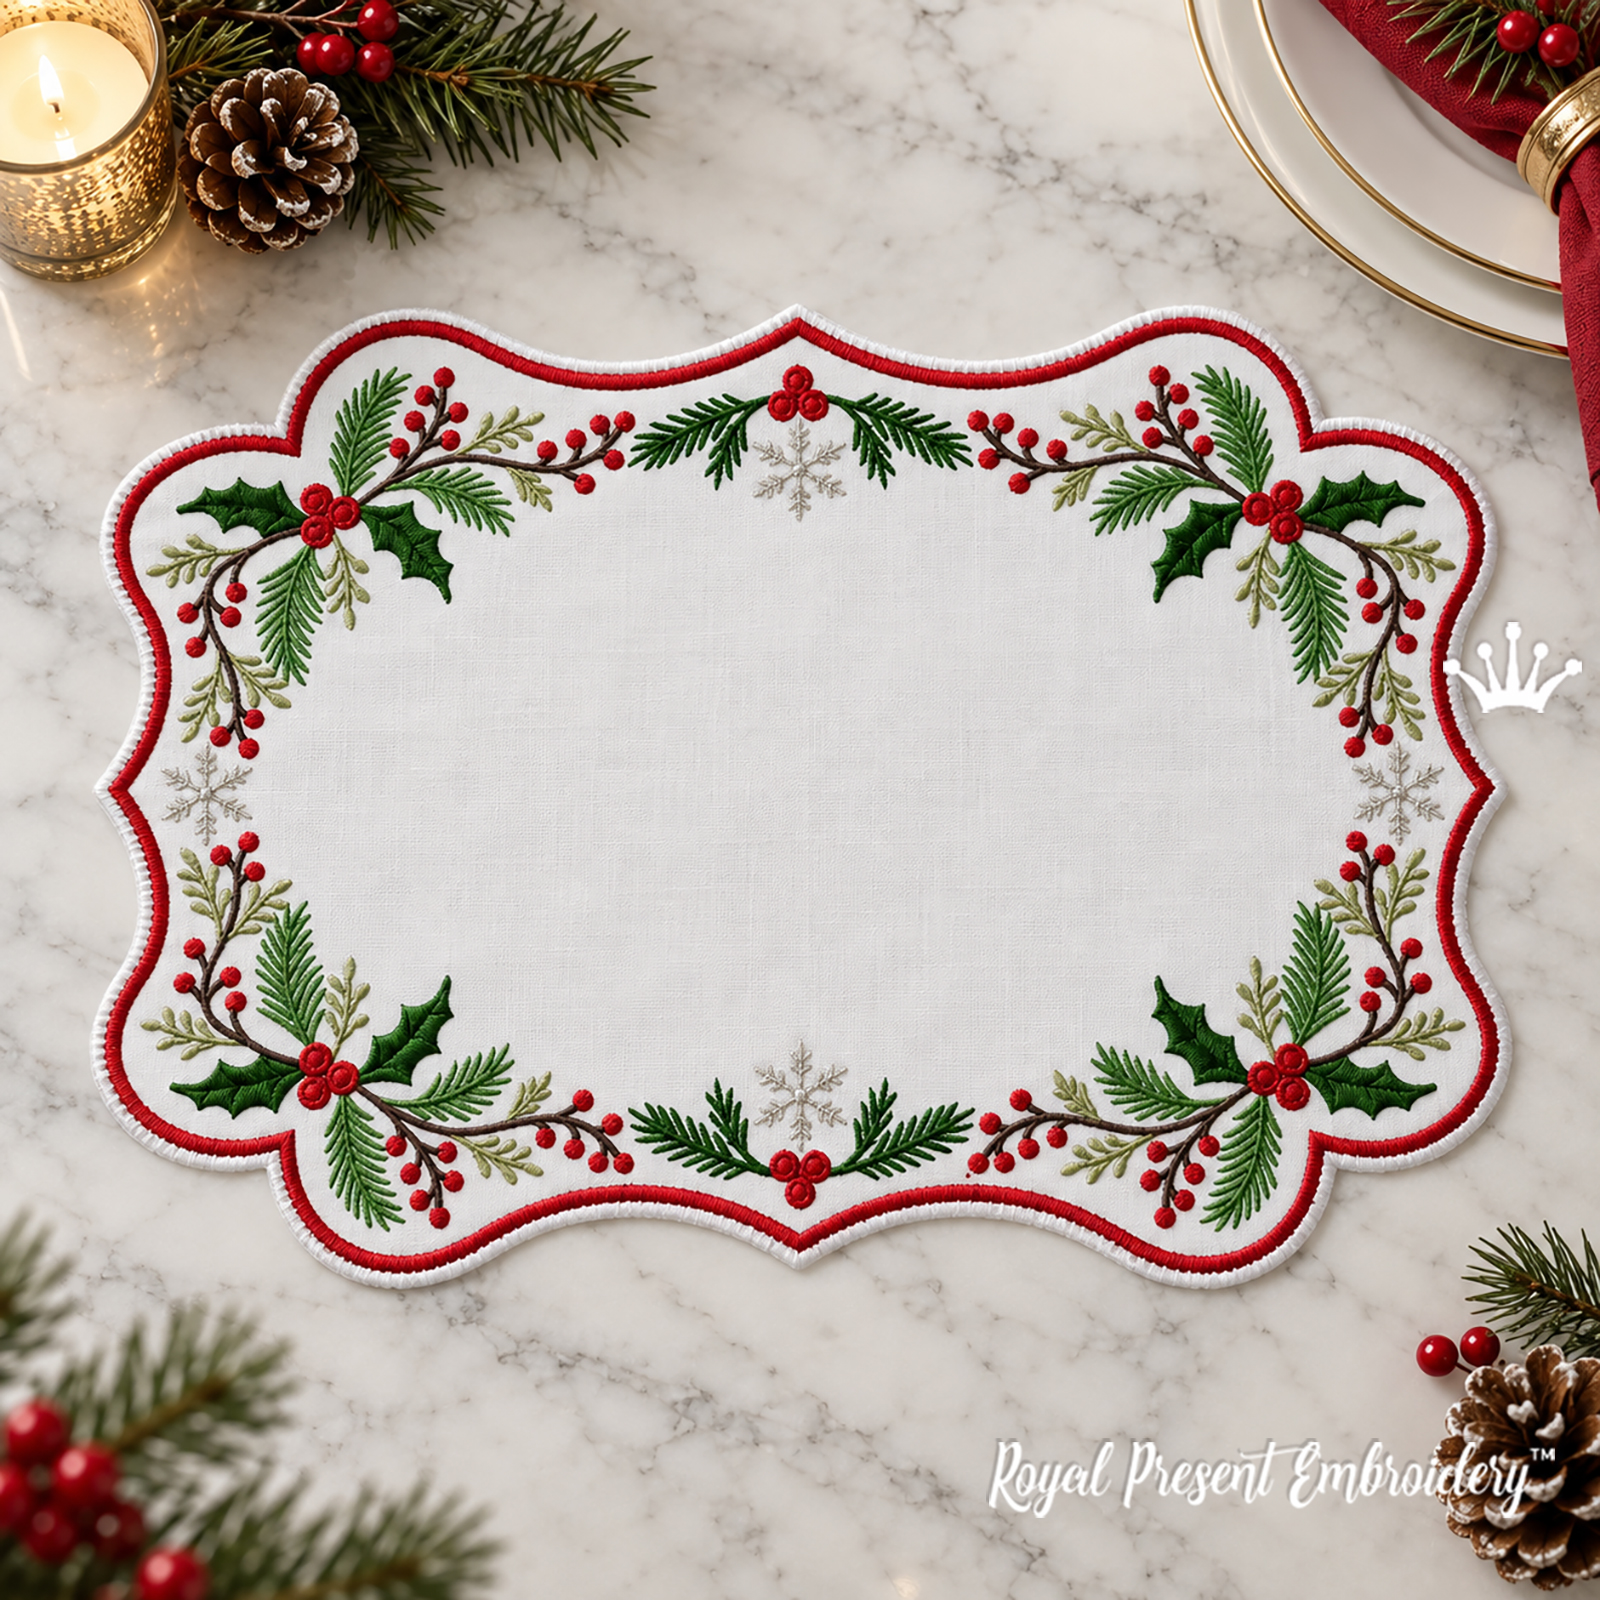
This is a digital ITH machine embroidery design for a scalloped Christmas placemat. Fir branches, holly, red berries and snowflakes are embroidered completely in the hoop and finished with a neat red satin edge.
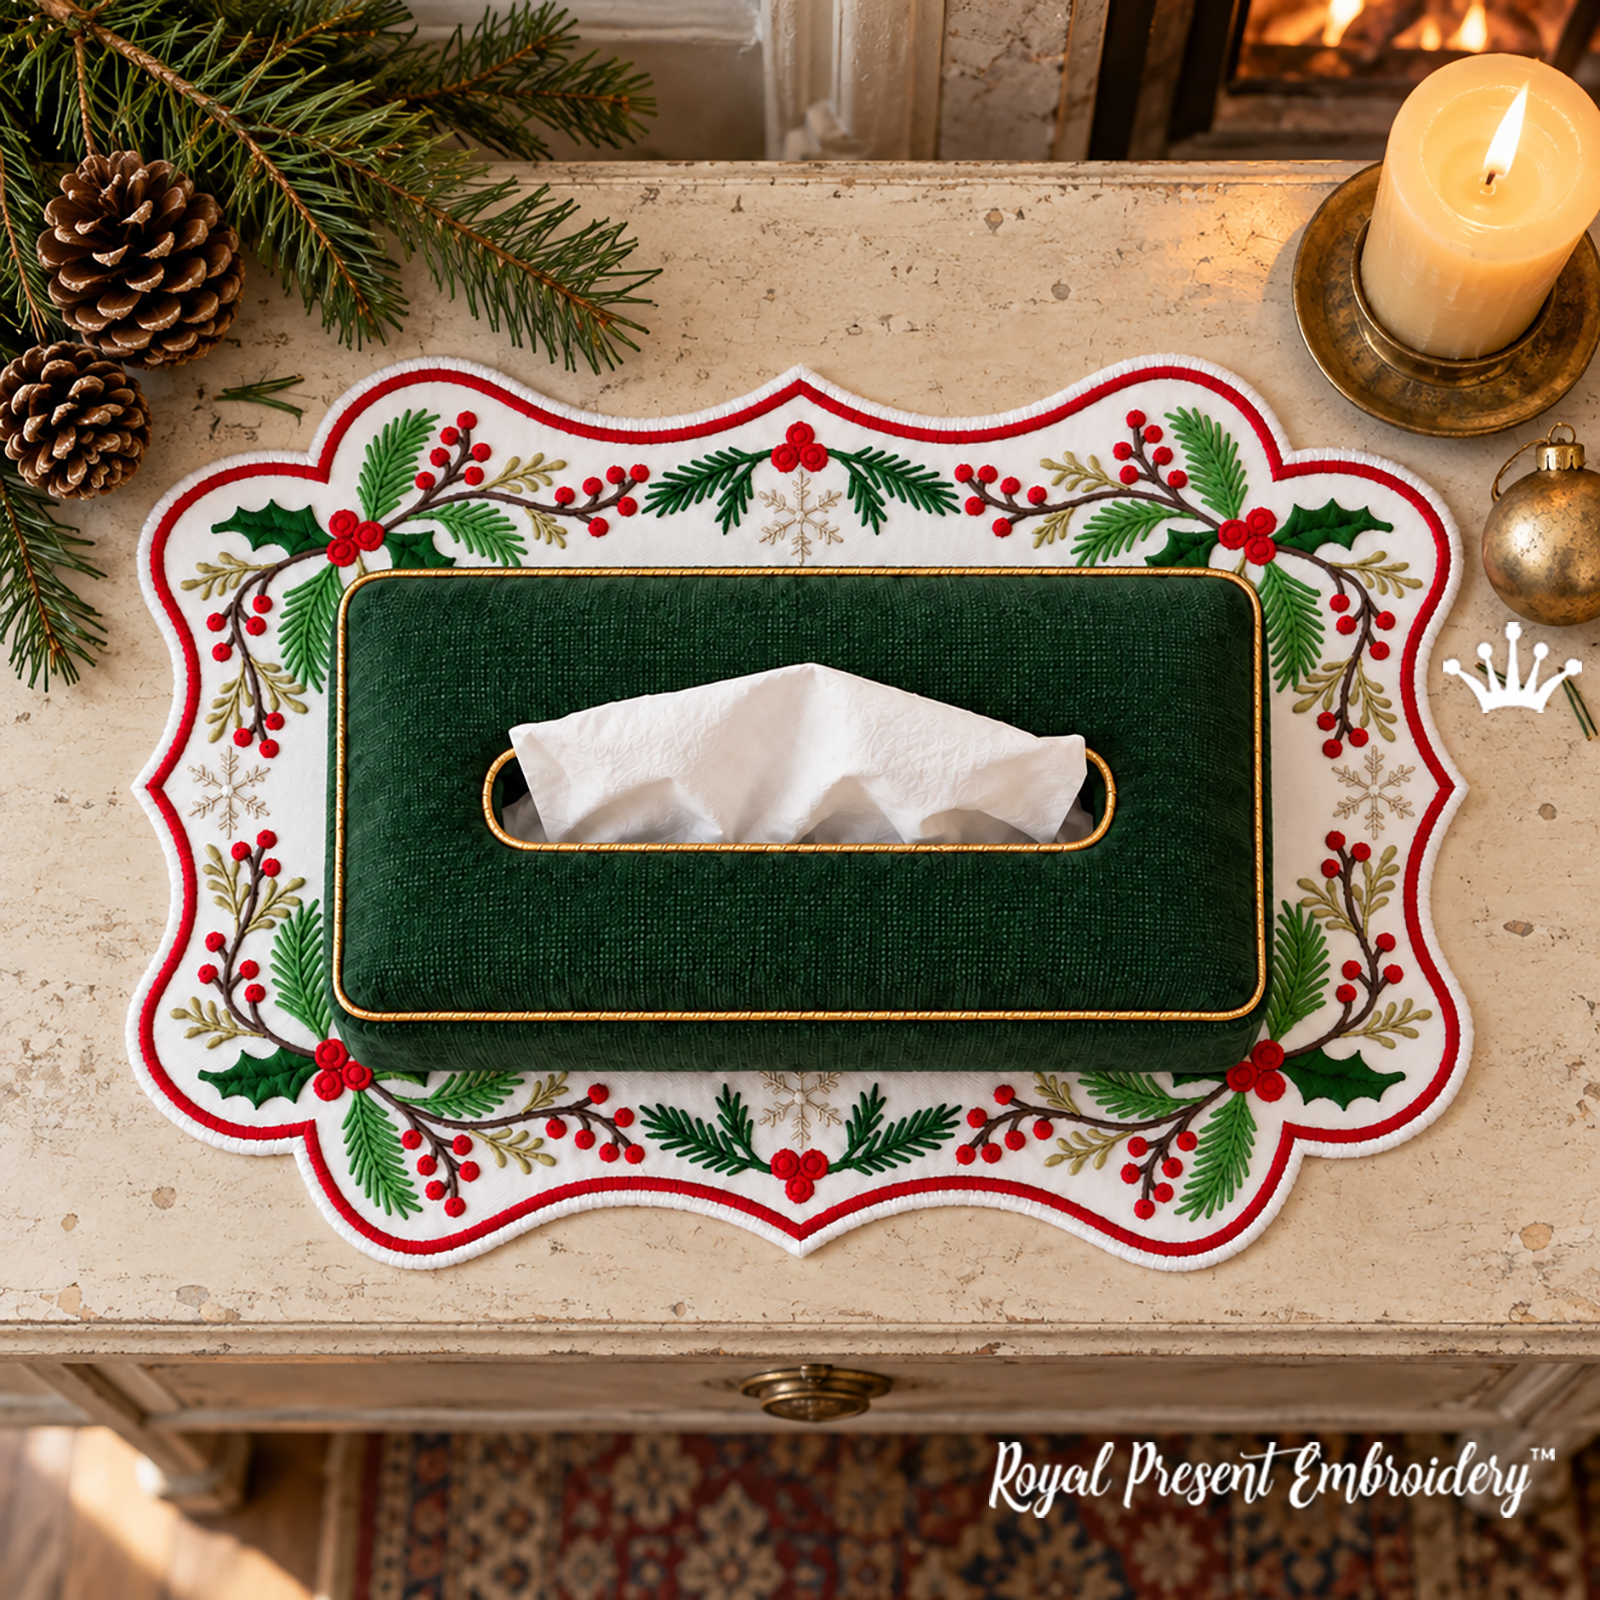
The elongated shape is made for large rectangular hoops. The smallest version fits a 200x300 mm (8x12") hoop and works beautifully under a small plate, a napkin holder, or a cup with sweets. The largest version creates a full-size festive placemat.
What Is Included
Technique
ITH — the complete item is assembled directly in the embroidery hoop.
Finished item
A scalloped elongated placemat for a plate, cup, or folded napkins.
Sizes
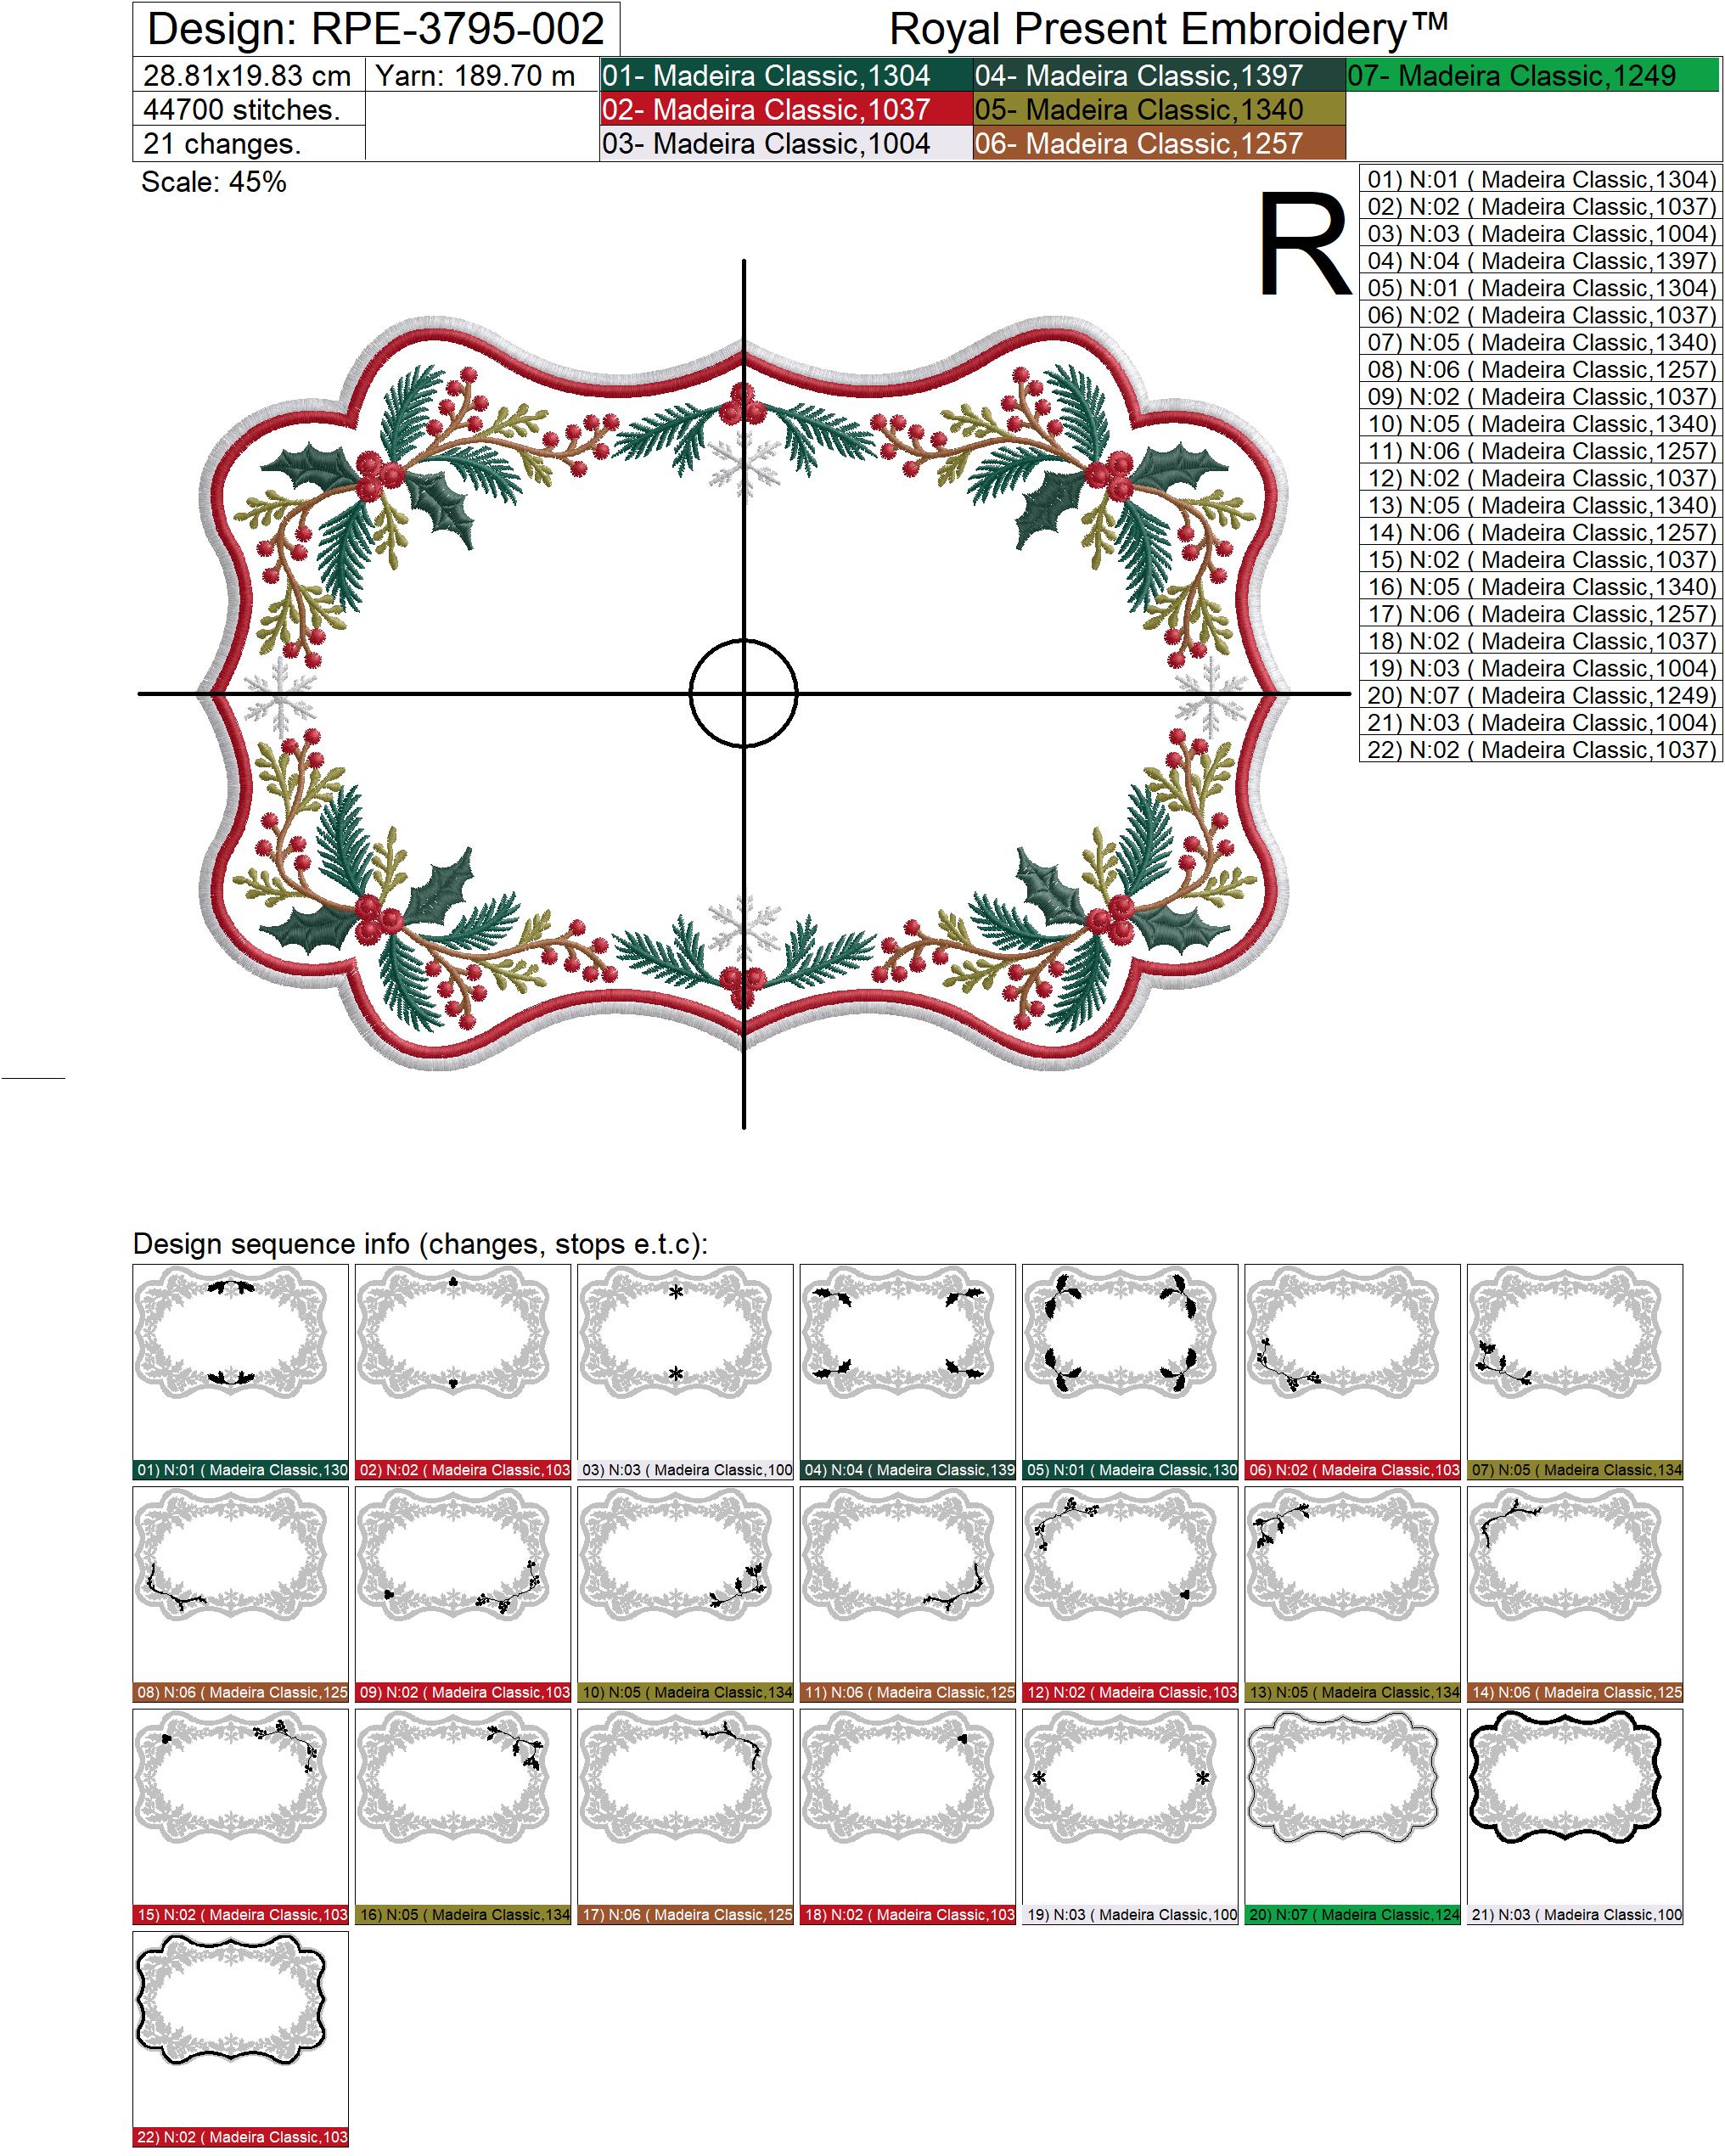
7 versions — from 288.1x198.3 mm (11.34x7.81 ") to 497.8x341.9 mm (19.60x13.46 ").
Threads
Madeira Classic 40: 7 colors and 21 programmed thread changes.
Important
You are purchasing a digital file for an embroidery machine. Fabric, thread, stabilizer and a finished placemat are not included.
The color squares show the working thread shades. Use the Madeira numbers and the color order in the embroidery file as your reference.
Color
Madeira
Shade
Used For
■
1304
dark green
fir branches
■
1037
red
berries and satin edge
■
1004
light grey
snowflakes and light details
■
1397
dark brown
branches
■
1340
olive gold
decorative twigs
■
1257
brown
twigs
■
1249
green
holly and green details
Why There Are 21 Thread Changes
The repeated colors are intentional. Branches and berries are embroidered in separate sections so earlier stitches do not show beneath the satin branch bars, while the back has fewer long thread travels and trims.
Do not automatically sort or merge repeated colors. A single-needle machine requires more thread changes — this is a normal part of the construction and keeps the large design tidy.
Before cutting, prewash the front and backing fabrics. Dry and press both using the same care routine.
Attach two layers of tear-away stabilizer to the wrong side of the front fabric with temporary adhesive, then hoop the preparation.
Embroider the front through the placement outline. Remove the hoop from the machine, but do not unhoop the fabric.
Turn the hoop over. Apply temporary adhesive to the stabilizer on the wrong side and attach the backing fabric wrong side to stabilizer, right side facing out.
Return the hoop to the machine. The outline stitches secure the backing along the placemat shape.
Remove the hoop again. Trim the excess front and backing fabrics close to the outline without cutting the stitches or stabilizer.
Return the hoop and embroider the final satin border. It covers the cut edge and permanently joins the layers.
After unhooping, remove only the stabilizer outside the outline. The stabilizer between the two fabrics stays inside the finished placemat.
2. Lightweight single-layer placemat: no backing fabric
Prepare the front fabric and stabilizer as for the first option, then embroider through the outline.
Do not attach backing fabric. The outline is stitched without a back layer.
After the outline, trim only the front fabric close to the stitches, then embroider the final satin edge.
After unhooping, tear away all stabilizer from the back, trim thread tails and clean the reverse side. The result is a thin placemat with no backing fabric and no stabilizer inside.
Fabric, Stabilizer & Care
Linen and cotton: choose stable medium-weight woven fabrics without elastane. For loose, open-weave linen, keep the support strong: use two layers of tear-away stabilizer and temporary adhesive so the fabric does not shift.
Shrinkage: the front and backing must have matching care requirements and similar shrinkage. Once the satin edge is finished, it is no longer safe to shrink the placemat.
Textured fabric: smooth non-pile velour or suede-textured material gives the placemat a more luxurious appearance. Make a sample first; do not automatically prewash it — follow the manufacturer's care label. If the fabric is dry-clean only, dry-clean the finished placemat too.
Thread and needle: polyester 40-weight thread is practical for washable table linens; rayon 40-weight gives a decorative finish. A 75/11 embroidery needle suits most medium-weight fabrics.
Before starting: stitch a test section using the same fabric, stabilizer and thread planned for the finished placemat.
Most machines run around 600-750 stitches per minute. If a design has plenty of color changes and trims, it will take significantly longer to embroidery the design.
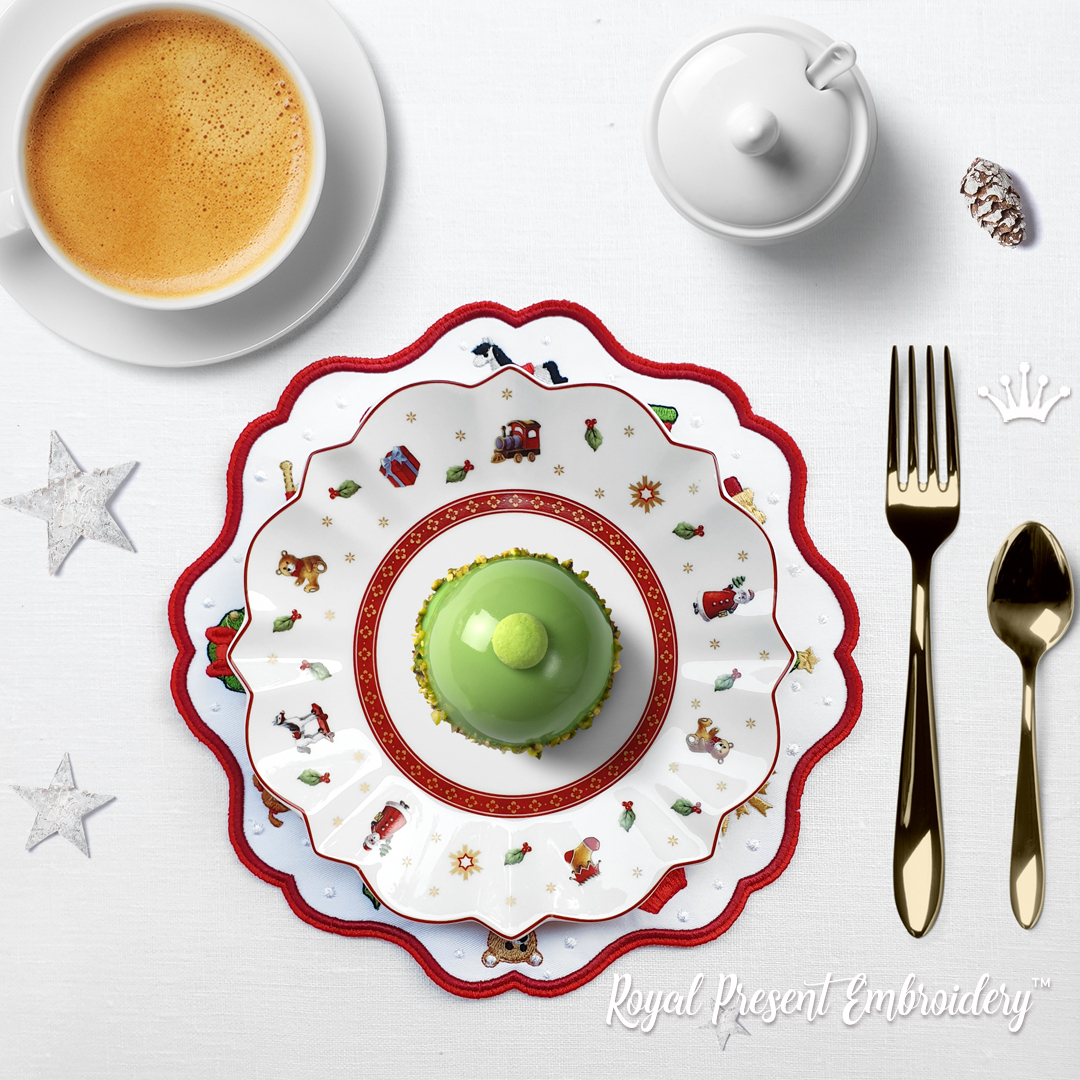 Christmas Toys
 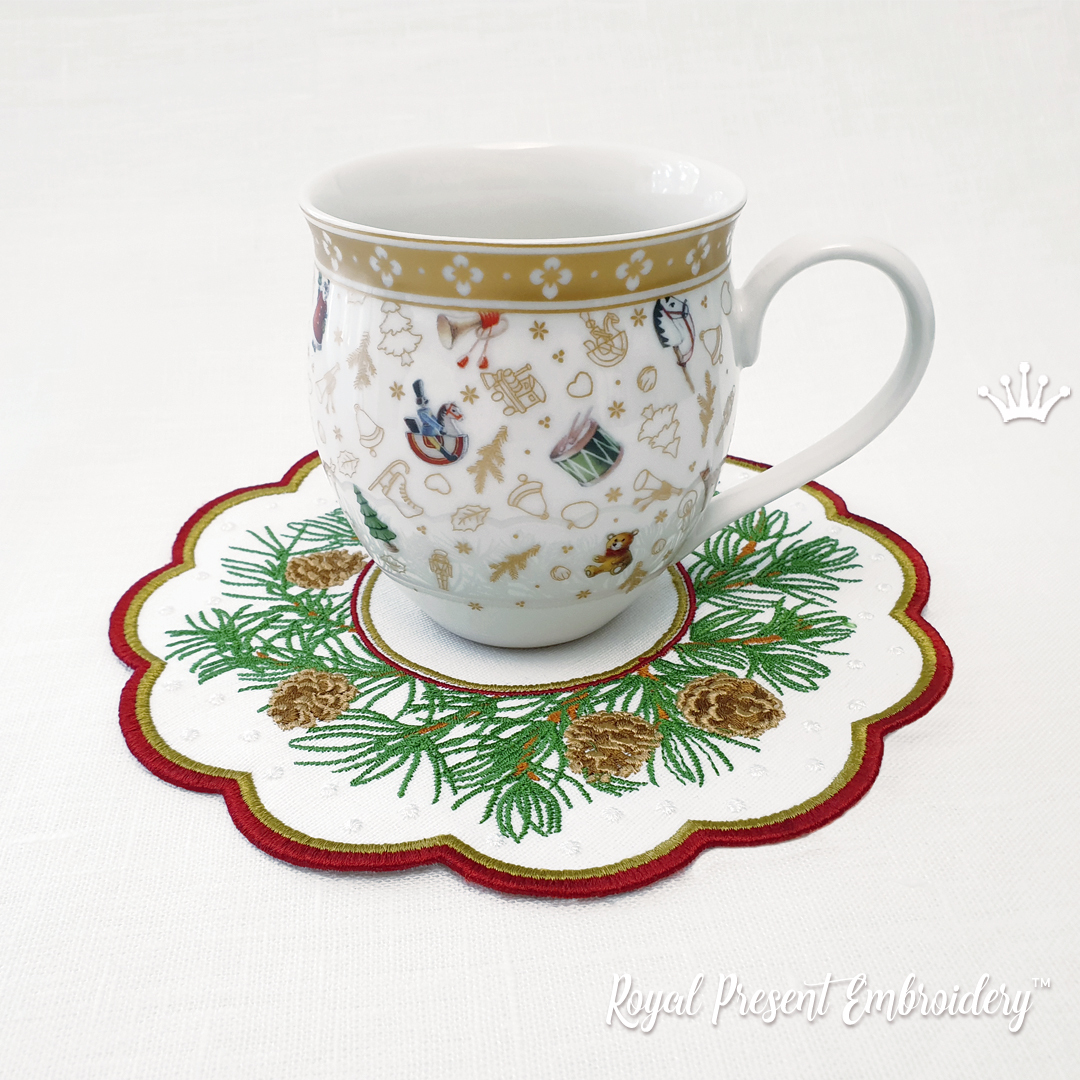 Pine Tree with Cones
 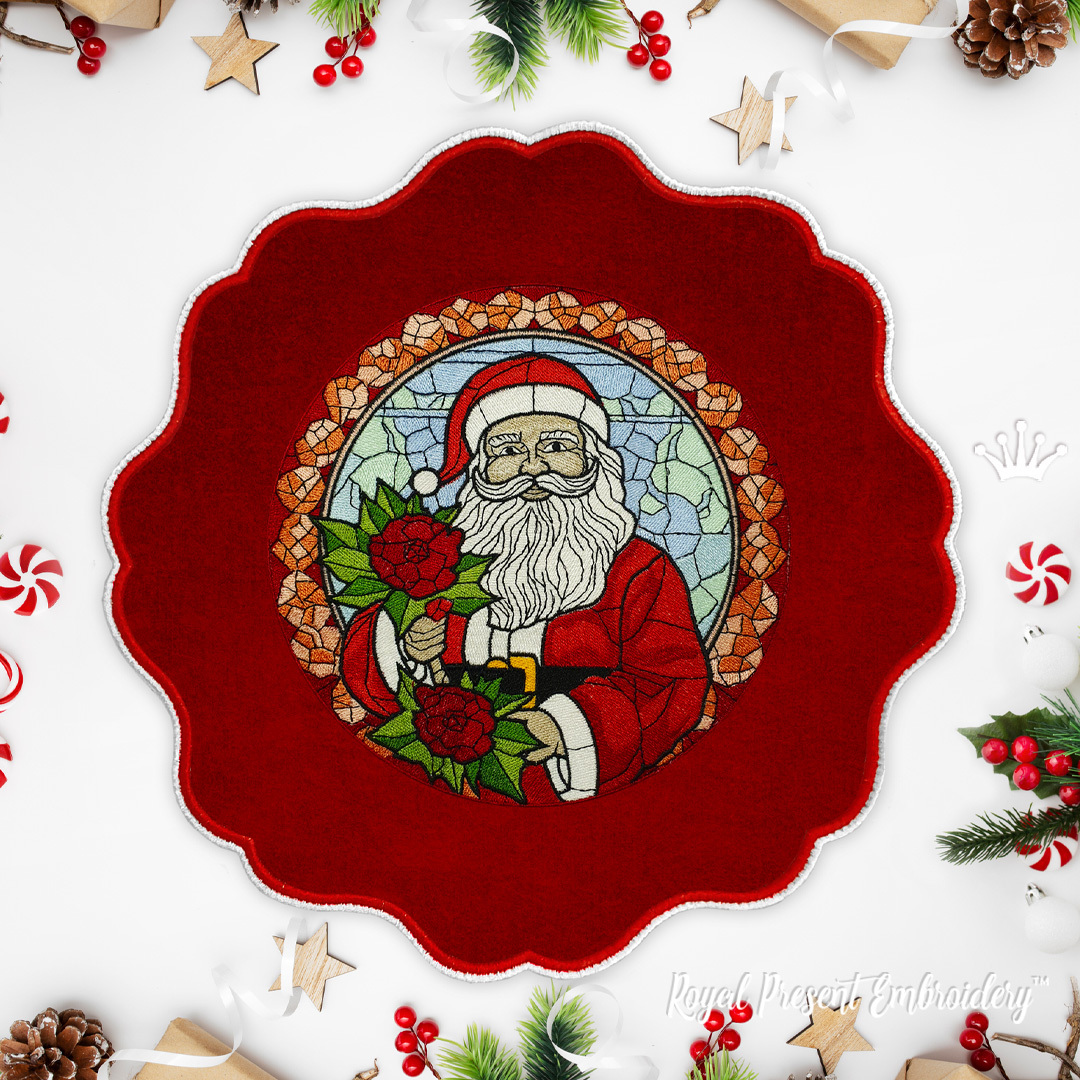 Santa
Santa 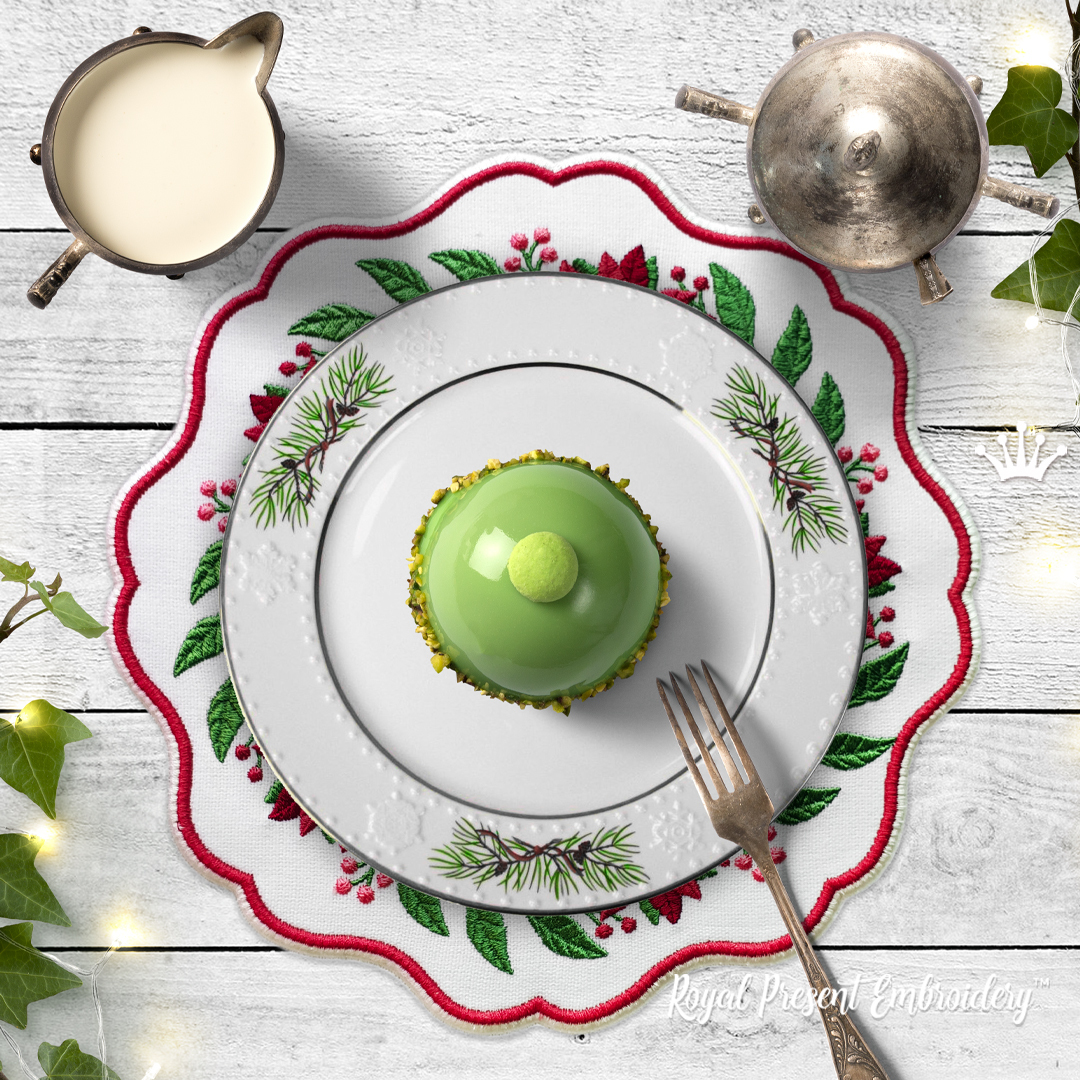 Poinsettia
 Get Sign-In Link
 Login with Google
 Login with Facebook
 Login with Amazon
 Login with Paypal