Free Mini Pumpkin Machine Embroidery Designs – Set of 2, 3 Sizes
By knowing the speed of your embroidery machine, you can find out how long it will take to embroider a design.
To use the embroidery calculator, click on the number of stitches in the product description.
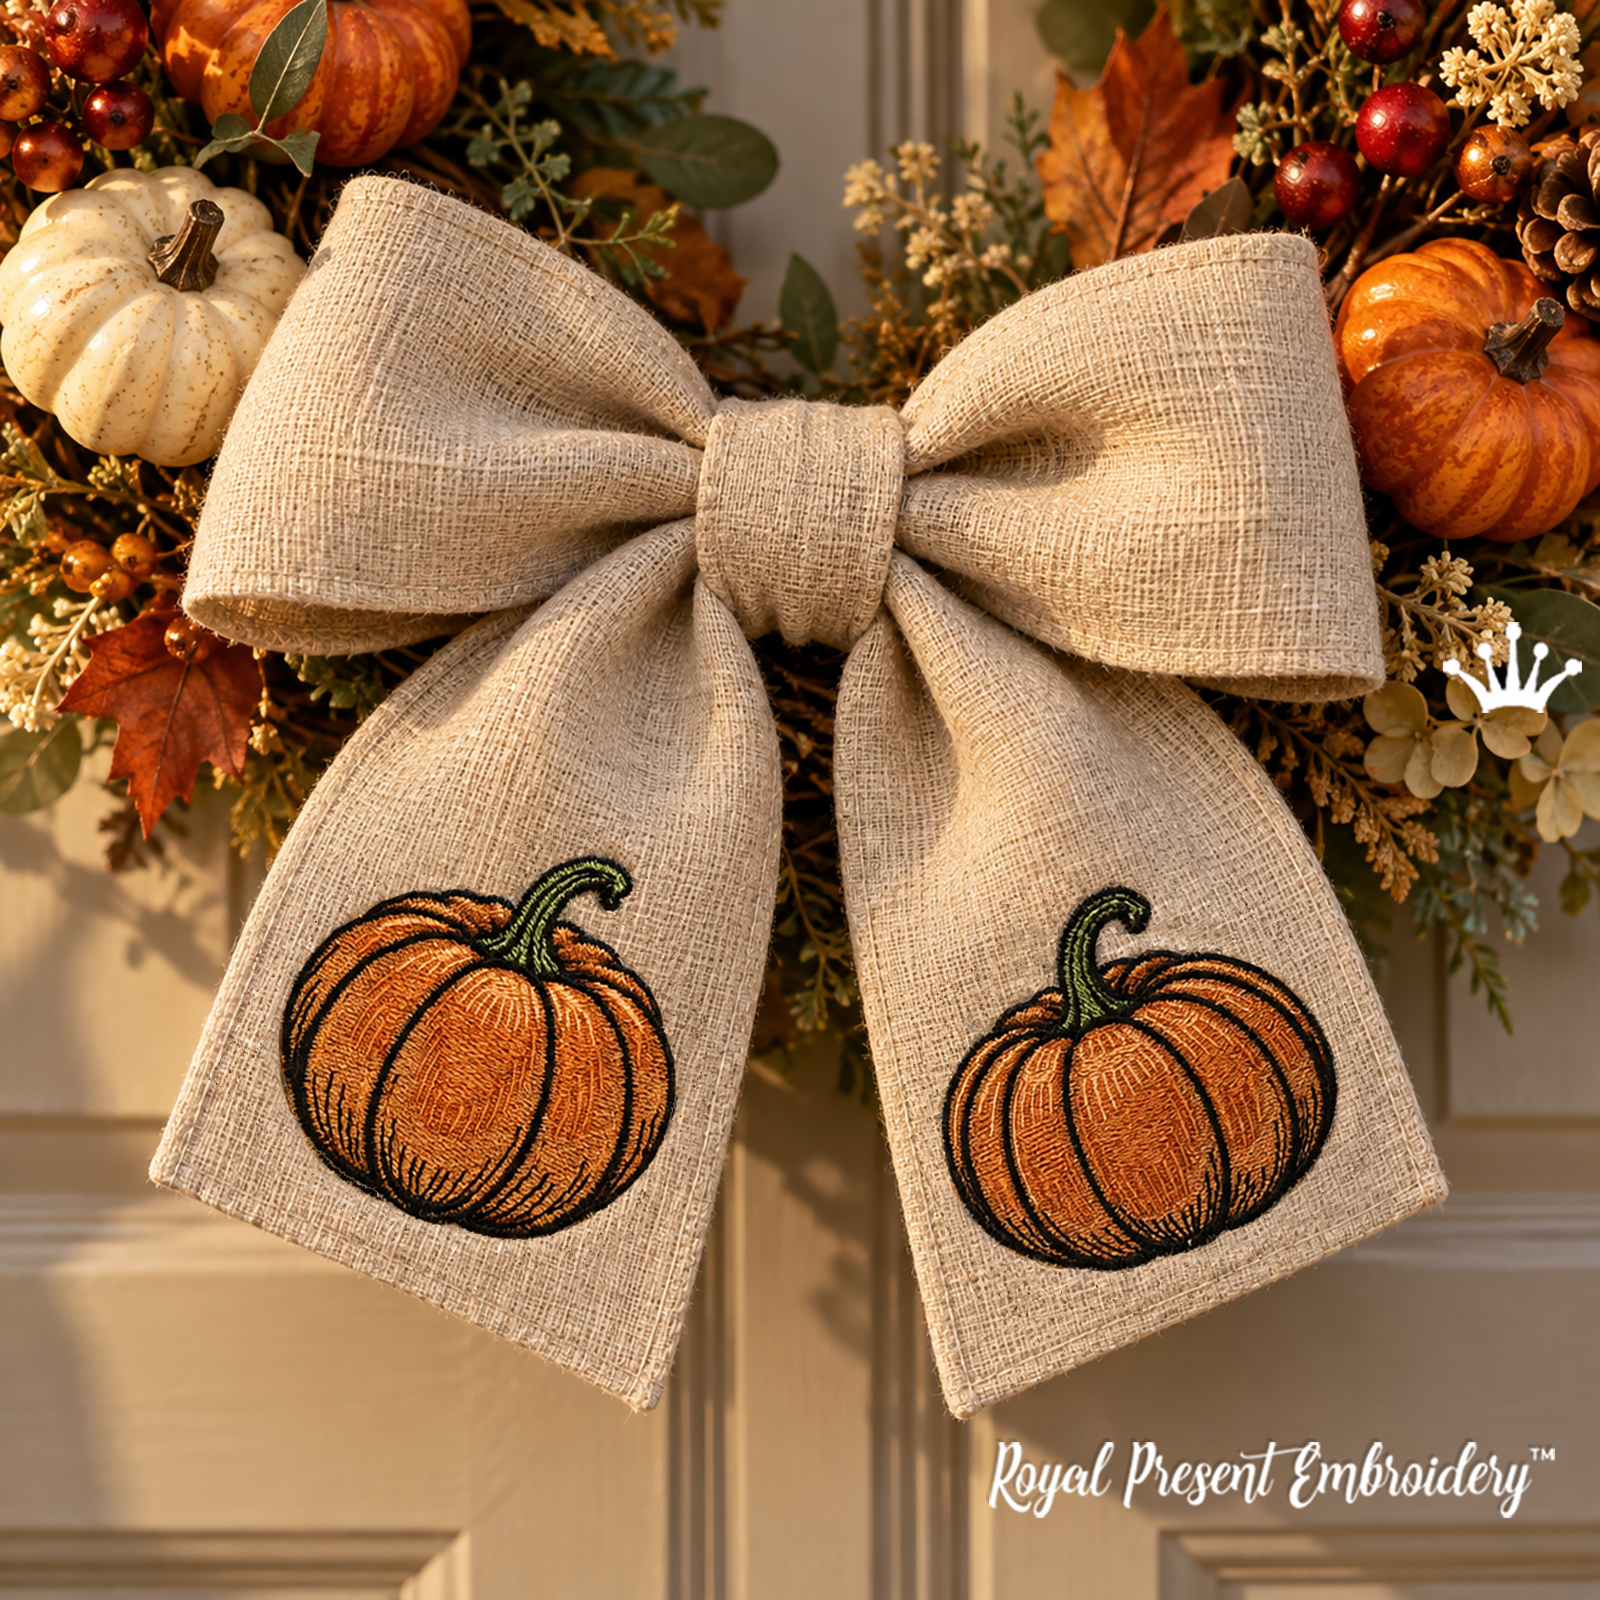
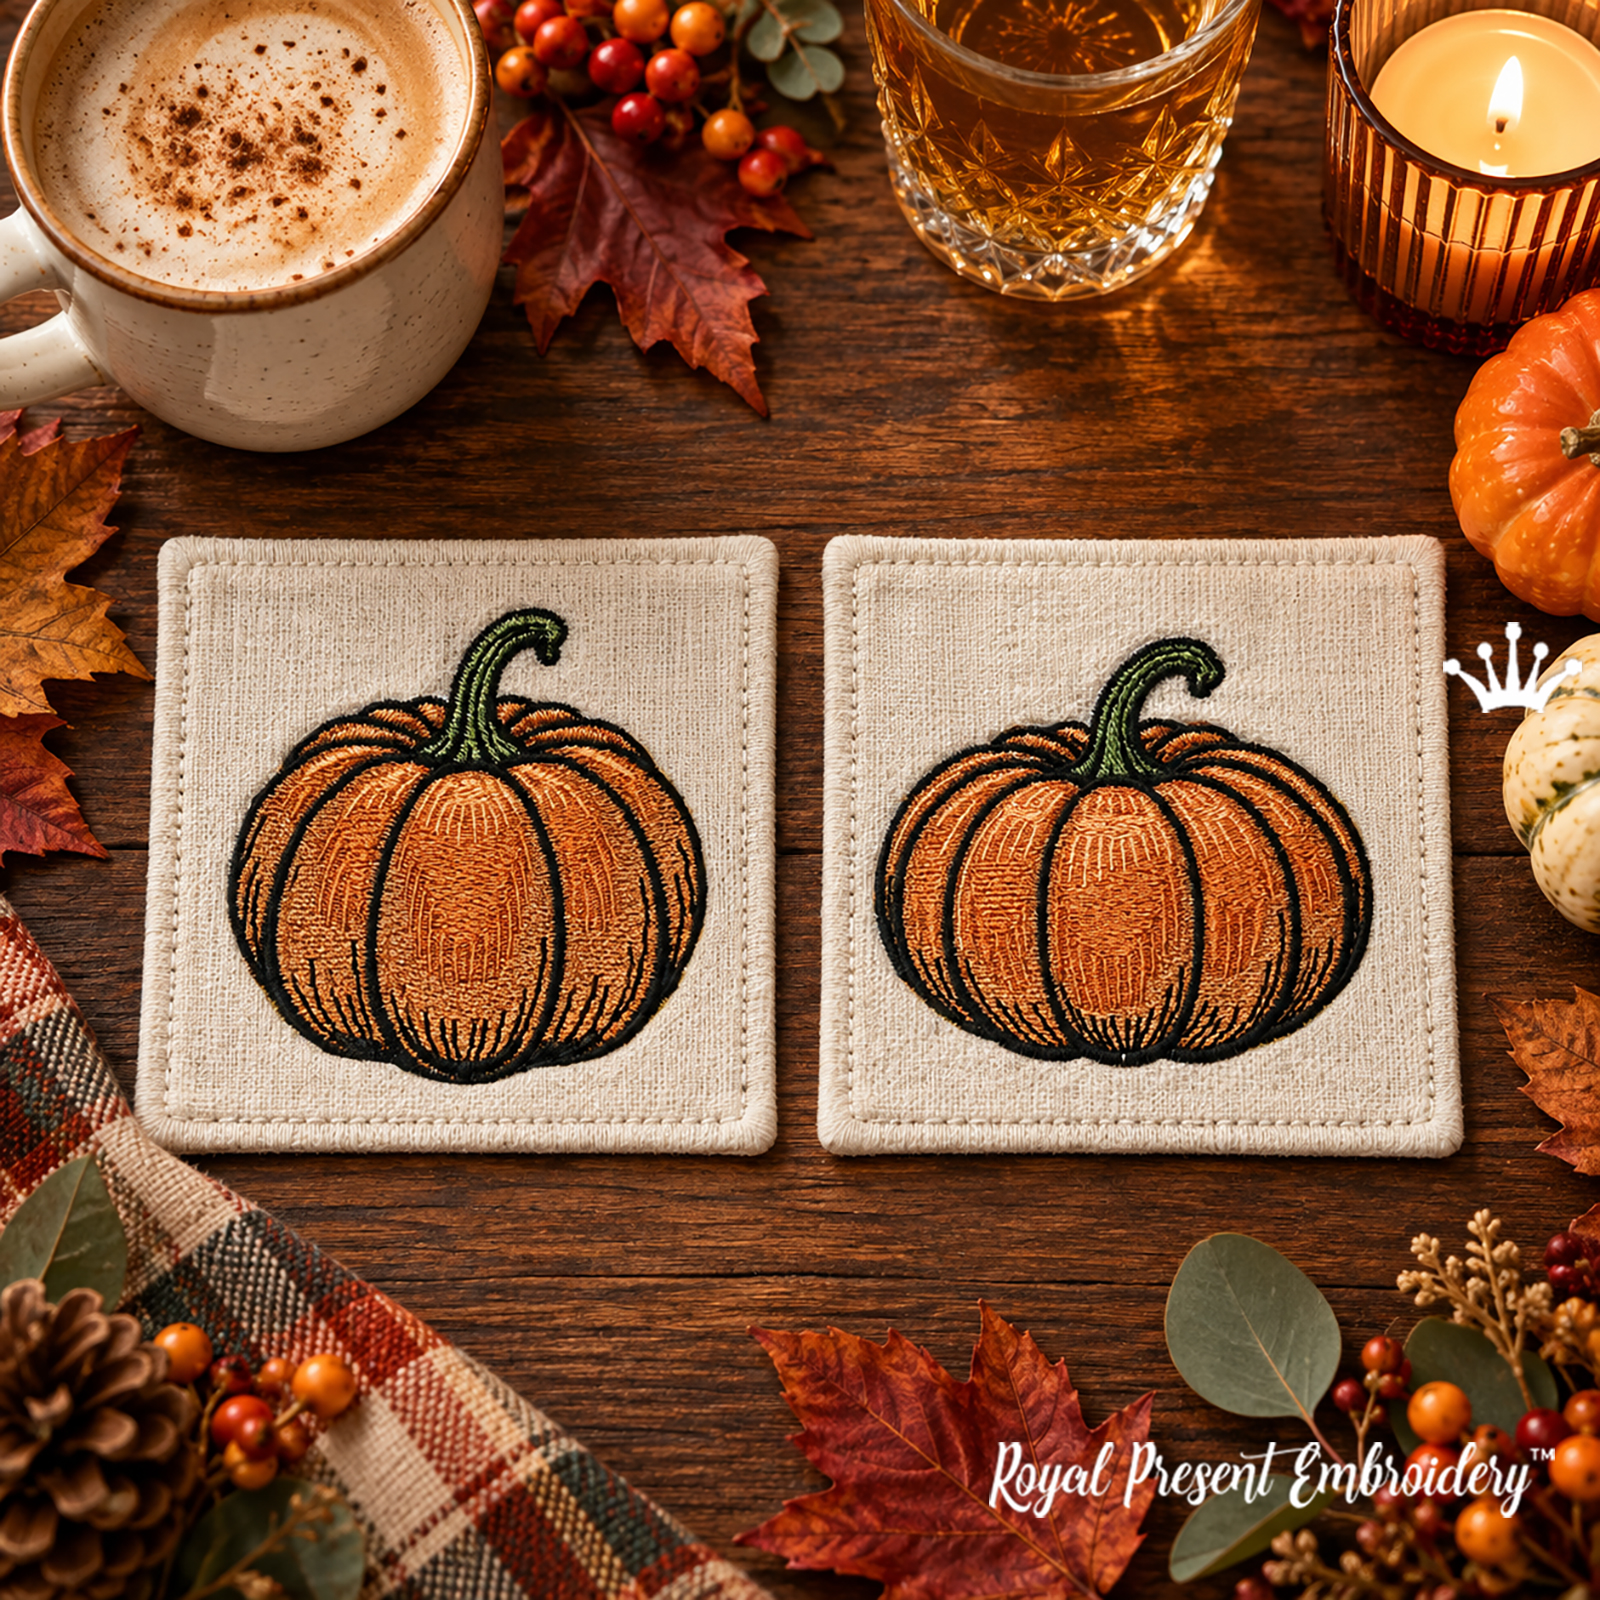
Free Mini Pumpkin Machine Embroidery Designs is a set of two separate autumn pumpkin motifs, each provided in three ready-to-stitch sizes. Five size versions fit an 80x80 mm (3x3") embroidery field. The largest version of Mini Pumpkin No. 2 measures 81.7x72.6 mm and requires a 100x100 mm (4x4") hoop or larger embroidery field.
The two pumpkins share the same warm fall palette: layered orange shading, an olive-green stem and dark graphic outlines. Their compact scale makes them useful for napkins, pockets, small towels, children’s clothing, gift bags, quilt blocks and small seasonal decorations.
Important Notice:
You can add free designs to your cart with a purchase of at least $3. Unfortunately, free designs cannot be downloaded separately without an order. Add the free design to your cart along with any paid design, then proceed to checkout.
How to Get This Free Embroidery Set
This free set is available with a store order containing at least $3 in paid designs.
- Add this free mini pumpkin set to your cart.
- Open the Free Machine Embroidery Designs category and add any other free designs you would like.
- Add one or more paid designs so the paid-design subtotal is at least $3.
- Complete checkout and payment.
- After payment is confirmed, every design that was in your cart, including all selected free designs, will be available for download with your order.
Important: add every free design you want to the cart before checkout. Only the products included in the completed order become available in its download section.
What Is Included
- 2 separate mini pumpkin embroidery designs;
- 3 professionally digitized sizes of each pumpkin;
- 5 size versions for an 80x80 mm (3x3") embroidery field;
- 1 size version for a 100x100 mm (4x4") hoop.
Sizes and Stitch Counts
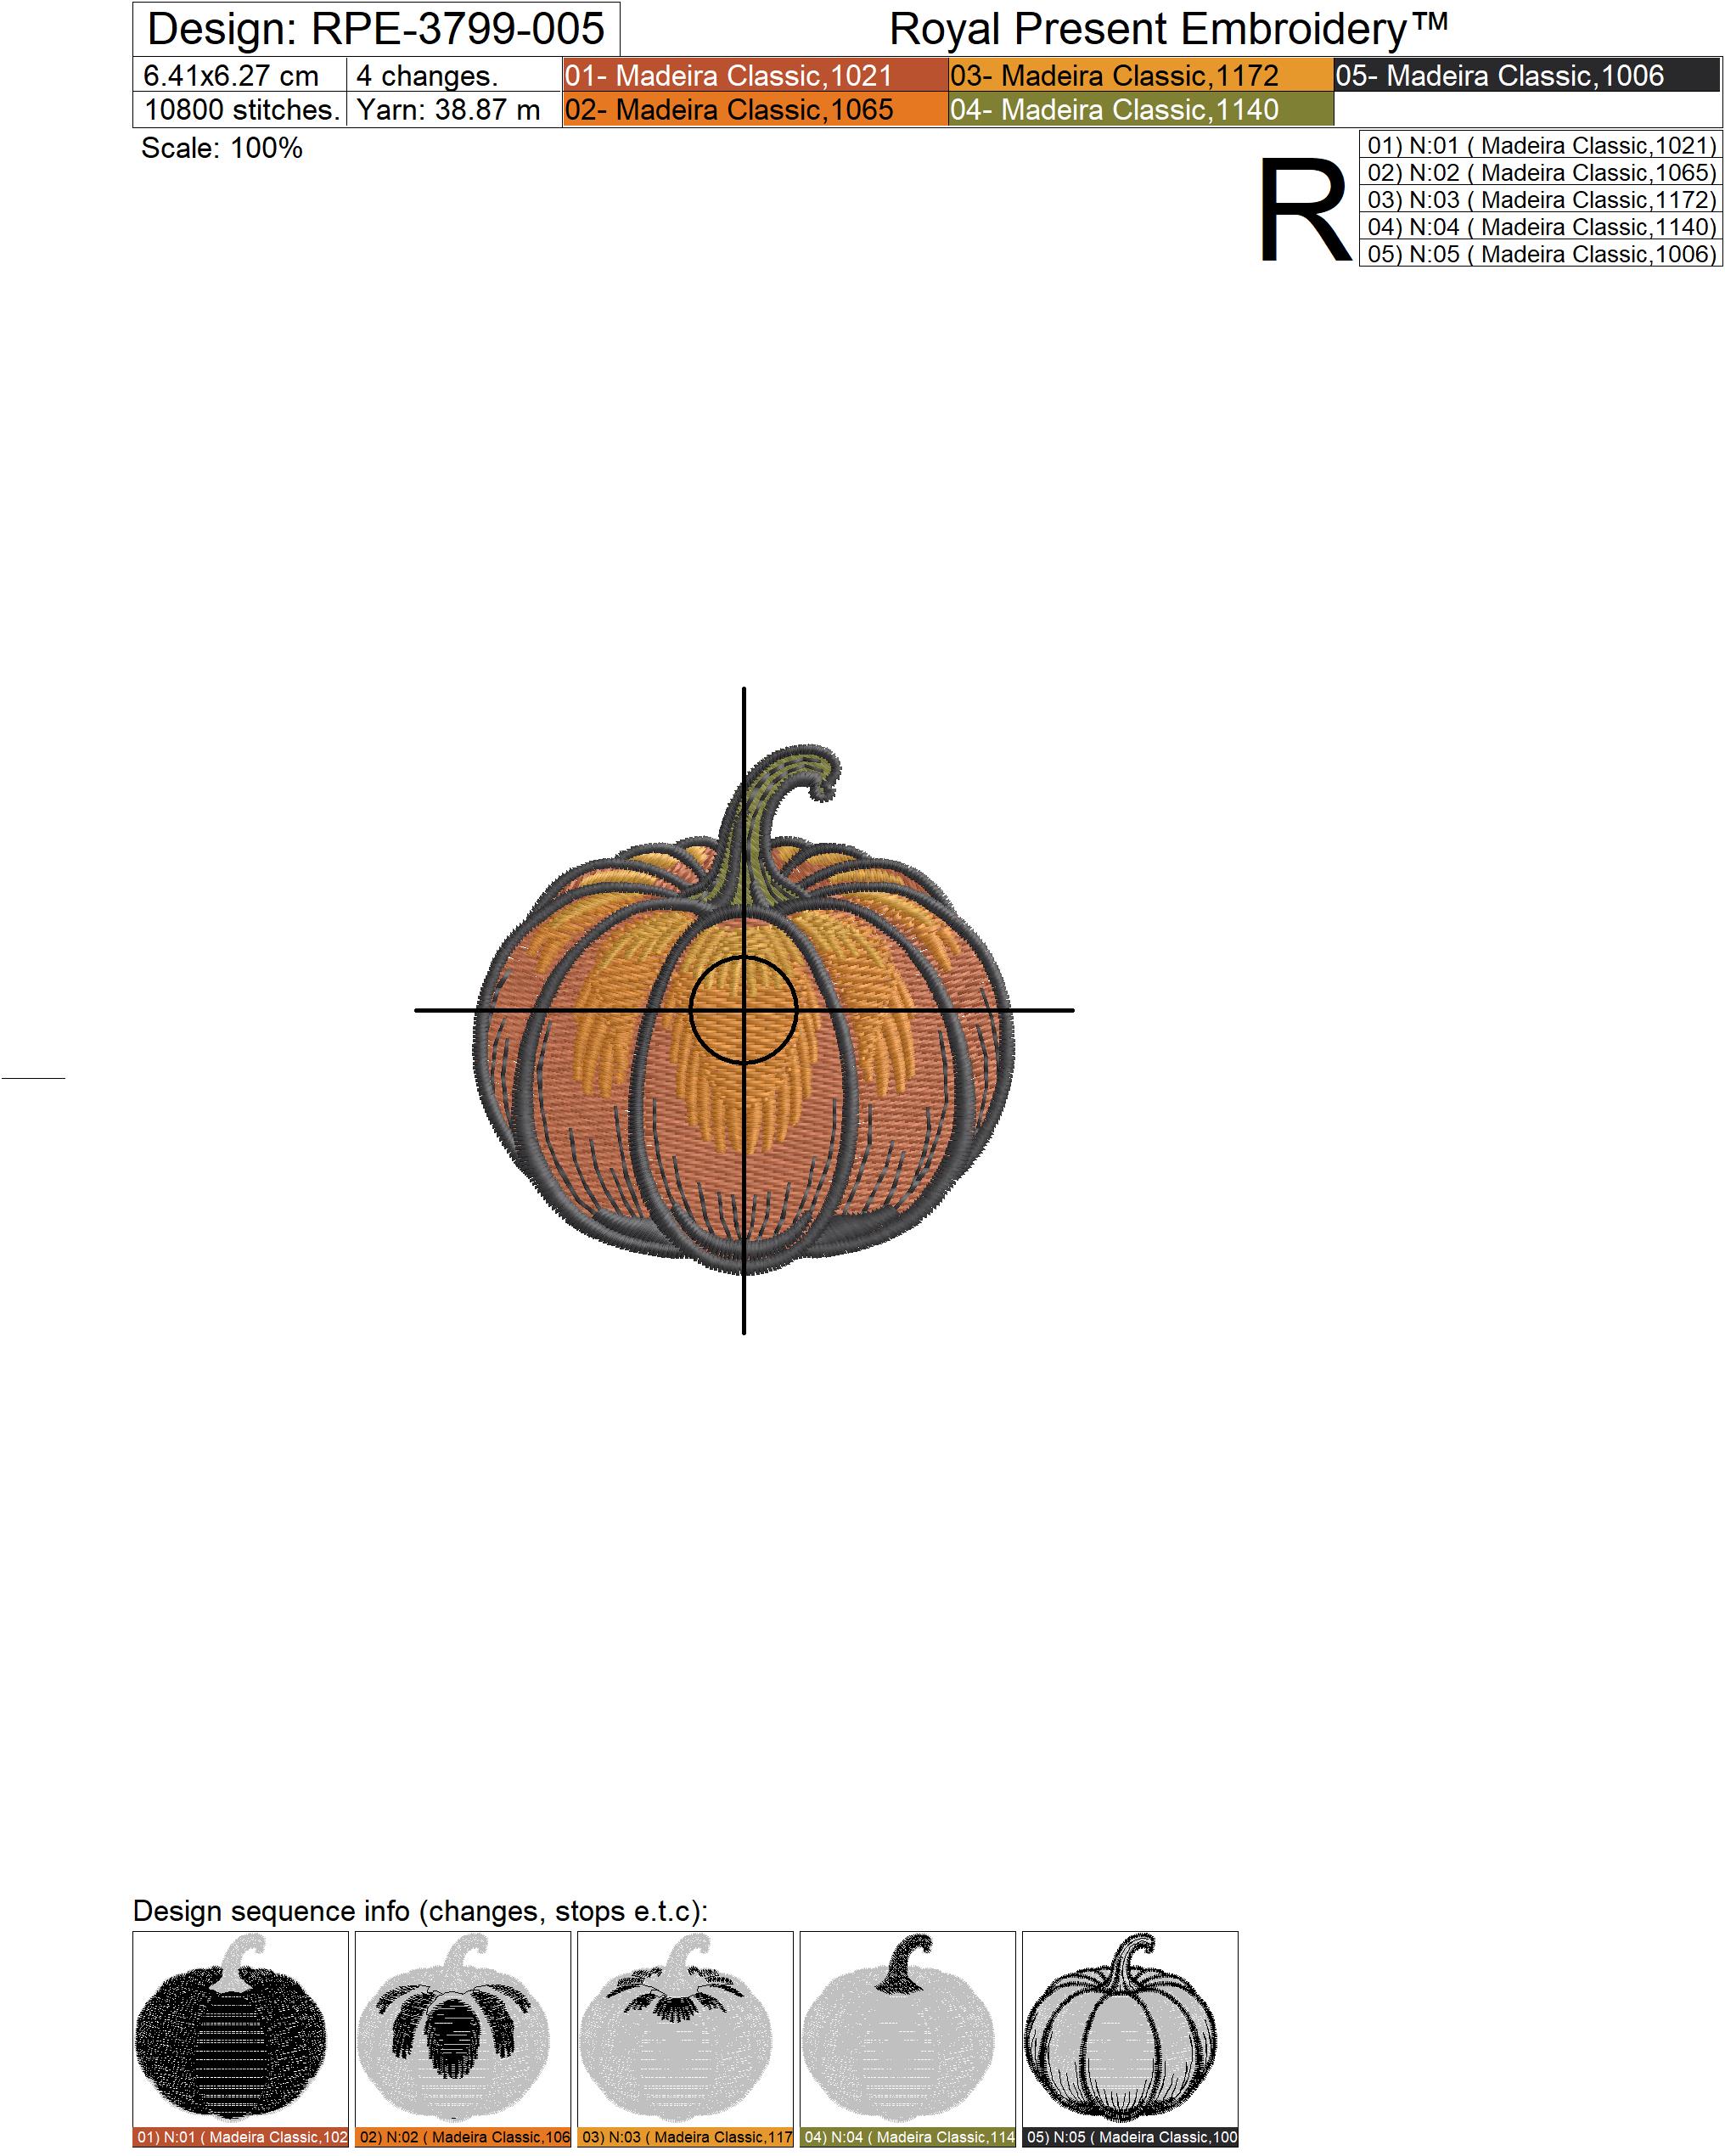
Mini Pumpkin No. 1 — RPE-3799-005
- Size: 64.1x62.7 mm (2.52x2.47"), Stitches: 10800
- Size: 70.3x68.9 mm (2.77x2.71"), Stitches: 12200
- Size: 77.3x75.9 mm (3.04x2.99"), Stitches: 13800
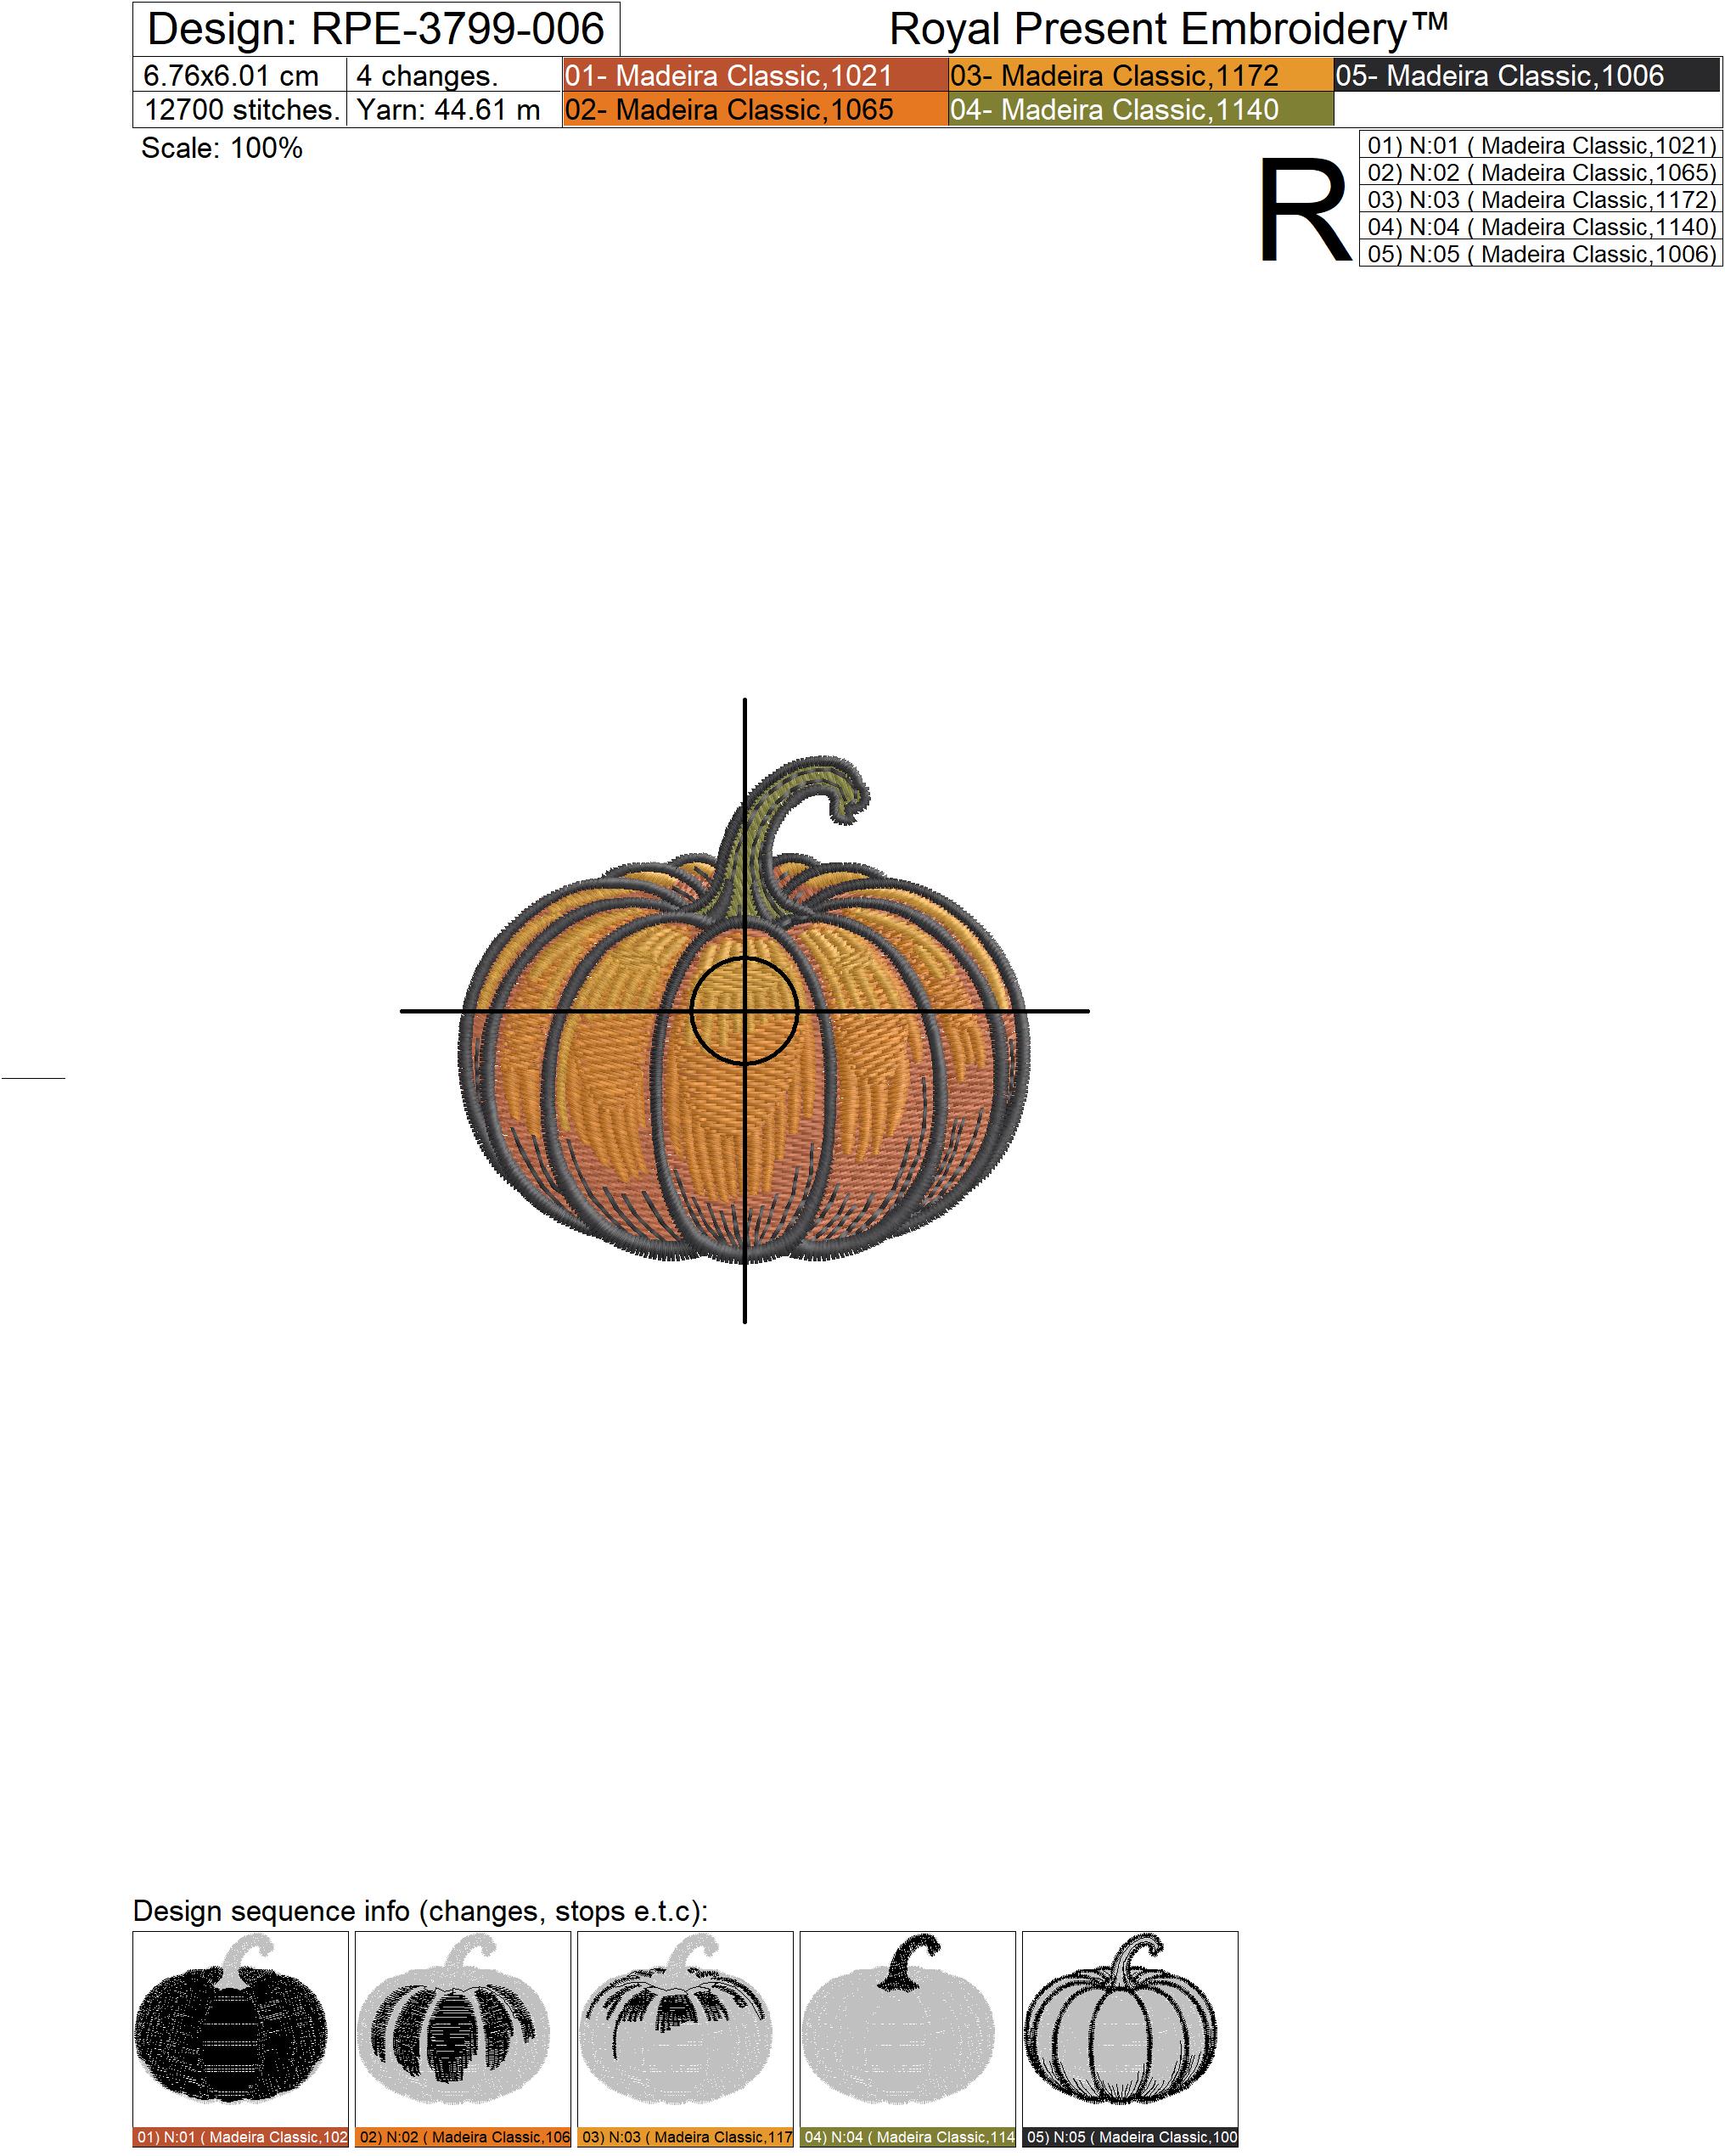
Mini Pumpkin No. 2 — RPE-3799-006
- Size: 67.6x60.1 mm (2.66x2.37"), Stitches: 12700
- Size: 74.3x66.0 mm (2.93x2.60"), Stitches: 14400
- Size: 81.7x72.6 mm (3.22x2.86"), Stitches: 16400
Formats: .dst, .jef, .pec, .vip, .hus, .pes, .exp, .sew, .dat, .vp3, .xxx
Hoop Sizes
- Mini Pumpkin No. 1, size 64.1x62.7 mm — hoop 80x80 mm (3x3")
- Mini Pumpkin No. 1, size 70.3x68.9 mm — hoop 80x80 mm (3x3")
- Mini Pumpkin No. 1, size 77.3x75.9 mm — hoop 80x80 mm (3x3")
- Mini Pumpkin No. 2, size 67.6x60.1 mm — hoop 80x80 mm (3x3")
- Mini Pumpkin No. 2, size 74.3x66.0 mm — hoop 80x80 mm (3x3")
- Mini Pumpkin No. 2, size 81.7x72.6 mm — hoop 100x100 mm (4x4")
How to Check Whether a File Fits Your Hoop
Compare the design size and recommended hoop listed above with the actual embroidery field supported by your machine.
You can check your available hoop sizes:
- in the embroidery machine manual;
- on the size marking printed or engraved on the hoop;
- in the hoop or embroidery-field list on the machine screen;
- in the specifications for your exact machine model on the manufacturer’s website.
Use the machine’s actual embroidery field, not the outside dimensions of the plastic hoop frame.
Madeira Classic 40 Color Chart
Both pumpkins use the same five colors in the same sequence. Screen colors are approximate; use the Madeira number and a physical thread chart when selecting thread.
| Color | Madeira Classic 40 | Stitched Area |
|---|---|---|
| ■ | 1021 | warm terracotta layer and shaded areas of the pumpkin segments |
| ■ | 1065 | main bright-orange areas and color transitions across the segments |
| ■ | 1172 | golden highlights that give the pumpkin shape and dimension |
| ■ | 1140 | stem and inner green stitching |
| ■ | 1006 | outer outline, segment lines and graphic shading |
Do not merge repeated colors with automatic color sorting. The original sequence preserves the intended overlaps, dimensional shading and clean final outlines.
Where to Embroider Mini Pumpkins
- Napkins: place one pumpkin in a corner or use the two different motifs as a coordinated pair.
- Pockets: embroider the pocket piece before attaching it to the garment so you do not stitch the pocket closed.
- Small towels: position the pumpkin above the lower edge, decorative stitching or a fabric border.
- Children’s clothing: use the motif on vests, sweatshirts, dresses or stable knit panels with cut-away stabilizer.
- Gift bags and sachets: embroider the front panel before assembling the item.
- Quilts: center one pumpkin in a quilt block or alternate the two motifs along a fall table runner.
- Seasonal decor: decorate fabric cards, coasters, mini wall hangings, organizers and gift tags.
Stabilizer, Needle and Machine Speed
- Cotton, linen and twill: begin with one layer of medium-weight tear-away stabilizer, approximately 50–70 gsm. Hoop the fabric and stabilizer together without stretching the grain.
- Knit fabric and sweatshirt fleece: use a soft cut-away stabilizer of approximately 60–80 gsm. It remains behind the embroidery and supports the filled areas during wear and washing.
- Terry cloth and fleece: use suitable stabilizer underneath and a thin water-soluble topping above the fabric so the outlines remain above the pile.
- Needle: begin with a new 75/11 embroidery needle and standard 40-weight embroidery thread.
- Speed: reduce the machine speed to approximately 500–600 stitches per minute for the final graphic lines if your test shows vibration, thread breaks or registration problems.
Before embroidering the finished item, stitch the complete selected size on a scrap of the same fabric with the same thread, needle and stabilizer.
Recommended Fall Pumpkin Designs
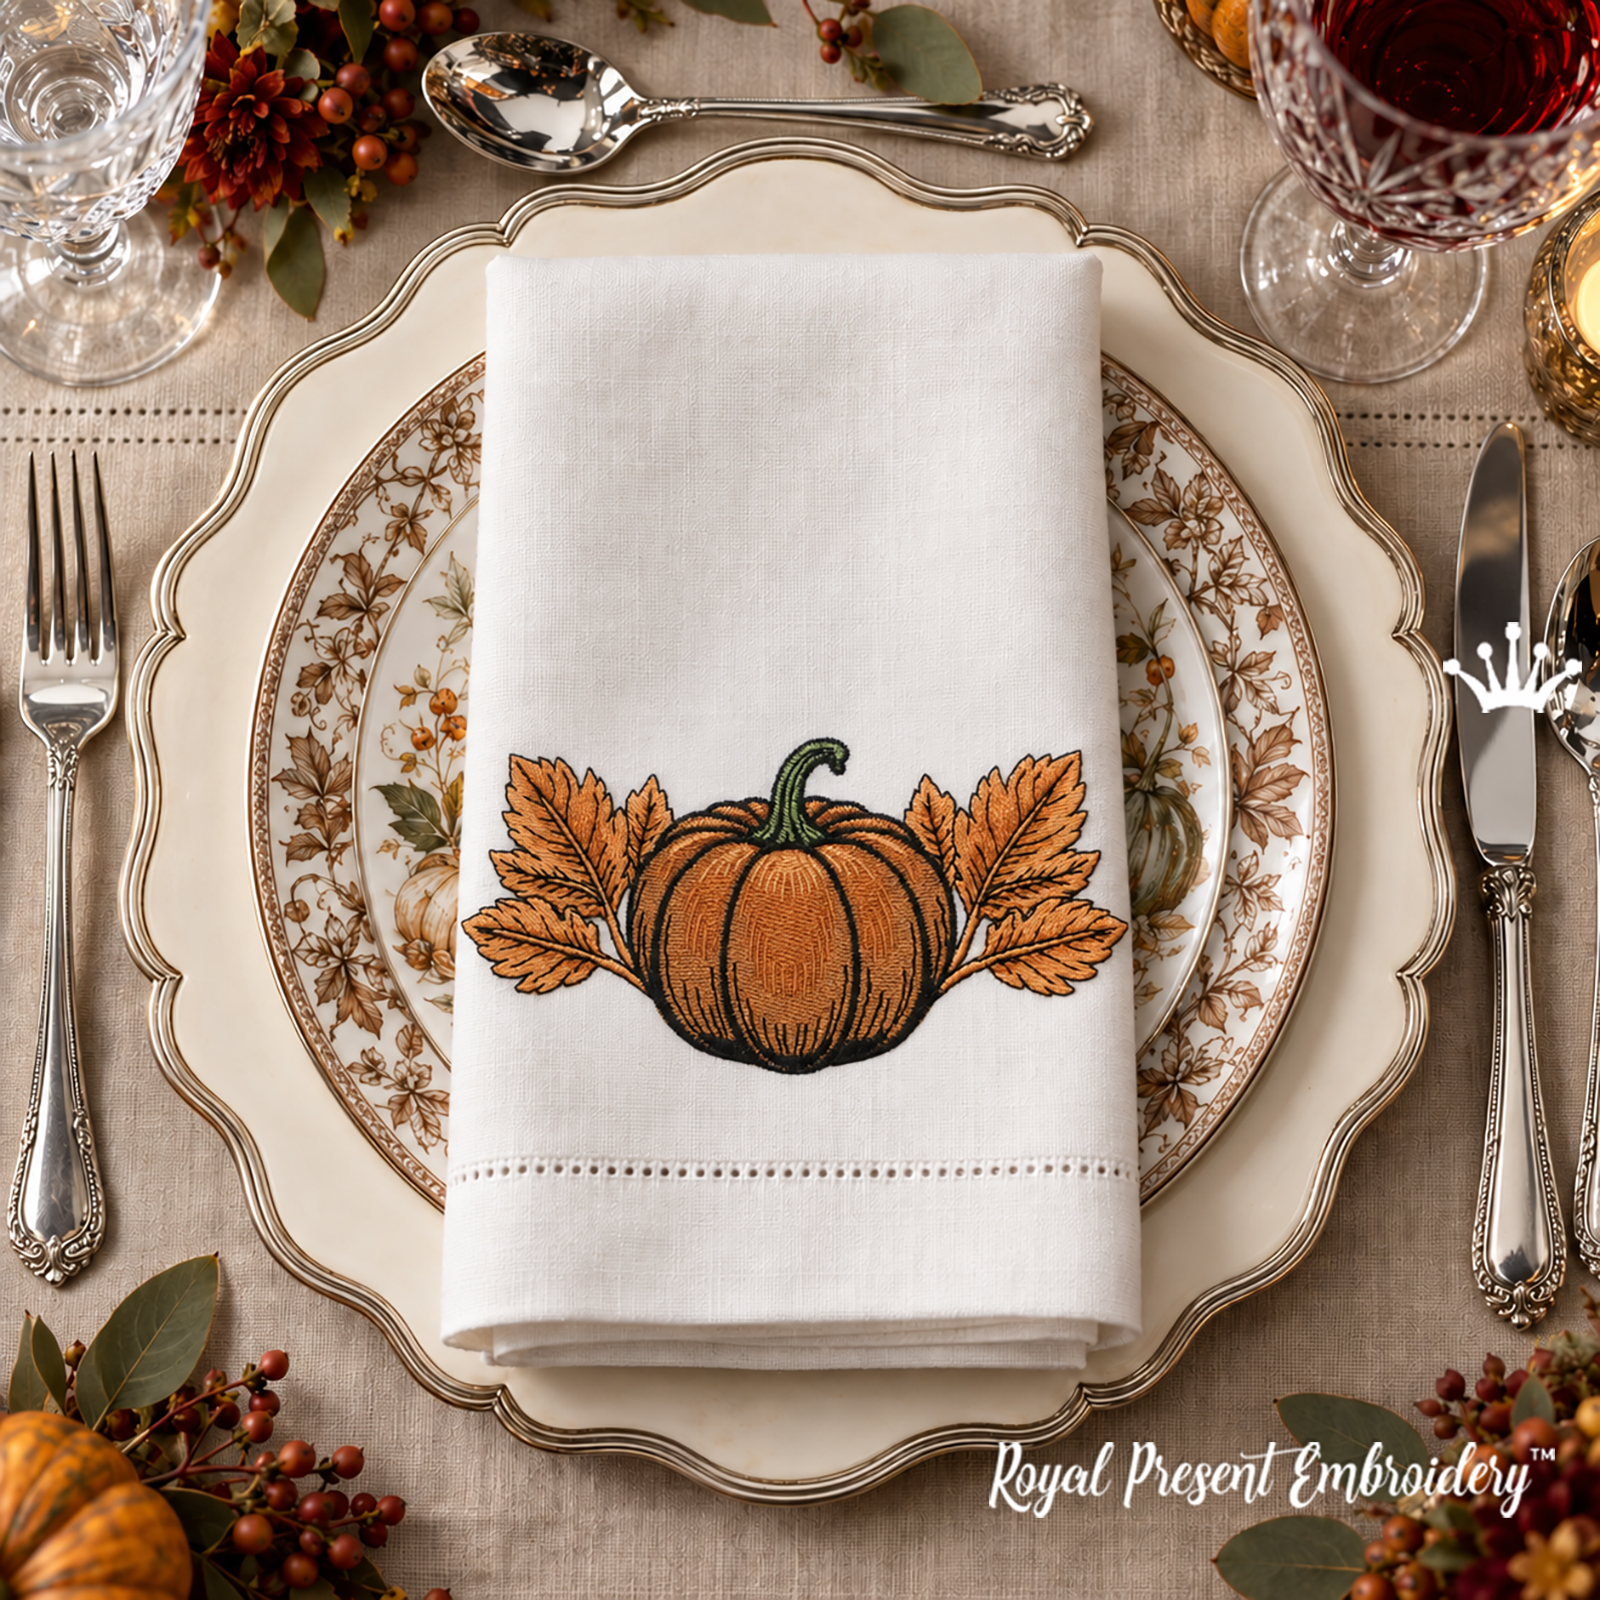 Fall Pumpkin with Golden Leaves Machine Embroidery Design — 4 Sizes
 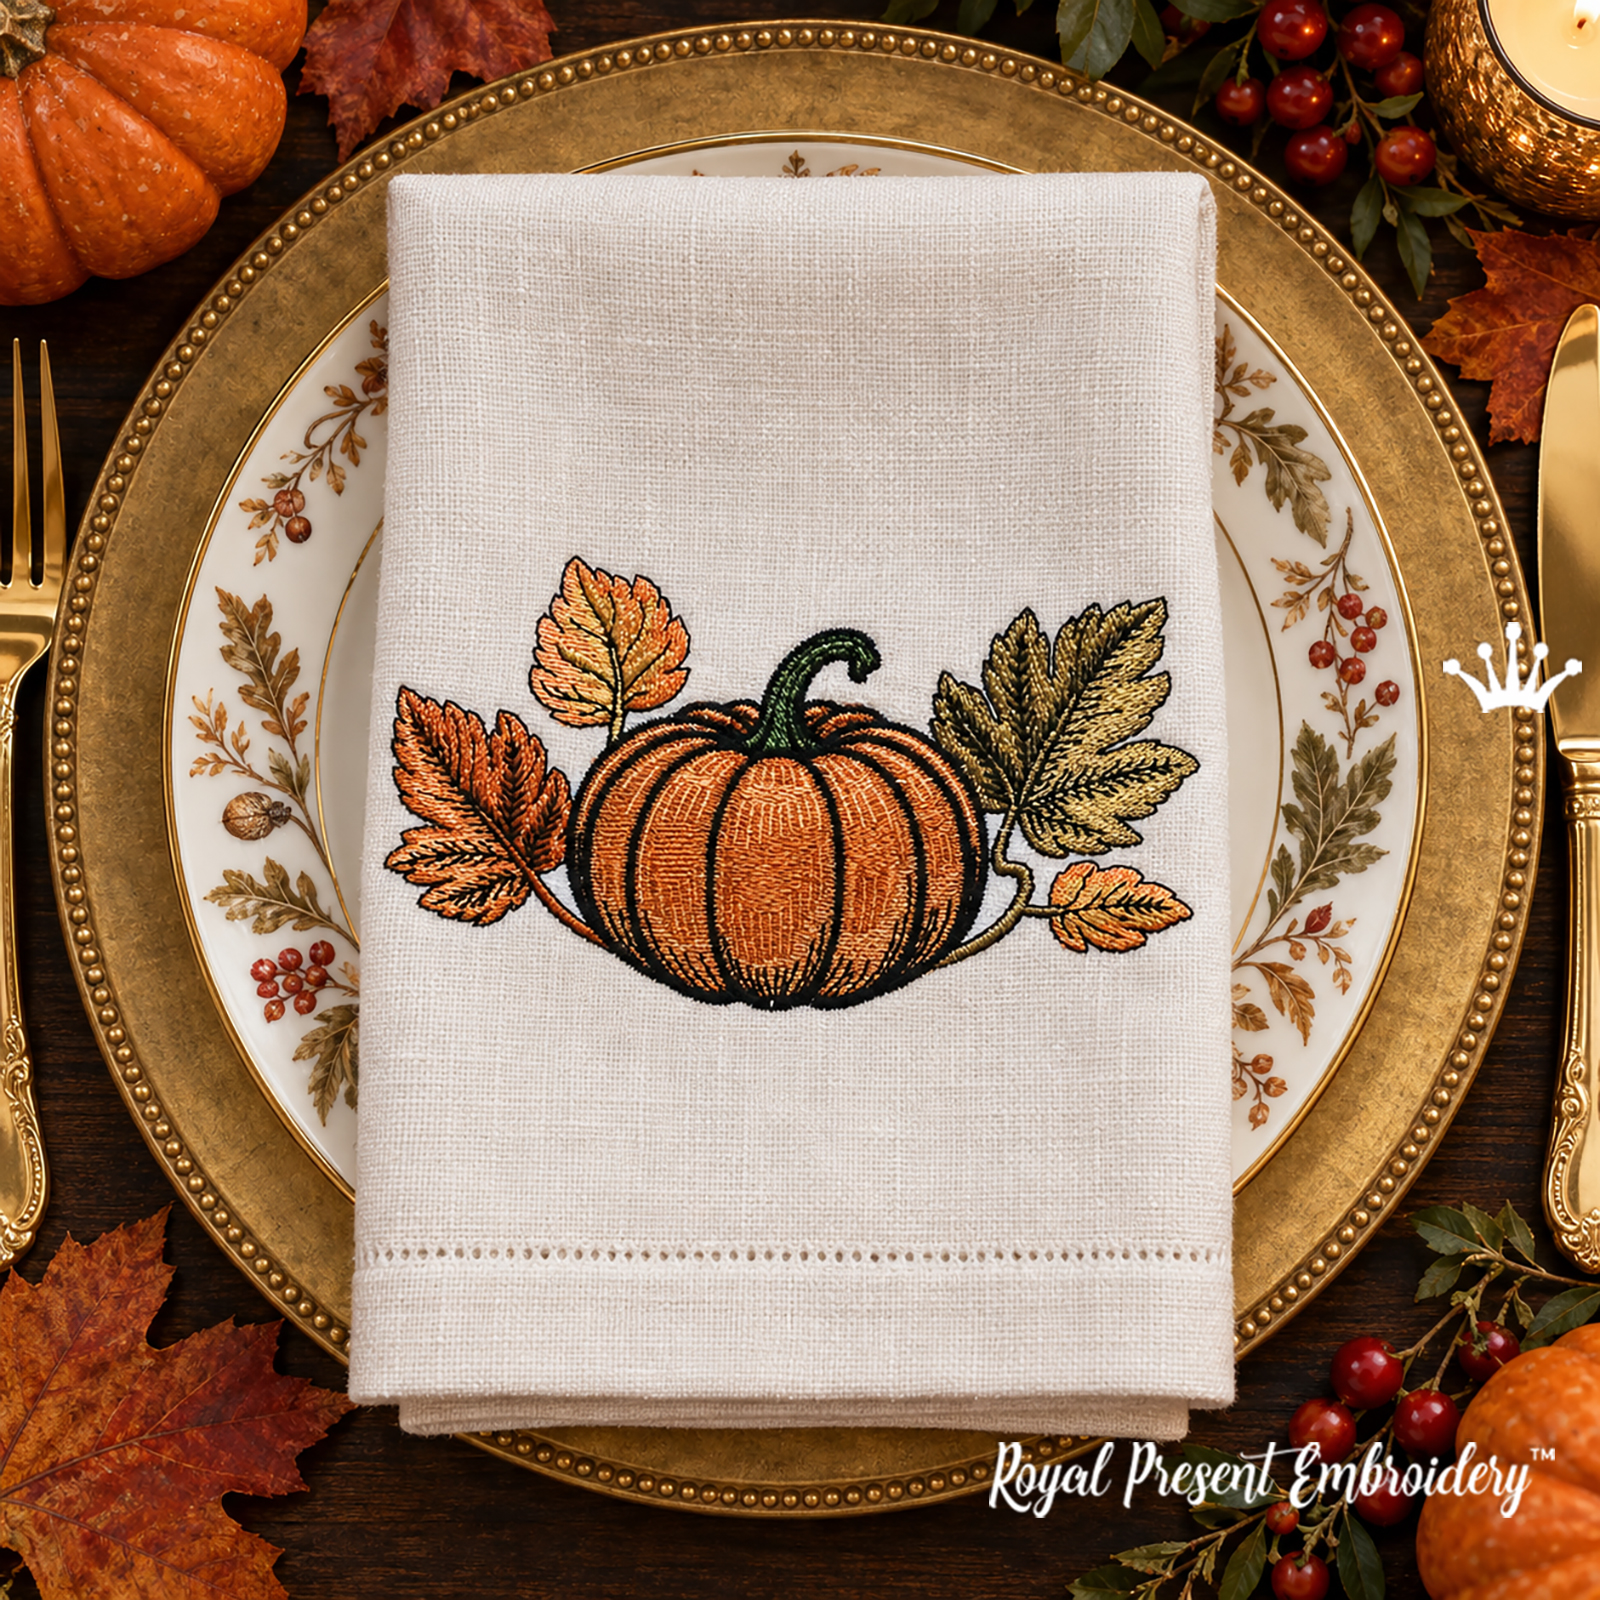 Fall Pumpkin with Golden and Olive-Green Leaves Machine Embroidery Design — 4 Sizes
 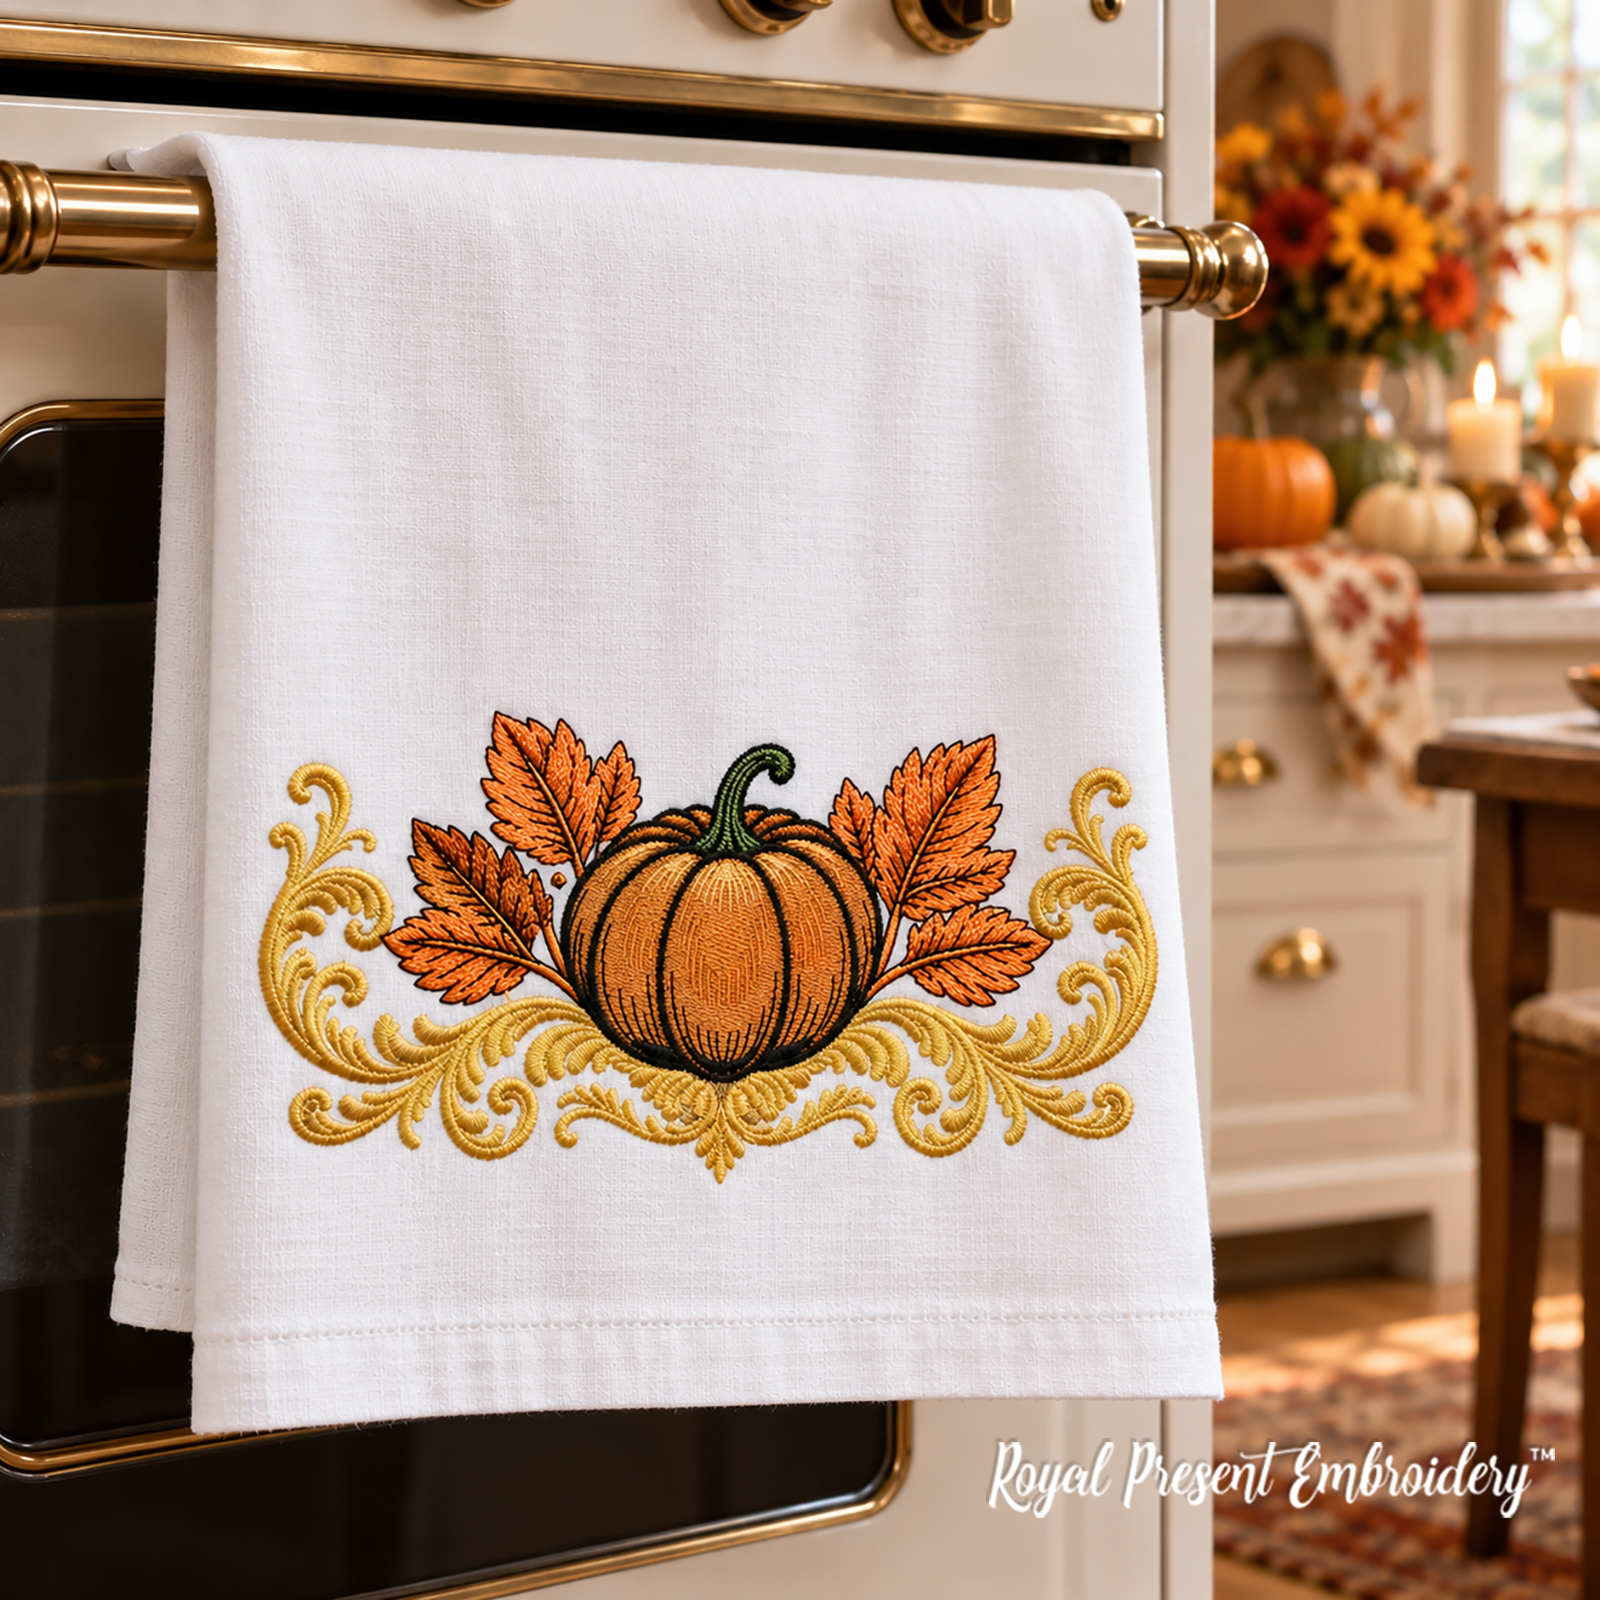 Fall Pumpkin Baroque Border with Golden Leaves Machine Embroidery Design — 5 Sizes
 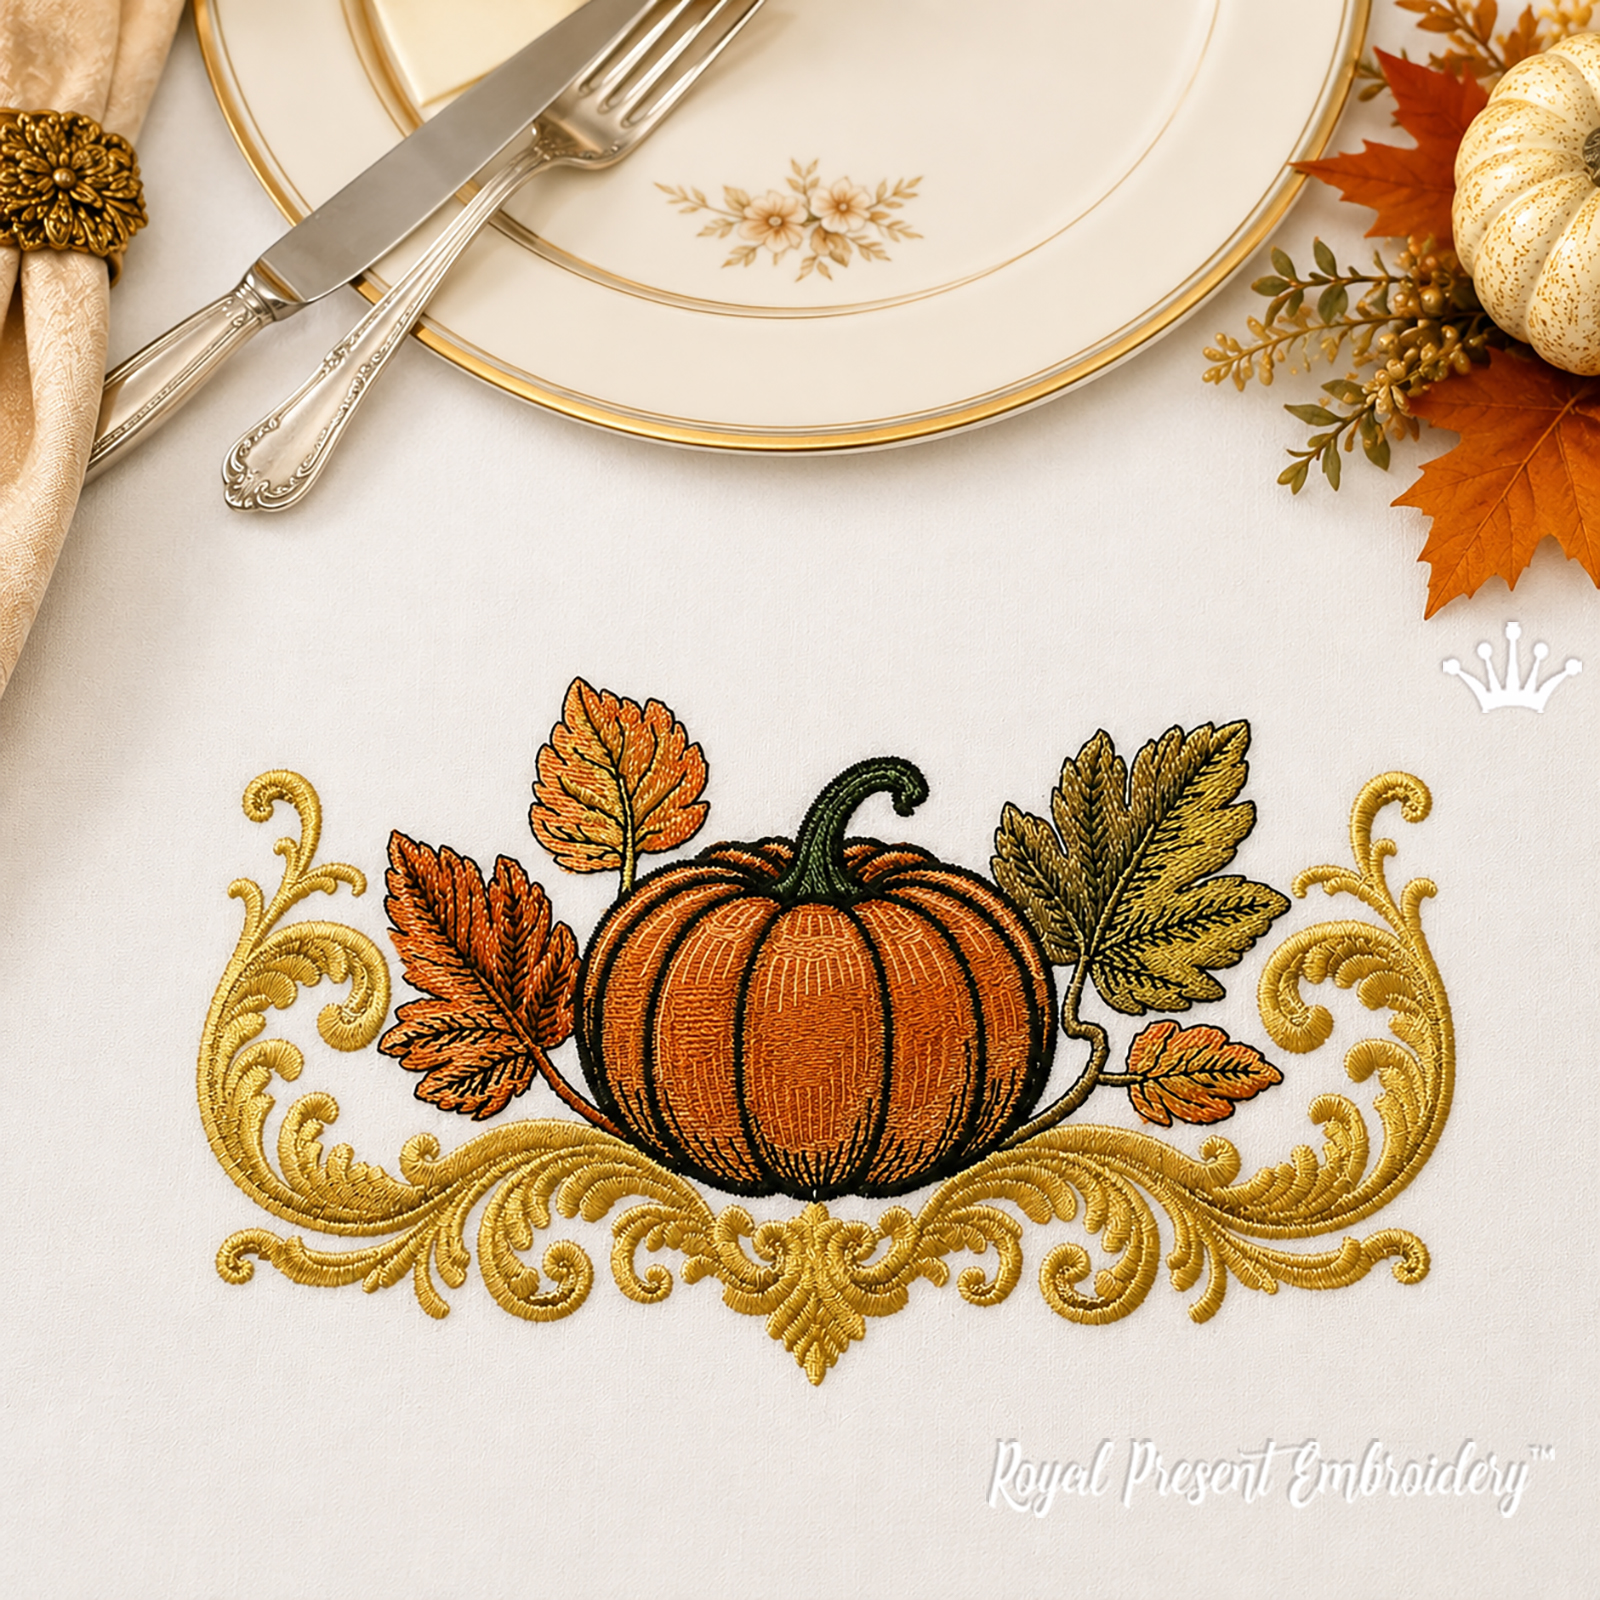 Fall Pumpkin Baroque Border with Golden Scrolls and Leaves Machine Embroidery Design — 5 Sizes
 Questions and Answers
Which stabilizer should I use for a mini pumpkin on cotton or linen?
For stable cotton, linen or twill, begin with one layer of medium-weight tear-away stabilizer, approximately 50–70 gsm. The stabilizer should support the entire hooped area. Hoop the fabric evenly without stretching it; overstretched fabric contracts after removal from the hoop and can pucker around the filled pumpkin.
How can I embroider the pumpkin on knit fabric without puckering?
Use a soft cut-away stabilizer of approximately 60–80 gsm and keep the knit in its natural, unstretched state. After embroidery, trim the stabilizer around the motif while leaving a small soft margin. For children’s clothing, the back of the embroidery can be covered with a suitable skin-friendly embroidery backing.
Why does the dark outline shift away from the orange fill?
The fabric has usually moved while the filled color areas were stitching. Check the stabilizer, hoop screw and hoop attachment for movement. Support the loose part of the item so its weight does not pull on the machine carriage. If the problem appears during a test, strengthen the stabilization and reduce the speed for the final outline.
How should I embroider a mini pumpkin on terry cloth or fleece?
Use suitable stabilizer underneath and place a thin water-soluble topping over the fabric. The topping holds down the pile and keeps the fine shading and outlines visible. Remove the large pieces after stitching and dissolve the remaining film according to the manufacturer’s instructions.
What should I do if the fine pumpkin lines disappear on dark fabric?
Keep clear contrast between the orange filled areas and the final Madeira 1006 outline. On nearly black fabric, replace 1006 with a lighter graphite or dark brown shade that remains visible against the material. Test the complete color combination on a scrap before stitching the finished project.
Please note: this product contains digital files for computerized embroidery machines. It is not a finished patch or embroidered item. Fabric, thread, stabilizer, hoops and other supplies are not included.
Designed and professionally digitized by Ludmila Konovalova for Royal Present Embroidery.
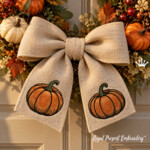
Free Mini Pumpkin Machine Embroidery Designs – Set of 2, 3 Sizes
great design

 Get Sign-In Link
 Login with Google
 Login with Facebook
 Login with Amazon
 Login with Paypal