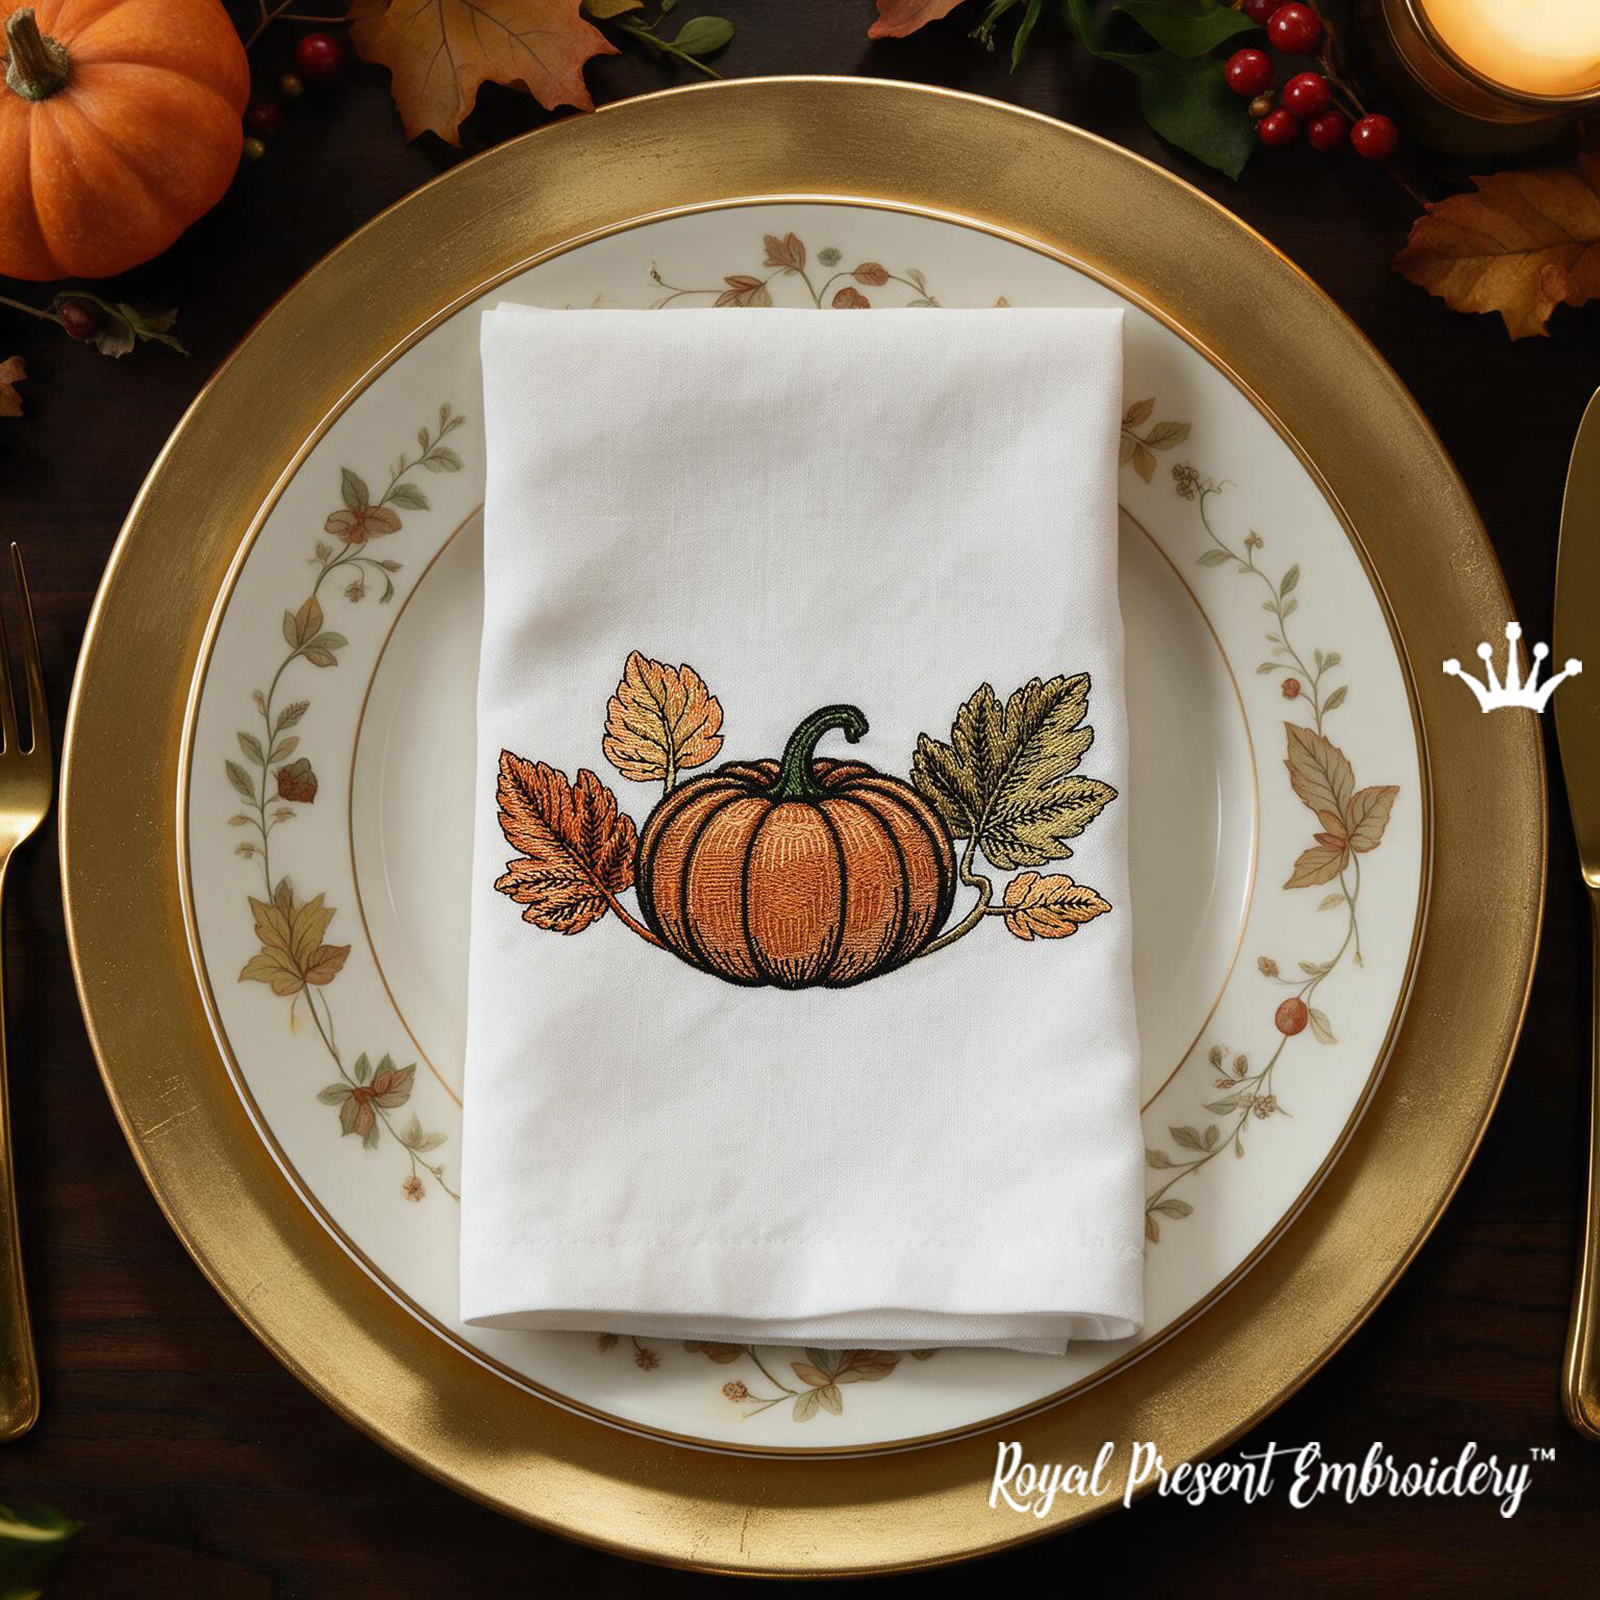
Fall Pumpkin with Golden and Olive-Green Leaves Machine Embroidery Design - 4 Sizes
By knowing the speed of your embroidery machine, you can find out how long it will take to embroider a design.
To use the embroidery calculator, click on the number of stitches in the product description.
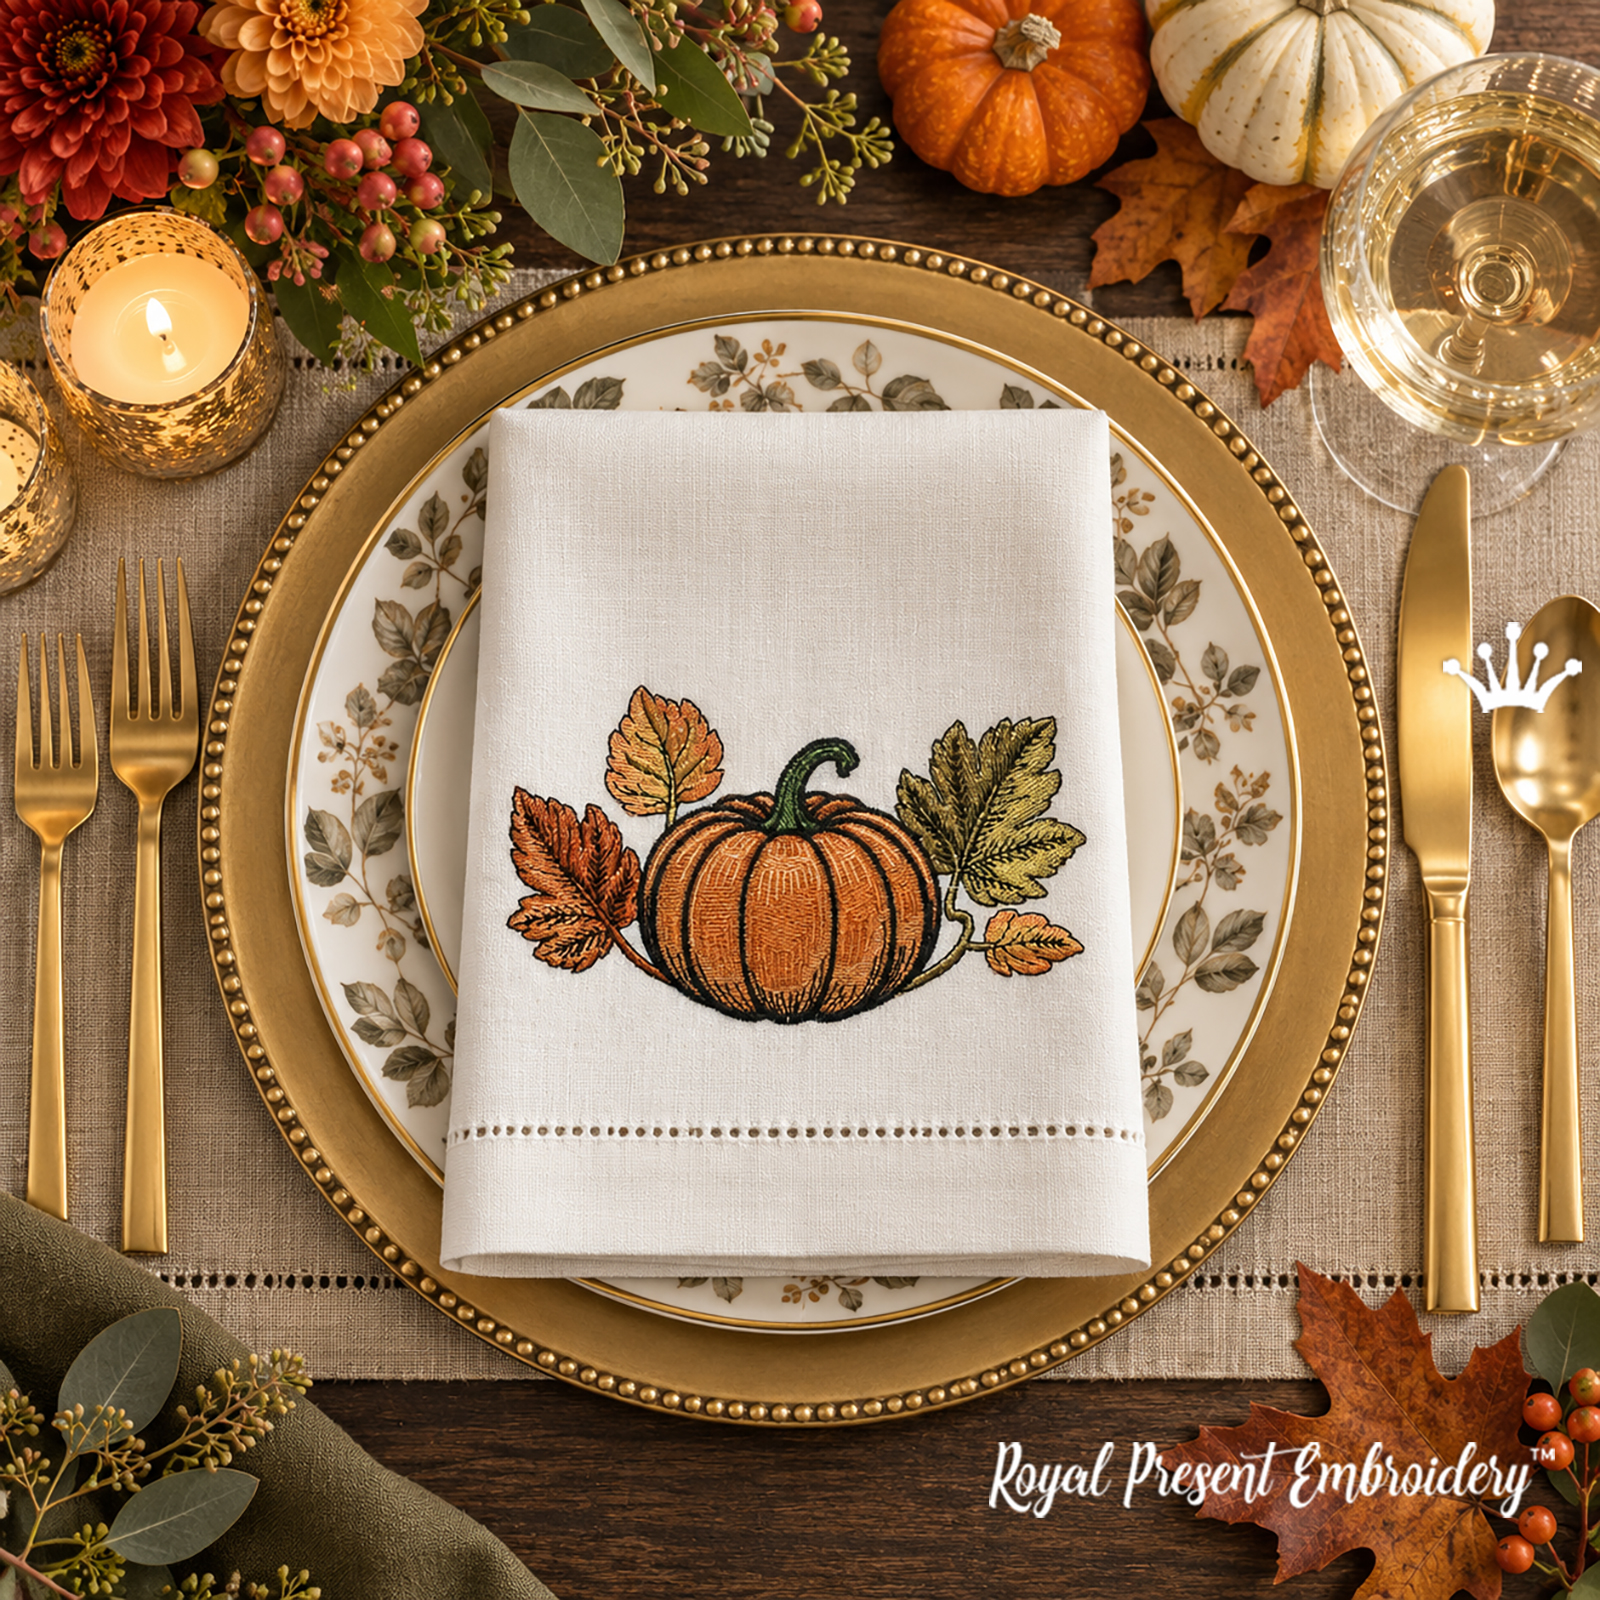
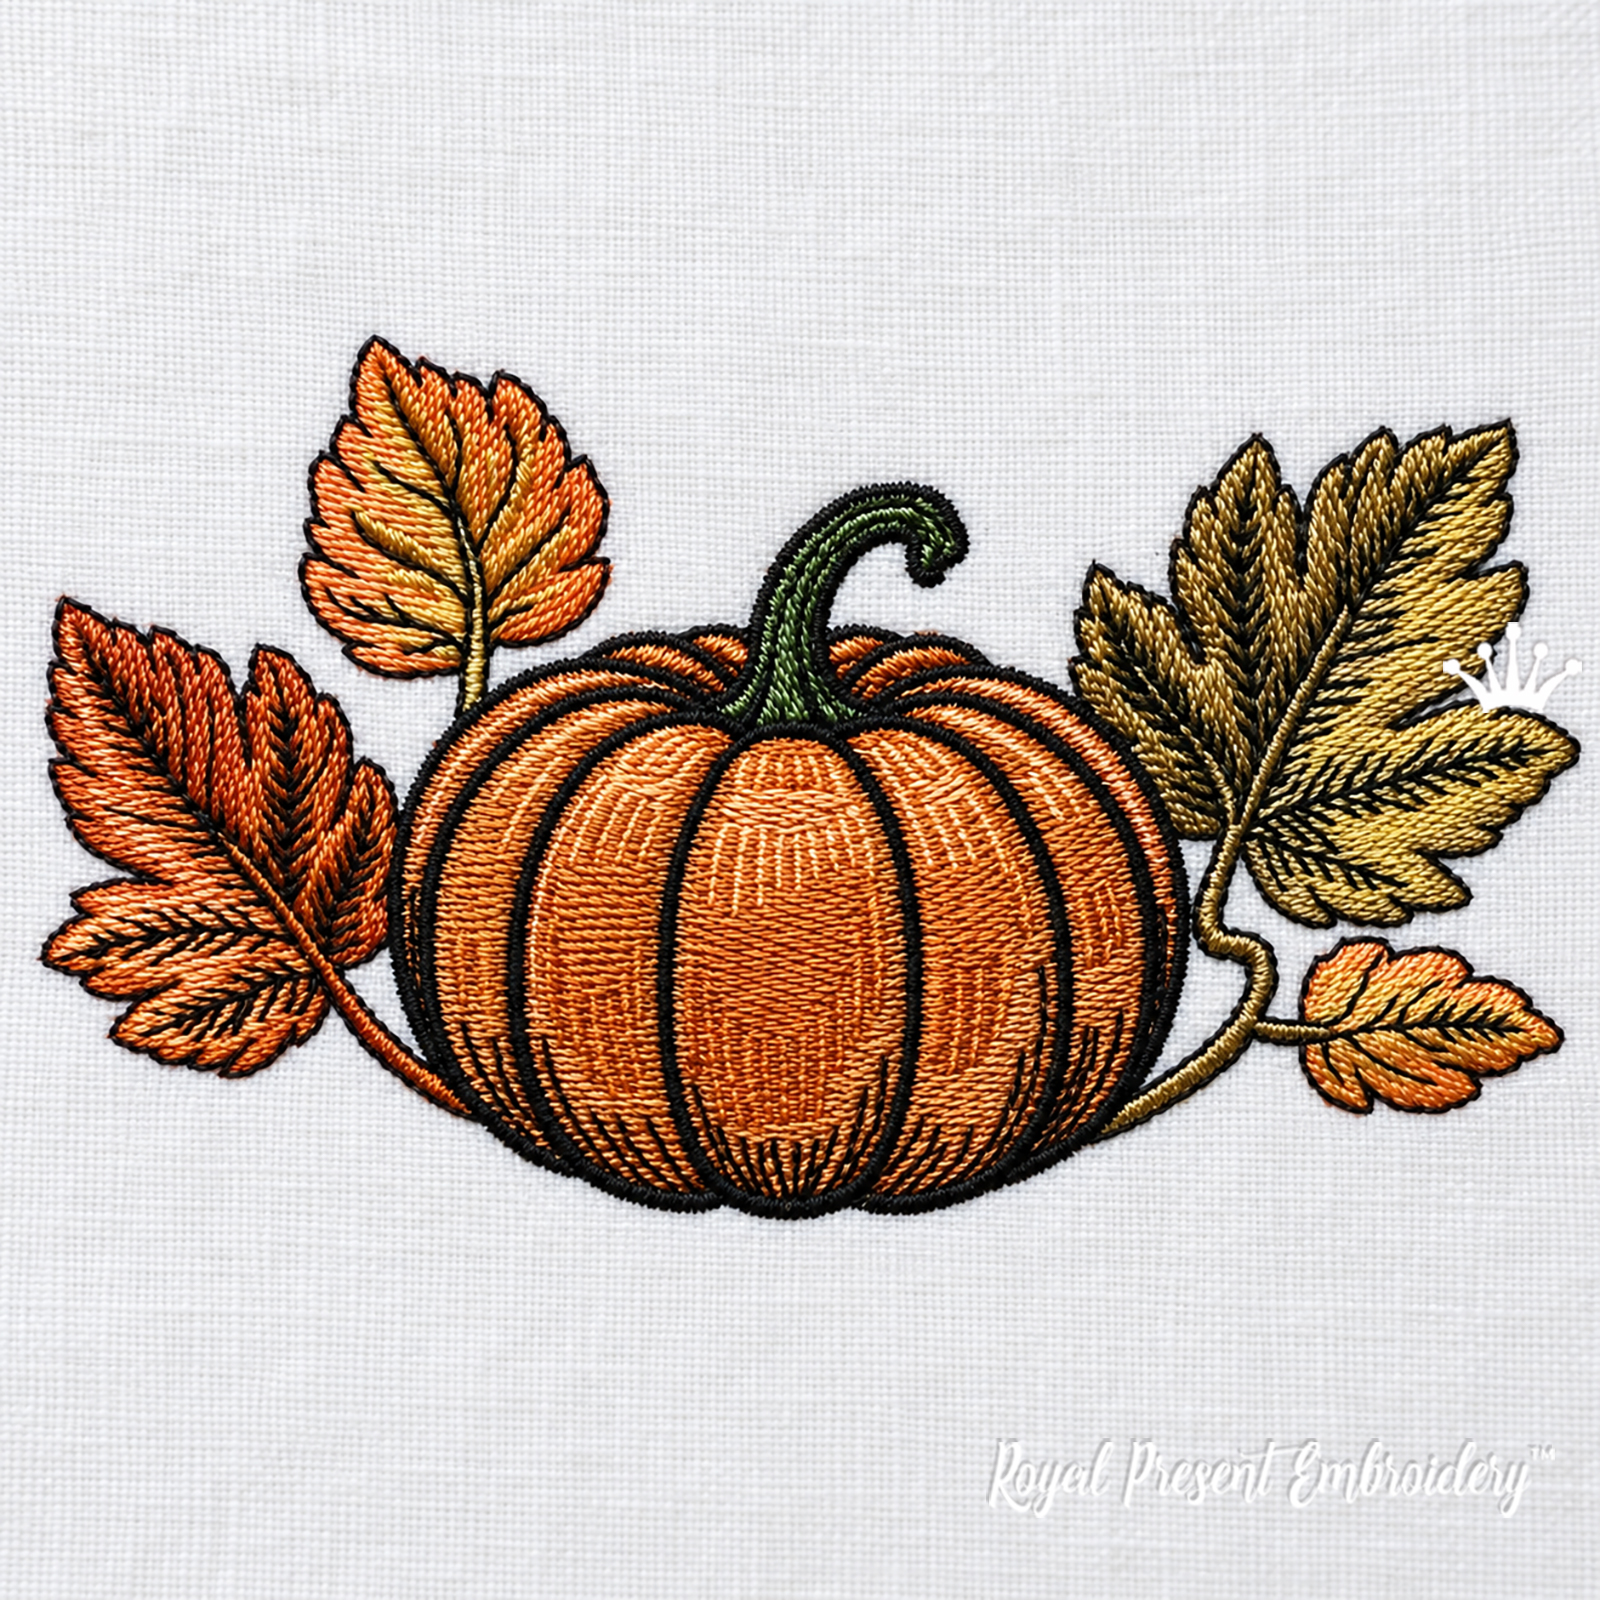
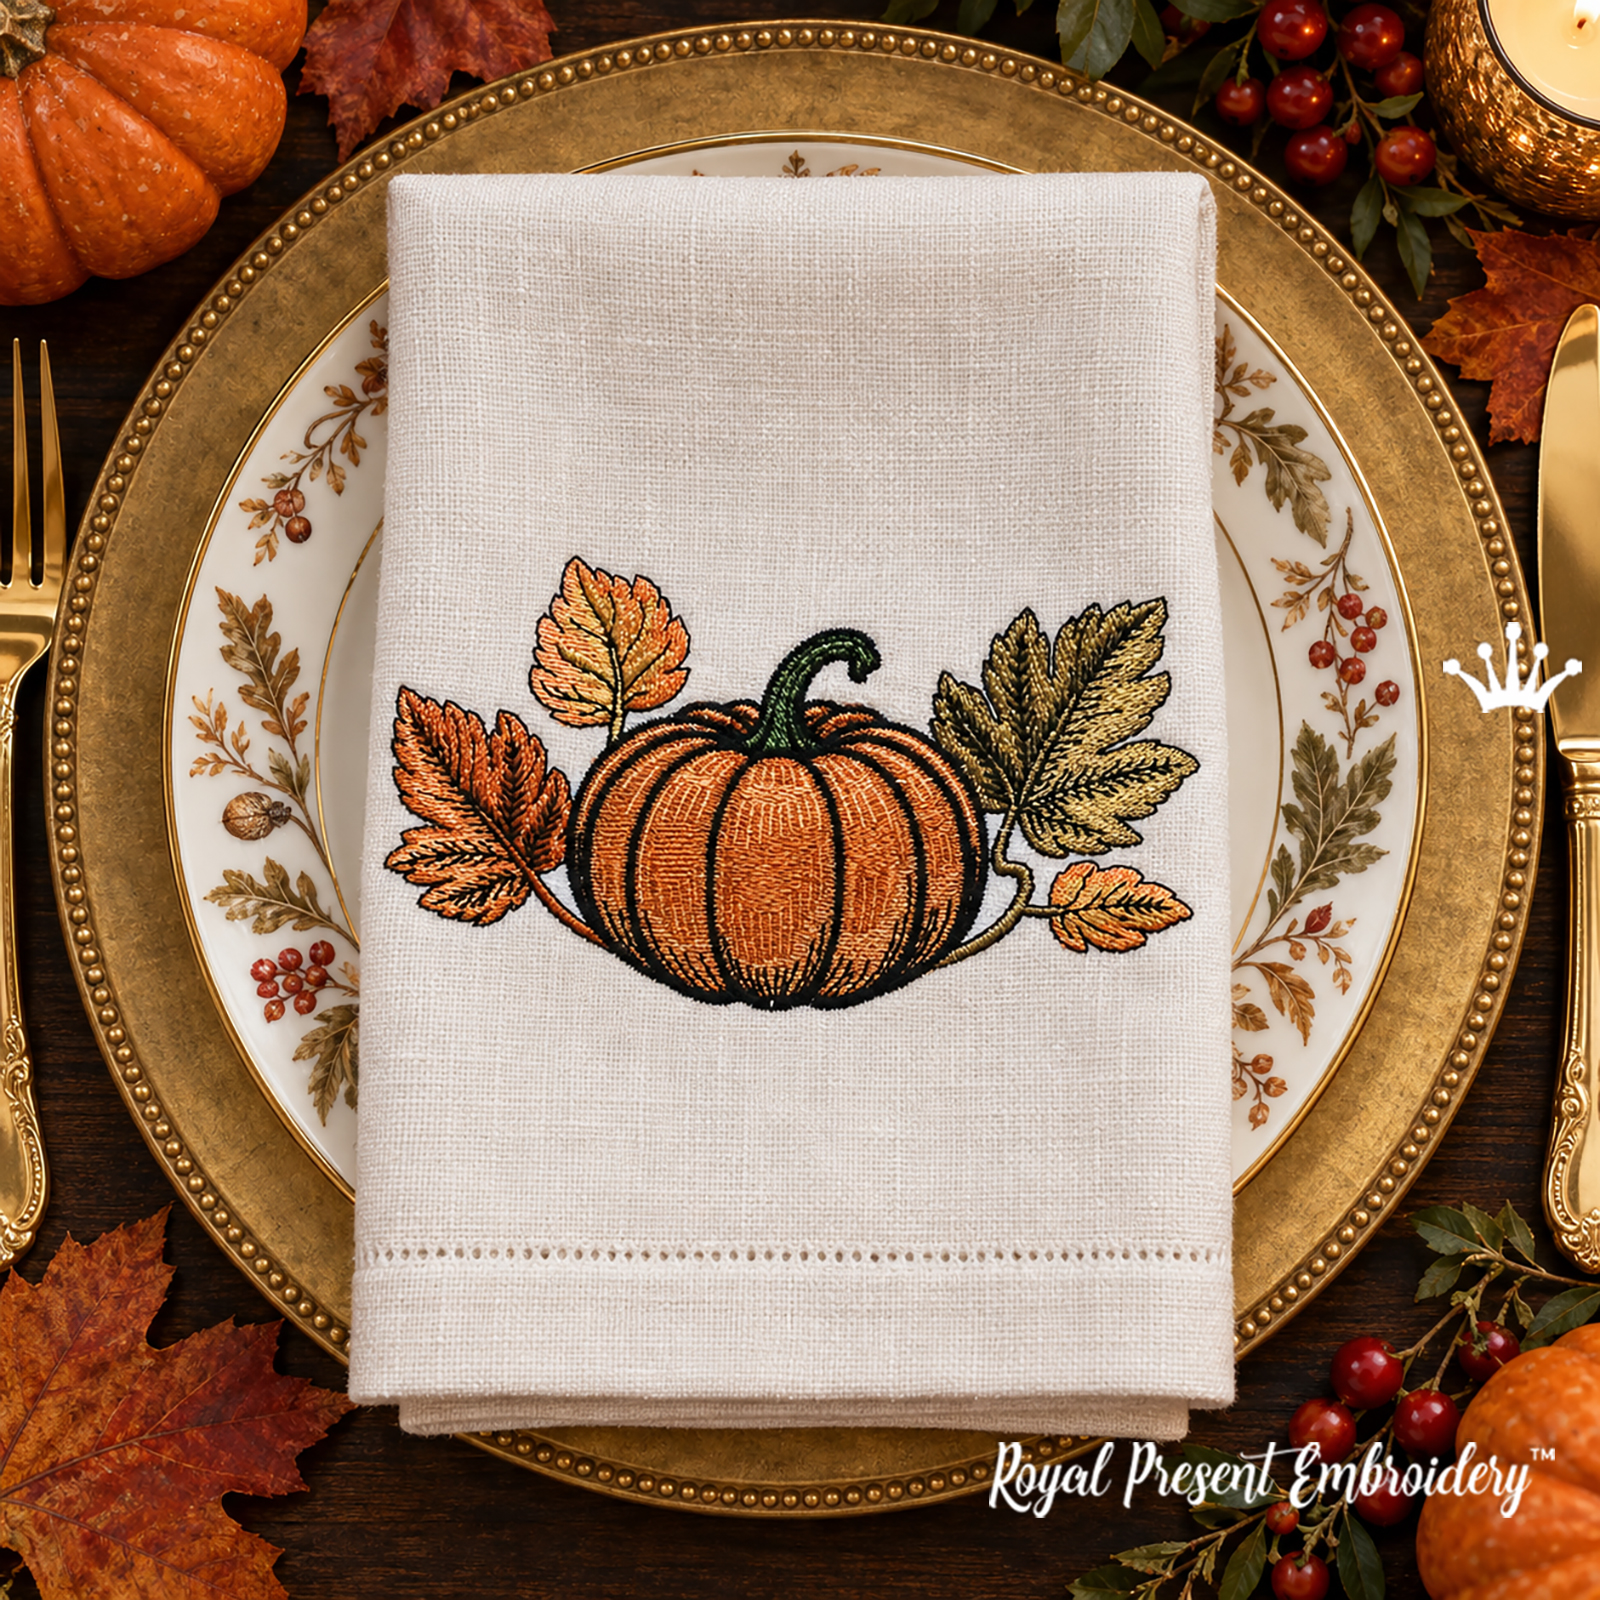
Fall Pumpkin with Golden and Olive-Green Leaves is a digital machine embroidery design featuring a dimensional orange pumpkin with dark graphic outlines and a botanical arrangement of golden, orange and olive-green leaves. The set includes one horizontal and three vertical versions, making it useful for napkins, towels, placemats, pillow fronts, tote bags, aprons and autumn home textiles. You receive digital files for an embroidery machine, not a finished embroidered item.
Sizes and stitch counts
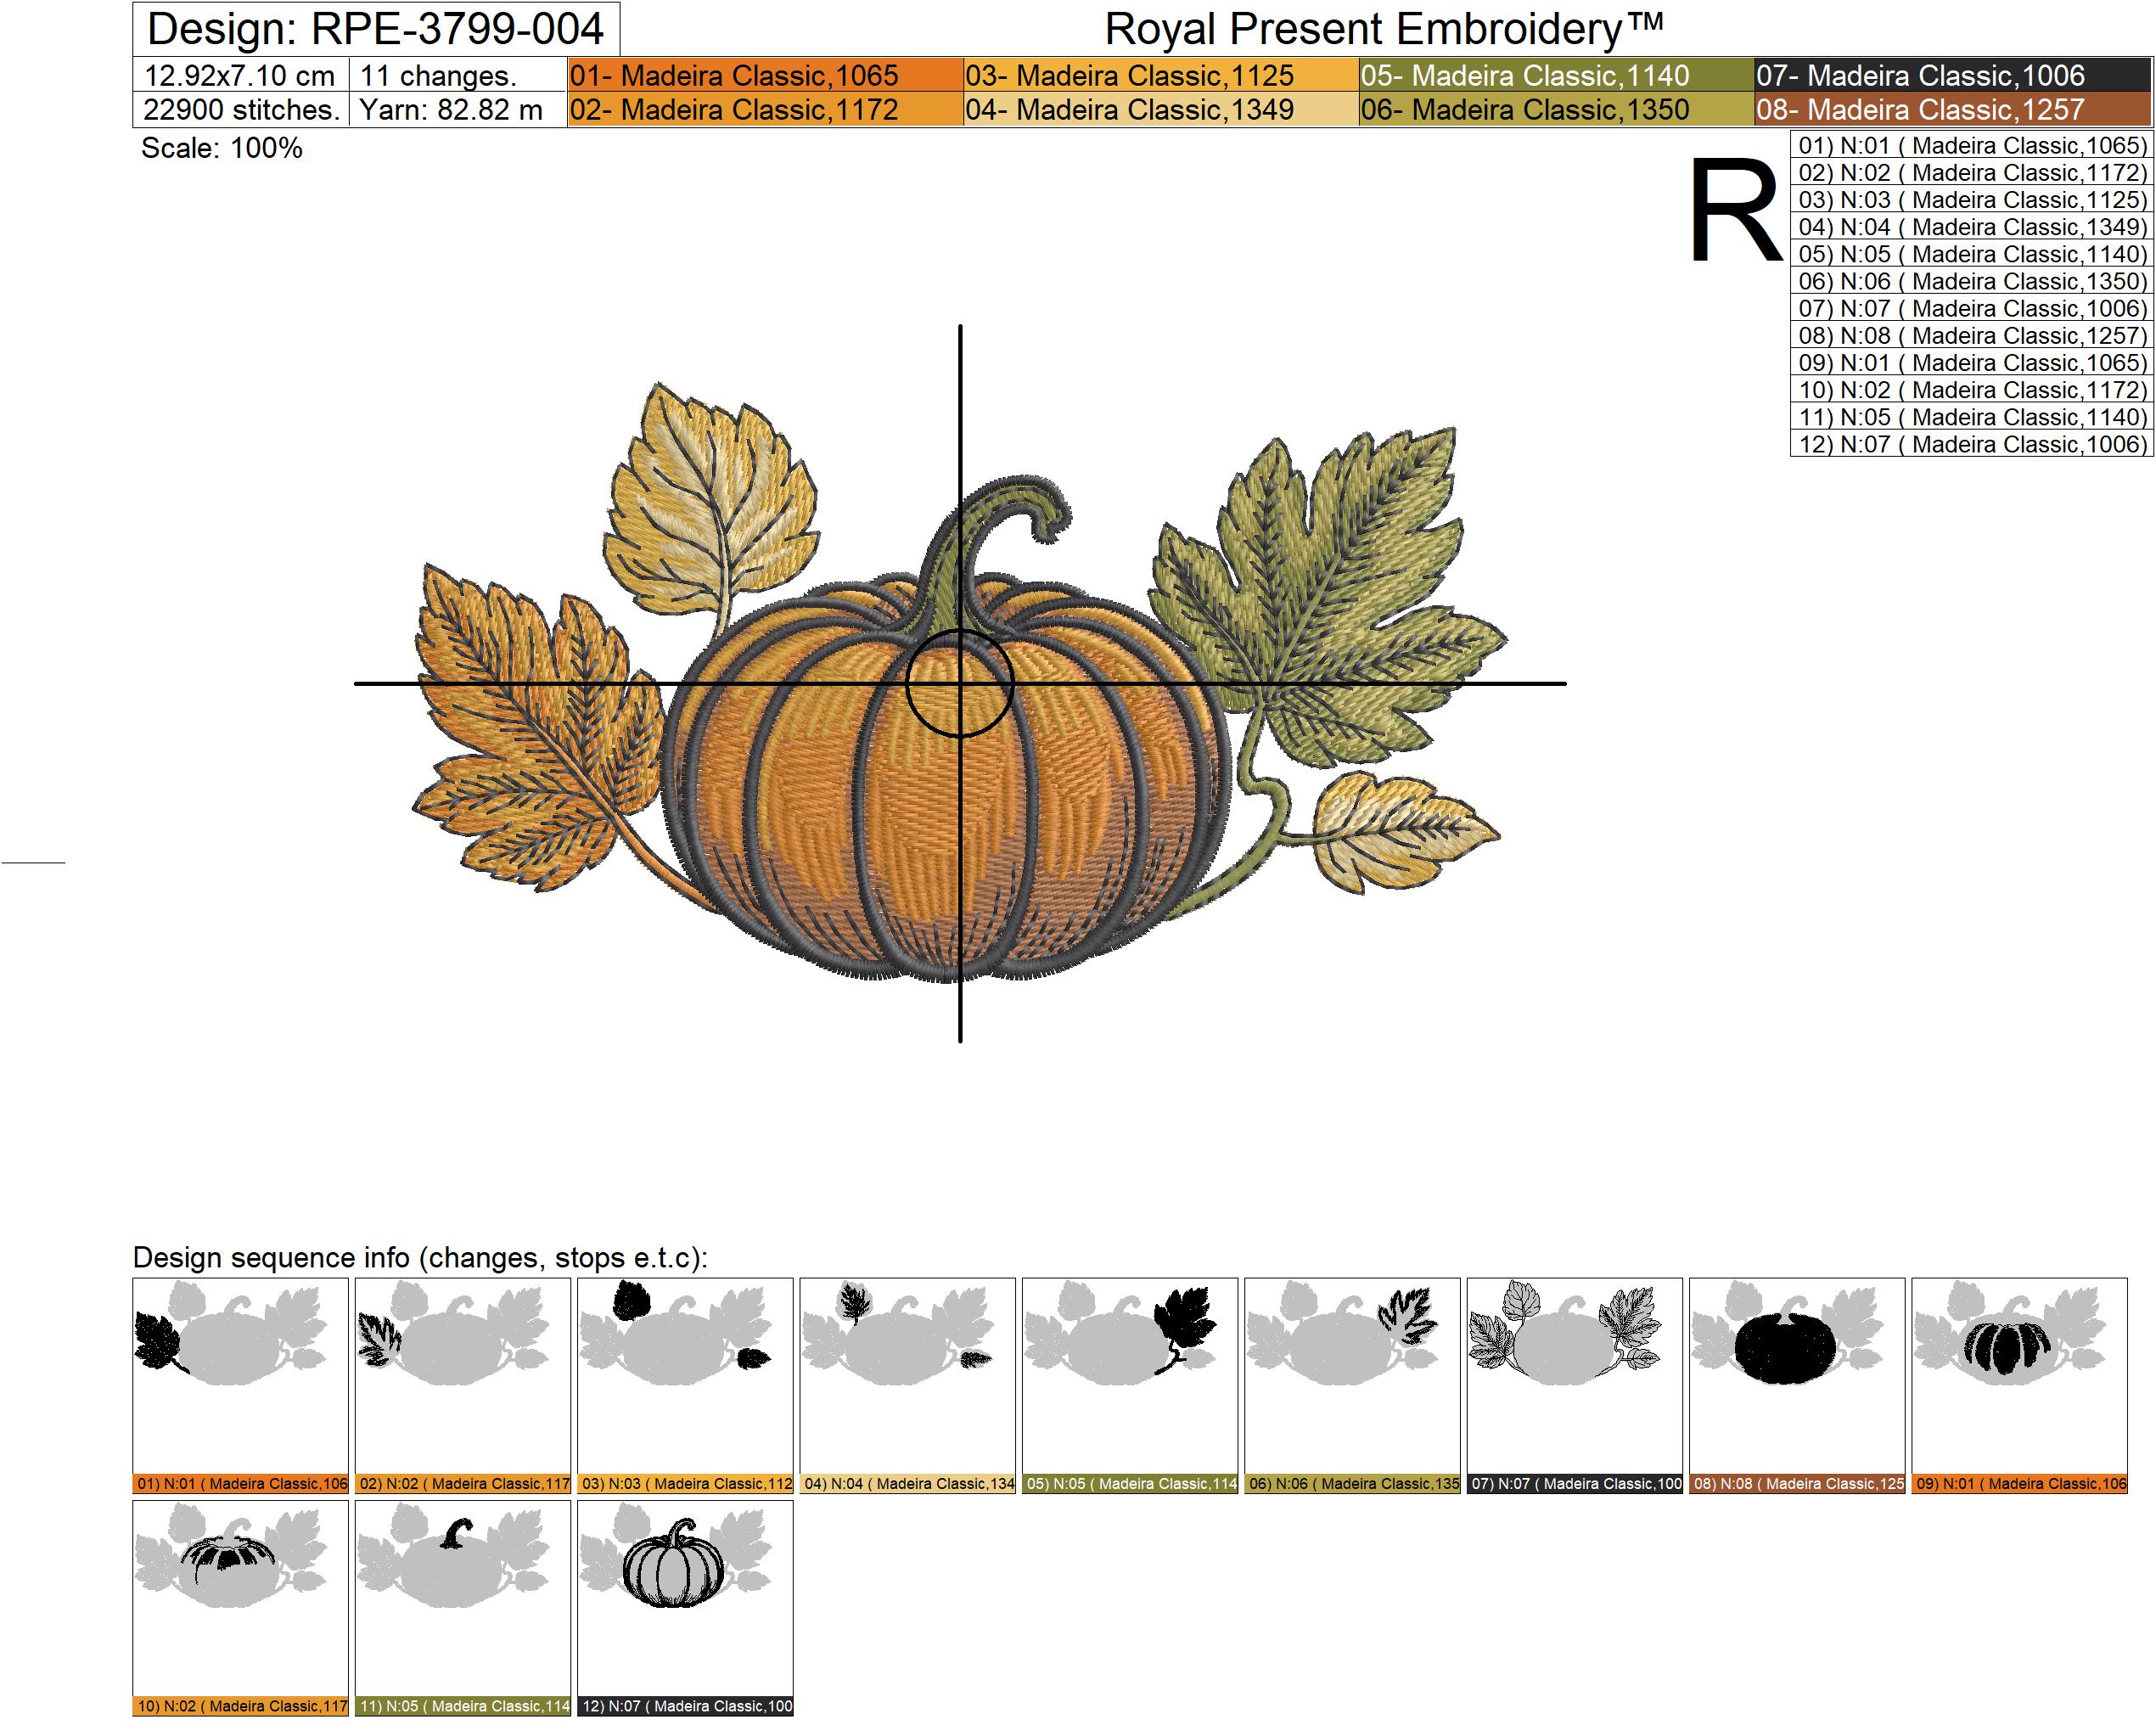
Size: 129.2x71.0 mm (5.09x2.80"), Stitches: 22900
Size: 76.0x138.5 mm (2.99x5.45"), Stitches: 25200
Size: 81.6x148.4 mm (3.21x5.84"), Stitches: 27600
Size: 87.0x158.5 mm (3.43x6.24"), Stitches: 30200
Formats: .dst, .jef, .pec, .vip, .hus, .pes, .exp, .sew, .dat, .vp3, .xxx
Thread usage from the production charts
129.2x71.0 mm — 82.82 m (90.57 yd)
76.0x138.5 mm — 93.00 m (101.71 yd)
81.6x148.4 mm — 104.31 m (114.07 yd)
87.0x158.5 mm — 116.38 m (127.28 yd)
What is included
The ZIP archive includes all four prepared sizes in the listed machine formats, the design image and JPG production color charts. After downloading, unzip the archive and choose the format supported by your embroidery machine.
This is a digital product. Fabric, thread, stabilizer, hoops and finished embroidered items are not included.
Hoop sizes
Design size 129.2x71.0 mm — hoop 130x180 mm (5x7")
Design size 76.0x138.5 mm — hoop 100x170 mm (4x6.69")
Design size 81.6x148.4 mm — hoop 100x170 mm (4x6.69")
Design size 87.0x158.5 mm — hoop 100x170 mm (4x6.69")
Madeira Classic Rayon 40 color chart
The production chart uses 8 unique Madeira Classic Rayon 40 colors. Repeated stops are not duplicated below. The screen swatch is a visual guide only; use the Madeira number as the primary reference when selecting thread.
|
Madeira Classic 1065 | Bright orange areas in the autumn leaves and warm pumpkin accents. | |
|
Madeira Classic 1172 | Golden-orange leaf transitions and additional pumpkin shading. | |
|
Madeira Classic 1125 | Light golden leaves and warm highlights. | |
|
Madeira Classic 1349 | Pale beige-gold leaf areas and lighter vein details. | |
|
Madeira Classic 1140 | Main olive-green fill of the large leaf and pumpkin stem. | |
|
Madeira Classic 1350 | Lighter olive-gold areas in the green leaf. | |
|
Madeira Classic 1006 | Dark leaf veins, pumpkin segment lines and final outline work. | |
|
Madeira Classic 1257 | Brown-terracotta base shading and darker areas of the pumpkin. |
If you use another thread brand, use the free Madeira Thread Exchange converter to find the closest available matches. Screen colors are not an exact substitute for a physical thread chart.
Fabric and stabilizer
For stable linen, cotton, twill or gabardine, start with tear-away backing. A practical starting formula is fabric weight ÷ 3 ≈ backing weight. A 4.5 oz/yd² woven fabric starts around 1.5 oz/yd² backing; a 6 oz/yd² linen starts around 2 oz/yd².
For medium-weight stable fabric, OESD Medium Weight TearAway 1.5 oz is a sensible starting point. For heavier linen or if the test shows rippling, move to OESD Heavy Weight TearAway or add a second lighter tear-away layer before considering permanent cut-away.
For a finished pocket, towel end or another hard-to-hoop area, use a pressure-sensitive tear-away such as OESD StabilStick TearAway. On terry or waffle fabric, add a thin water-soluble topping above the surface so the dark leaf veins and pumpkin outlines stay visible.
With standard 40-weight embroidery thread, start with a new 75/11 embroidery needle. On firm or layered fabric, test 80/12. Stitch the complete selected size on the actual fabric-and-stabilizer combination before embroidering the finished item.
For more stabilizer guidance, see Choosing stabilizers for machine embroidery. Part 2.
Where to embroider it
- linen napkins and placemats;
- tea towels, guest towels and waffle towels;
- table runner ends;
- apron pockets or bib panels;
- decorative pillows and tote bags;
- skirts, vests, cuffs or fall costume details;
- Thanksgiving wall panels and seasonal home decor.
Related machine embroidery designs
Questions and answers
How should I hoop the fabric so the final dark outline stays aligned with the pumpkin fill?
On smooth linen or cotton, hoop the fabric and stabilizer together rather than floating the fabric whenever possible. Keep the fabric flat and firm without stretching it. This design relies on final Madeira 1006 outline work, so any movement during the orange fill sections can show up later as registration shift. Before stitching, check that the fabric is not skewed diagonally in the hoop and that the loose part of the project is not pulling on the carriage.
How dense is this design, and is it likely to pucker linen?
This is not an extremely dense design for its stitched area: about 22900–30200 stitches are distributed across roughly 92–138 cm². On stable linen around 4.5–6 oz/yd², a 1.5–2 oz/yd² tear-away is a reasonable starting point. If waves appear around the pumpkin during the first fill sections, the support is too light and should be increased before completing the full test.
Which needle should I use on linen or cotton?
Start with a new 75/11 embroidery needle and standard 40-weight thread. On a heavier woven fabric or a layered project, test 80/12. A worn needle can show up as skipped stitches, louder machine noise and poorer registration in the fine leaf veins long before it creates an obvious hole.
Should I hoop the fabric, or can I float it?
If the project allows it, hoop fabric and stabilizer together for the best registration. Floating is useful on a finished pocket, towel edge or another part that cannot be hooped comfortably. In that case, use a pressure-sensitive tear-away, press the complete embroidery area firmly onto the adhesive surface and support the loose part of the item so it cannot drag against the machine.
How can I tell during a test stitch that the stabilizer is too light?
Watch the fabric before the final outline starts. If the area around the filled pumpkin begins to ripple, if the stabilizer no longer stays flat in the hoop, or if straight outline sections are already drifting away from the colored segments, the support is too light. Stop the test and try a heavier tear-away or a second light layer rather than finishing the design on an unstable base.
Can I stitch this design on a waffle towel?
Yes, if the waffle weave is not extremely loose. Use correctly weighted tear-away underneath and a thin water-soluble topping above the surface so the dark leaf veins and pumpkin outlines sit above the texture. On a deep or coarse waffle weave, stitch a full test first because fine lines can visually disappear between the raised cells even when stabilization is correct.
Should I slow the machine down for the final outlines?
Not automatically. If the test stitches cleanly at normal speed, keep it there. If repeated needle penetration becomes noticeably harsher, thread starts breaking or the outline begins to shift, reducing speed is usually more useful than changing tension in the middle of the design. This matters especially on firm linen and on home machines carrying a heavier towel or bag panel.
What should I do if the fabric is slightly wavy after removing the hoop?
Remove the tear-away carefully without pulling the fabric, then let the piece relax. A mild residual wave can be pressed from the wrong side over a soft towel without flattening the embroidery. Pronounced puckering is different: if the fabric gathers around the pumpkin, the next test needs stronger stabilization, better hooping or a more suitable fabric rather than more aggressive pressing.
Fall Pumpkin with Golden and Olive-Green Leaves Machine Embroidery Design - 4 Sizes
great design good stitch out

 Get Sign-In Link
 Login with Google
 Login with Facebook
 Login with Amazon
 Login with Paypal