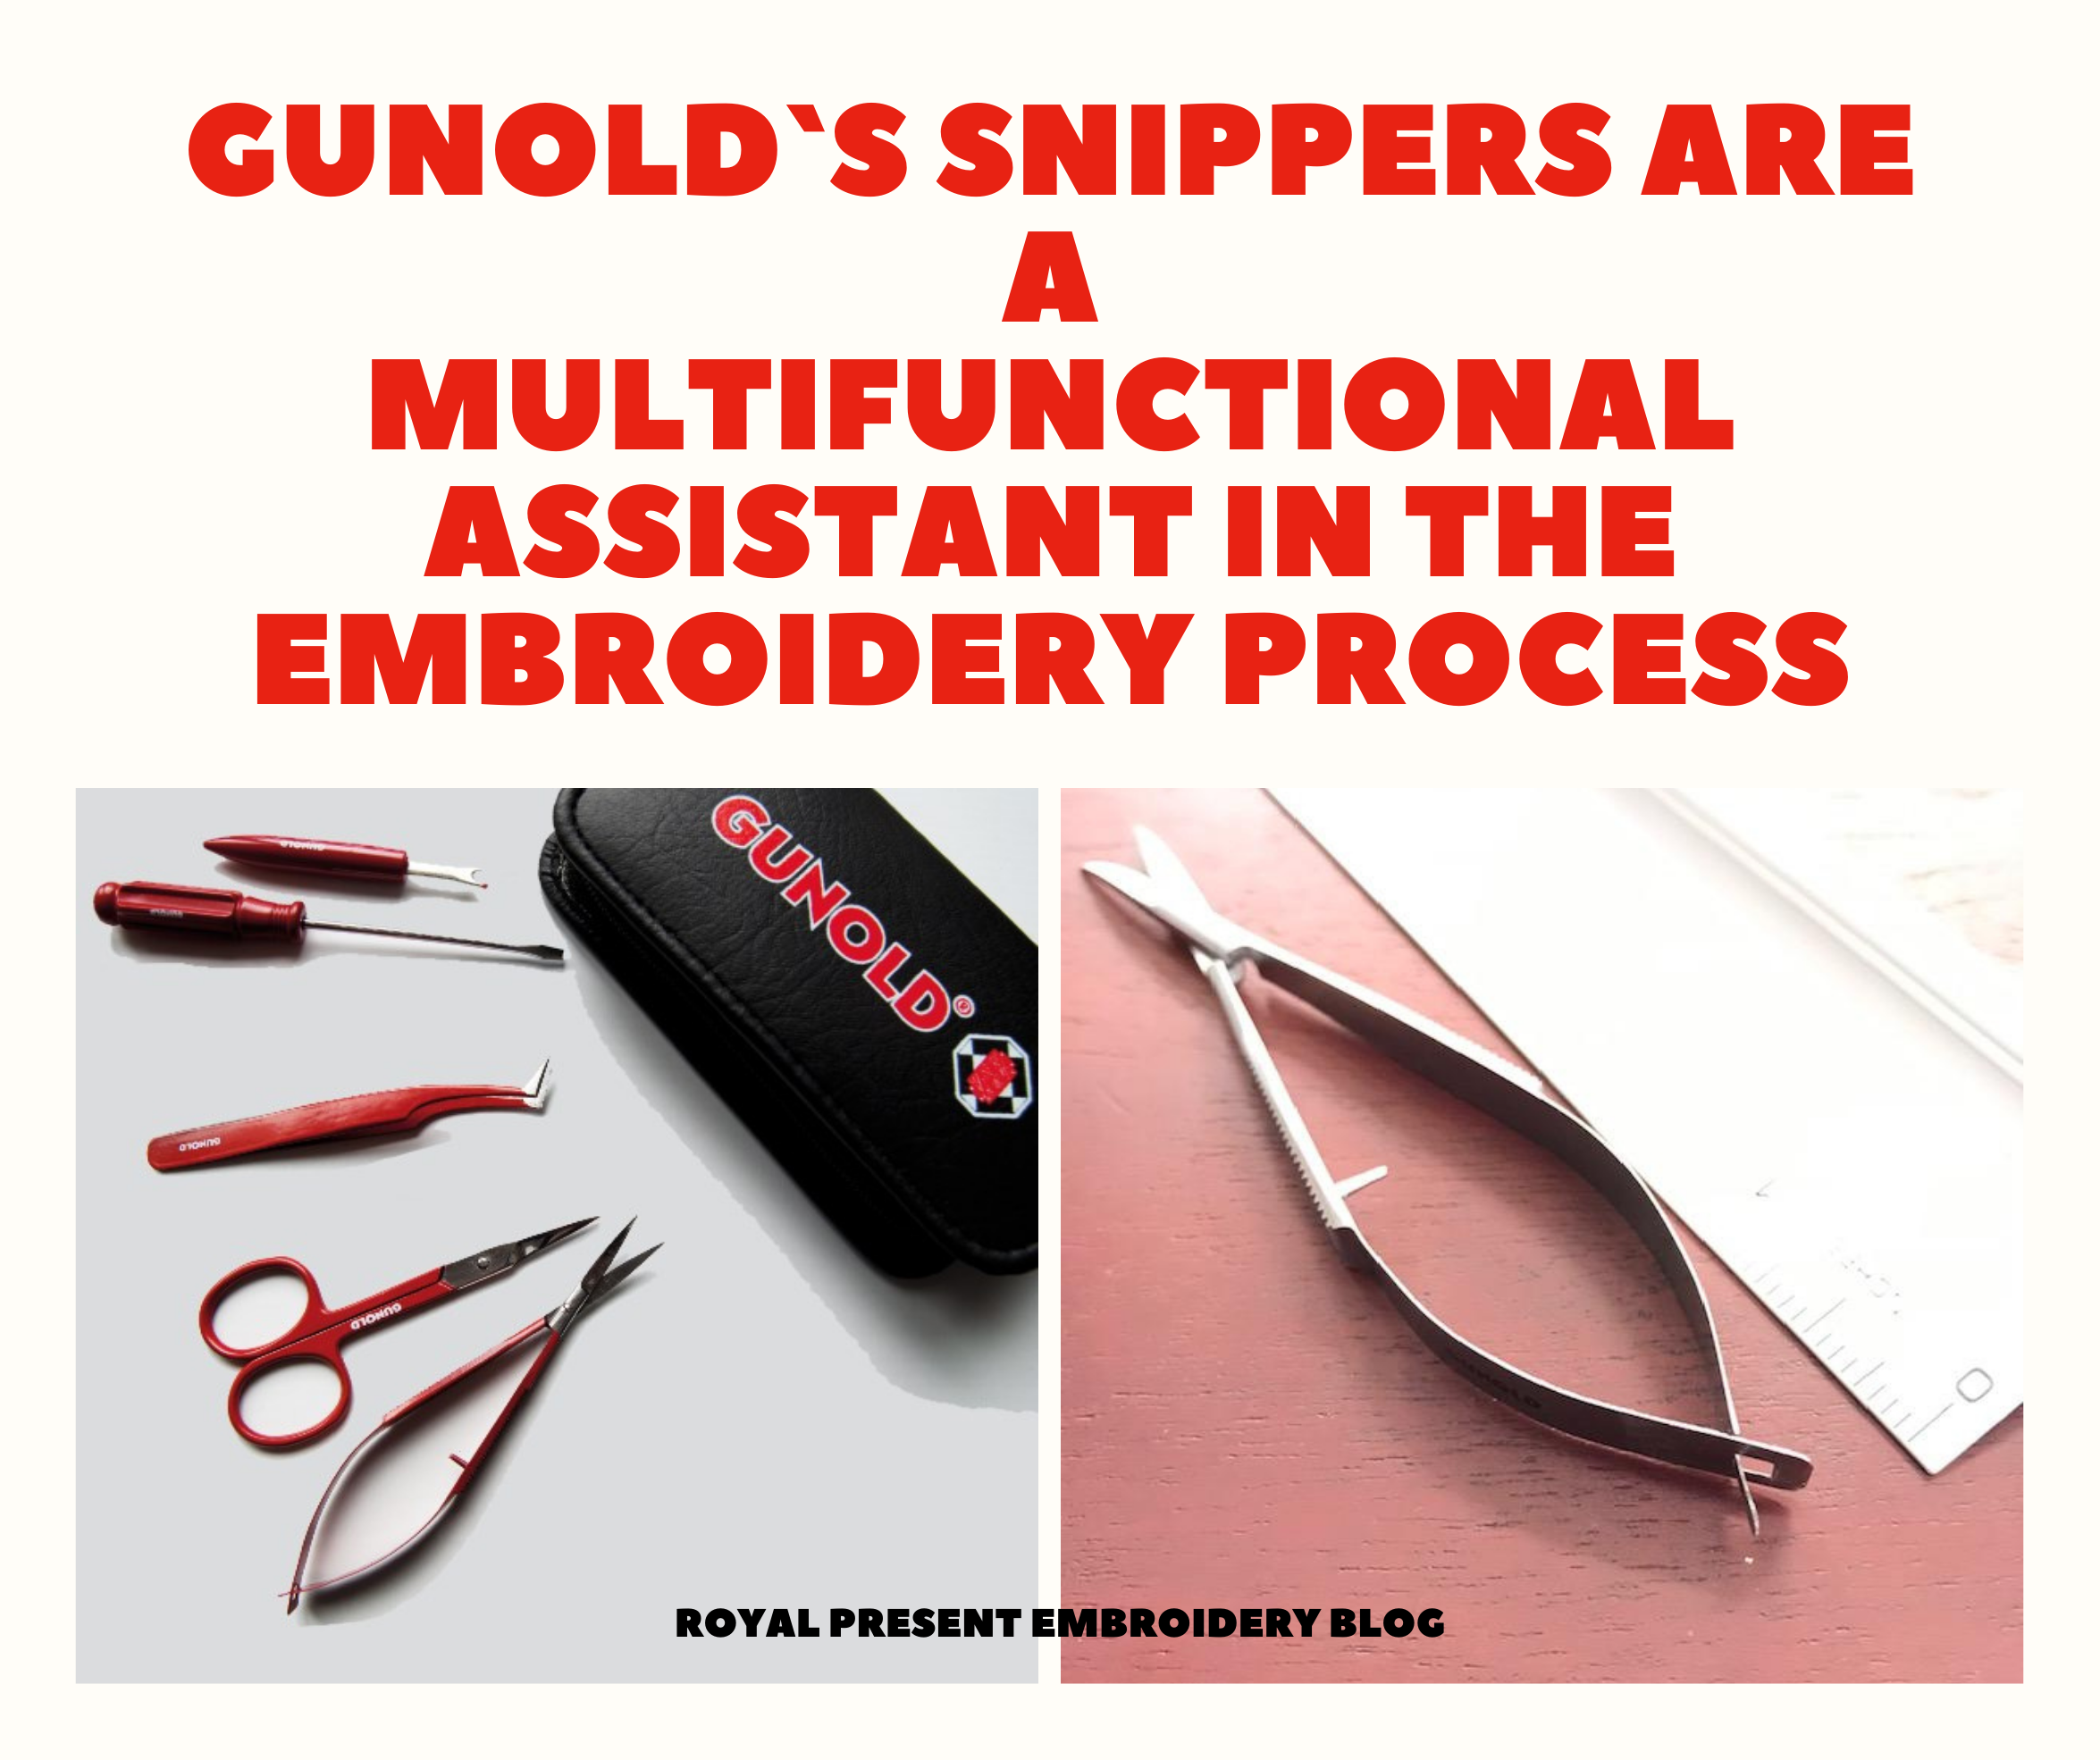
Gunold`s snippers
Suppose you're looking for a reliable, multifunctional tool to assist in your embroidery processes; look no further than Gunold's special scissors snippers. These snippers provide the precis...
By knowing the speed of your embroidery machine, you can find out how long it will take to embroider a design.
To use the embroidery calculator, click on the number of stitches in the product description.
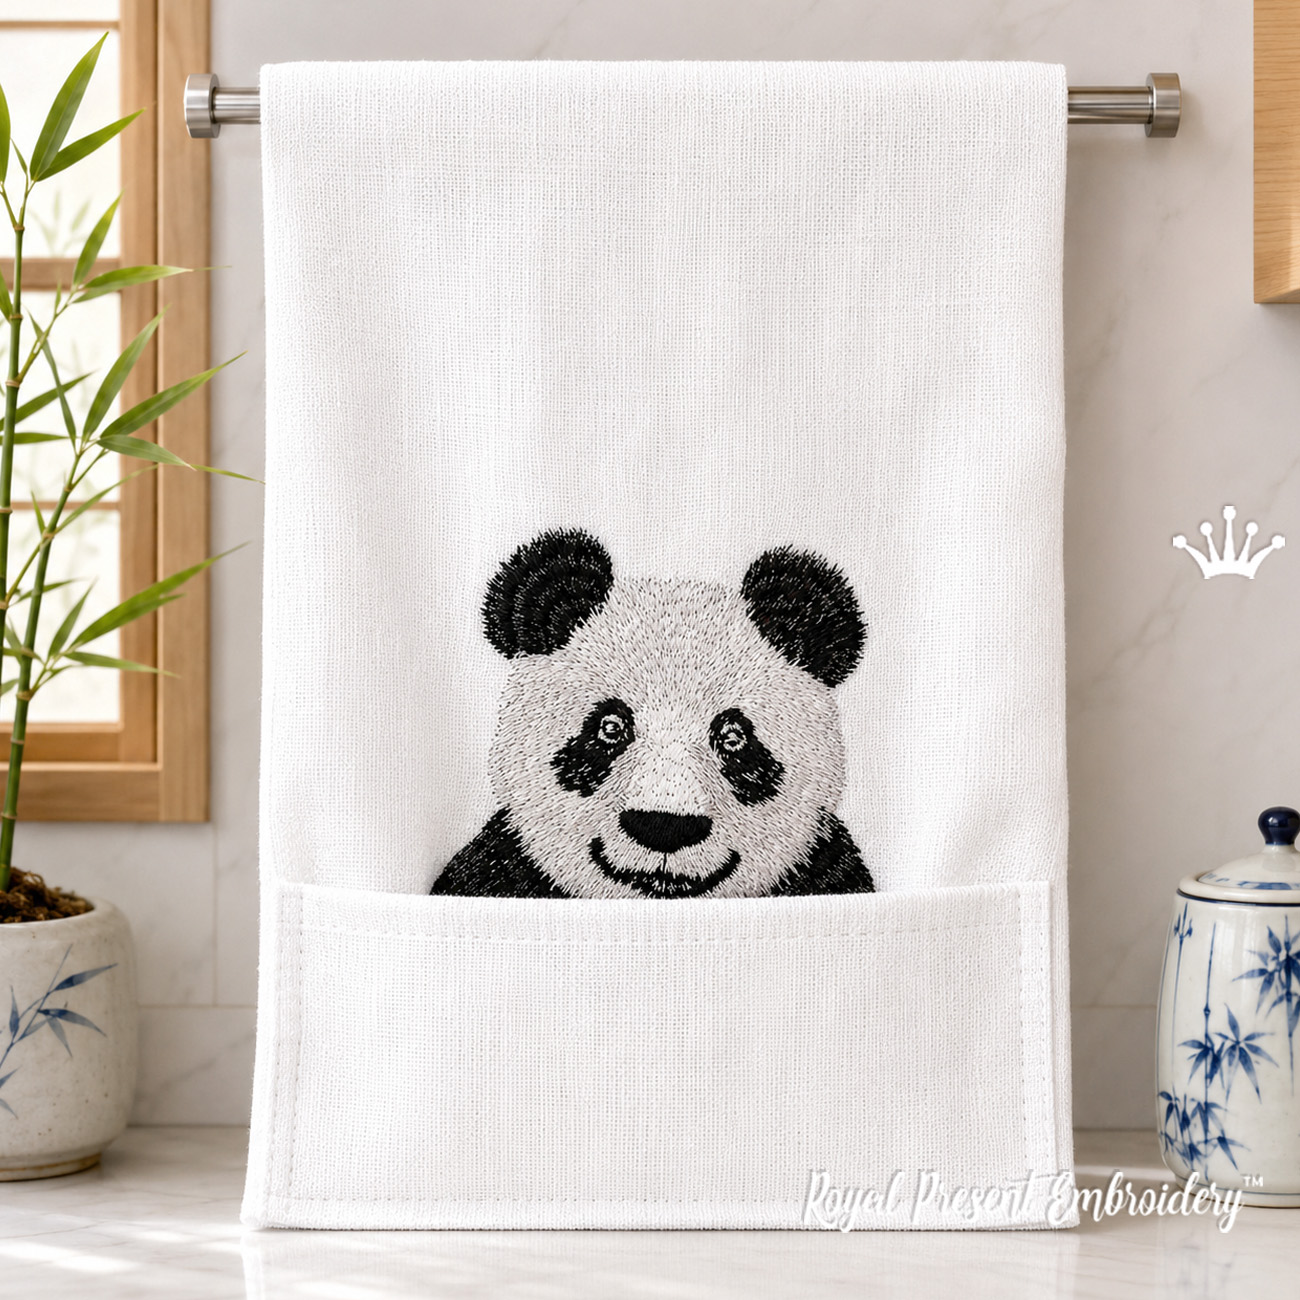
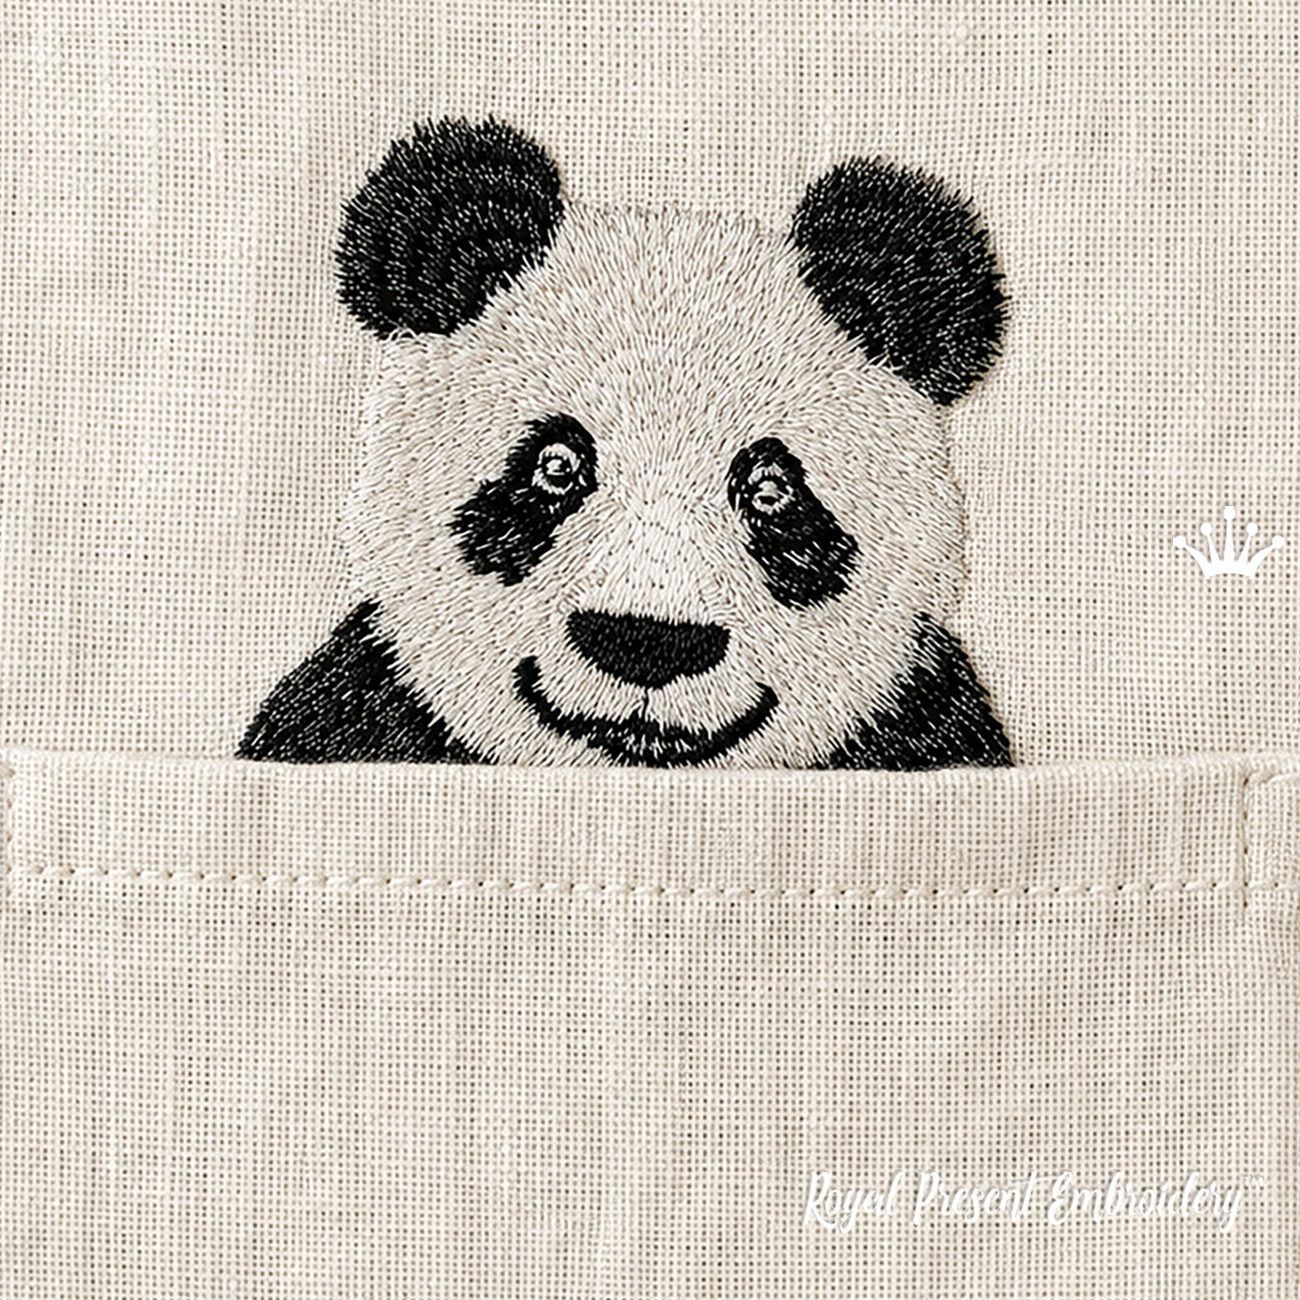
The Pocket Panda machine embroidery design depicts a black-and-white bear peeking out of a pocket. Long multidirectional stitches imitate hand embroidery, shape the soft fur and preserve the lively texture of the panda’s face. The design works especially well on shirts, denim jackets, children’s clothing, bags and backpacks.
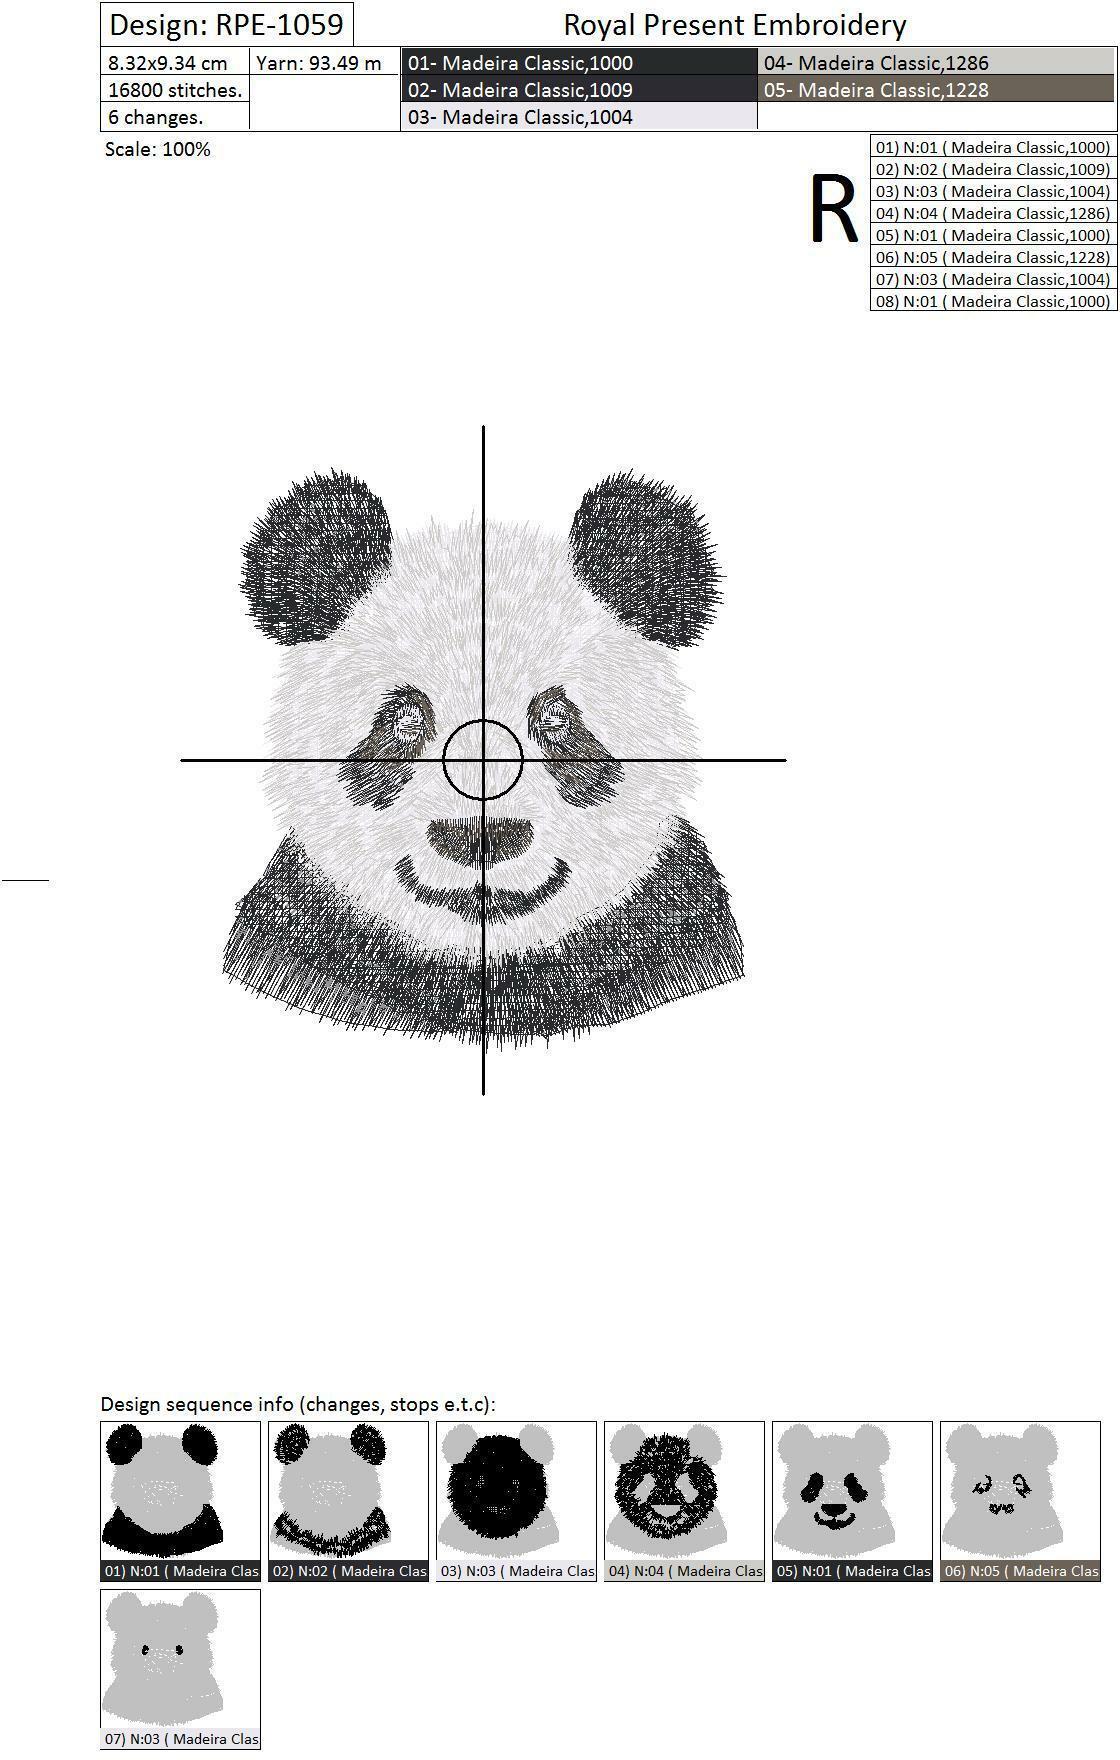
This is a standard machine embroidery design stitched directly onto fabric, not appliqué, a patch or freestanding lace. The single available size fits a 100x100 mm embroidery field. The original RPE-1059 chart uses 5 Madeira Classic Rayon colors.
Embroidery size: 83.2x93.4 mm (3.28x3.68 "), Stitches: 16773,
Formats: .dst, .jef, .pec, .vip, .hus, .pes, .sew, .exp, .dat, .vp3, art, xxx
These are digital files for a computerized embroidery machine. No finished embroidery, pocket, garment, fabric, thread or other physical item is included. After purchase, download the ZIP archive, extract it and transfer the format supported by your machine.
The 83.2x93.4 mm file requires a true embroidery field of at least 100x100 mm (3.94x3.94", commonly called a 4x4" hoop). The design is 83.2 mm wide and leaves approximately 16.8 mm of total horizontal clearance within a 100x100 mm field.
Check the maximum stitching area of your machine, not the outer dimensions of the frame. The commercial 4x4" name usually refers to an embroidery field close to 100x100 mm, but the exact limits depend on the machine model. See the embroidery hoop sizes and stitching fields guide for details.
The original RPE-1059 chart specifies 5 Madeira Classic Rayon 40 colors. Its sequence list contains 8 embroidery stages. A separate field on the technical chart states 6 changes; that source value is preserved below.
| Color | Stage | Madeira Classic Rayon 40 | What it stitches |
|---|---|---|---|
| 1 | Madeira Classic 1000 | Dark foundation of the ears and lower body. | |
| 2 | Madeira Classic 1009 | Additional dark shading on the ears and lower fur contour. | |
| 3 | Madeira Classic 1004 | Light foundation of the head, cheeks and chest. | |
| 4 | Madeira Classic 1286 | Light-gray modeling stitches on the muzzle and fur. | |
| 5 | Madeira Classic 1000 | Dark eye patches, nose and mouth line. | |
| 6 | Madeira Classic 1228 | Warm gray-brown shadows and dimensional facial details. | |
| 7 | Madeira Classic 1004 | Eye highlights and small lightening strokes. | |
| 8 | Madeira Classic 1000 | Final dark details of the eyes and muzzle. |
Color sequence: 1000, 1009, 1004, 1286, 1000, 1228, 1004, 1000.
Unique colors: 5.
Stages shown in the sequence list: 8.
Changes value on the original chart: 6.
The colored squares reproduce the swatches from the Royal Present gallery chart. Screen colors vary by monitor, so choose physical spools by the Madeira numbers. Use the free Madeira thread converter when substituting another thread brand.
The panda’s fur is formed with long, freely directed stitches that visually resemble hand-drawn shading. This technique behaves differently from a dense, even fill: the result depends on stable fabric and smooth machine movement.
| Fabric or project | Stabilization | Needle |
|---|---|---|
| Cotton shirt, firm linen or pocket fabric | Medium-weight cut-away; temporarily secure unhoopable fabric to the hooped stabilizer | Embroidery 75/11 |
| Denim, canvas, bag or backpack fabric | Medium-weight cut-away; add a light adhesive support layer if soft denim shifts during the test | Sharp embroidery 75/11 or 80/12 after testing |
| Sweatshirt fleece, jersey or another knit | Fusible or temporarily adhered medium-weight cut-away; do not stretch the fabric | Ballpoint embroidery 75/11 |
| Fleece, terry cloth or another fabric with pile | Cut-away underneath plus thin water-soluble film on top | Embroidery 75/11 |
The stabilizer must hold the direction of the long stitches without making a garment unnecessarily rigid. A soft cut-away is suitable for washable clothing because it remains under the embroidery and continues supporting it after laundering. If the fabric cannot be hooped securely, apply adhesive to the stabilizer rather than directly to the garment and use it sparingly. See the guide to temporary adhesive spray for embroidery.
The embroidery is 83.2 mm wide. A finished pocket approximately 95–105 mm wide usually creates a balanced full-pocket effect: it leaves a small visual margin at the sides without making the panda look undersized.
This method creates the most convincing result: the panda’s head remains above the pocket edge while the lower body appears to be inside the pocket.
This method is easier to hoop, but the entire panda remains visible on the front of the pocket. Before embroidering, make a paper template measuring 83.2x93.4 mm and check the design’s actual position on the pocket pattern.
Before embroidering a finished garment, stitch a complete test on the same fabric with the same stabilizer, needle, thread and speed.
A light background preserves the classic black-and-white panda appearance. On gray, beige or pastel fabric, first test the contrast of Madeira 1004 and 1286 so the light fur strokes remain visible.
Yes. The 83.2x93.4 mm file fits a true 100x100 mm embroidery field, commonly called a 4x4" hoop. Always check the maximum stitching field of your machine model before transferring the file.
No. The file contains the panda embroidery. The pocket is part of your sewing project: place it over the lower section of the finished panda or embroider the panda on a separate pocket piece before construction.
No. The panda is stitched with thread directly onto the project fabric. The file does not contain appliqué placement or fabric-cutting steps.
The fur is built with long multidirectional stitches. A calmer speed helps the machine lay them evenly and reduces the risk of catching, pulled loops and shifted texture layers.
Yes. Maintain strong contrast among the dark patches, light fur and gray shadows. Even after changing colors, stitch every stage in the original sequence.
Use a soft medium-weight cut-away for a cotton shirt or light denim. For stretch fabric, use fusible or temporarily adhered cut-away so the material cannot expand during embroidery.
Yes, if the pocket and the free area around it allow safe hoop movement. In practice, it is usually easier to embroider the pocket piece before sewing or to float an unhoopable pocket on hooped cut-away stabilizer. Make sure the needle cannot catch the back layer of the pocket.
Extract the ZIP archive on your computer or use the free Royal Present online unzipper. After extraction, transfer only the machine format you need.
You may create finished physical items with this design for personal use and small-business sales. Industrial or factory production is not covered by the standard license. The digital files may not be copied, shared, uploaded, exchanged, distributed or resold. See the complete Royal Present Embroidery terms and conditions.
Design author: Ludmila Konovalova, Royal Present Embroidery.
Pocket Panda Machine Embroidery Design
Beautiful Design. Stitched out beautifully.
Pocket Panda Machine Embroidery Design
Have not been able to embroidery any that I bought but looked at them last nite and thought got to do the rose and panda. Going to put panda on a book bag for a girl that loves to read.
Suppose you're looking for a reliable, multifunctional tool to assist in your embroidery processes; look no further than Gunold's special scissors snippers. These snippers provide the precis...
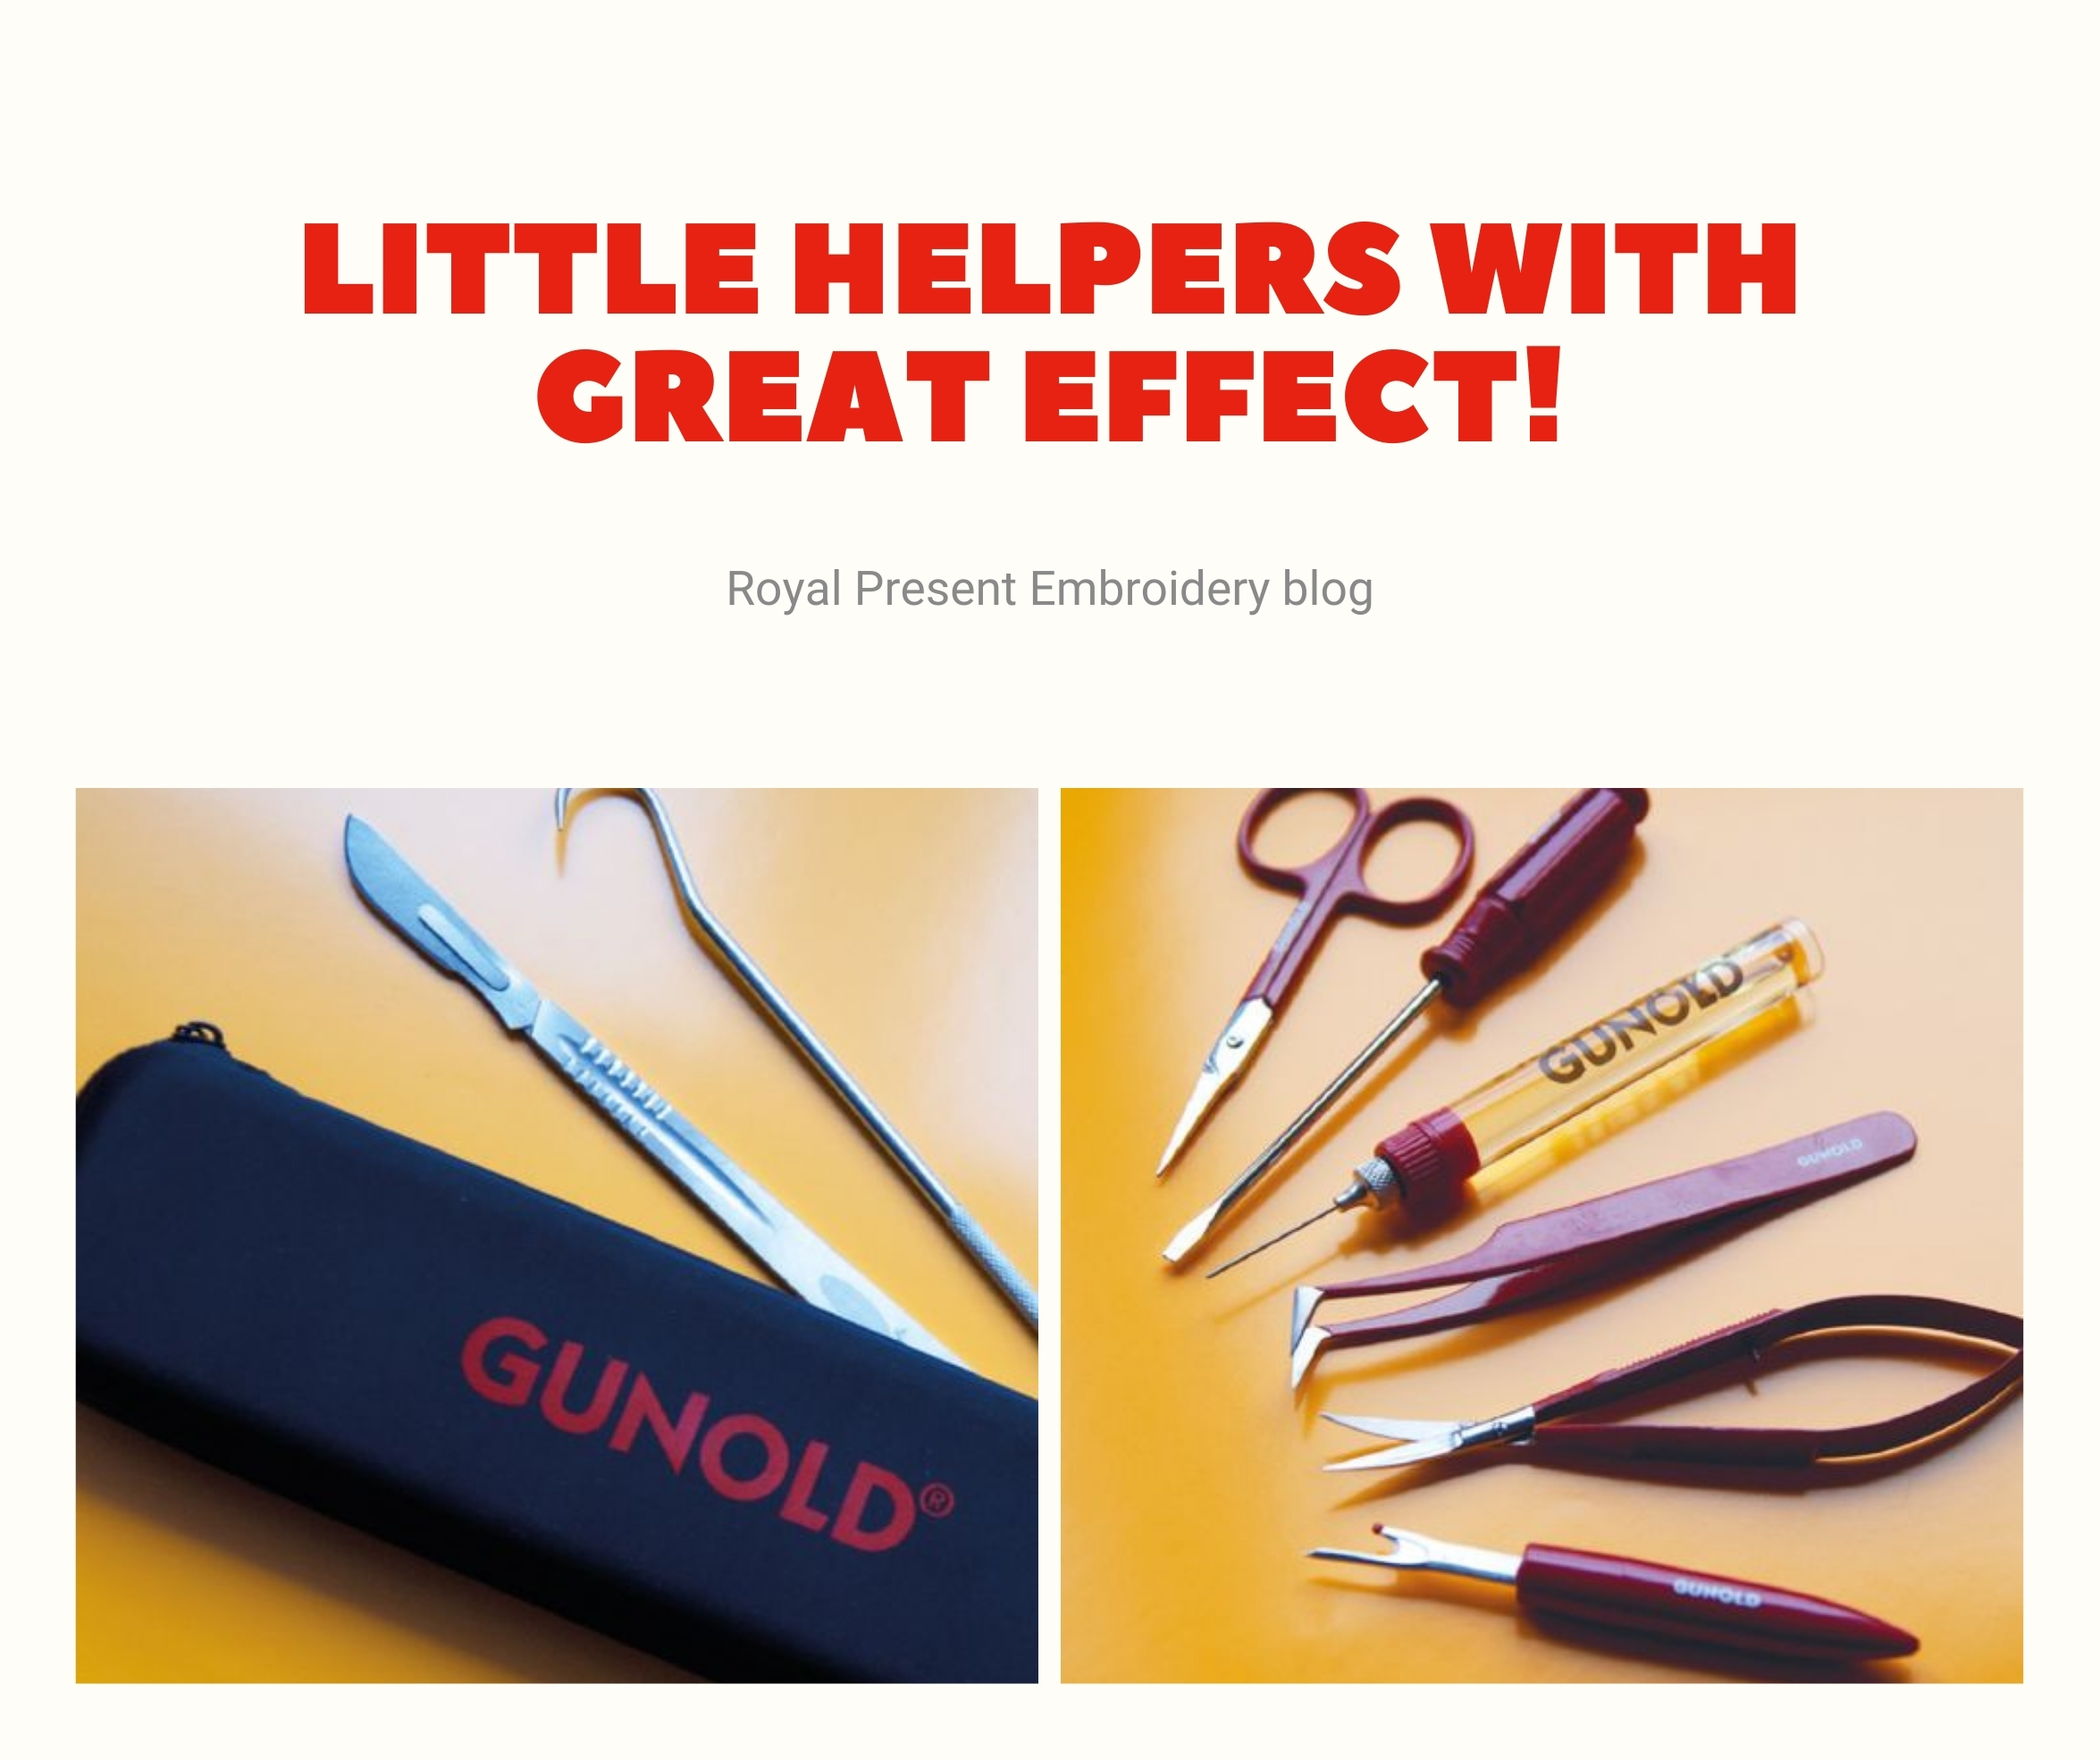
Regarding embroidery, have the right tools to make all the difference in the final product. Tangled threads, hoop marks, and unsightly nests can ruin hours of effort. That's why it's essenti...
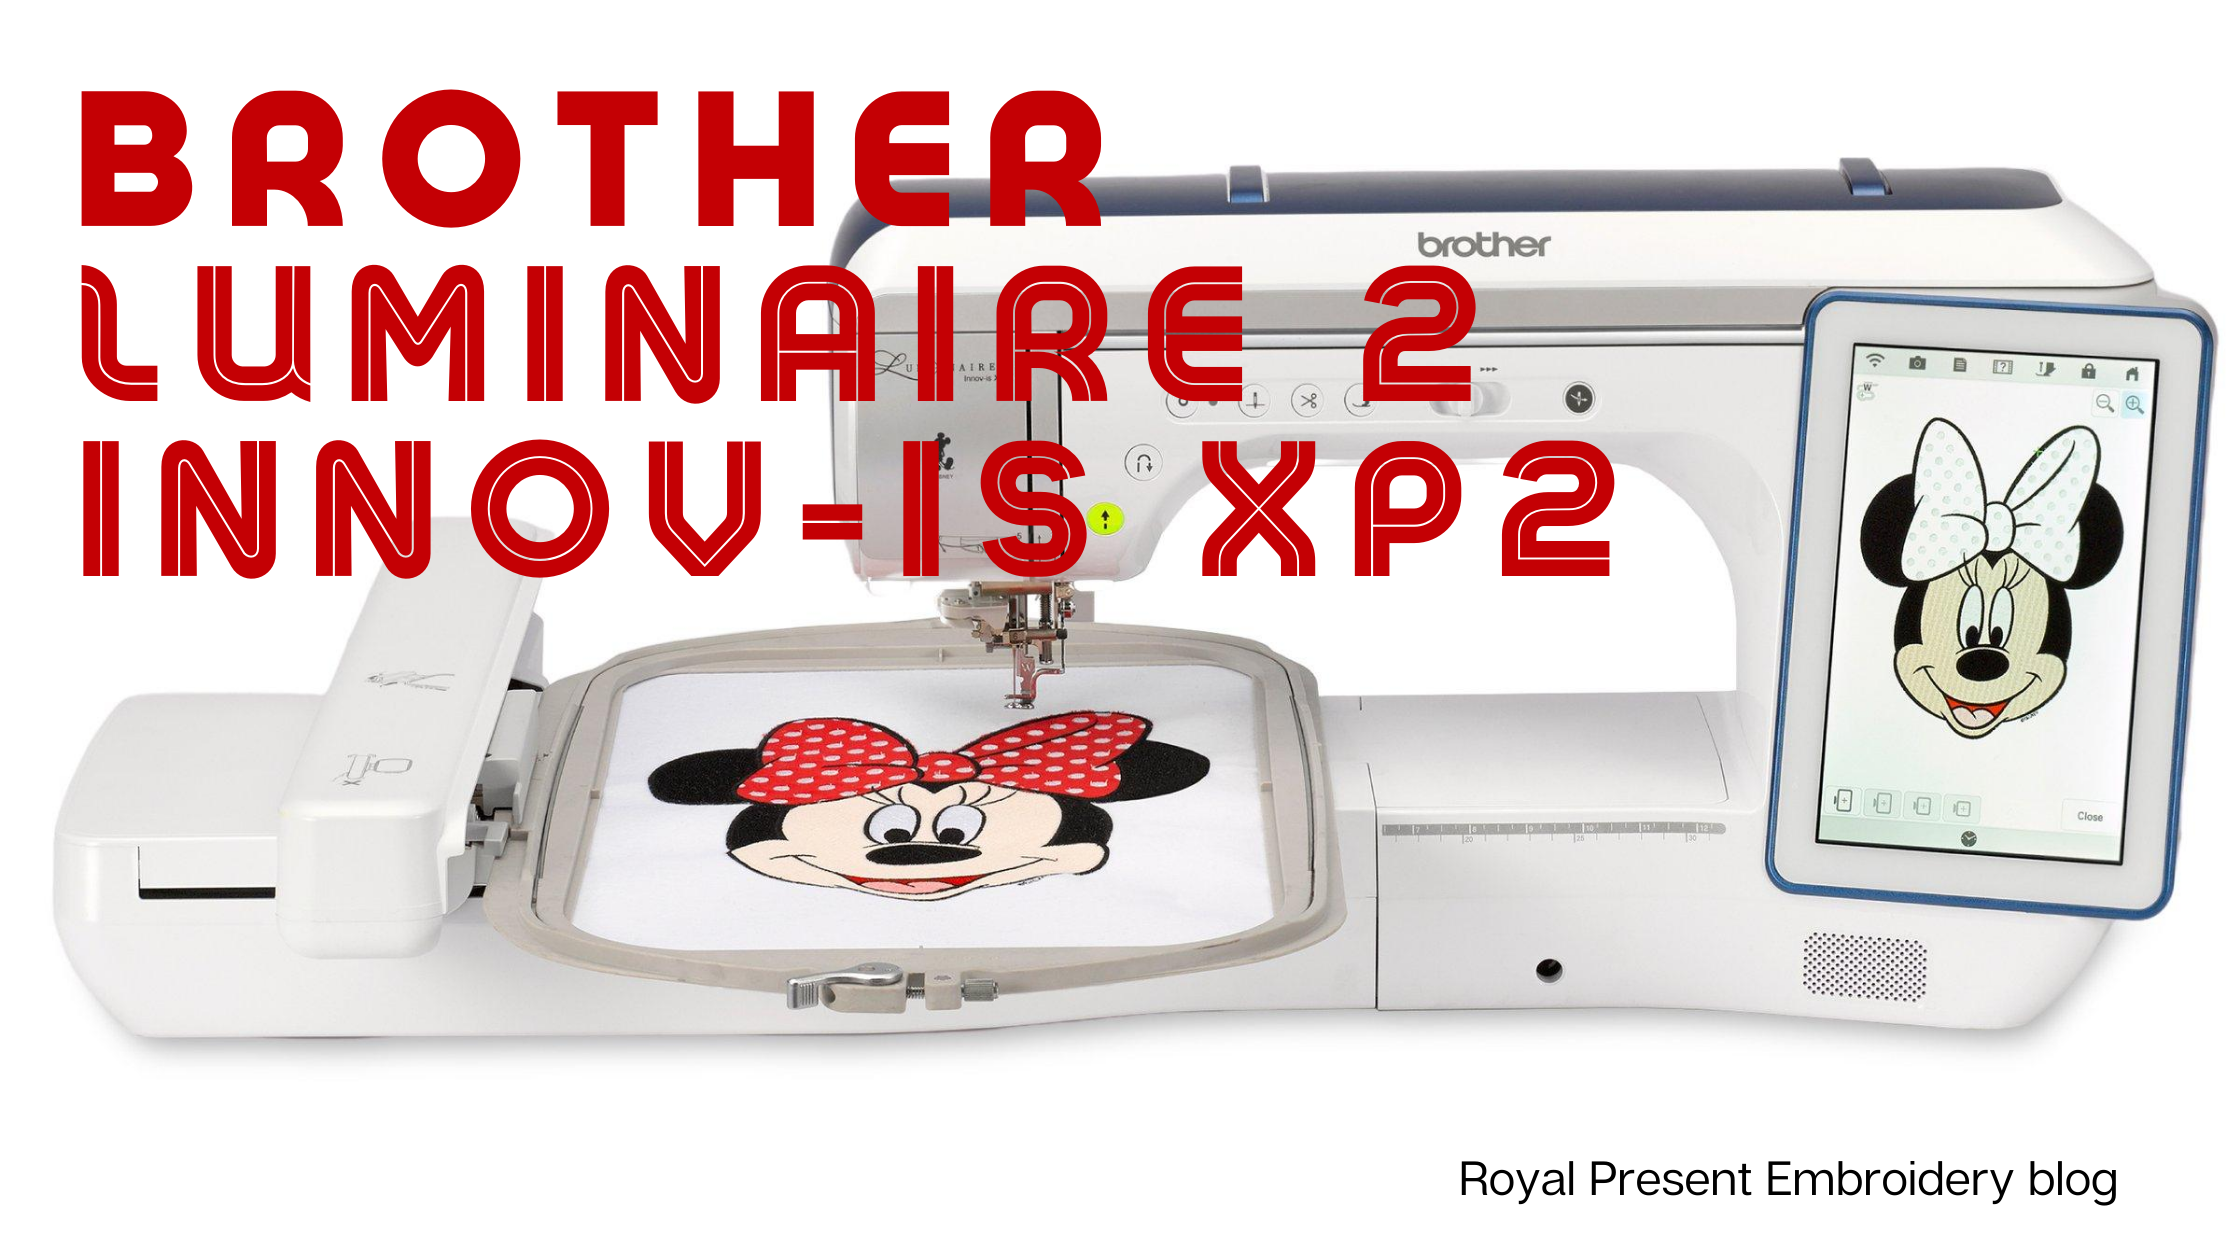
Have you ever felt like you're at the mercy of your embroidery machine? Constantly fidgeting with knobs and buttons to get the settings right can be frustrating and time-consuming. Fortunately, the Bro...
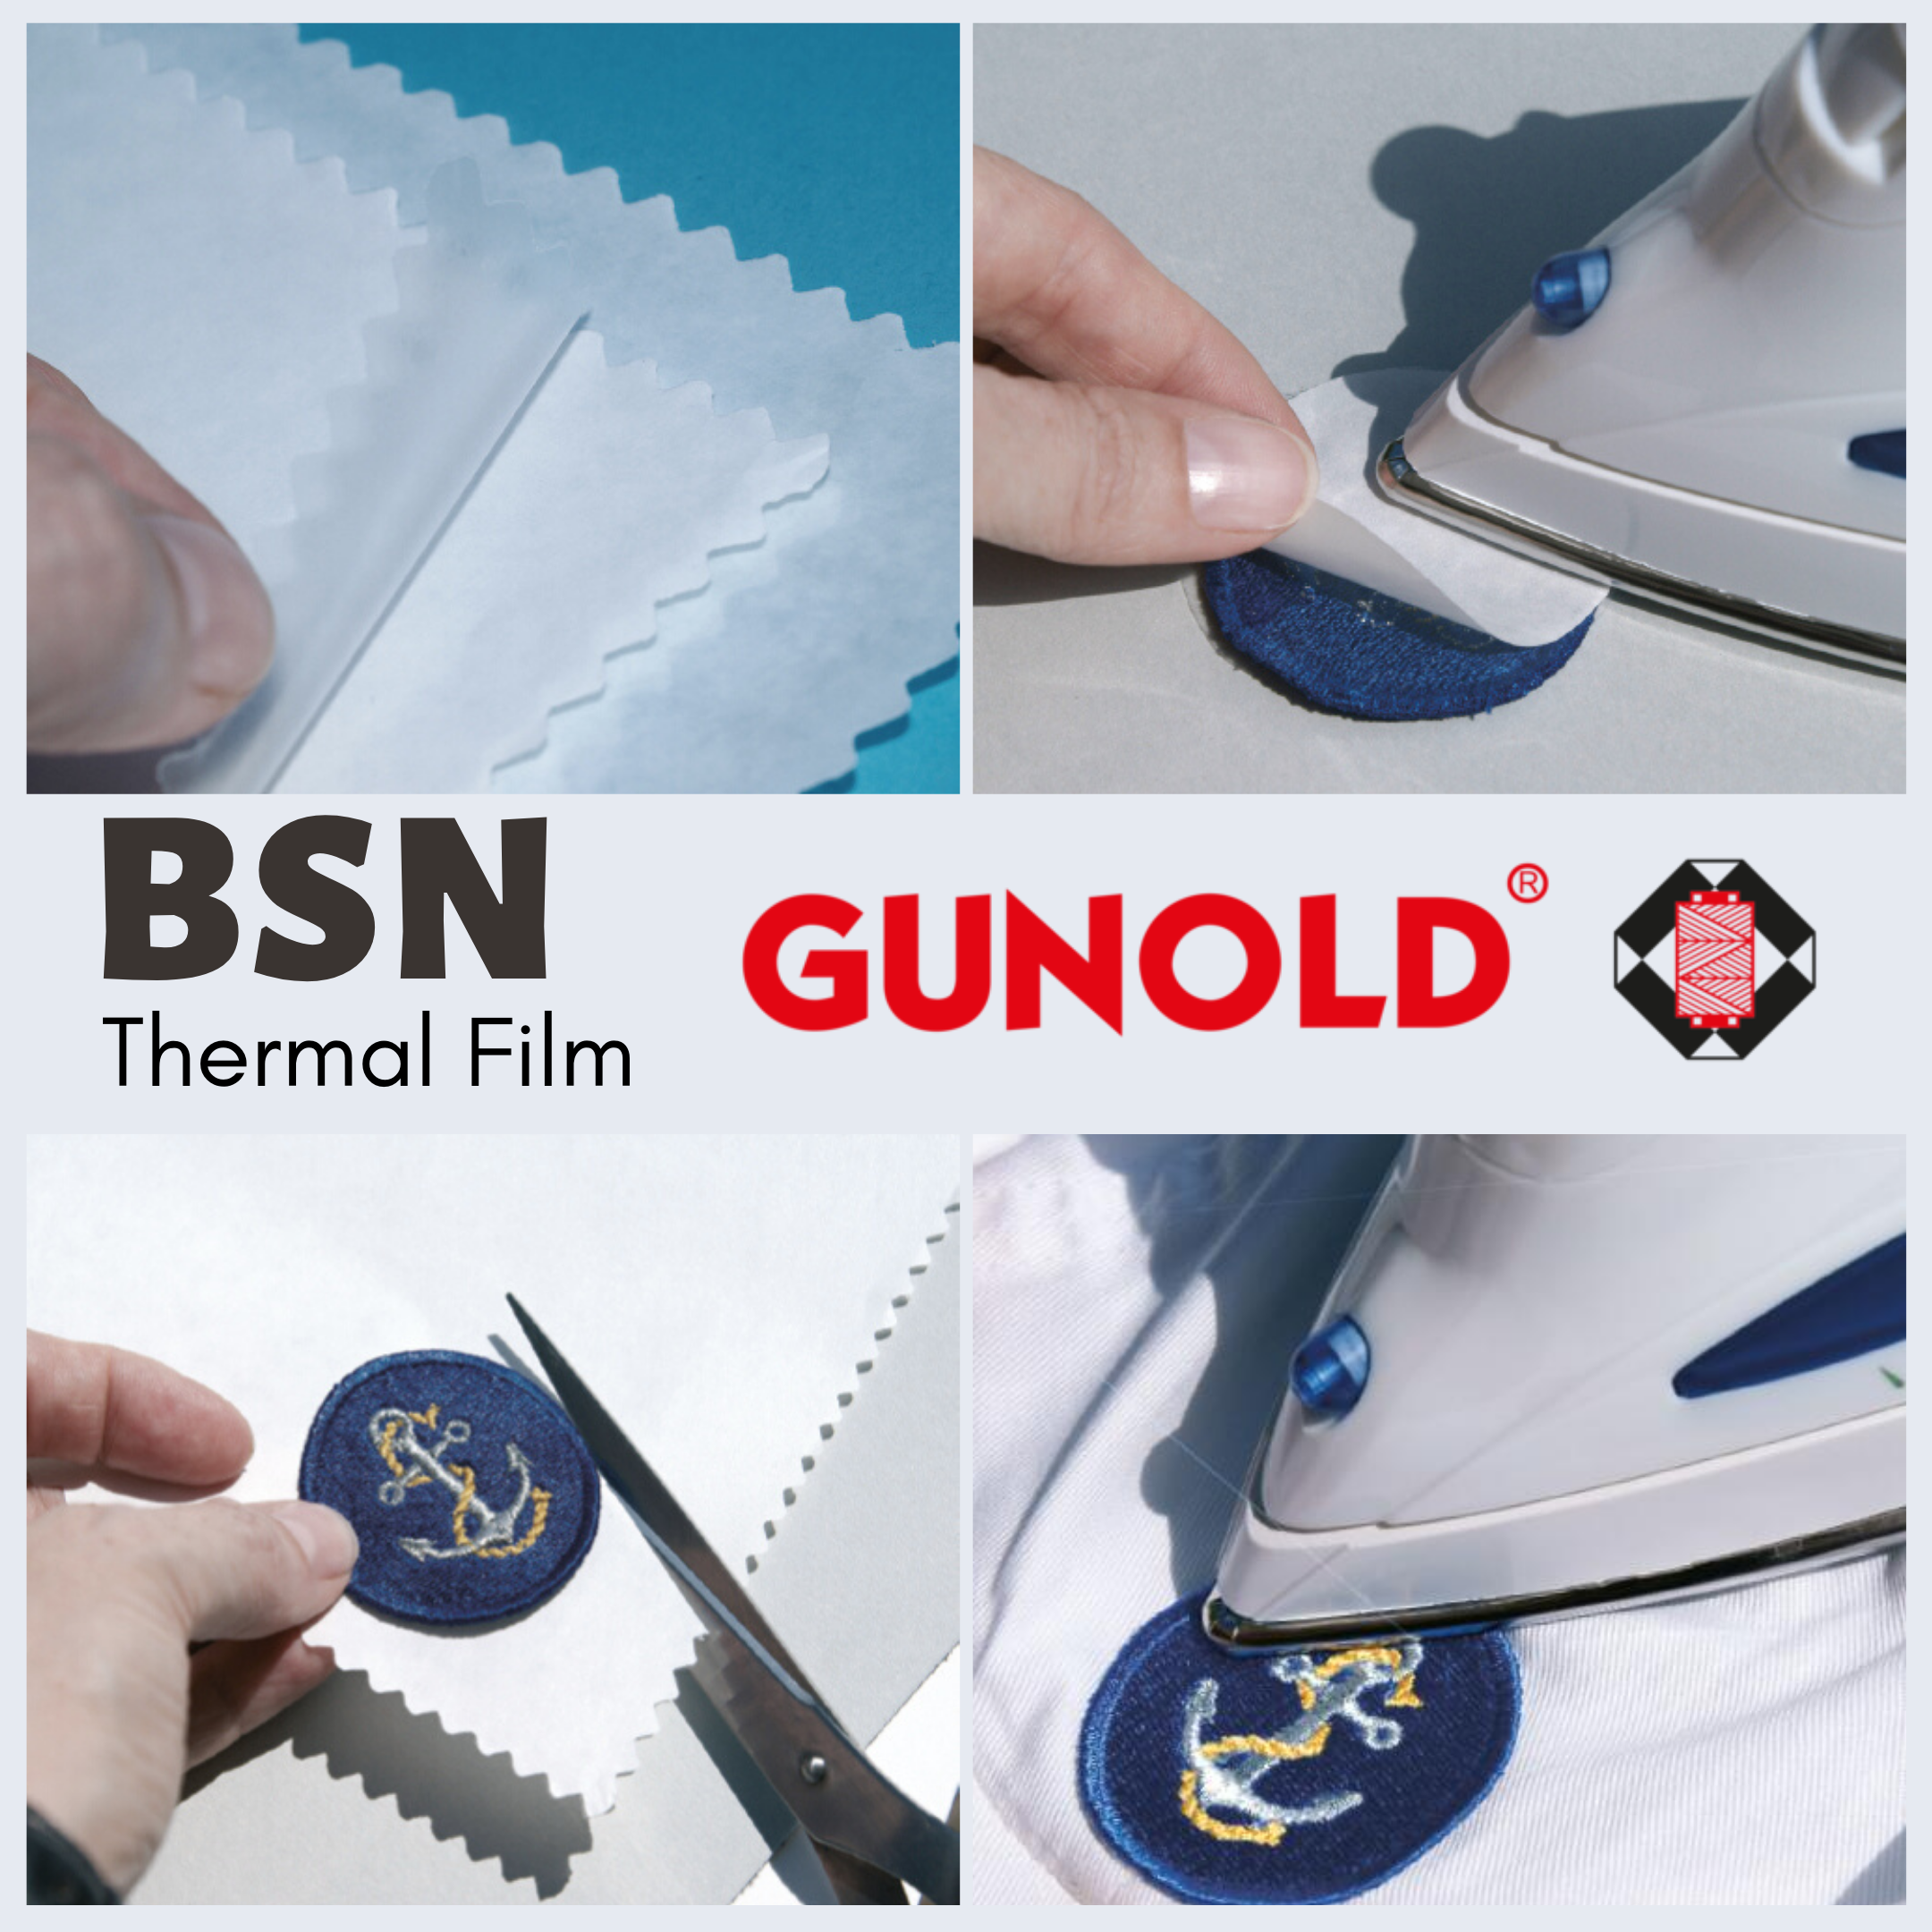
Gunold BSN, Heat Seal Film, is a highly versatile product that finds use in multiple industries, particularly in the textile and apparel sectors. This heat-activated adhesive film is applied...
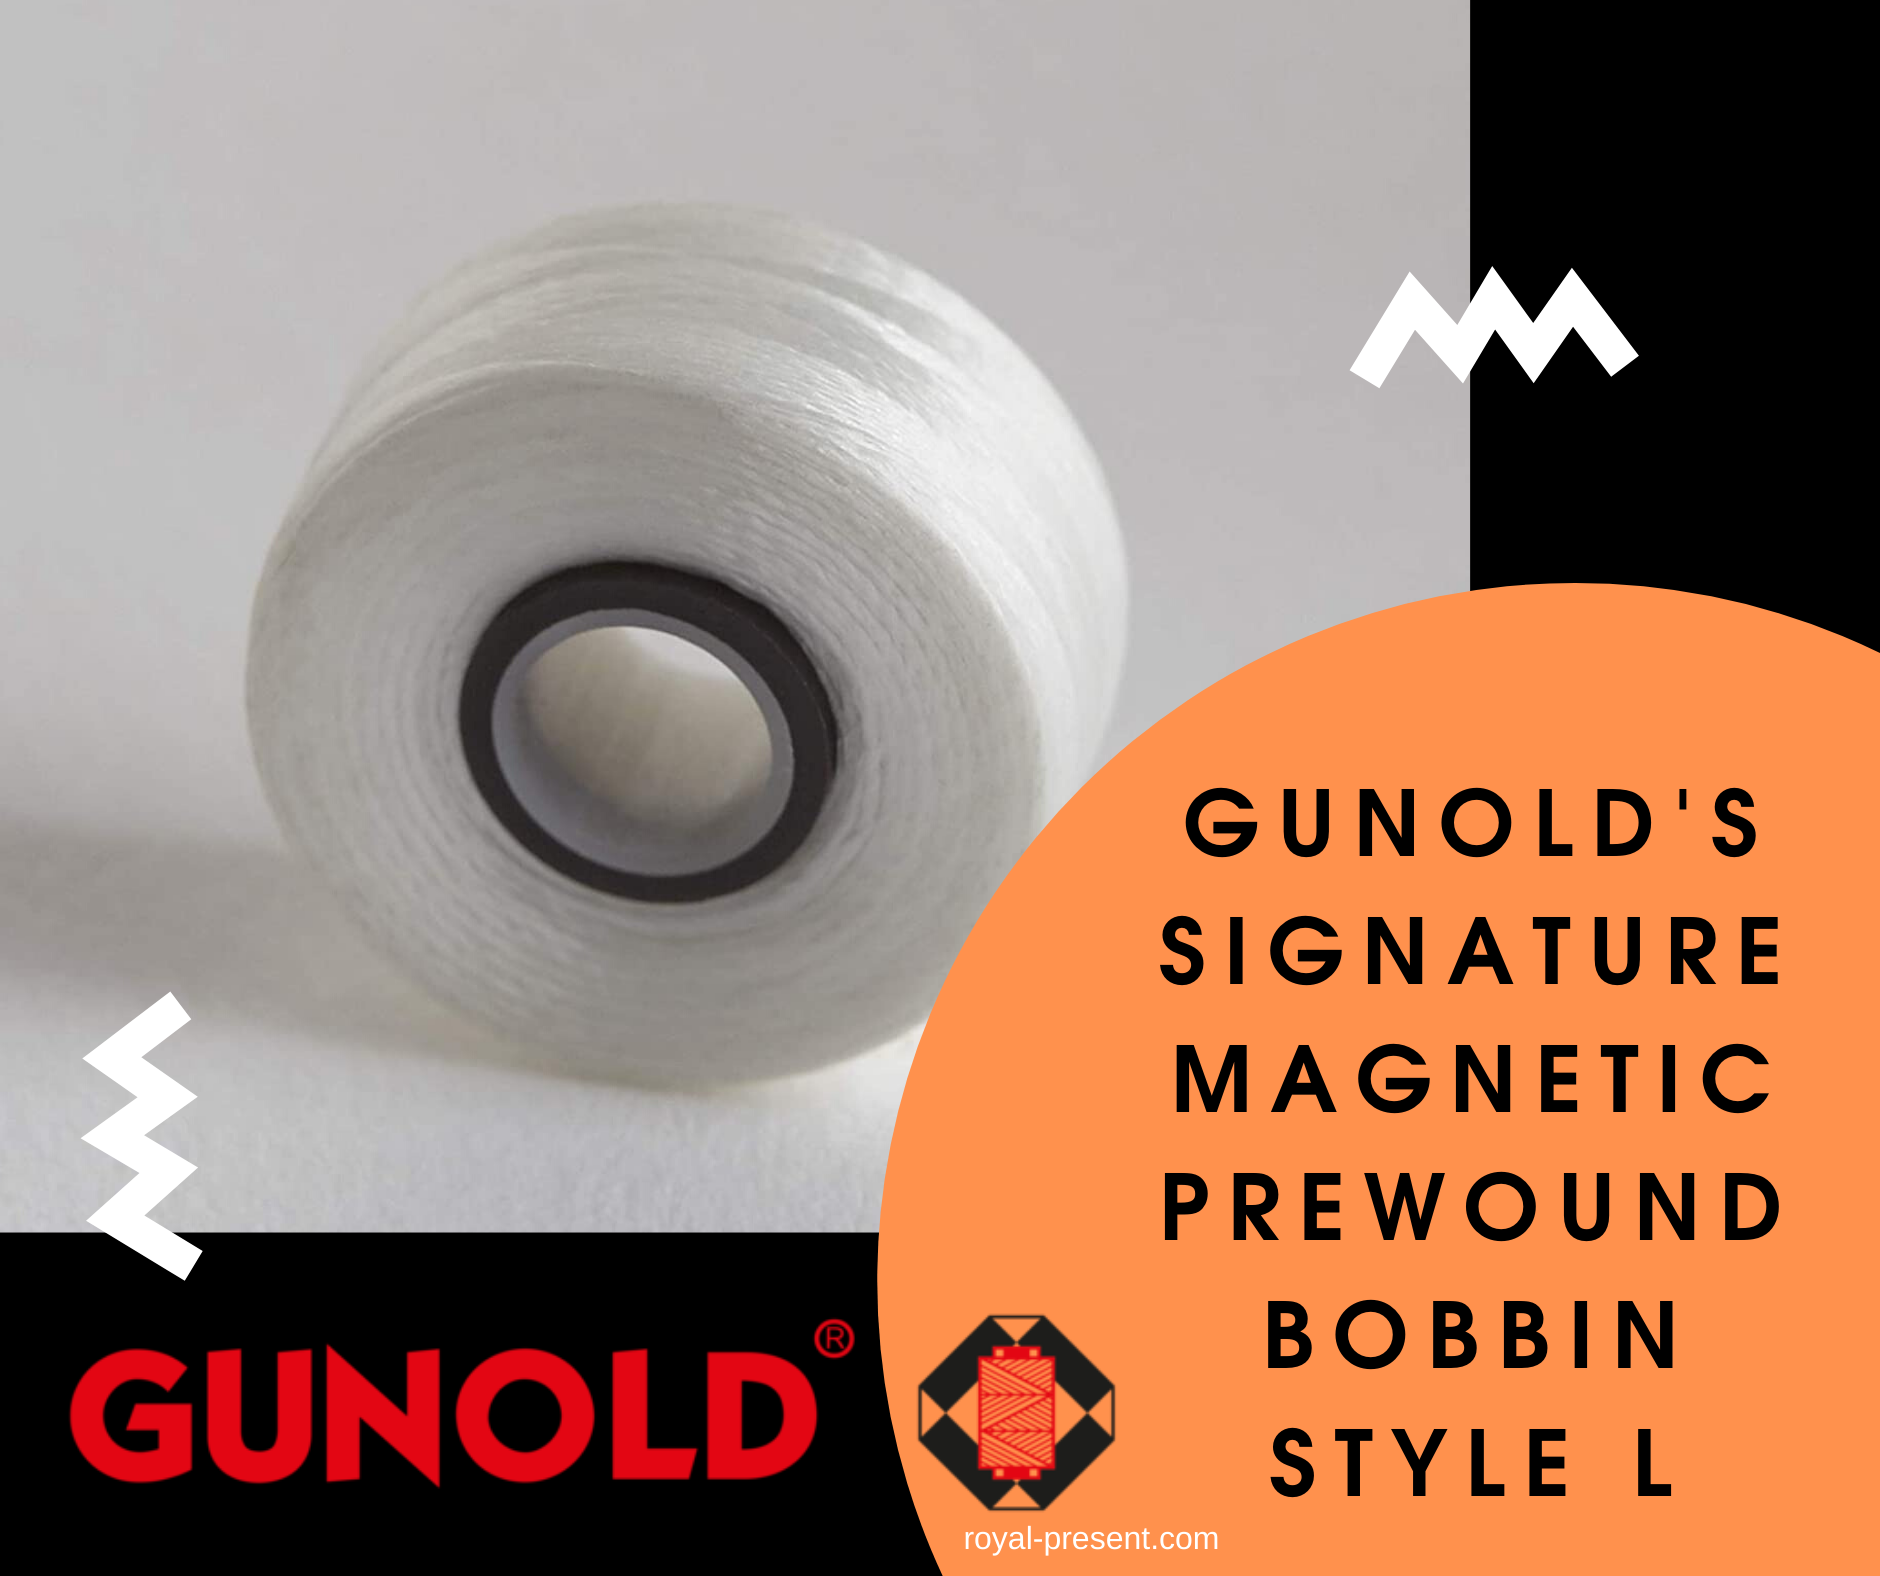
Have you ever experienced frustration with uneven thread tension or constantly needing to re-wind your bobbin during an embroidery project? Gunold's new Signature Magnetic bobbins are here...
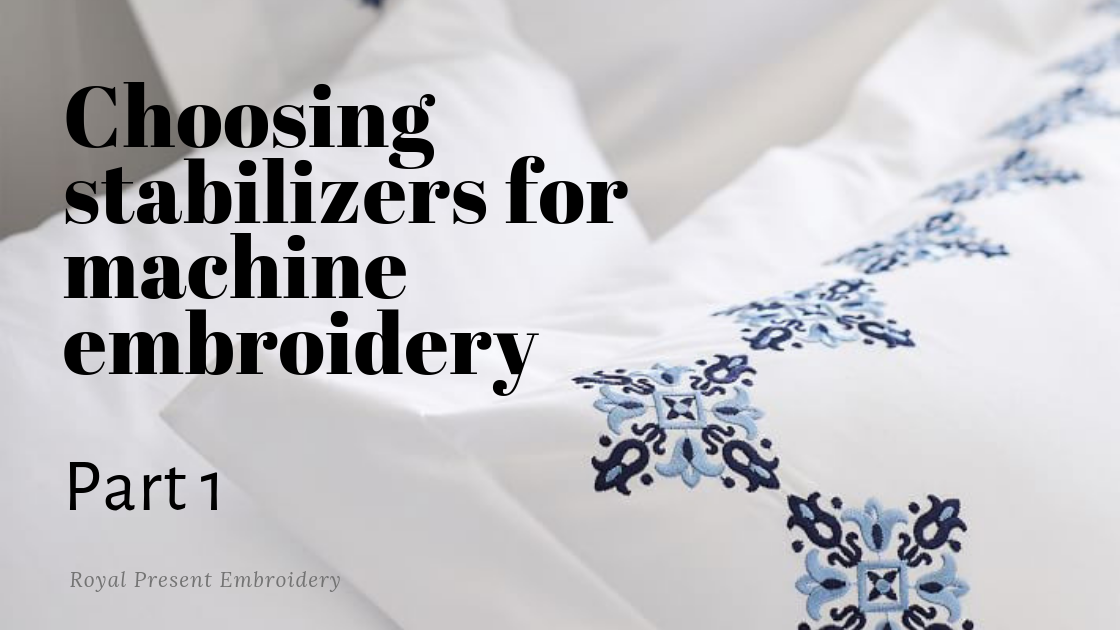
What can an embroiderer, be it a beginner or an experienced “stitch wolf”, say about machine embroidery stabilizers? Well, quite a lot! Starting from questions about their choice, moving onto tips on...
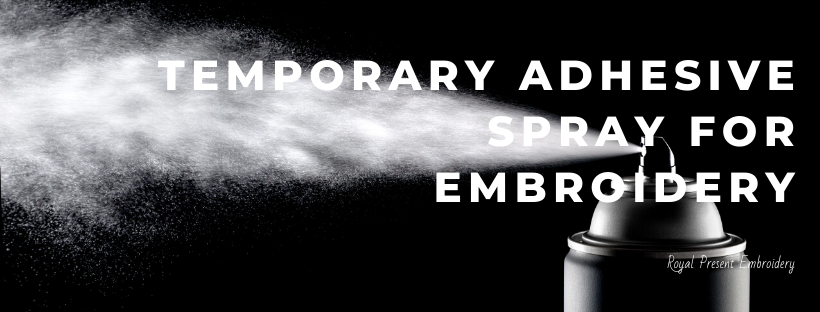
Perfect results in embroidery depend on four parts: a flawless combination of fabric and stabilizer, an impeccable design, good quality threads, and a sound embroidery machine. In our aspiration to...

 Get Sign-In Link
 Login with Google
 Login with Facebook
 Login with Amazon
 Login with Paypal