Six Geese a-Laying ITH Ornament Machine Embroidery Design - 3 Sizes
By knowing the speed of your embroidery machine, you can find out how long it will take to embroider a design.
To use the embroidery calculator, click on the number of stitches in the product description.
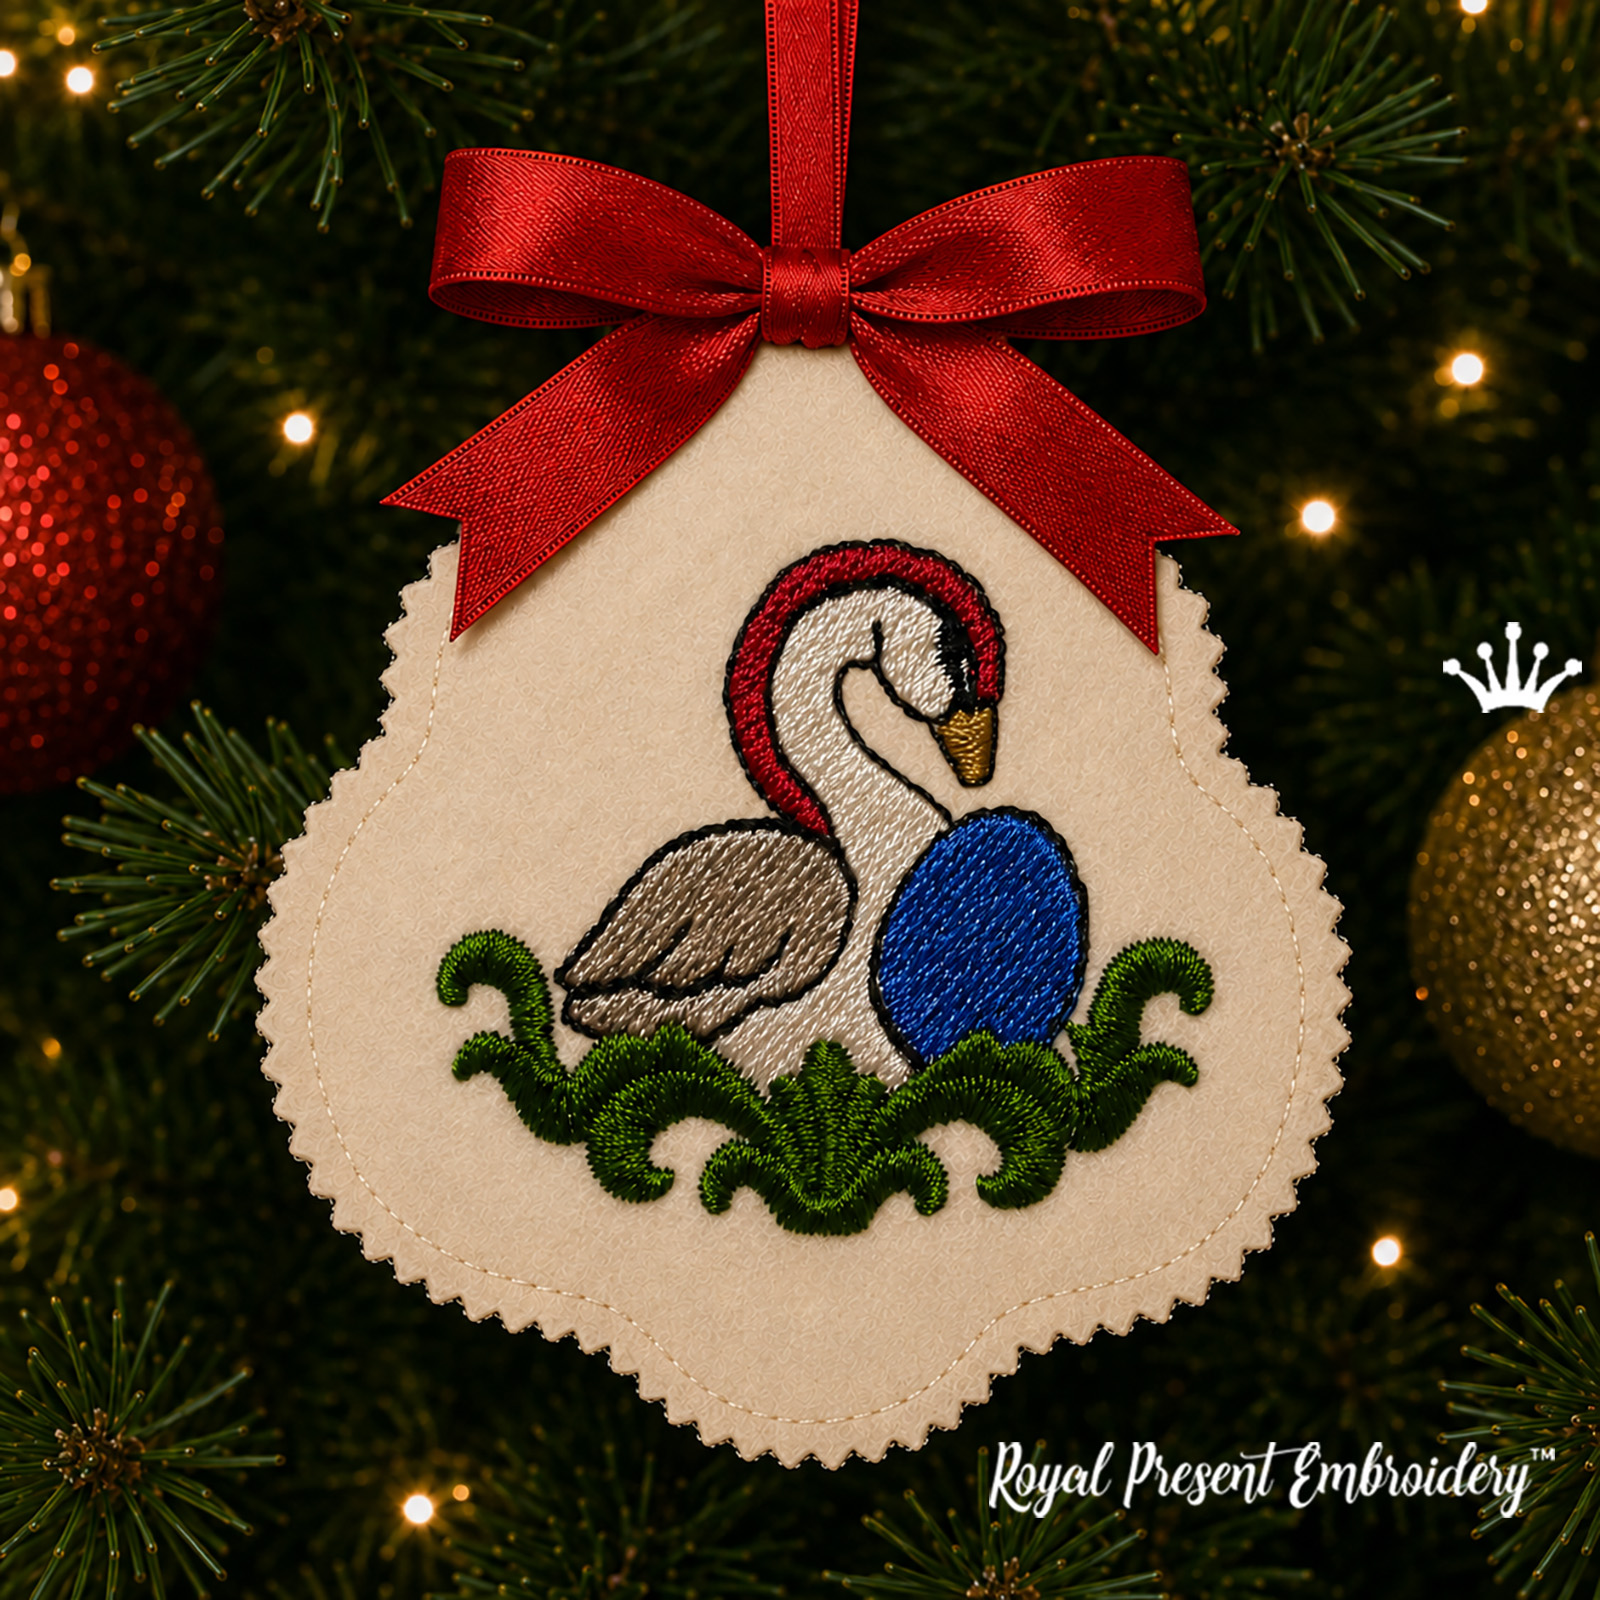
Six Geese a-Laying ITH Ornament Machine Embroidery Design turns the sixth gift from The Twelve Days of Christmas into a flat felt decoration made in the hoop. A white baroque goose sits beside a blue egg, framed by a red neck curve, a silver-gray wing and curling green foliage.
This is a straightforward raw-edge ITH project. The placement line, front-piece tackdown, decorative embroidery and final assembly seam are already programmed. There is no turning, stuffing or hand-sewn opening.
Exact Sizes, Stitches and Formats
Size: 71.1x78.0 mm (2.80x3.07"), Stitches: 5100
Size: 80.8x88.6 mm (3.18x3.49"), Stitches: 5800
Size: 88.9x97.5 mm (3.50x3.84"), Stitches: 6500Formats: .dat, .dst, .exp, .hus, .jef, .jef+, .jpx, .pec, .pes, .sew, .vip, .vp3, .vp4, .xxx
The measurements refer to the machine file. The hanging ribbon and an optional bow are not included in the design height. Estimated upper-thread use is approximately 19.36 / 24.00 / 28.14 m.
Design Size and Hoop
| Design size | Hoop |
|---|---|
| 71.1x78.0 mm (2.80x3.07") | 80x80 mm (3x3") hoop or larger |
| 80.8x88.6 mm (3.18x3.49") | 100x100 mm (4x4") hoop or larger |
| 88.9x97.5 mm (3.50x3.84") | 100x100 mm (4x4") hoop or larger |
Inside the ZIP Download
- one goose-and-egg ornament prepared in three original sizes;
- printable outlines for cutting matching front and back pieces;
- built-in placement, tackdown and final assembly stitches;
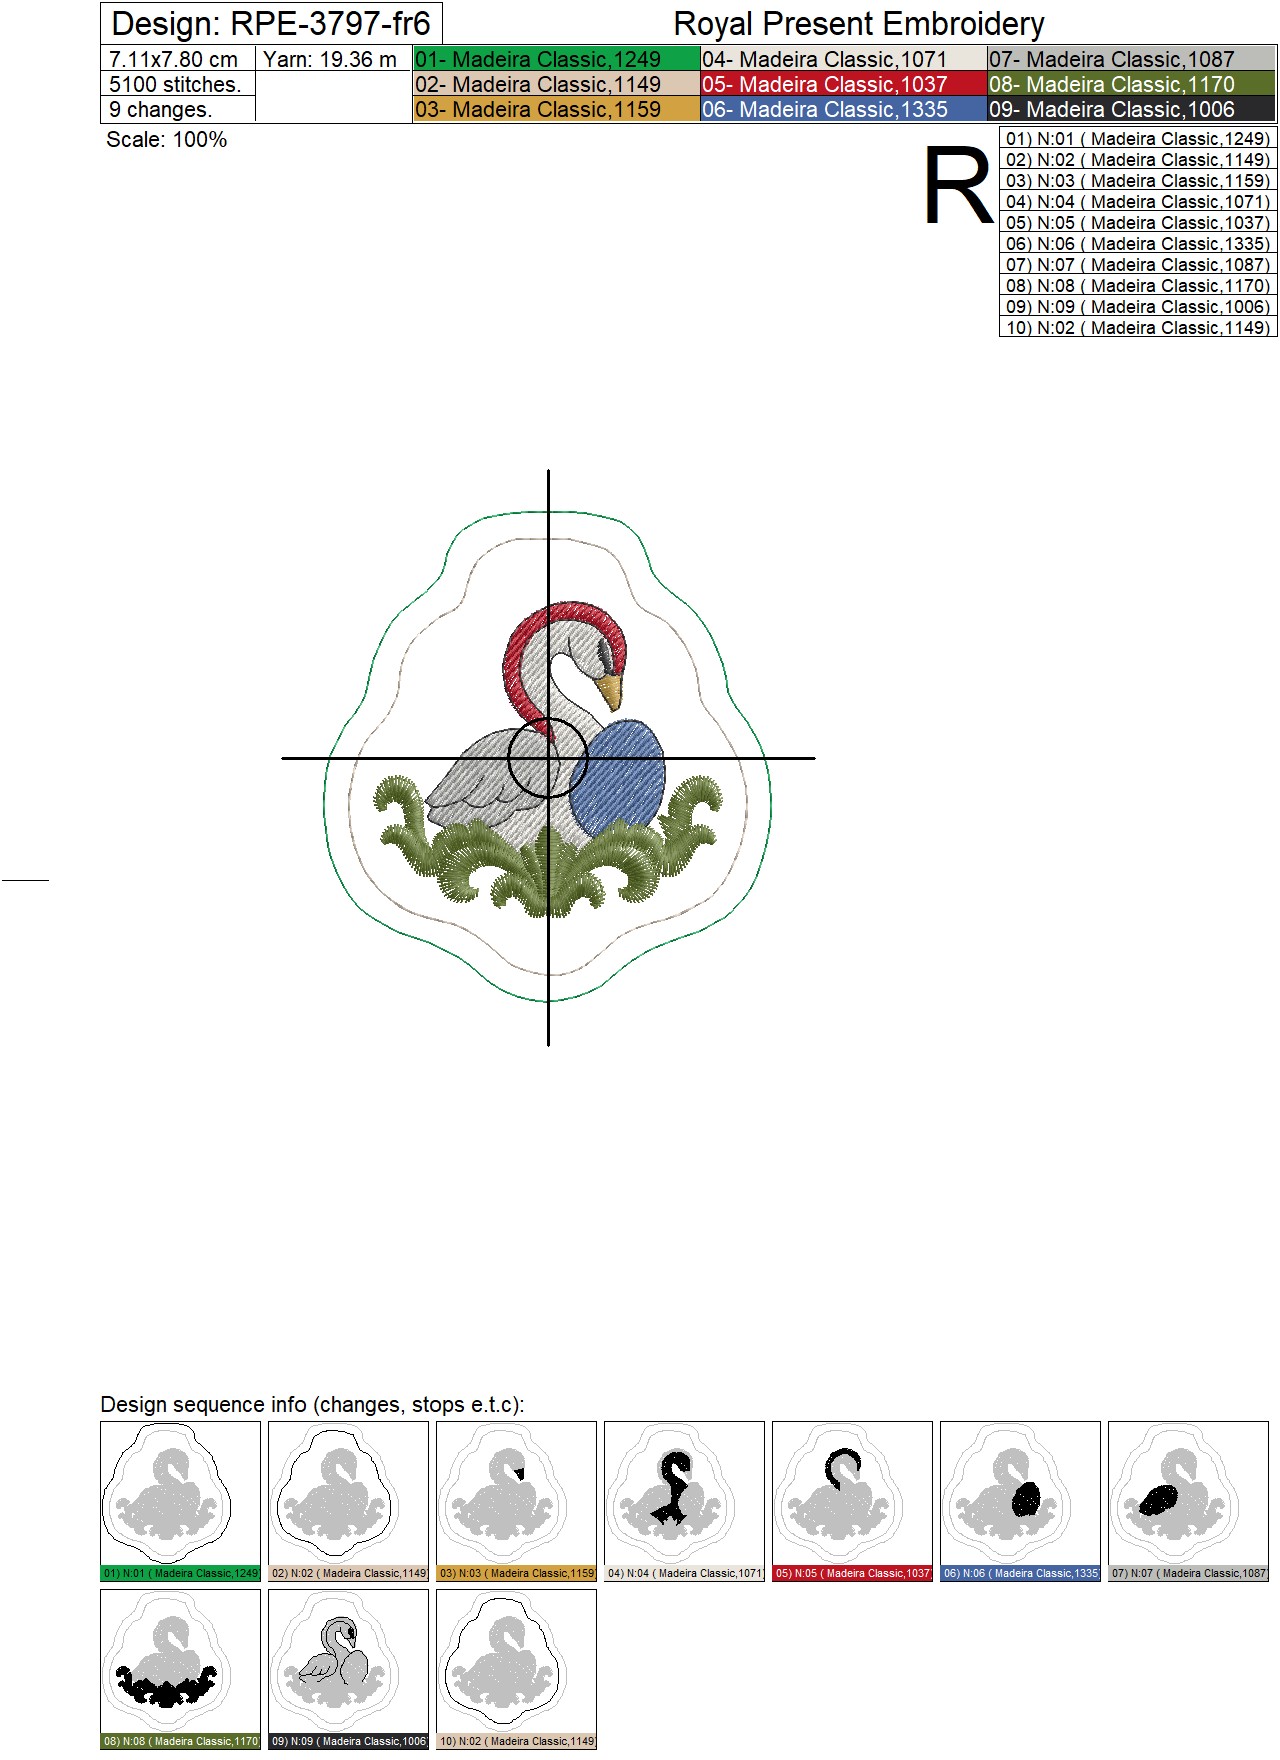
- the RPE-3797-fr6 production chart with 10 programmed blocks;
- the machine formats listed above, supplied together in one ZIP archive.
This listing contains digital files only. The finished ornament, felt, ribbon, stabilizer, thread and other physical supplies are not shipped.
How to Make the Ornament in the Hoop
Print the supplied outline at 100% scale and cut two matching pieces from firm, non-fraying craft felt. Hoop one layer of tear-away stabilizer, stitch the placement line and place the front felt piece over the guide.
Open the Illustrated ITH Instructions
| Machine block | What to do | What it creates |
|---|---|---|
| 1 | Stitch the shaped placement line on the stabilizer. | A clear guide for the front piece. |
| 2 | Cover the guide with felt and run the tackdown. | The front stays flat and secure. |
| 3–9 | Embroider the beak, goose, egg, wing, foliage and black outlines in the saved order. | The complete decorative scene. |
| Before 10 | Tape a folded ribbon and the backing to the reverse of the hoop. | Both ribbon ends cross the seam; the loop stays clear of the needle. |
| 10 | Run the final border, remove the project and trim the raw edge. | Front, backing and hanging loop are joined. |
Madeira Classic 40 Color Sequence
The RPE-3797-fr6 chart contains 9 shades, 10 programmed blocks and 9 color changes. Madeira 1149 appears twice: block 2 secures the front felt, while block 10 closes the ornament. Keep both blocks in their saved positions.
| Block | Color | Madeira Classic 40 | Stitches |
|---|---|---|---|
| 1 | 1249 — Shamrock Green | Shaped placement line | |
| 2 | 1149 — Tusk Beige | Front felt tackdown | |
| 3 | 1159 — Antique Gold | Goose beak | |
| 4 | 1071 — Baby's Breath | Body, head and neck | |
| 5 | 1037 — Tango Red | Red neck curve | |
| 6 | 1335 — Dark Periwinkle | Blue egg | |
| 7 | 1087 — Silver Birch | Wing and gray feathers | |
| 8 | 1170 — Fern Green | Baroque leaves and scrolls | |
| 9 | 1006 — Diamond Black | Goose, egg and ornament outlines | |
| 10 | 1149 — Tusk Beige, repeat | Final seam, backing and ribbon loop |
Use the Madeira number as the main reference when matching thread. For block 10, choose a bobbin thread close to 1149 because the final border remains visible on the back.
Materials for a Crisp Felt Ornament
| Supply | Recommended choice | Why it works |
|---|---|---|
| Felt | Two pieces of firm polyester craft felt, 1–1.5 mm thick | It holds the shaped edge and does not fray. |
| Stabilizer | One layer of Sulky Tear-Easy, OESD Medium Weight TearAway or Madeira Cotton Soft 50 g/m² | Retail-size tear-away products are easy to hoop and remove after assembly. |
| Needle | Fresh 75/11 sharp embroidery needle | Makes a clean opening through dense felt without an oversized hole. |
| Upper thread | Madeira Classic 40 or a good-quality 40-weight polyester embroidery thread | Matches the digitized density and gives a smooth satin finish. |
| Temporary hold | Small pieces of painter's tape or embroidery-safe temporary adhesive | Keeps the front, ribbon ends and backing away from the needle path. |
| Ribbon | 15–20 cm (6–8") of satin or grosgrain ribbon | Forms the integrated hanging loop. |
| Scissors | Sharp straight or pinking scissors | Finishes the exposed edge after stitching. |
Three Felt Looks for the Goose and Blue Egg
The background can echo one feature of this particular scene instead of repeating a generic holiday palette. Choose sewable felt 1–1.5 mm thick. For sparkle, look for fine, flat glitter bonded to the felt surface; chunky plastic flakes can catch the presser foot and leave rough needle holes.
| Look | Front piece | Back piece | Effect on this design |
|---|---|---|---|
| Blue Egg Echo | Warm ivory matte felt | ✦Cobalt glitter felt | The embroidery stays easy to read from the front, while the blue reverse repeats the egg accent. |
| Winter Silver | ✦Pale blue-gray fine glitter | Slate-gray firm felt | A cool shimmer picks up the gray wing and blue egg without copying the green foliage. |
| Vintage Christmas | ✦Pale-gold glitter felt | Burgundy firm felt | Gold warms the beak and foliage, while the burgundy back answers the red neck curve. |
Before the full stitch-out, run a few straight stitches through a scrap. Suitable glitter felt behaves like ordinary felt and does not crack around the needle holes. Avoid glitter EVA foam, self-adhesive craft sheets and loose glitter surfaces. Cut the finished edge only after the ornament is out of the hoop.
Easy Tips for a Neat Finish
- One properly hooped layer of tear-away is usually enough with firm craft felt; extra layers can make the edge bulky.
- Check that the felt is smooth before the blue egg block begins so the larger fill area stays flat.
- Do not merge beige blocks 2 and 10. The backing and ribbon are added between them.
- Match the bobbin to the upper thread for block 10 if you want a clean-looking reverse side.
- When using pinking scissors, leave a narrow, even margin outside the final assembly seam.
The Sixth Day of Christmas
The goose and blue egg represent Six Geese a-Laying, the sixth verse of the traditional Christmas song. The egg makes this character easy to distinguish from the swan ornament that follows on the seventh day.
Hang the finished piece on a Christmas tree or wreath, use it as a fabric gift tag, add it to an Advent calendar or combine all twelve characters in one coordinated holiday garland.
Continue the Twelve Days ITH Collection
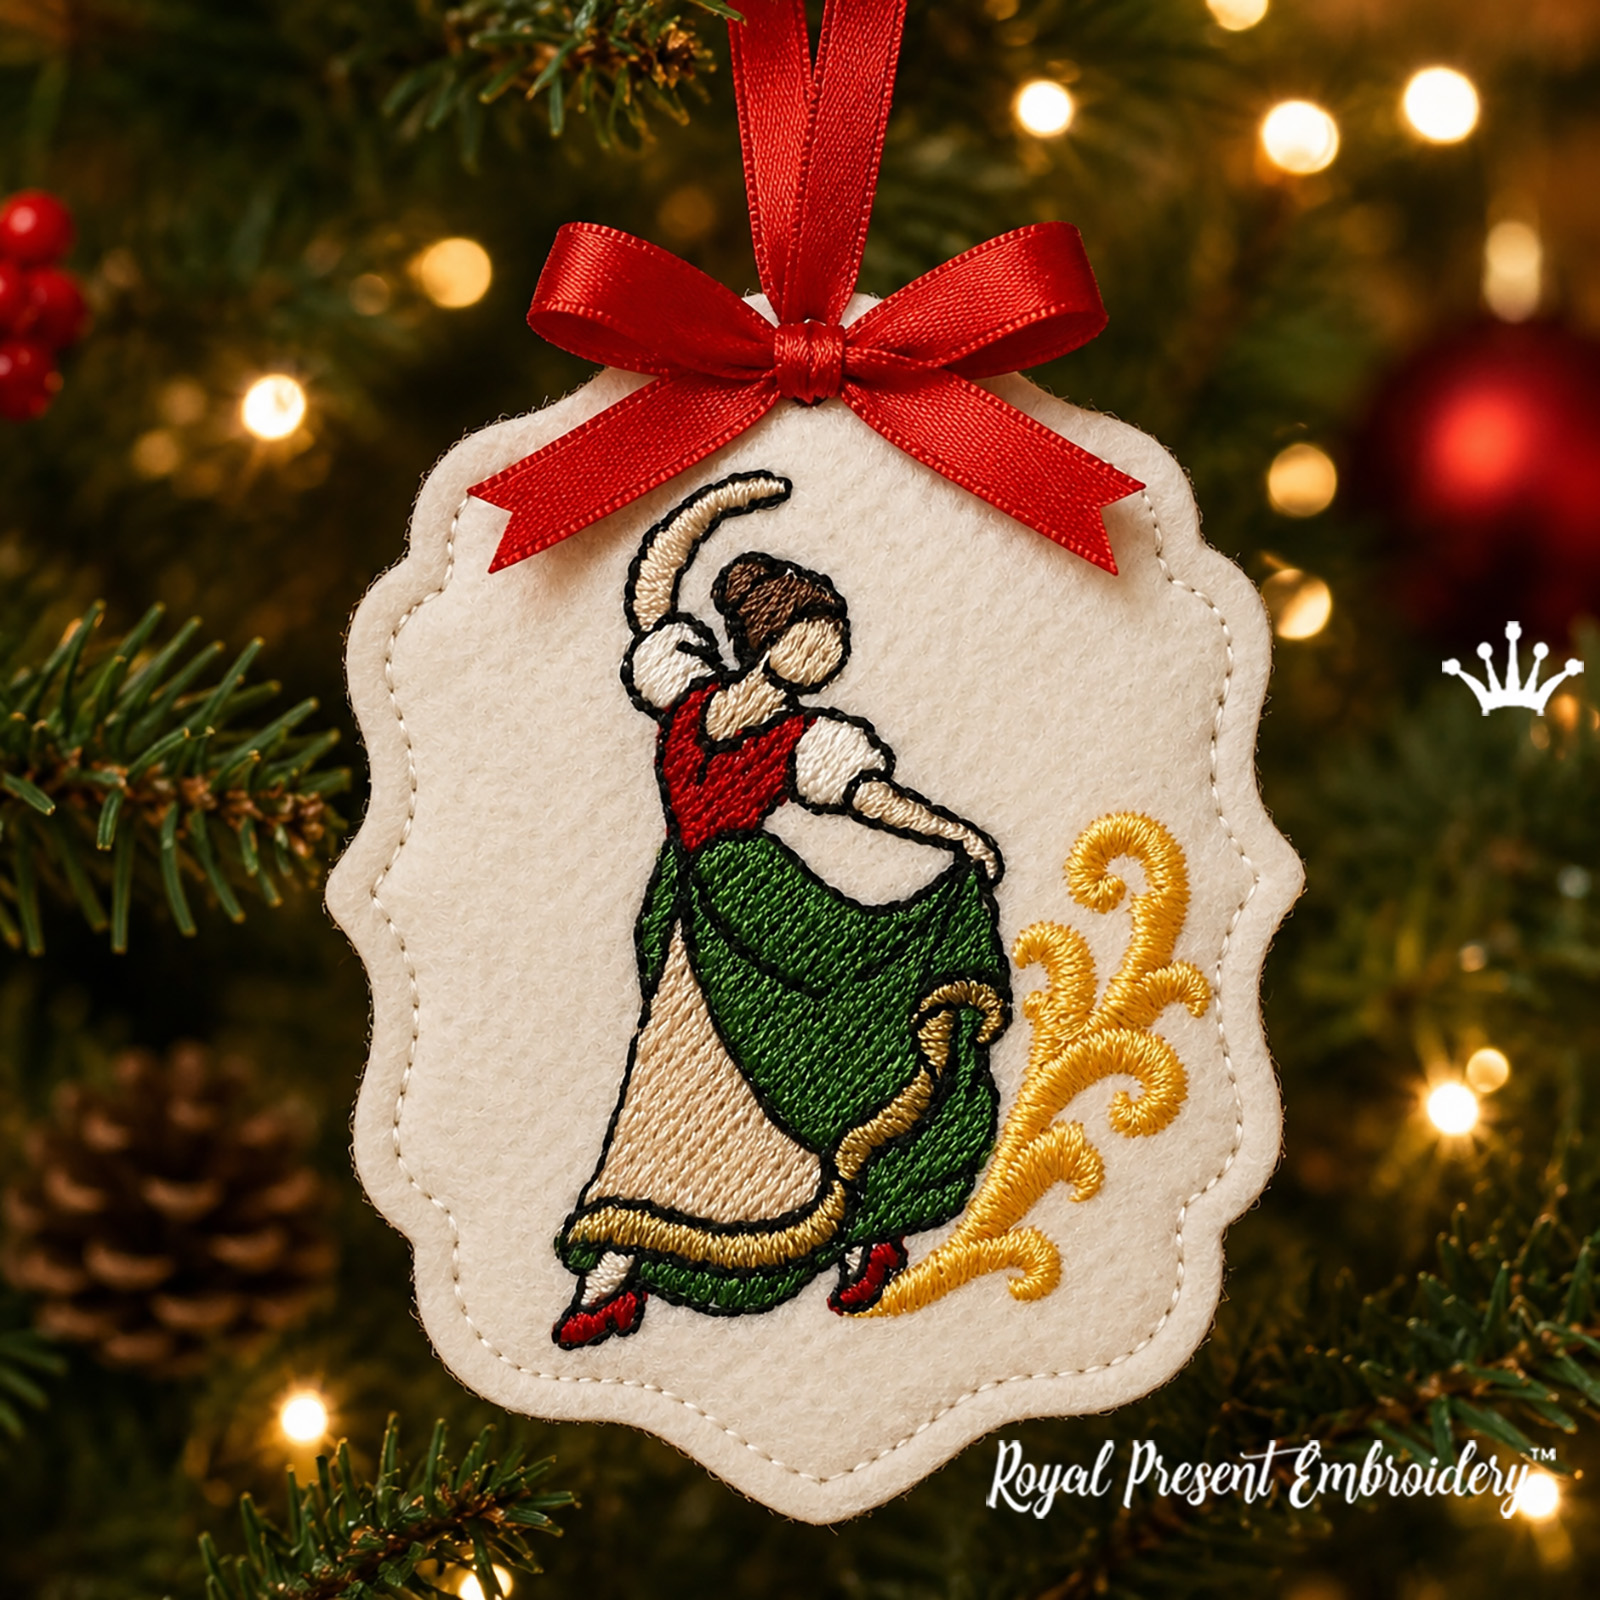 Lady Dancing ITH Ornament
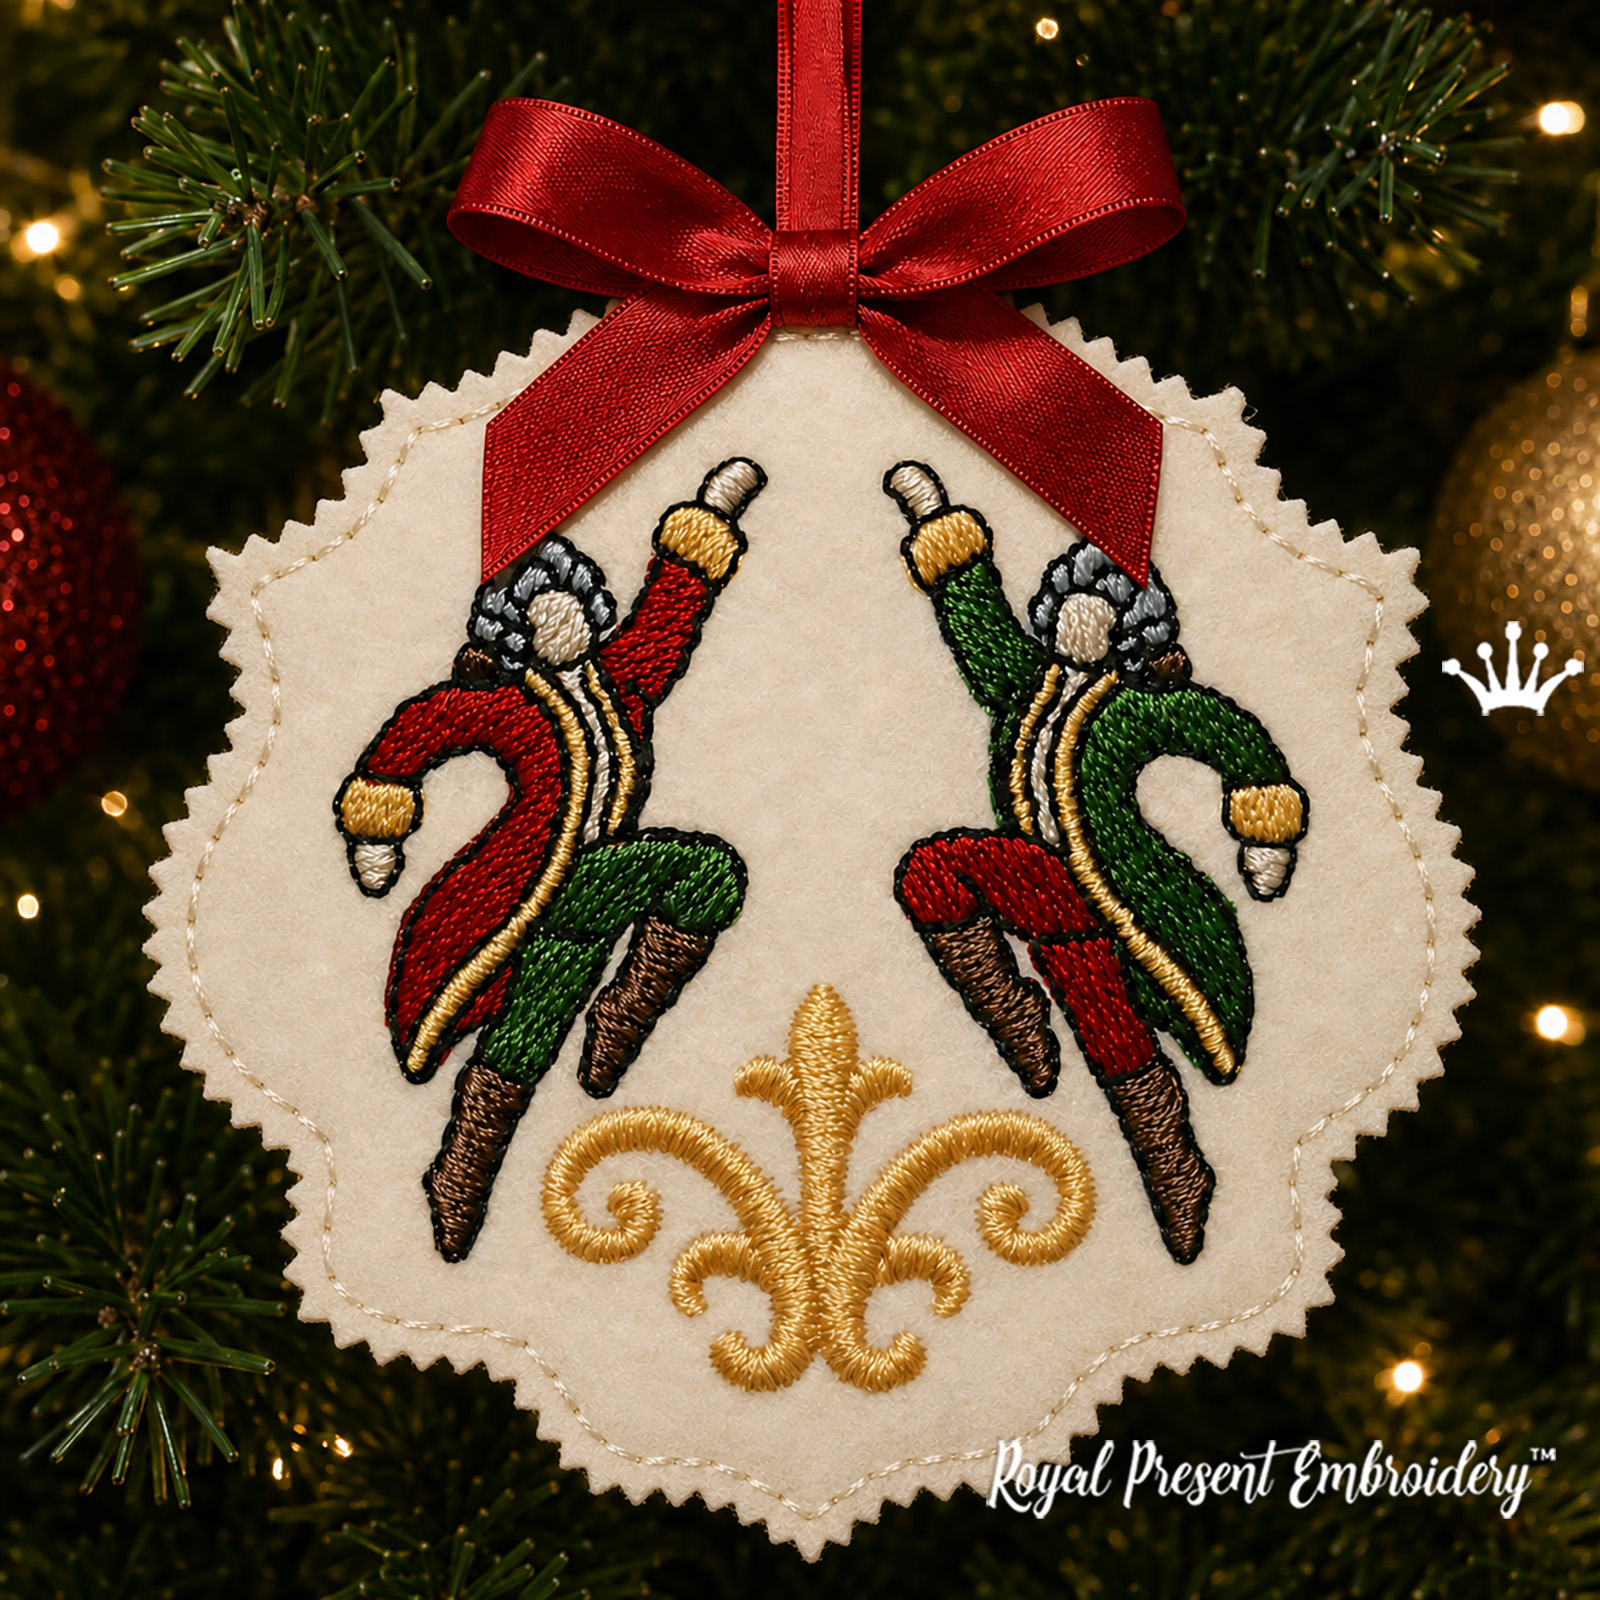 Lords a-Leaping ITH Ornament
 Christmas Bagpiper ITH Ornament
 Christmas Drummer ITH Ornament
Useful Embroidery Pages
- Raw-edge ornaments in-the-hoop instructions
- In-the-hoop machine embroidery designs
- Twelve Days of Christmas machine embroidery designs
- Madeira thread converter
- Online ZIP file extractor
Digital Download and License
After purchase, download the ZIP archive, unzip it and transfer only the format supported by your embroidery machine. Check both dimensions of the selected file against your actual embroidery field before stitching.
You may sell finished physical ornaments made with this design in small quantities. The digital files and printable templates may not be sold, copied, shared, exchanged, gifted or redistributed.
Frequently Asked Questions
Which size fits an 80x80 mm hoop?
The 71.1x78.0 mm (2.80x3.07") file fits an 80x80 mm (3x3") hoop or larger. The other two sizes require a 100x100 mm (4x4") hoop or larger.
Why is there a goose and an egg?
The design represents Six Geese a-Laying, the sixth gift in The Twelve Days of Christmas.
What felt gives the cleanest raw edge?
Use firm, evenly made polyester craft felt 1–1.5 mm thick. Matte felt or sewable fine-glitter felt works; avoid adhesive sheets, soft loose felt and EVA foam.
Which stabilizer should I use?
Hoop one layer of Sulky Tear-Easy, OESD Medium Weight TearAway or Madeira Cotton Soft 50 g/m². Firm felt supplies the remaining body.
When do I add the backing and ribbon?
Add them after black block 9 and before beige block 10. The last programmed seam joins both felt pieces and catches the two ribbon ends.
Does the ornament need turning or stuffing?
No. It is a flat raw-edge ITH project. The front and back are joined in the hoop, and the shaped edge remains visible.

 Get Sign-In Link
 Login with Google
 Login with Facebook
 Login with Amazon
 Login with Paypal