Christmas Bagpiper ITH Ornament Machine Embroidery Design - 3 sizes
By knowing the speed of your embroidery machine, you can find out how long it will take to embroider a design.
To use the embroidery calculator, click on the number of stitches in the product description.
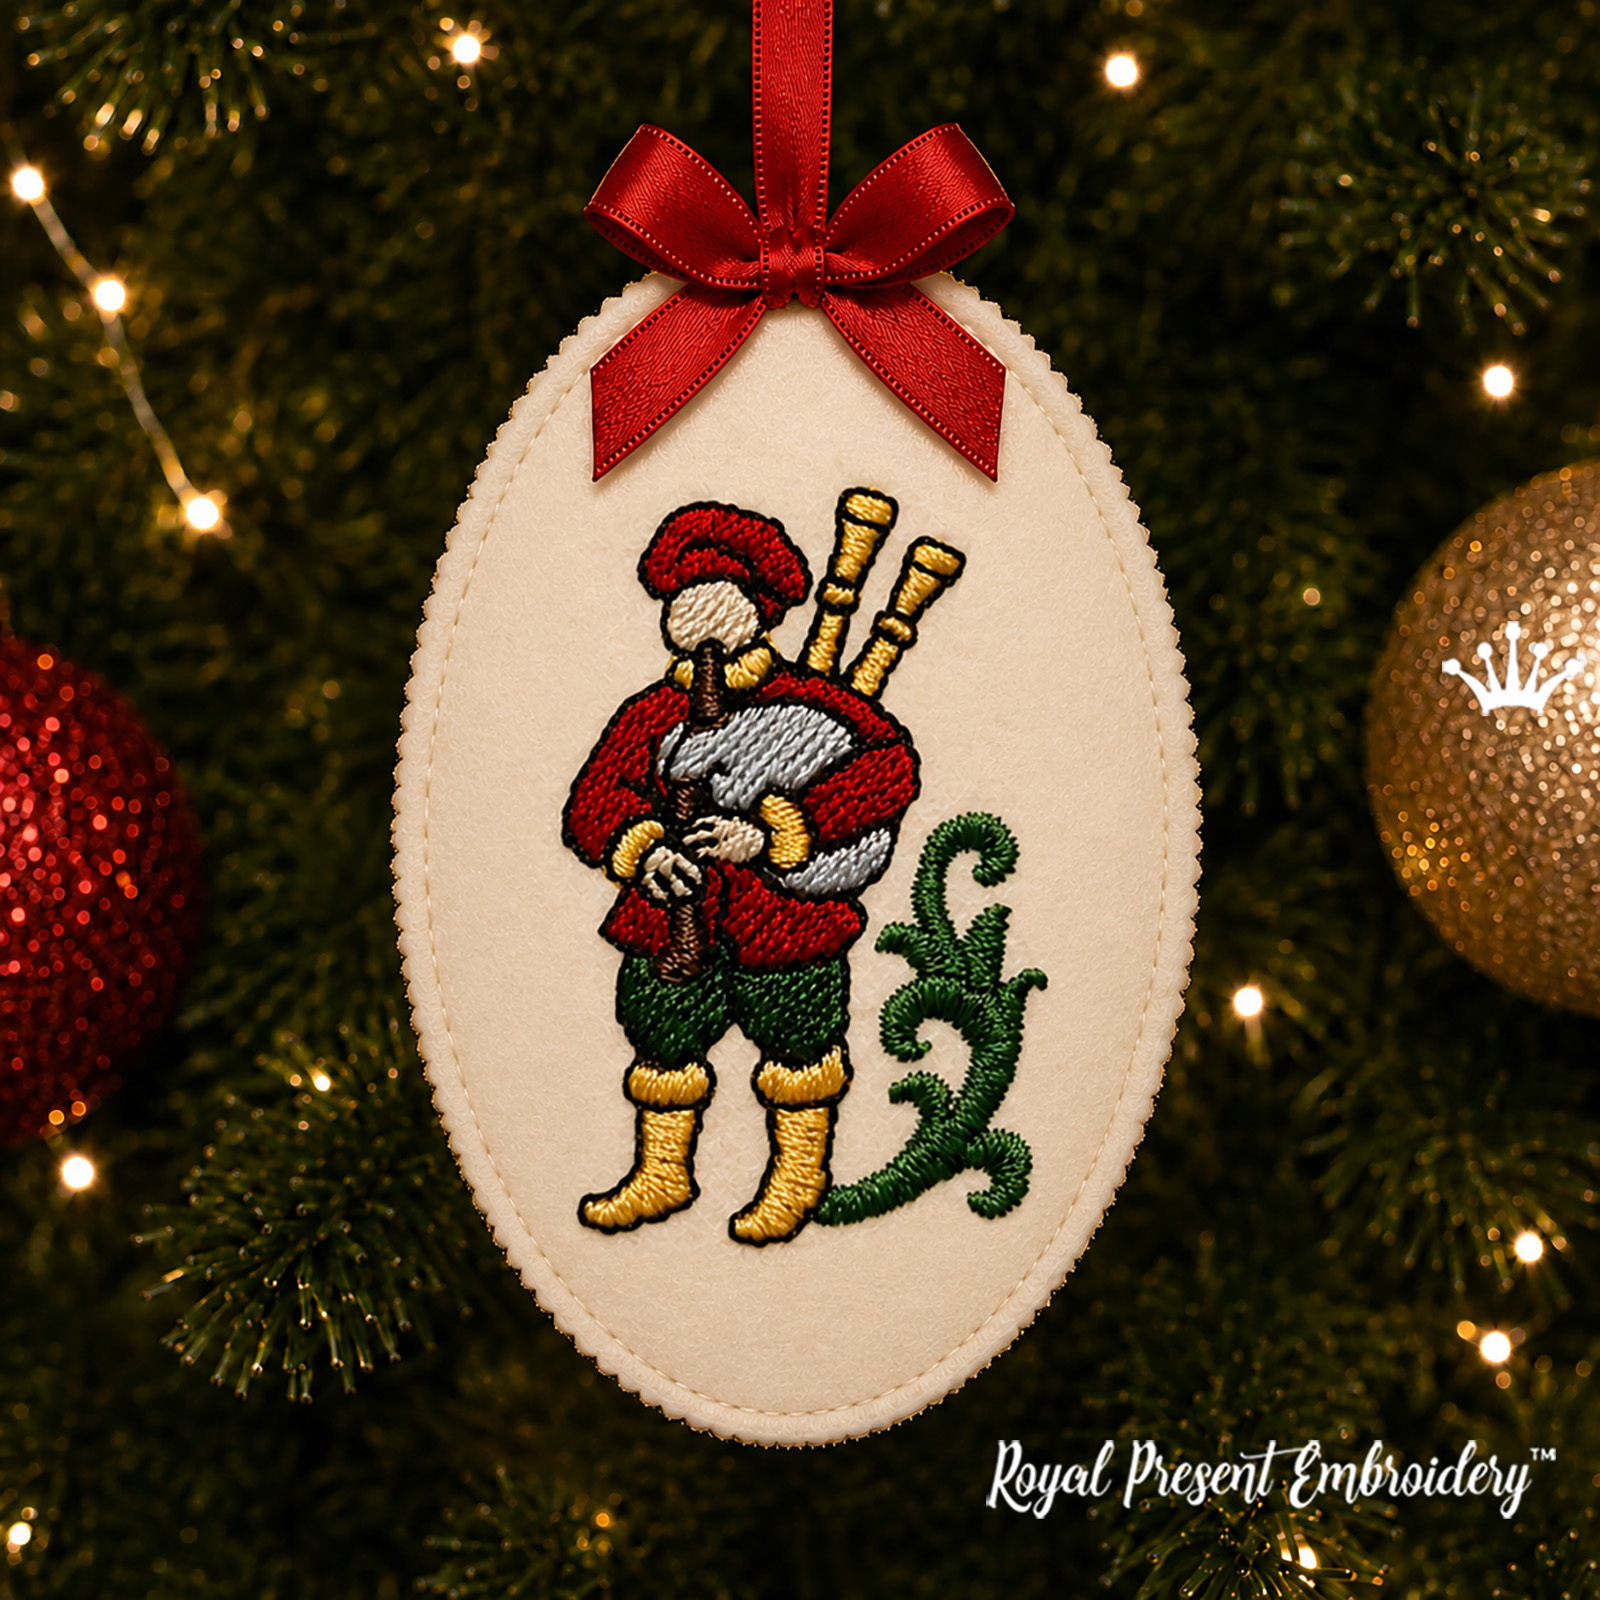
Christmas Bagpiper ITH Ornament Machine Embroidery Design features the musician from the eleventh day of Christmas in a red baroque coat, green breeches and antique-gold boots. The embroidered bagpipes and curling foliage sit inside a slim oval raw-edge border. The front, ribbon loop and plain backing are joined in the hoop by the last programmed outline, creating a flat ornament without turning or stuffing.
Design information
Size: 52.7x82.5 mm (2.07x3.25"), Stitches: 5433
Size: 58.0x90.7 mm (2.28x3.57"), Stitches: 6014
Size: 62.6x97.9 mm (2.46x3.85"), Stitches: 6489Formats: .dat, .dst, .exp, .hus, .jef, .jef+, .jpx, .pec, .pes, .sew, .vip, .vp3, .vp4, .xxx
The listed measurements cover the machine-embroidered ornament. The ribbon loop and an optional bow extend beyond the design dimensions.
Inside the download
- one baroque Christmas bagpiper ornament in three prepared sizes;
- printable outlines for cutting the matching front and backing pieces;
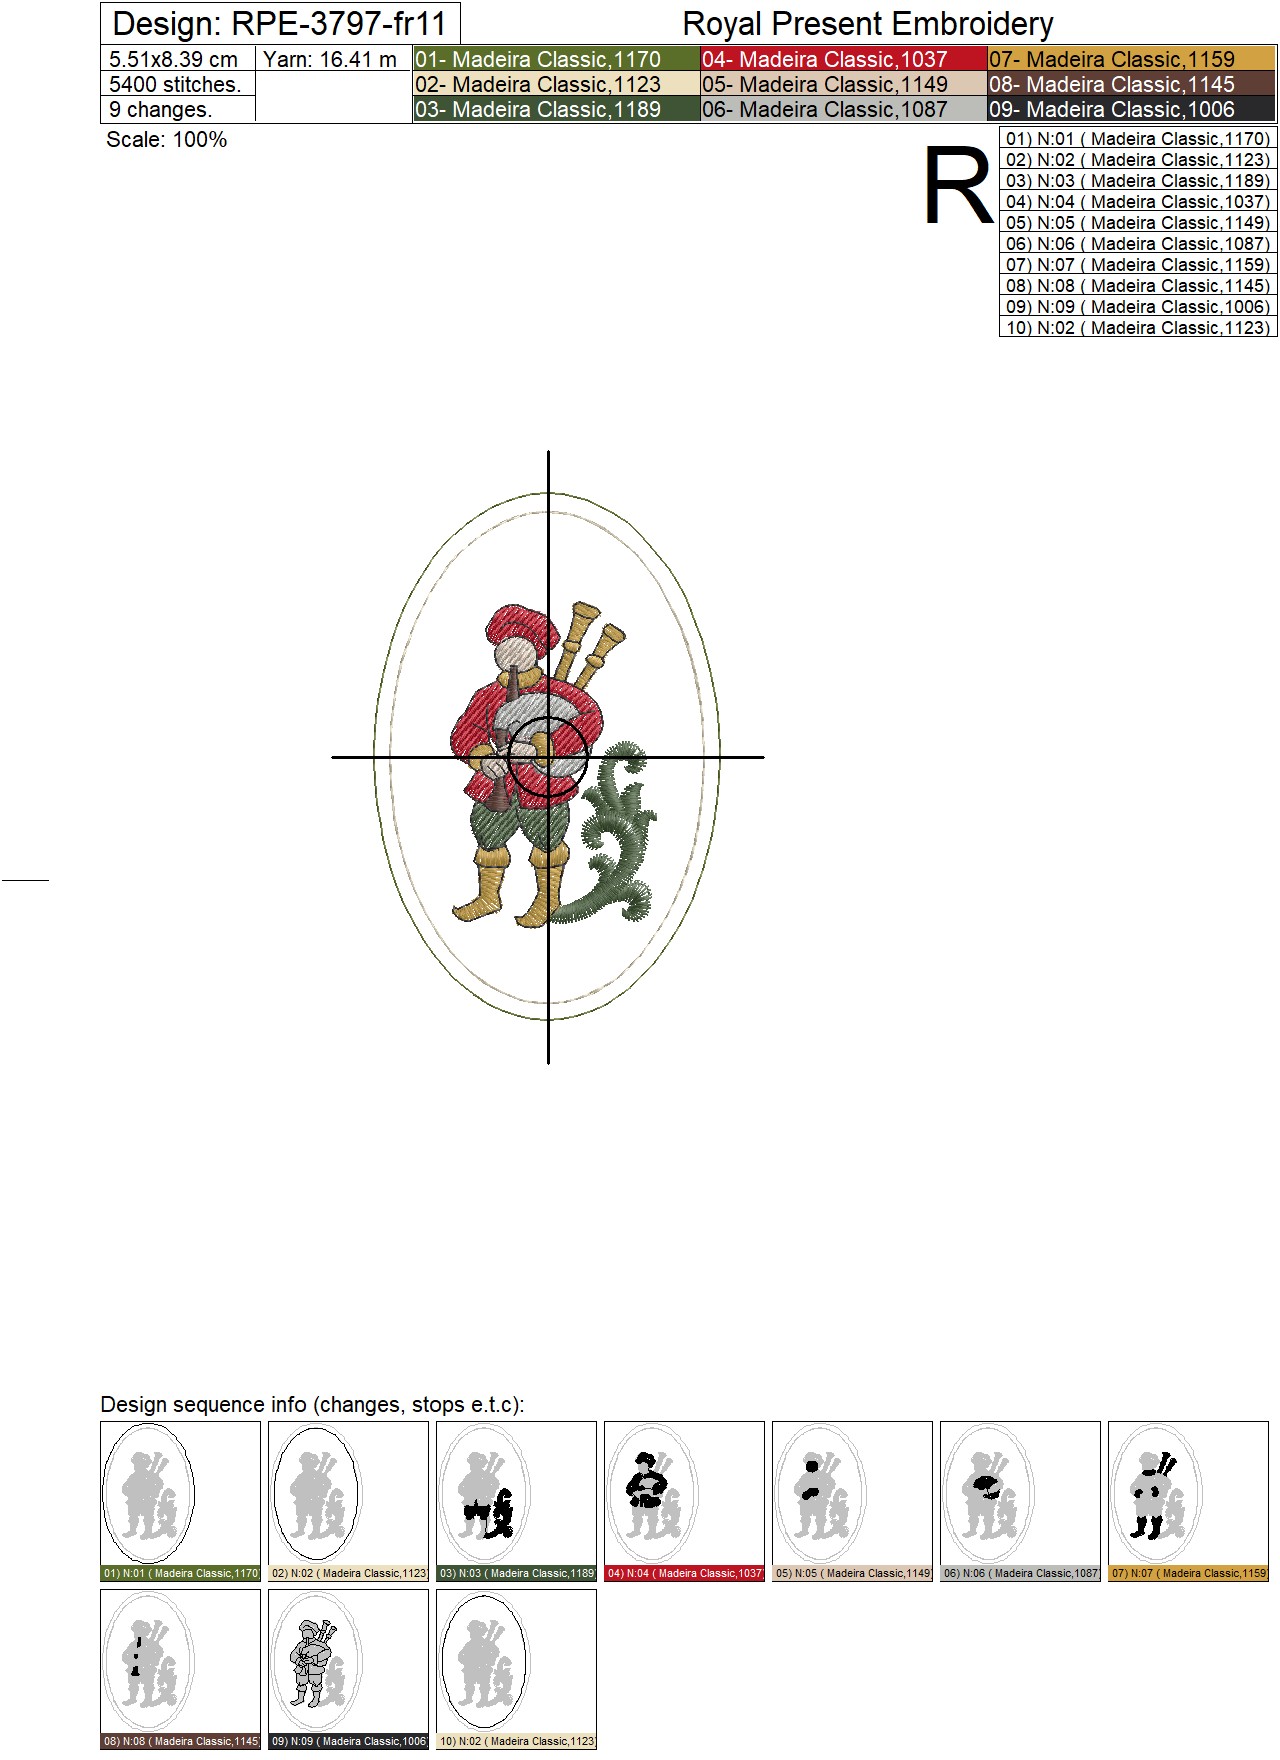
- the original RPE-3797-fr11 color sequence with 10 programmed blocks;
- digital machine files supplied together in a ZIP archive;
- no finished ornament, felt, ribbon, stabilizer or other physical material.
Hoop compatibility
| Design size | Suitable hoop |
|---|---|
| 52.7x82.5 mm (2.07x3.25") | 100x100 mm (4x4") hoop or larger |
| 58.0x90.7 mm (2.28x3.57") | 100x100 mm (4x4") hoop or larger |
| 62.6x97.9 mm (2.46x3.85") | 100x100 mm (4x4") hoop or larger |
Illustrated raw-edge ITH instructions
The full tutorial shows how to print the cutting template, prepare both felt pieces, add the ribbon loop and attach the backing before the final outline.
Open the Step-by-Step ITH Instructions
Bagpiper assembly sequence
| Stage | Work completed | Check before continuing |
|---|---|---|
| Oval placement | Block 1 marks the ornament position on the hooped tear-away stabilizer. | The complete oval is clear and the stabilizer remains taut. |
| Front attachment | The pre-cut front piece is aligned over the placement line and secured by block 2. | The exposed margin is even around the oval. |
| Bagpiper embroidery | Blocks 3–9 build the green scroll, costume, bagpipes, gold details and black definition. | The narrow pipes and gold sections remain registered with the fills. |
| Ribbon and backing | The folded ribbon and second fabric piece are secured behind the hoop. | Only the ribbon ends cross the seam; the loop stays outside the oval. |
| Final border | Block 10 joins the front, ribbon ends and backing with a cream outline. | Both fabric layers are flat and the tape is outside the stitching path. |
Keep the saved block order. Madeira Classic 1123 appears twice because it performs two separate construction operations; automatic color sorting would interrupt the ITH sequence.
Madeira Classic Rayon 40 color chart
The original RPE-3797-fr11 worksheet records 9 Madeira Classic shades in 10 programmed blocks. The names below describe the visible color; use the Madeira number as the primary thread reference.
| Block | Color | Madeira Classic 40 | Embroidery function |
|---|---|---|---|
| 1 | 1170 — olive green | First oval placement line on the tear-away stabilizer | |
| 2 | 1123 — light cream | Front-piece securing outline | |
| 3 | 1189 — dark green | Breeches and the curling baroque foliage | |
| 4 | 1037 — rich Christmas red | Baroque coat and red sections of the cap | |
| 5 | 1149 — light beige | Face, hands and pale character details | |
| 6 | 1087 — silver gray | Wig, sash and gray costume areas | |
| 7 | 1159 — antique gold | Boots, bagpipe pipes and gold costume trim | |
| 8 | 1145 — dark brown | Bagpipe bag, hair and dark shaded details | |
| 9 | 1006 — black | Final outlines on the musician and bagpipes | |
| 10 | 1123 — light cream, repeated | Visible assembly border joining the front, ribbon and backing |
Wind a bobbin with Madeira Classic 1123, or with the cream substitute selected for block 10. The last oval remains visible on the back, so matching upper and bobbin threads create a cleaner two-sided finish.
Supplies for a home embroidery machine
| Supply | Exact recommendation | Bagpiper-specific purpose |
|---|---|---|
| Front and backing | Two matching pieces of thin or medium felt | Felt keeps the slender oval stable and does not fray along the exposed edge. |
| Tear-away stabilizer | Madeira Cotton Soft — 50 g/m² | Supports the narrow bagpipe pipes and tears away after the assembly border is complete. |
| Temporary adhesive | Optional Gunold KK 100 | Helps align the oval front and backing without permanent bonding. |
| Needle | Schmetz Embroidery 130/705 H-E, NM 75/11 | A fresh point improves the narrow gold pipes and the last black definition. |
| Upper thread | 40-weight rayon or polyester machine embroidery thread | Rayon emphasizes the antique-gold areas; polyester provides additional abrasion resistance. |
| Hanging loop | 15–20 cm (6–8") of narrow satin or grosgrain ribbon | The two raw ends are caught by the final cream border. |
| Cutting tools | Small sharp scissors or decorative-edge scissors | A decorative blade can accent the exposed oval edge without changing the embroidery file. |
Apply Gunold KK 100 lightly to the stabilizer away from the embroidery machine. Allow the solvent to evaporate before positioning the felt, and never spray toward the needle plate, hook assembly or electronics.
Registration tips for the bagpipes
- Print the cutting outline at 100% or Actual Size and cut the two felt pieces together so their oval edges match.
- Use a new 75/11 embroidery needle before stitching the narrow antique-gold pipes.
- Keep blocks 3–9 in their saved order; each upper detail depends on the fills already stitched beneath it.
- If the pipes or black outline begin to shift, reduce the speed to approximately 500–600 stitches per minute.
- Do not stretch soft felt while taping it over the first outline.
- Before block 10, feel the reverse of the hoop to confirm that the backing is smooth and the ribbon loop is outside the oval.
- Support the cream border with your fingers while tearing away Madeira Cotton Soft so the final seam is not distorted.
The eleventh day of Christmas
The bagpiper represents Pipers Piping from the traditional Twelve Days of Christmas song. Its red, deep green, cream and antique-gold palette coordinates with the other baroque characters in the collection, making it suitable for a complete ornament series or a musical grouping with the matching drummer.
Use the finished piece as a Christmas tree ornament, fabric gift tag, wreath accent, garland decoration or textile advent-calendar marker. A small satin or grosgrain bow may be sewn at the base of the loop after embroidery, then the ornament is ready to hang on the Christmas tree.
More from the Twelve Days of Christmas
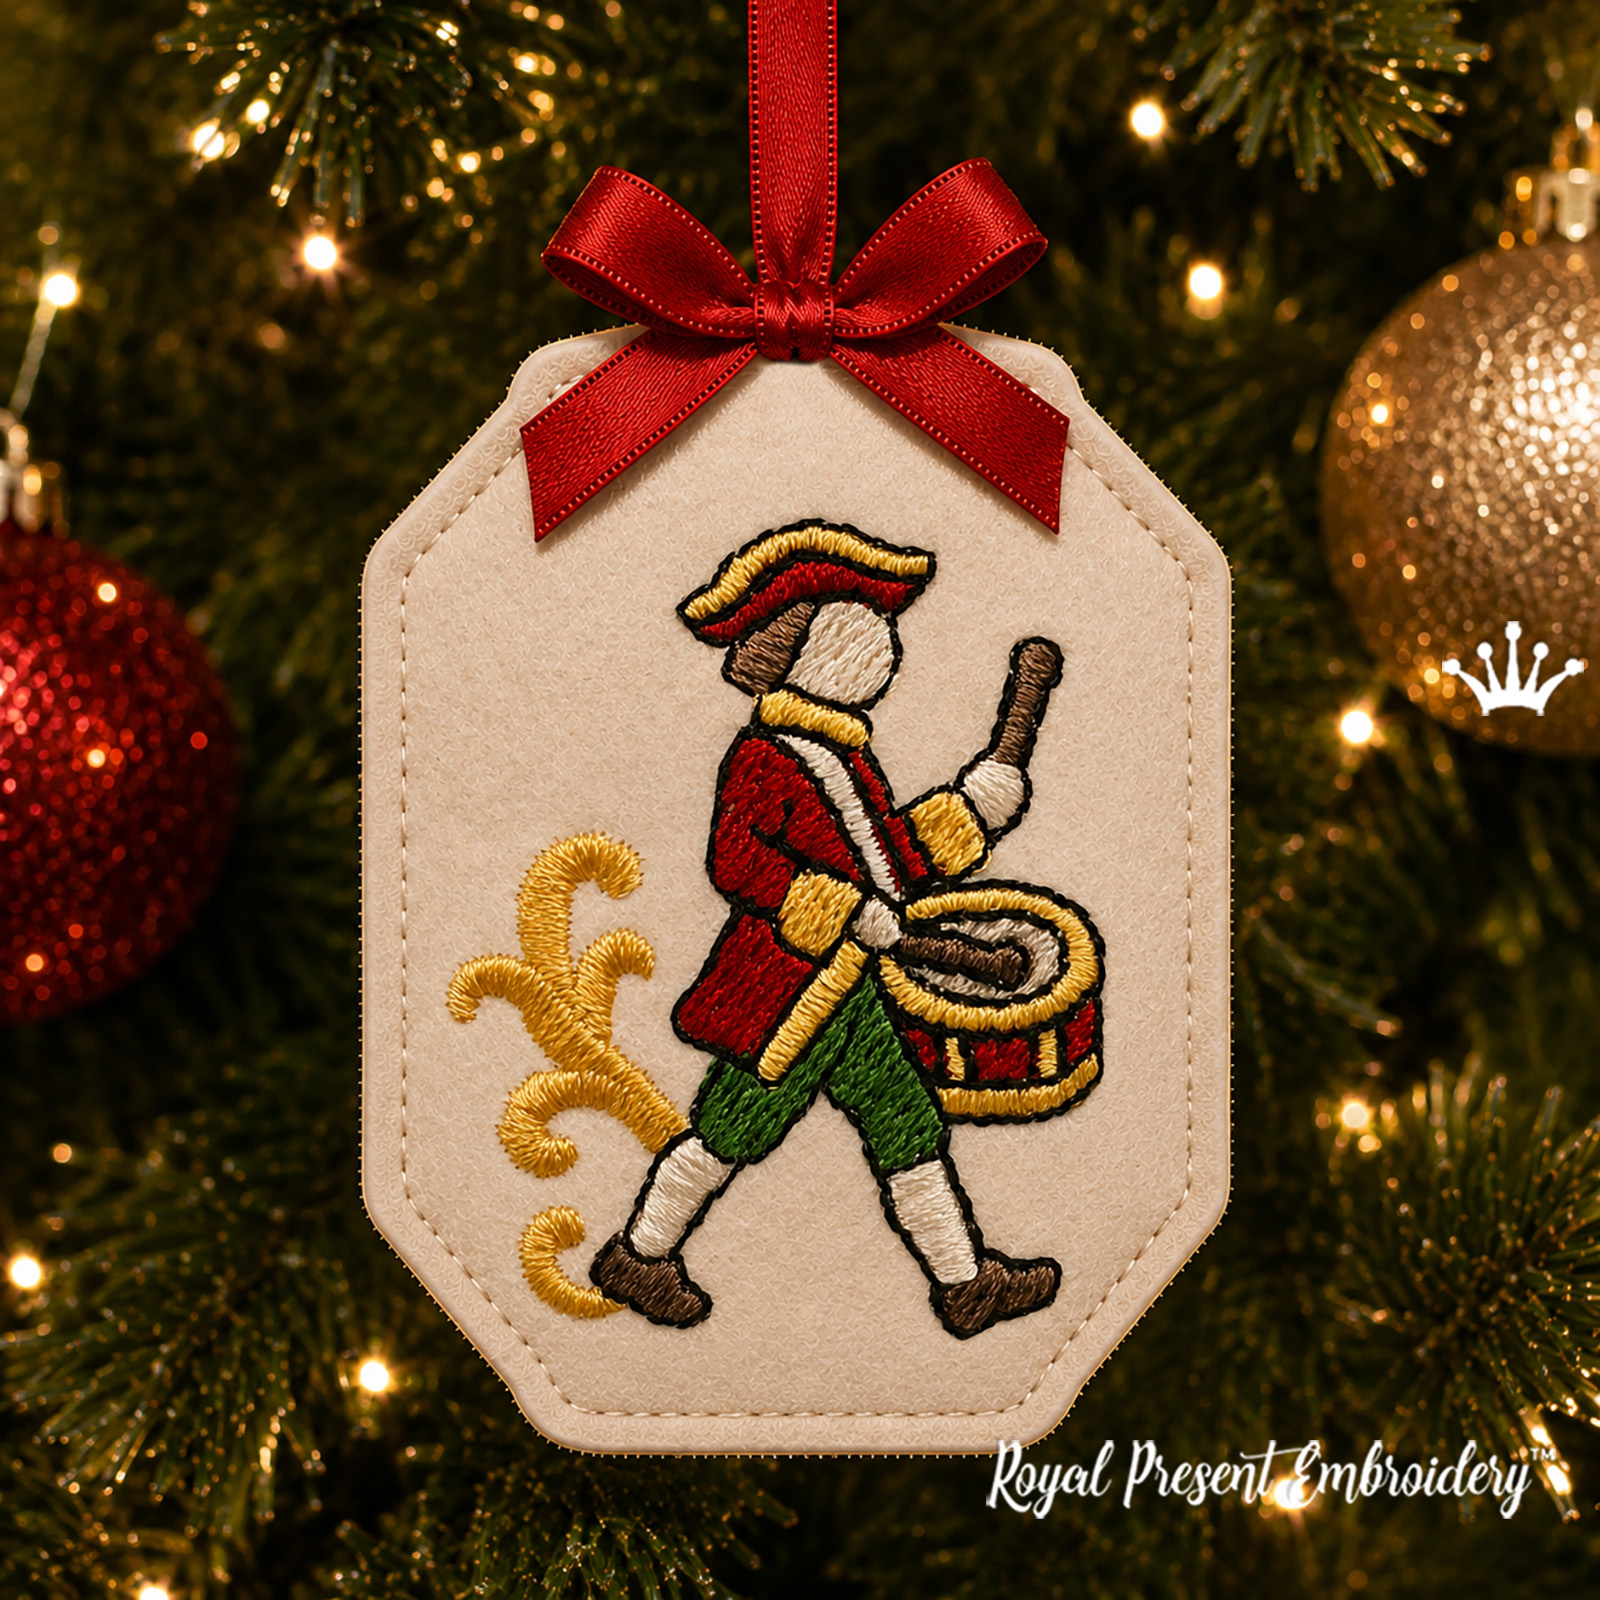 Christmas Drummer ITH Ornament Christmas Drummer ITH Ornament3 sizes |
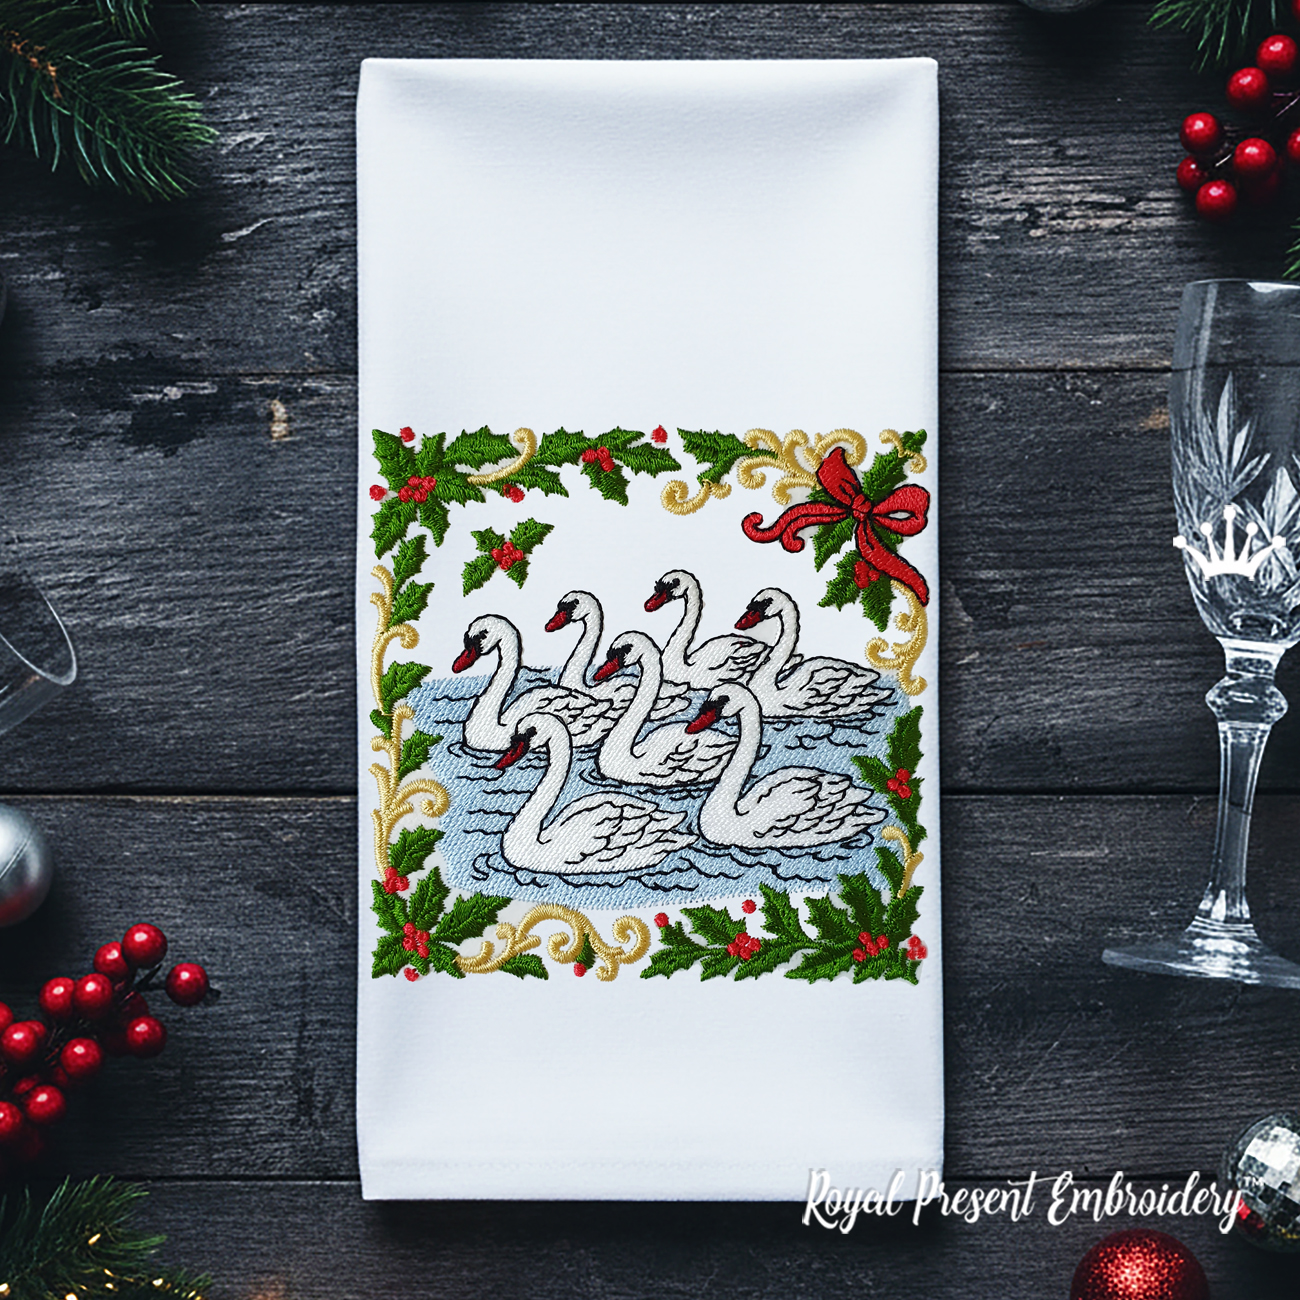 Seven Swans in a Christmas Ornament Seven Swans in a Christmas Ornament3 sizes |
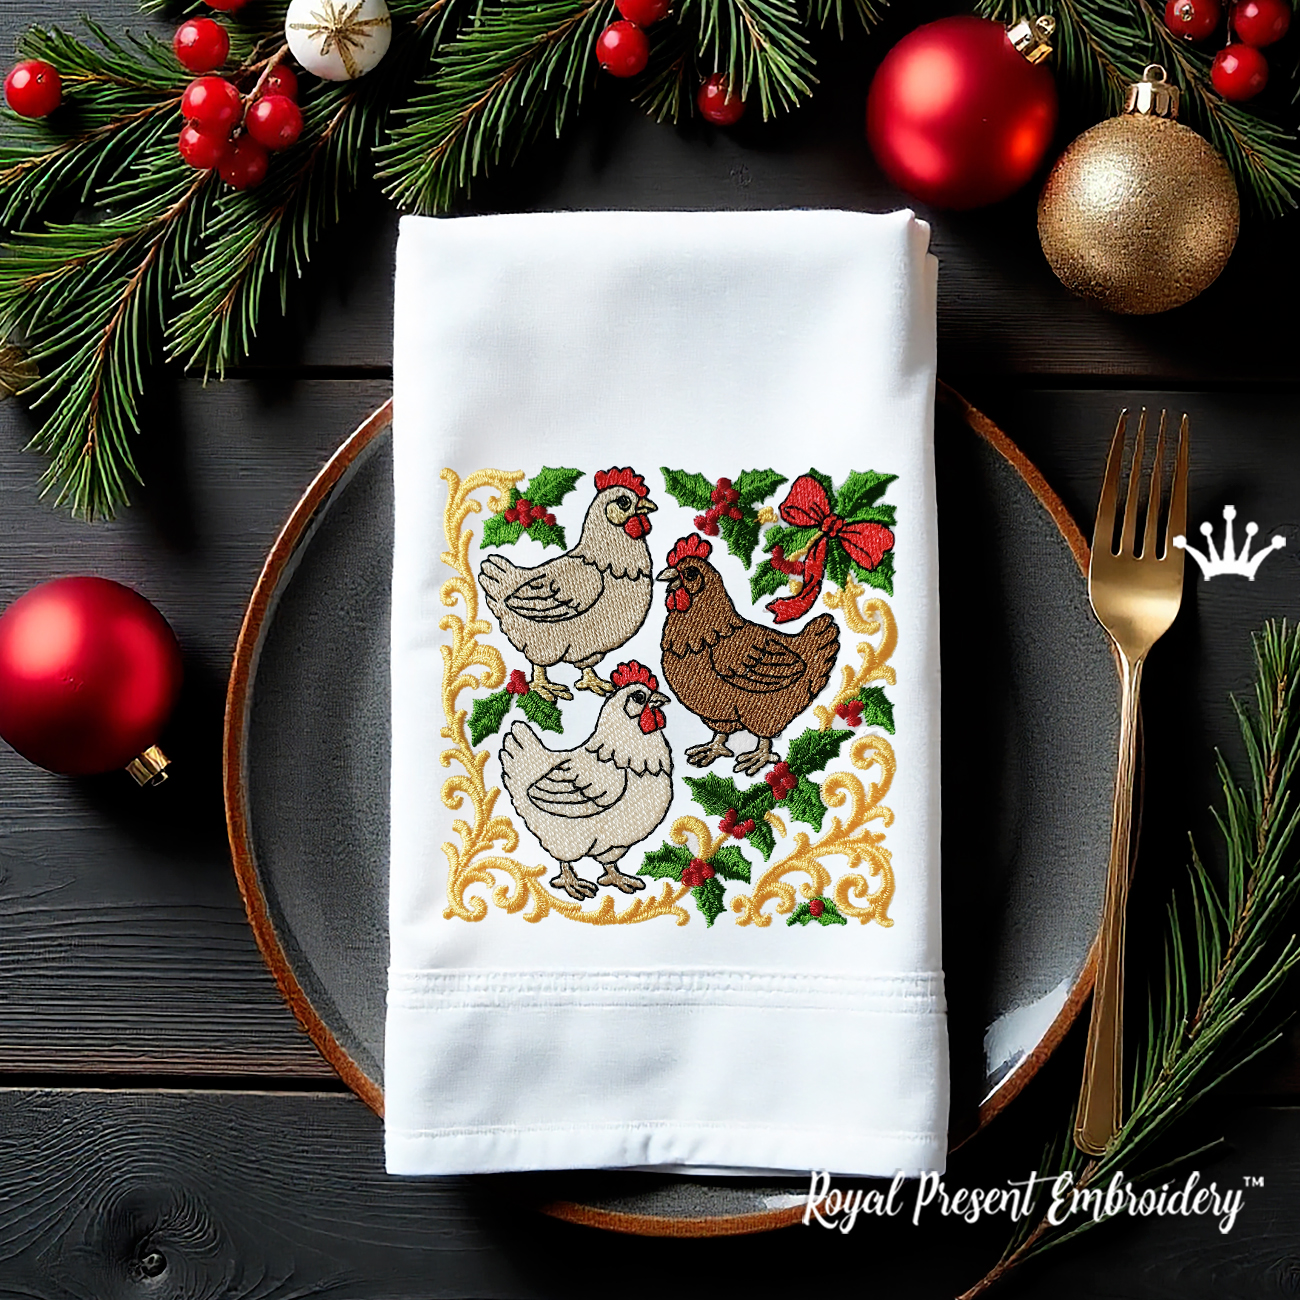 Three French Hens Three French Hens3 sizes |
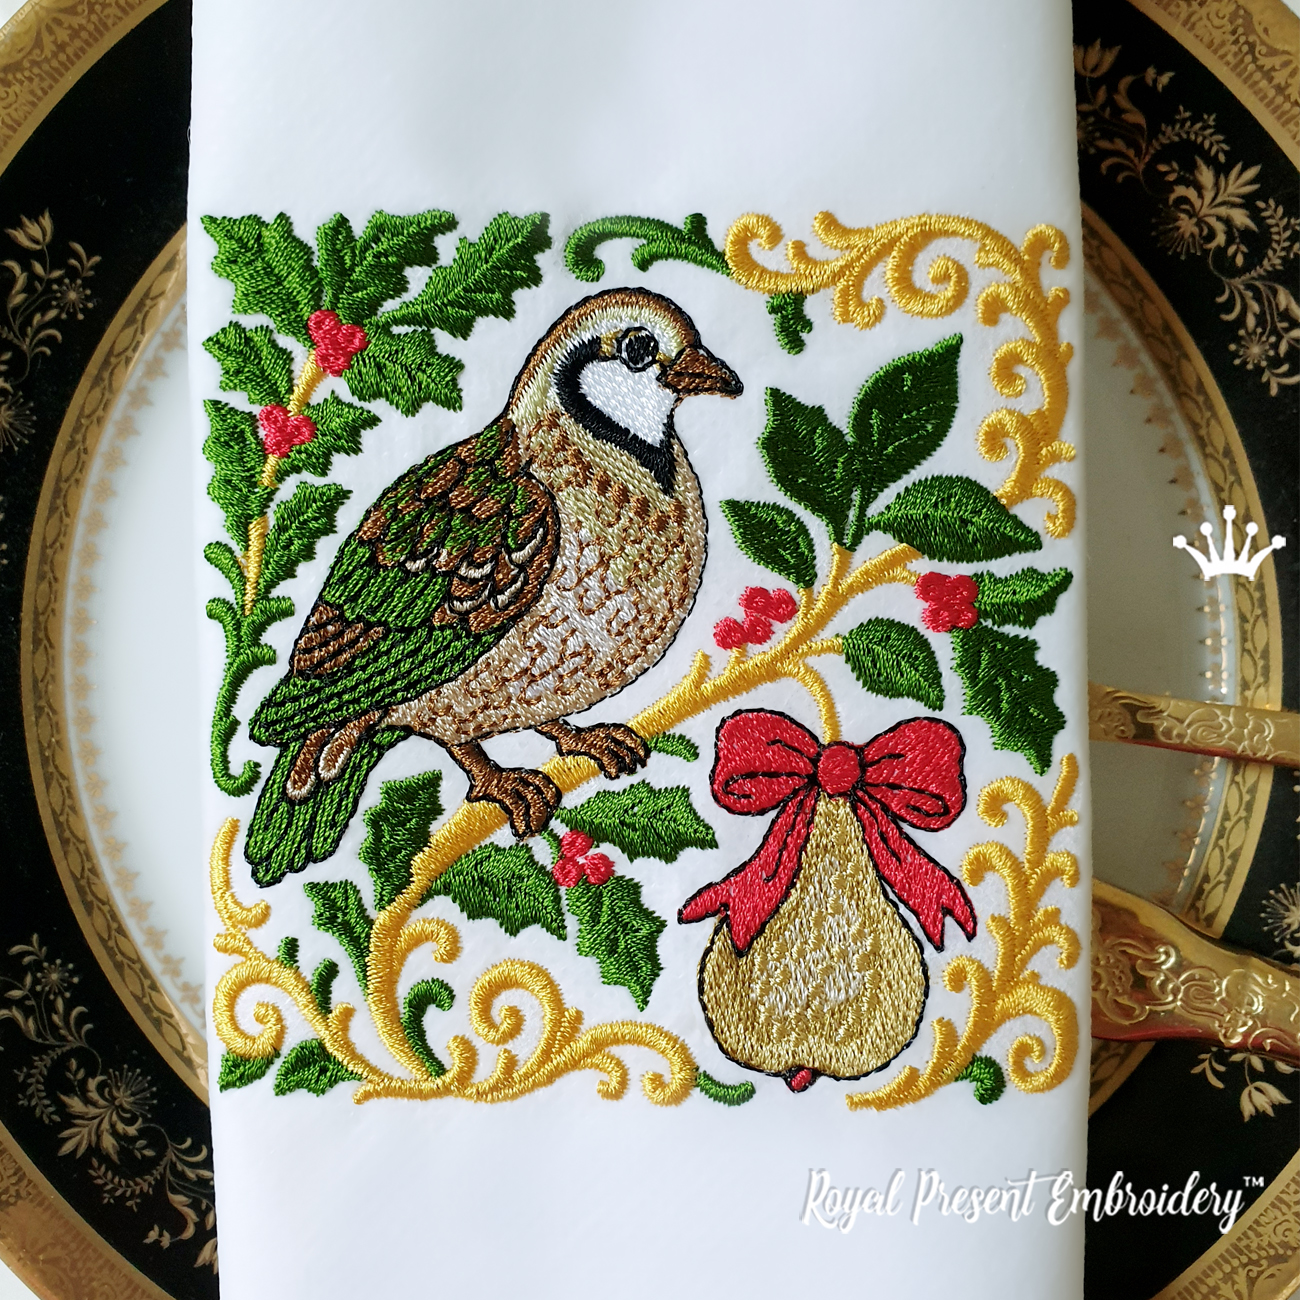 Christmas Partridge on a Pear Tree Christmas Partridge on a Pear Tree3 sizes |
Useful links
- Raw-Edge Ornaments In-the-Hoop Instructions
- In-the-Hoop Machine Embroidery Designs
- Twelve Days of Christmas Machine Embroidery Designs
- Madeira Thread Converter
- Online ZIP File Extractor
Digital download and license
This listing contains digital machine embroidery files and printable cutting templates. No finished decoration or physical supply is shipped. After purchase, download the ZIP archive, unzip it and transfer only the format supported by your embroidery machine.
You may sell finished physical ornaments embroidered with this design in small quantities. The digital files and templates may not be resold, copied, shared, exchanged or redistributed. Factory mass production is not permitted.
Frequently asked questions
Why is the bagpiper part of the Twelve Days of Christmas?
The eleventh verse names Pipers Piping. This single baroque musician represents that verse and coordinates with the drummer and other characters in the collection.
Do all three sizes fit a 4x4 hoop?
Yes. Use a 100x100 mm (4x4") hoop or larger for the 52.7x82.5, 58.0x90.7 and 62.6x97.9 mm files.
Why does Madeira Classic 1123 appear twice?
Block 2 secures the front felt piece. Block 10 creates the visible cream border that catches the ribbon ends and joins the backing. The two blocks must remain in their saved positions.
Which fabric gives the cleanest raw edge?
Thin or medium felt is the simplest choice because it remains stable and does not fray. Avoid stretchy felt and loosely woven fabric around the narrow oval.
How can I keep the bagpipe pipes and outlines aligned?
Use a fresh 75/11 embroidery needle, keep the felt relaxed and reduce the machine speed to approximately 500–600 stitches per minute for the gold and black blocks.
Can I add a decorative bow?
Yes. After removing the tear-away stabilizer, attach a small satin or grosgrain bow at the base of the ribbon loop with a few hand stitches or suitable textile adhesive.

 Get Sign-In Link
 Login with Google
 Login with Facebook
 Login with Amazon
 Login with Paypal