Raw-edge in-the-hoop ornaments are completed almost entirely on an embroidery machine. The embroidered front, plain backing and ribbon hanging loop are joined by the final stitching line, so the ornament does not need to be turned through an opening or sewn closed by hand.
This tutorial demonstrates the process with the Twelve Drummers Drumming design from the 12 Days of Christmas collection. The same method can be used for other raw-edge ITH ornaments that include a placement line, front tackdown and final assembly seam.
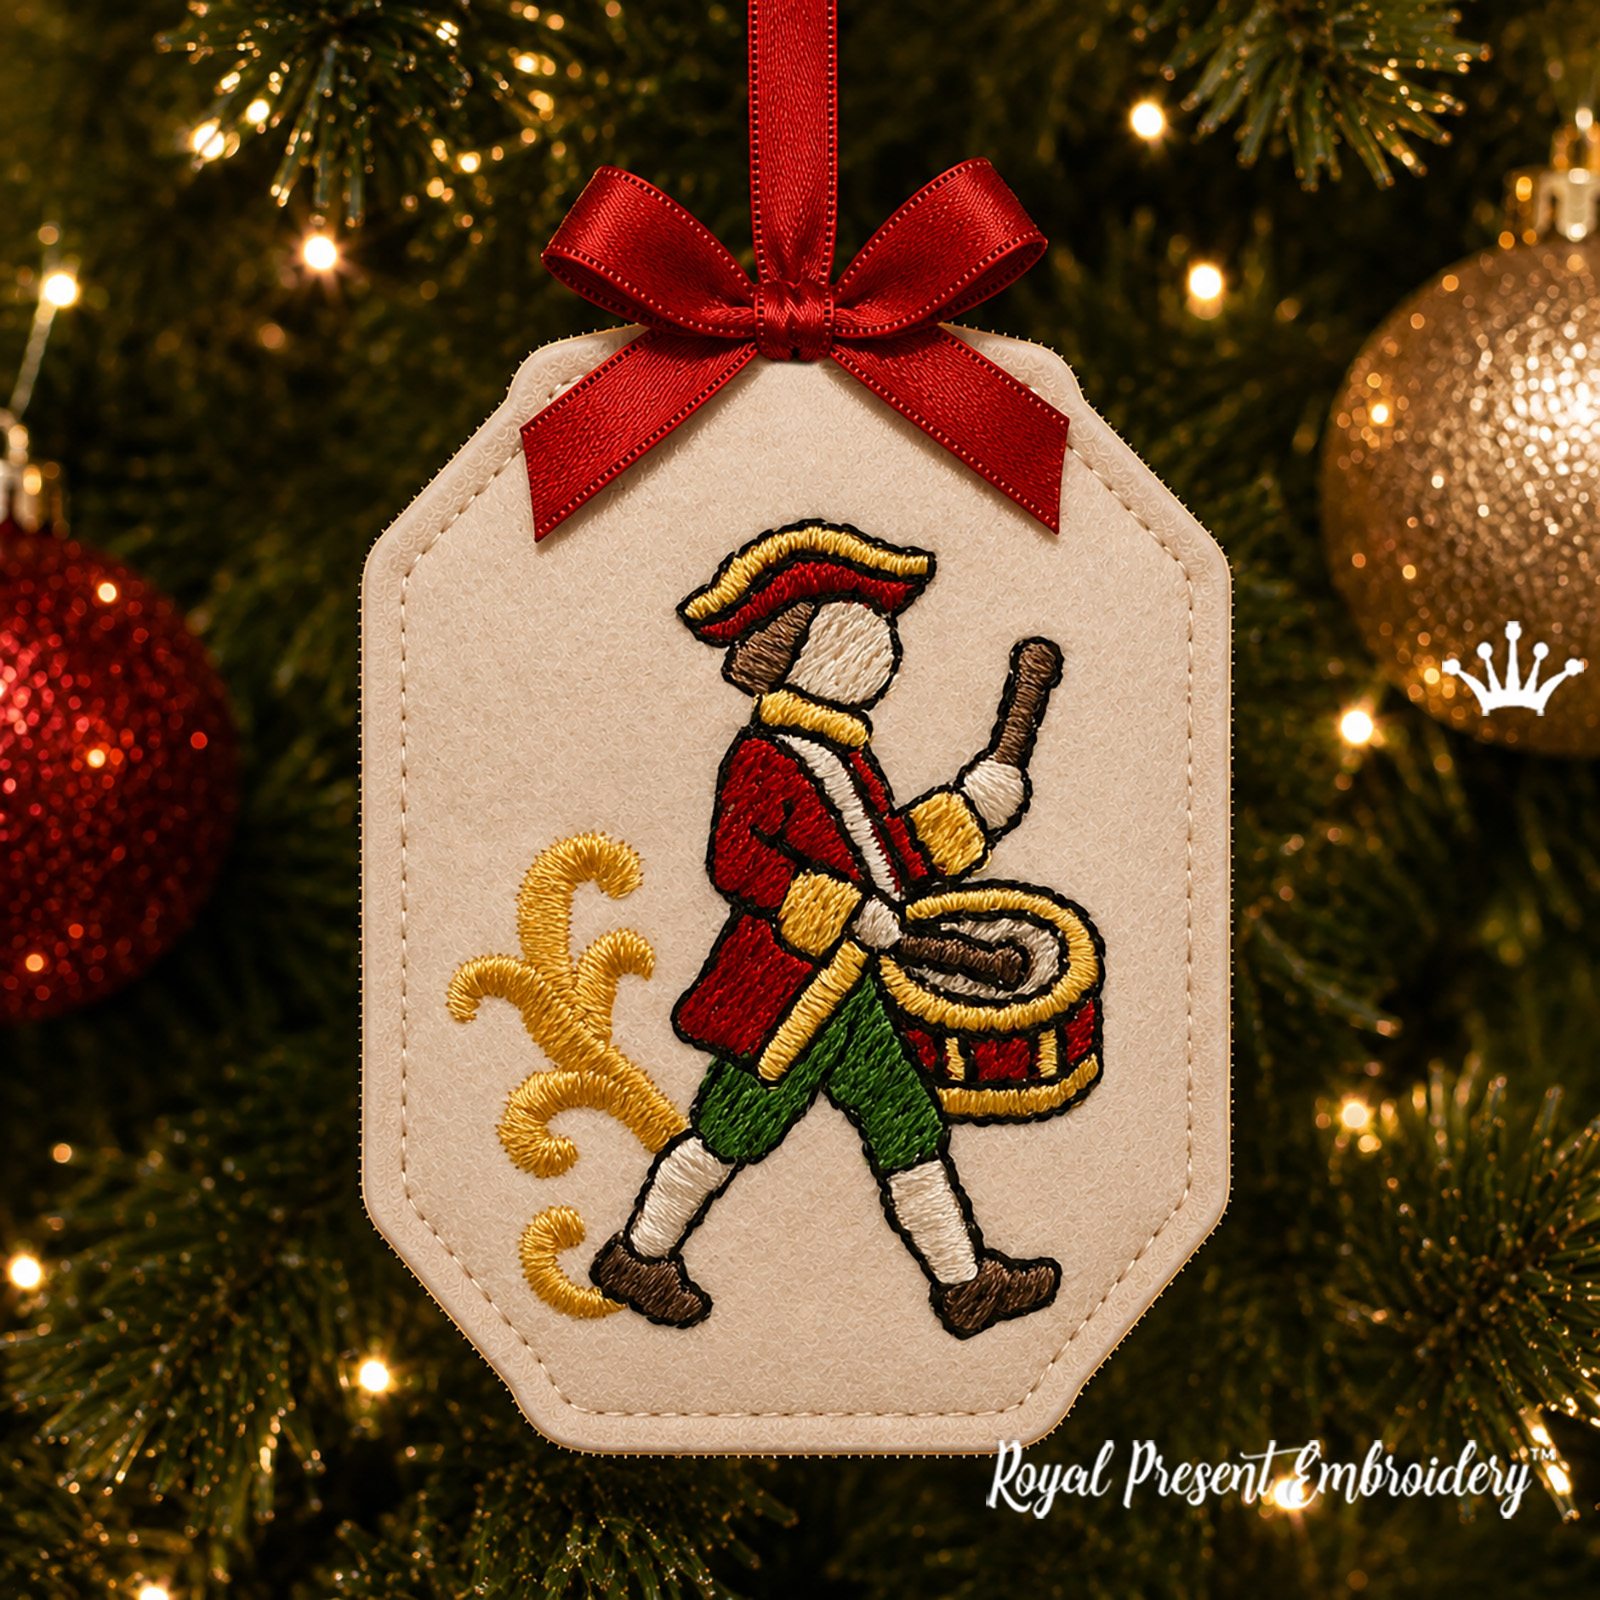
Materials and supplies
- Embroidery design in the size and format supported by your machine
- Printed cutting template supplied with the design
- Two pieces of felt or another stable, non-fraying fabric
- Madeira Cotton Soft 50 tear-away stabilizer — 50 g/m²
- Optional Gunold KK 100 temporary adhesive spray
- 40-weight machine embroidery thread
- 75/11 embroidery needle
- Narrow satin or grosgrain ribbon for the hanging loop
- Low-tack embroidery tape or masking tape
- Small sharp scissors
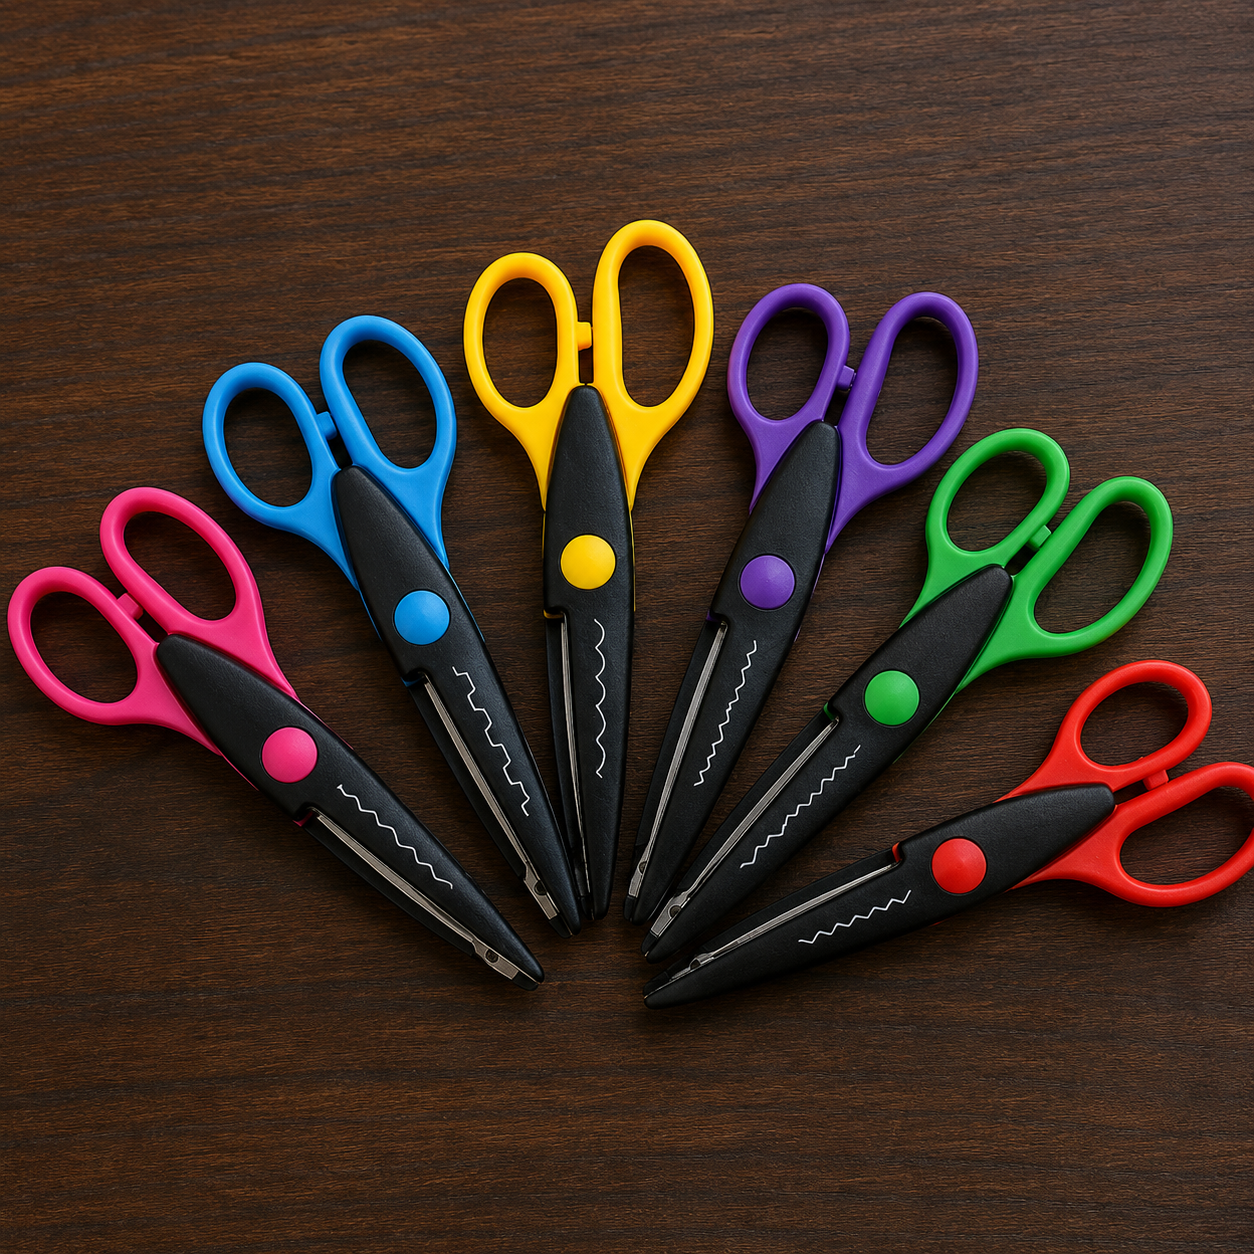
You can also use decorative-edge scissors to give the finished ornament a more attractive edge.
Felt is especially suitable for this project because it remains stable during embroidery and its cut edges do not fray. The final edge remains visible, which is the defining feature of a raw-edge ornament.
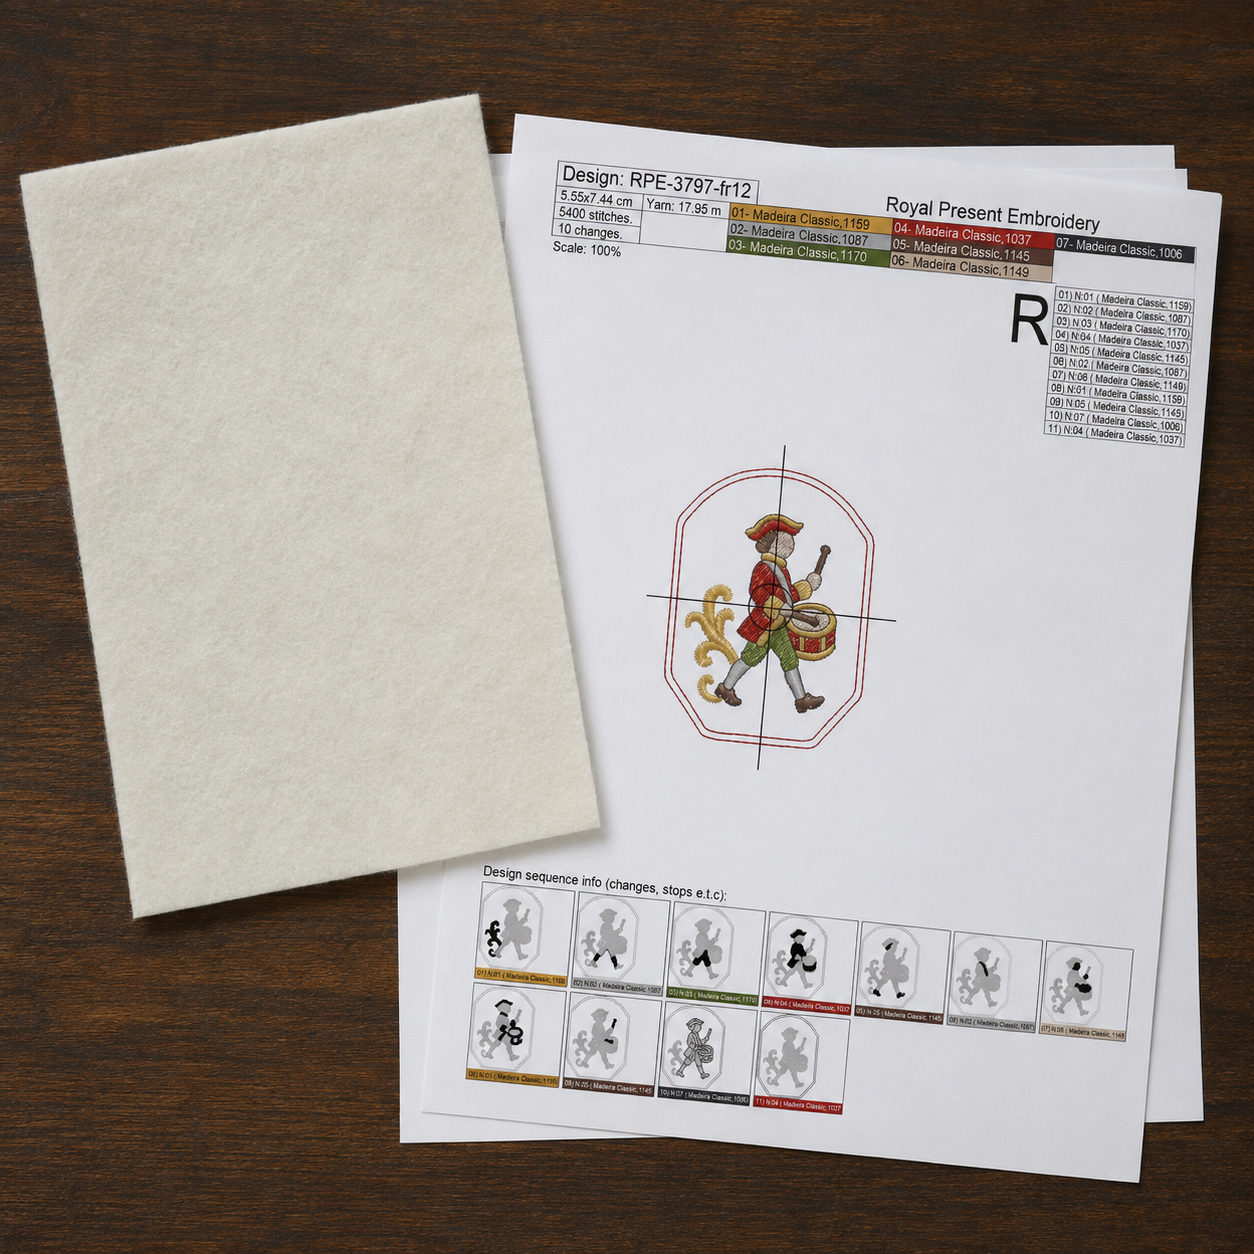
Materials and printed template for a raw-edge drummer ITH Christmas ornament
Step 1: Print the cutting template
Print the cutting template that corresponds to the selected embroidery size. Use the actual-size or 100% print setting. Do not select Fit to Page, Scale to Fit or any other automatic resizing option.
Measure the printed outline before cutting the fabric. It must match the dimensions stated for the selected embroidery file.
Step 2: Prepare the front and back pieces
Position the printed template over the felt and hold it temporarily with low-tack tape. Cut carefully around the outer cutting line.
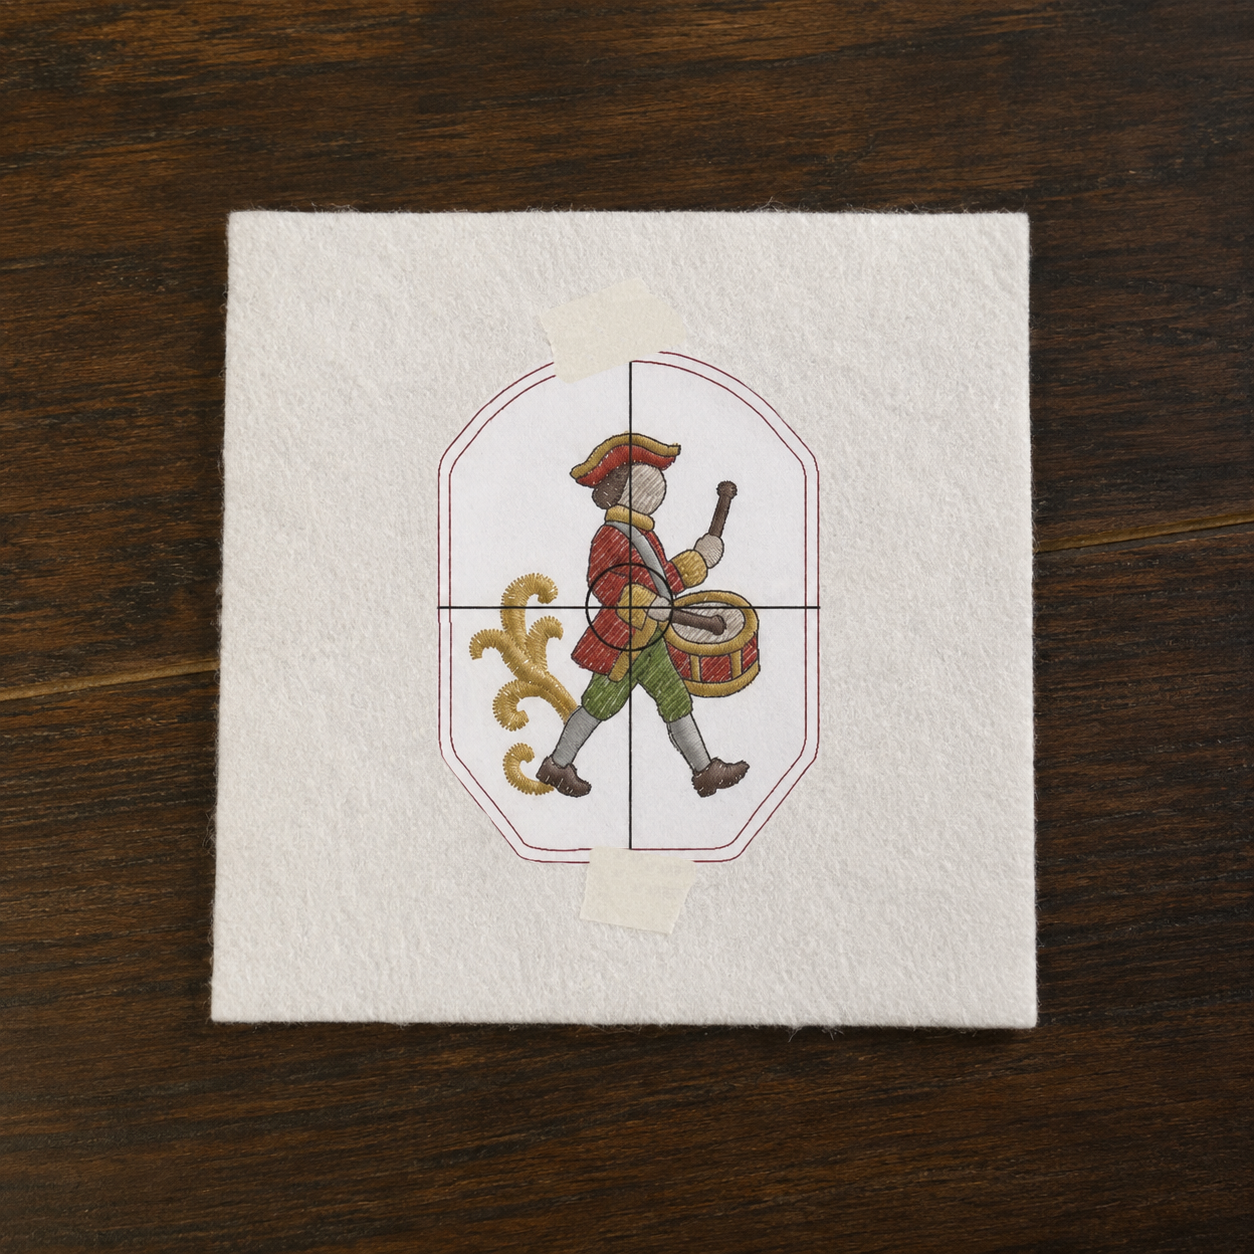
Printed ornament template positioned on white felt before cutting
Cut two identical fabric pieces: one for the embroidered front and one for the plain back. Keep the edges smooth because they will remain visible in the finished ornament.
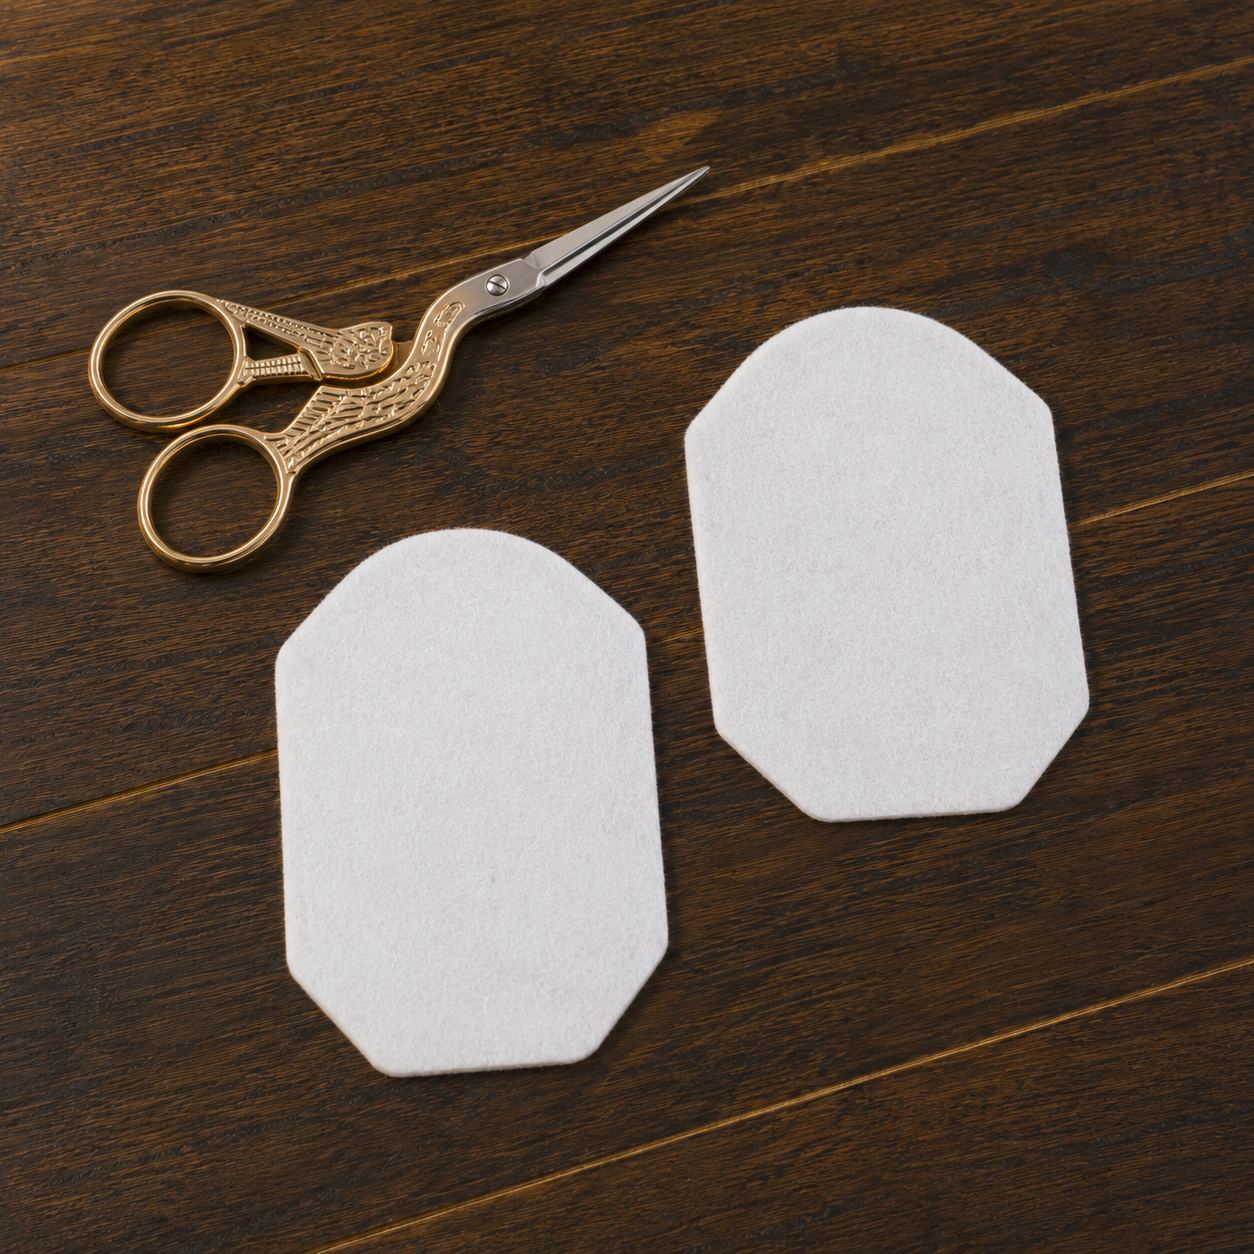
Two matching felt pieces cut for the front and back of an ITH ornament
Step 3: Hoop the stabilizer
Hoop one layer of Madeira Cotton Soft 50 tear-away stabilizer. The stabilizer should be smooth and evenly tensioned, but it should not be stretched or distorted.
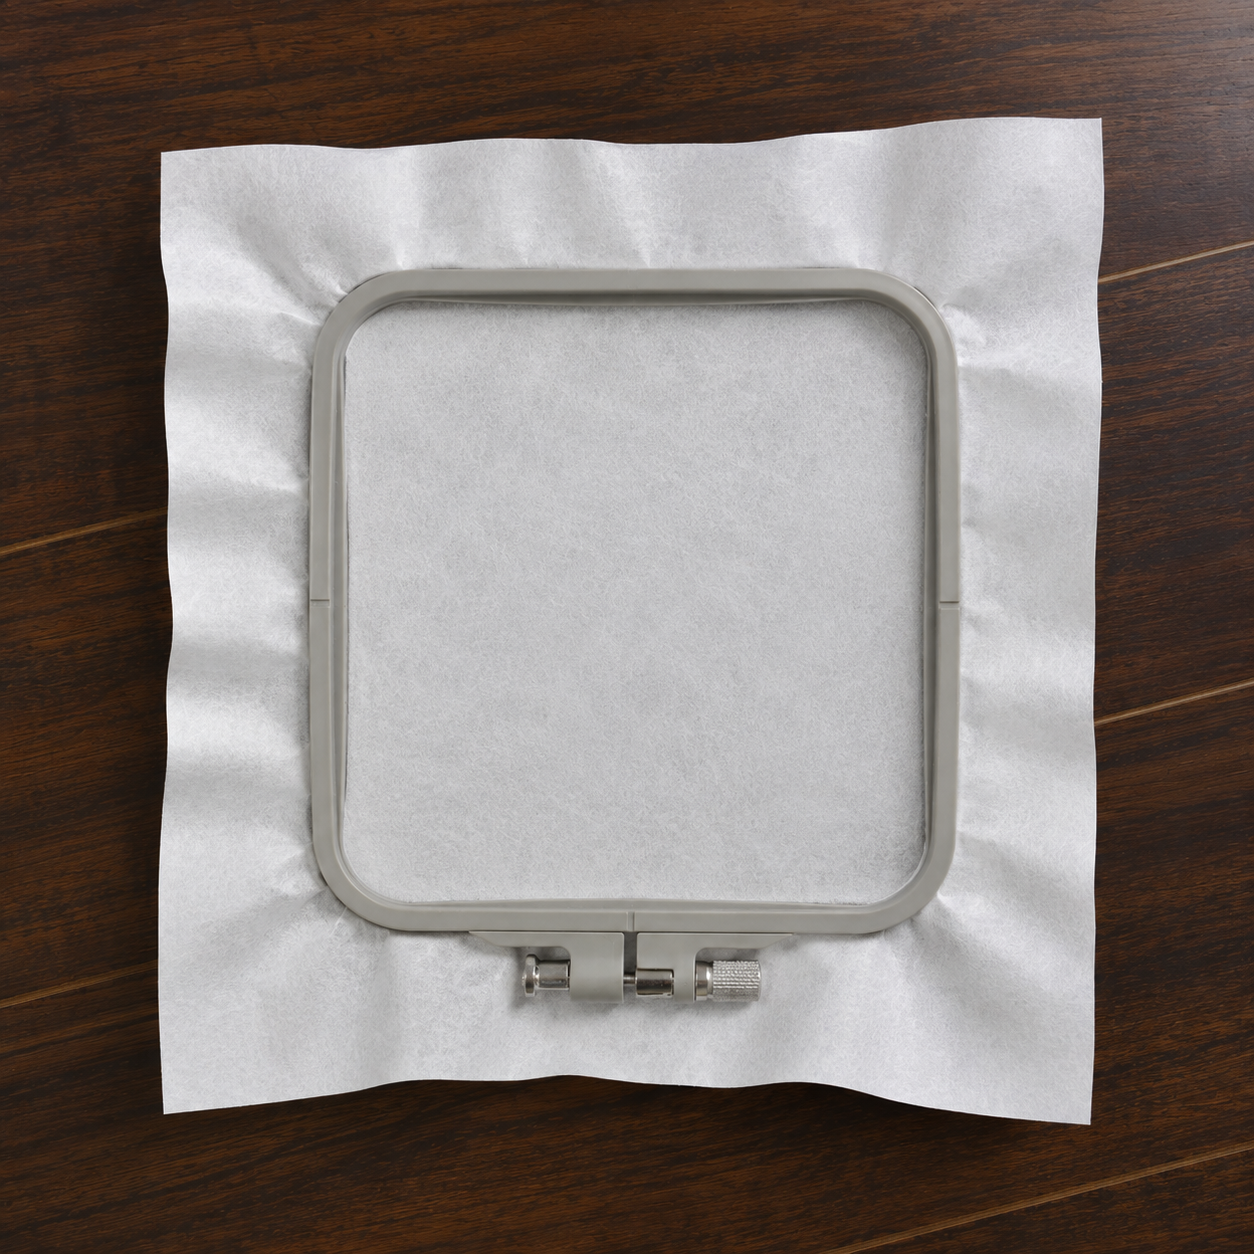
Tear-away embroidery stabilizer secured in a machine embroidery hoop
Attach the hoop to the machine and load the complete embroidery file. Do not load the printable cutting template as an embroidery design.
Step 4: Stitch the placement line
The first programmed step stitches an outline directly onto the stabilizer. This placement line shows exactly where the front fabric piece must be positioned.
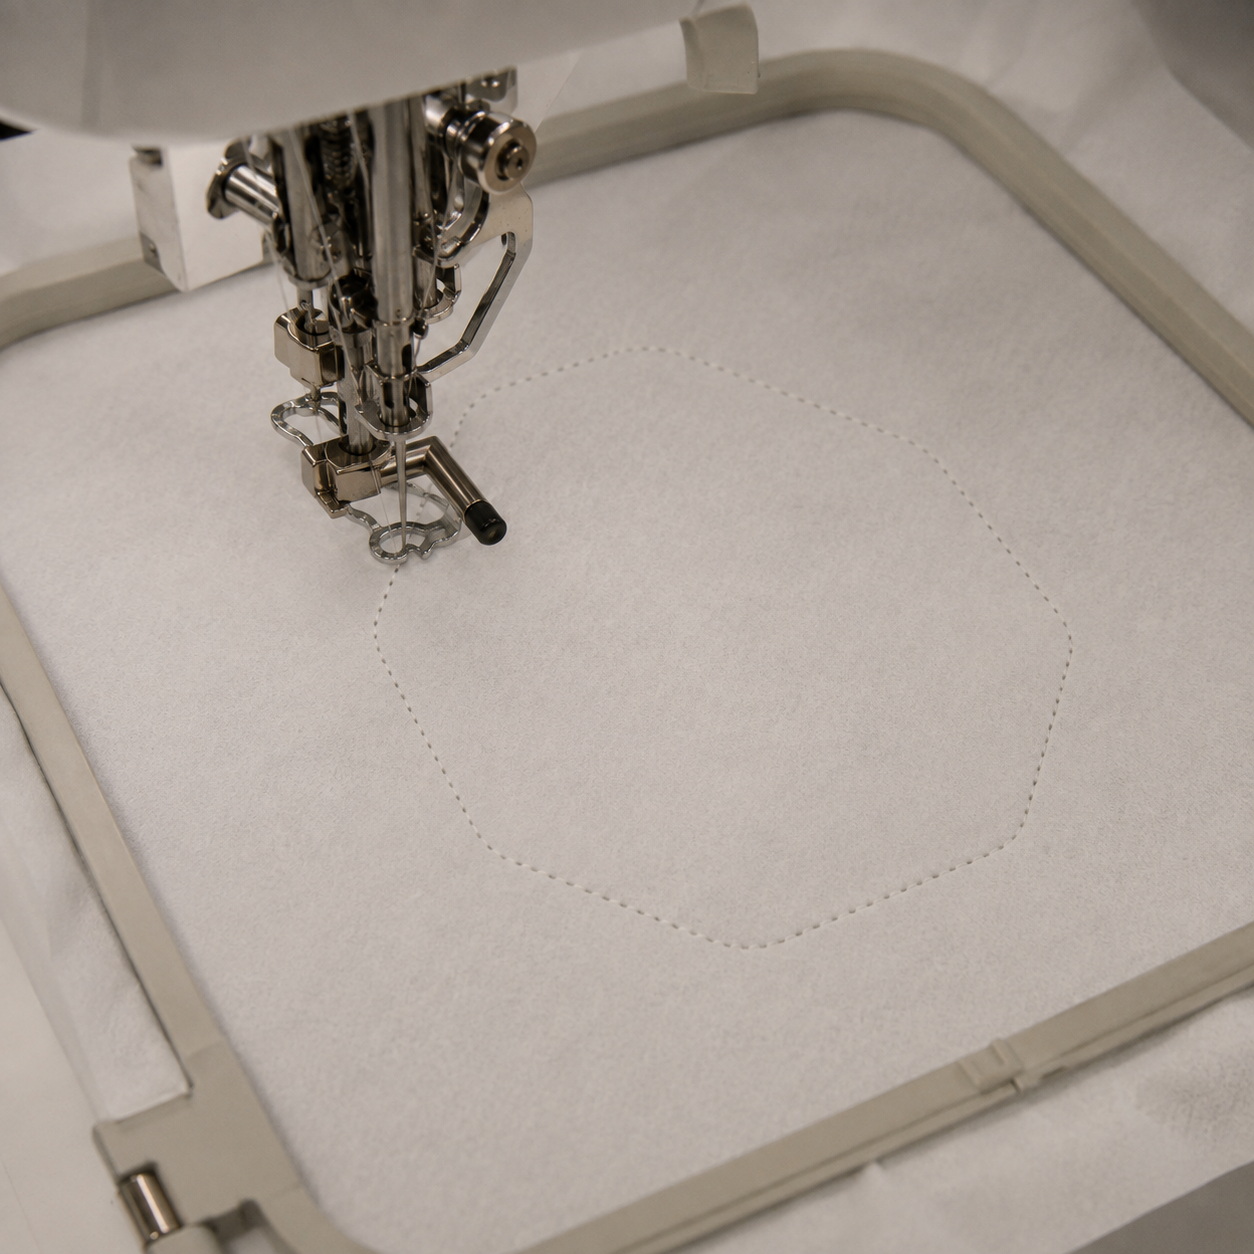
Placement line stitched on tear-away stabilizer for an in-the-hoop ornament
After the placement line has finished, remove the hoop from the machine without removing the stabilizer from the hoop.
Step 5: Position the front fabric
Place one of the prepared felt pieces inside the stitched placement line. If necessary, apply a very small amount of Gunold KK 100 to the stabilizer or secure the fabric with low-tack tape outside the stitching area.
Spray temporary adhesive away from the embroidery machine. Apply it sparingly to the stabilizer rather than directly over the needle and hook area.
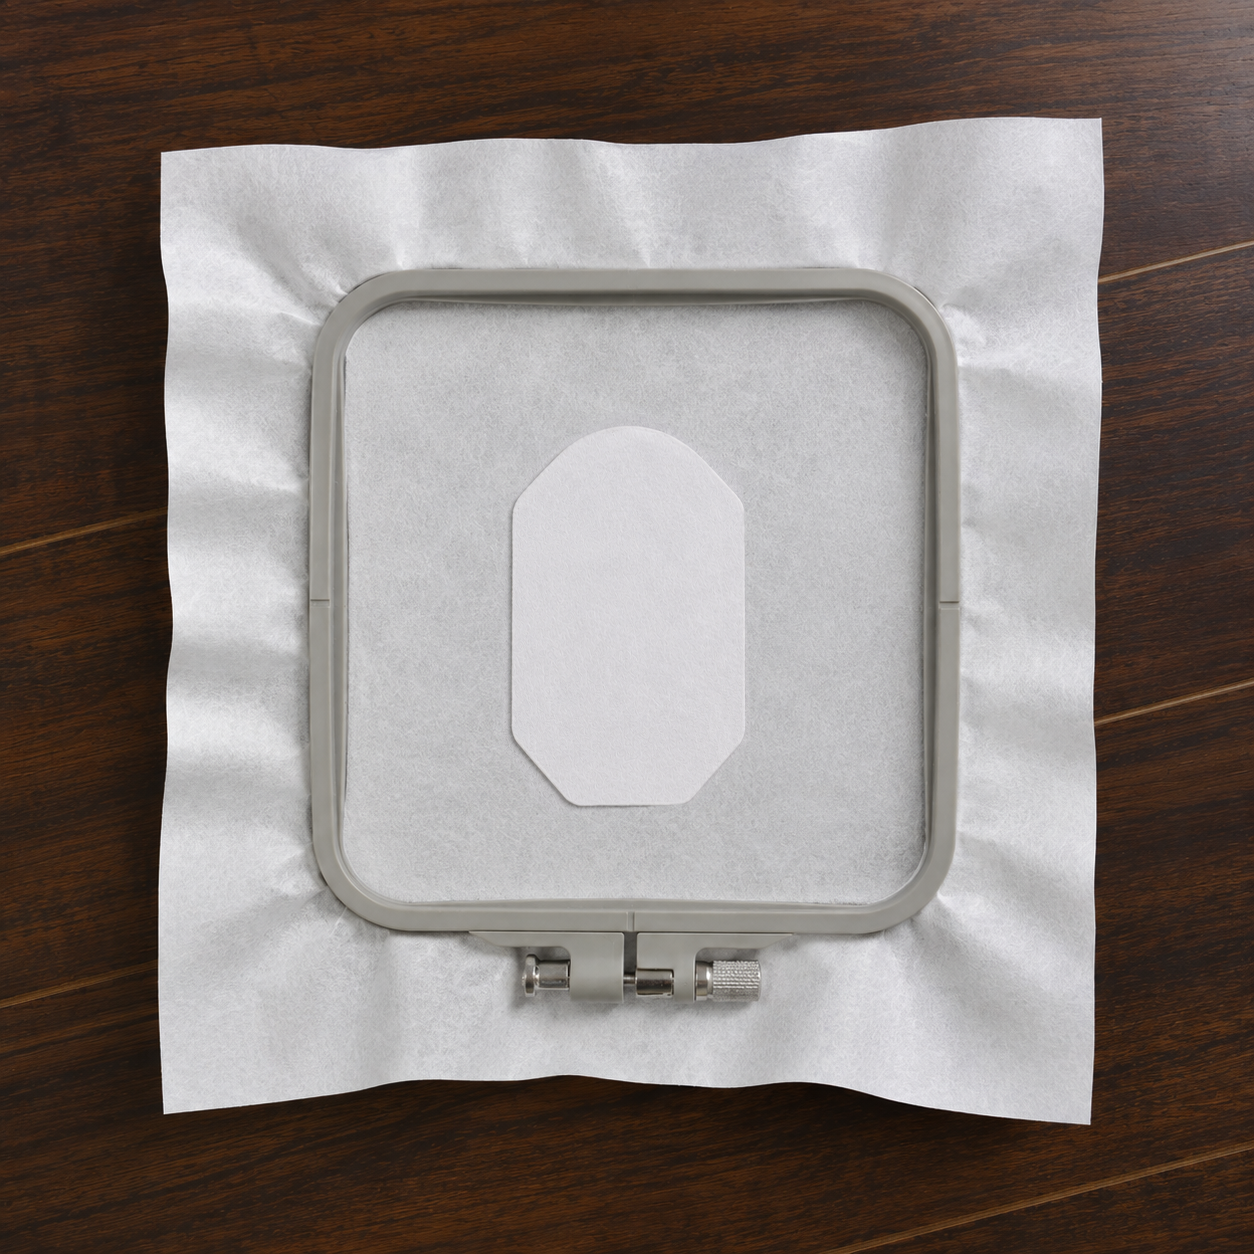
Front felt piece secured inside the stitched placement line
Return the hoop to the machine. The next outline secures the front piece to the stabilizer.
Step 6: Embroider the decorative design
Continue embroidering the design in the programmed color order. The decorative elements and the main character are stitched onto the front piece before the backing is added.
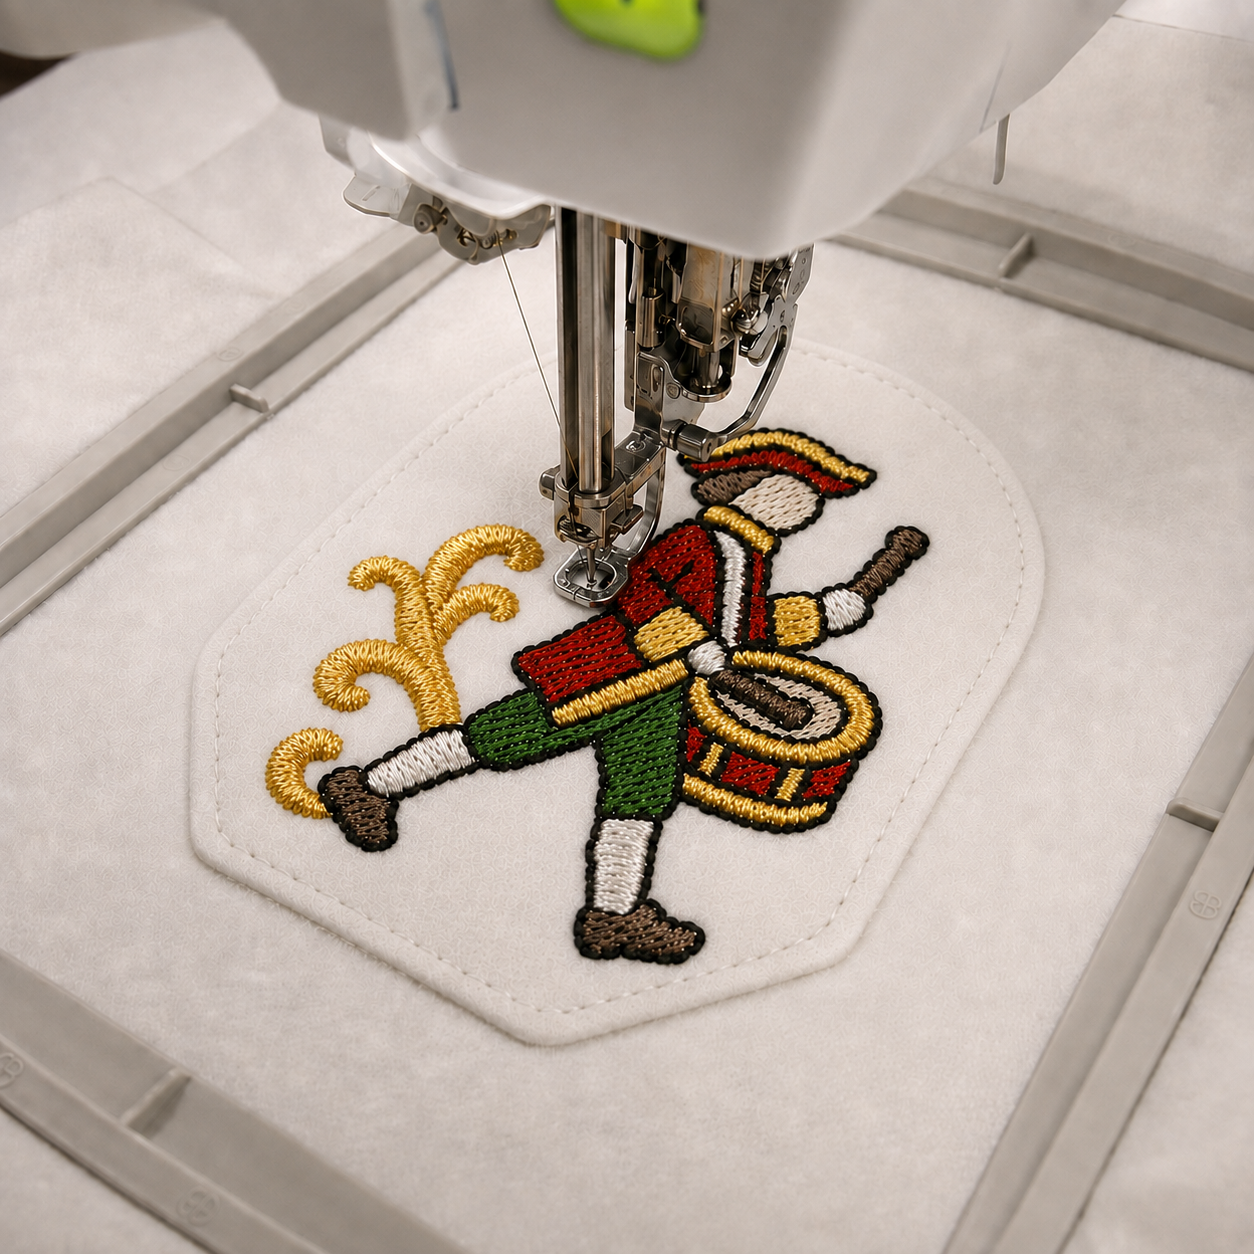
Drummer design being embroidered on the front of an ITH Christmas ornament
Do not use automatic color sorting. Repeated colors may stitch separate upper details and should remain in their programmed positions.
Stop the machine when all decorative embroidery is complete and before the final assembly outline begins. The front of the ornament should now be fully embroidered.
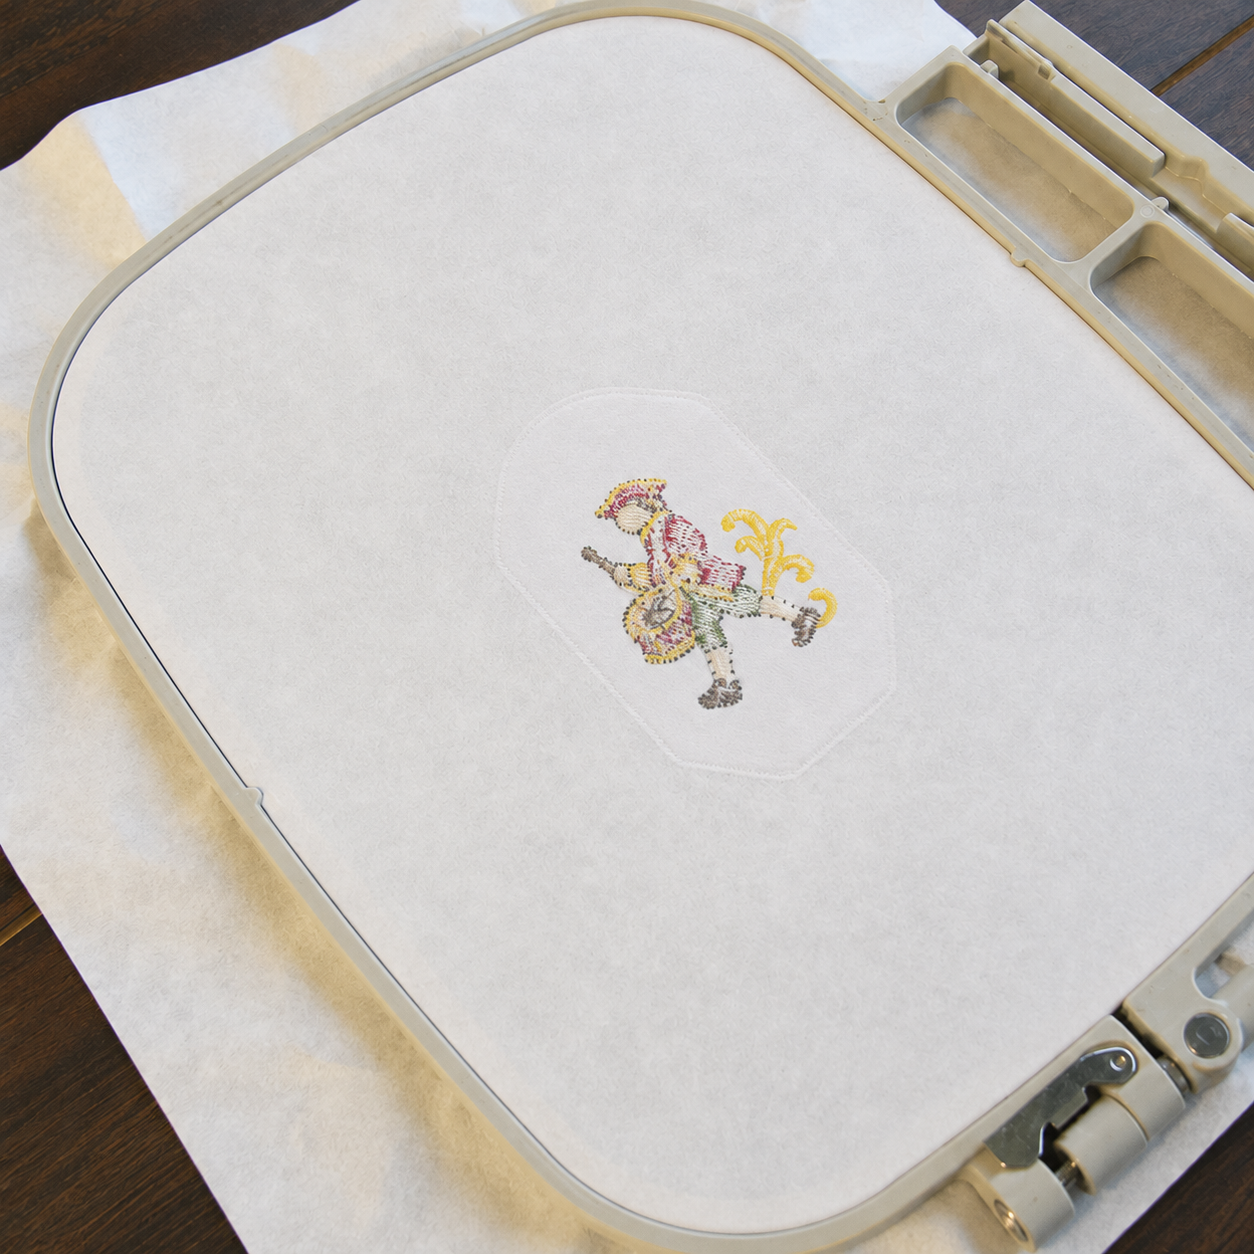
Back of the completed decorative embroidery before adding the ornament backing
Step 7: Prepare the hanging loop
Cut a piece of narrow ribbon approximately 15–20 cm (6–8") long. Fold it in half to form a loop, keeping the two raw ends even.
Center the ribbon at the top of the back fabric piece. The loop must extend beyond the top edge, while the two raw ends remain inside the ornament. Secure the ends temporarily with low-tack tape.
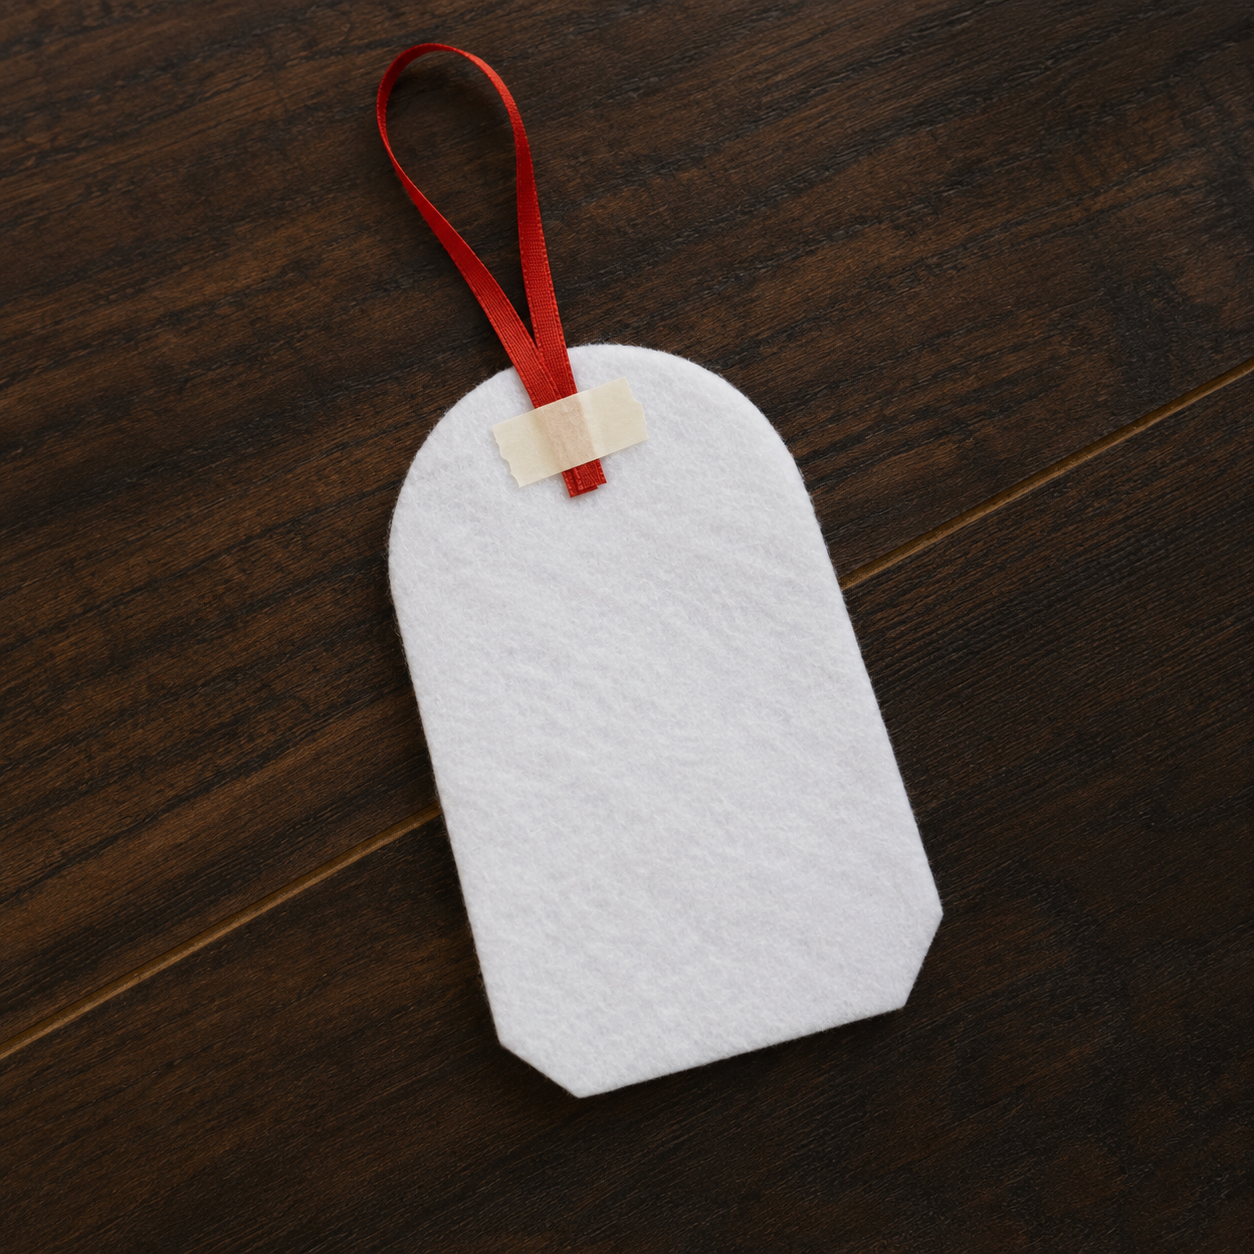
Red ribbon loop taped to the back felt piece of a Christmas ornament
Keep the tape away from the final stitching path. Make certain that only the two ribbon ends cross the upper seam and that the loop itself cannot move underneath the presser foot.
Step 8: Add the back piece
Remove the hoop from the machine without unhooping the stabilizer. Turn the hoop over so the reverse side faces upward.
Position the prepared back piece directly behind the embroidered front, aligning its edges with the placement outline. The ribbon loop should extend above the ornament. Secure the backing and ribbon with low-tack tape.
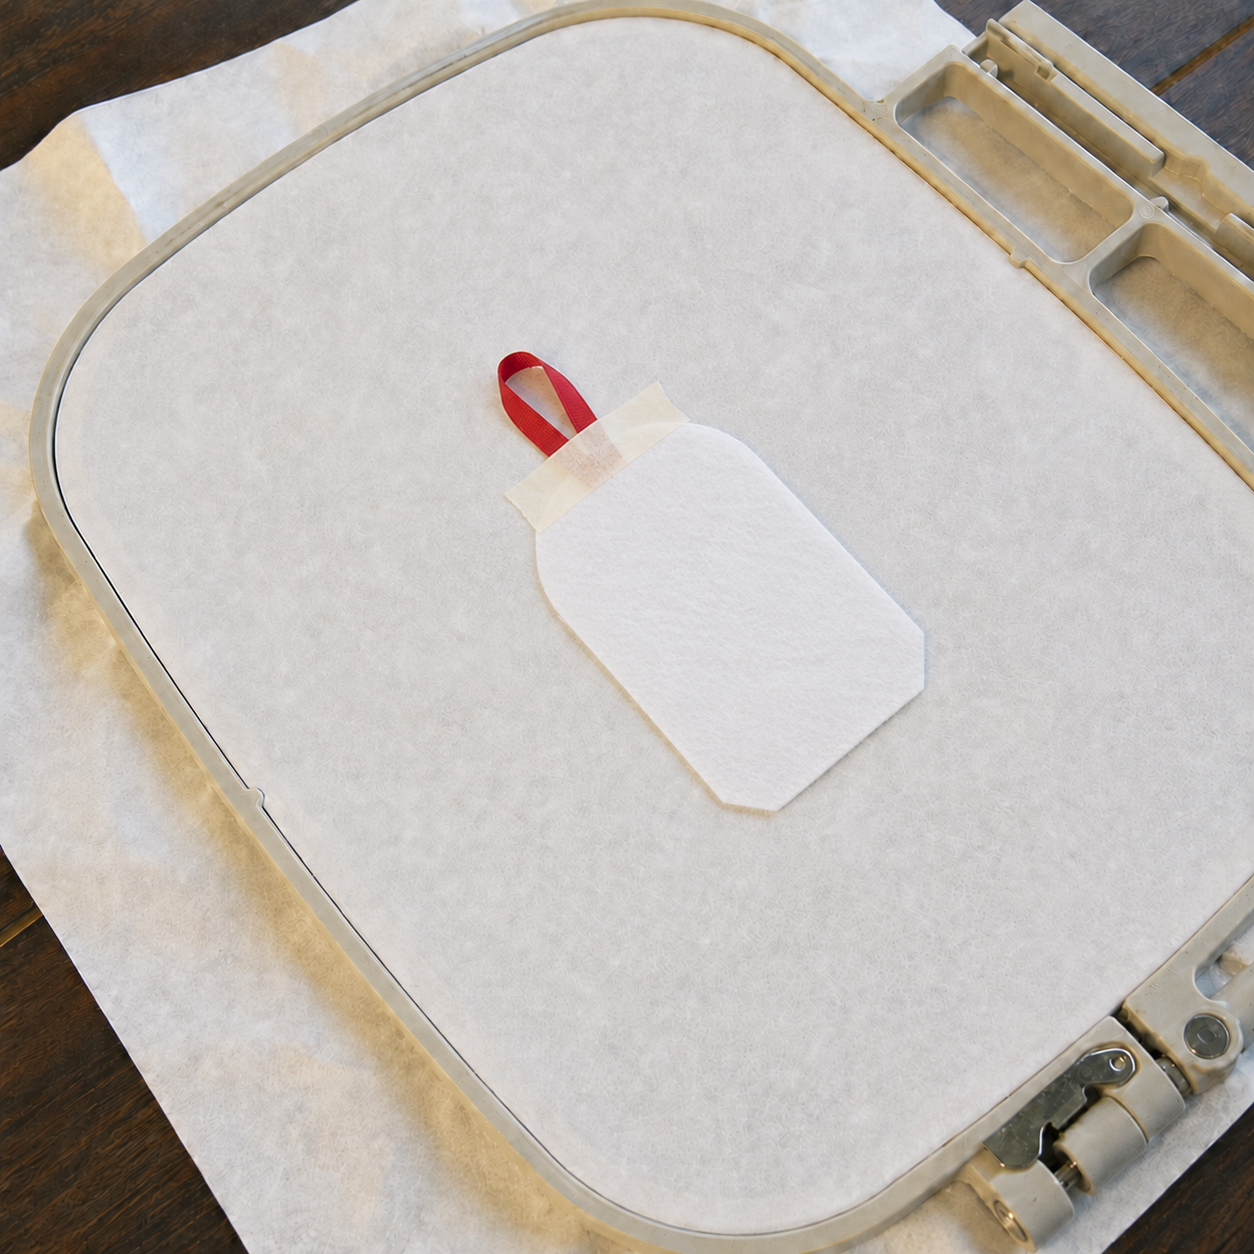
Back felt piece and ribbon loop positioned behind the embroidery hoop
Check the front and back of the hoop carefully. No tape, loose ribbon or excess fabric should cover the final stitching path.
Step 9: Stitch the final assembly seam
Because the back of the ornament will remain visible, wind a bobbin with thread that matches the final upper thread. This creates a cleaner and more professional finish on both sides.
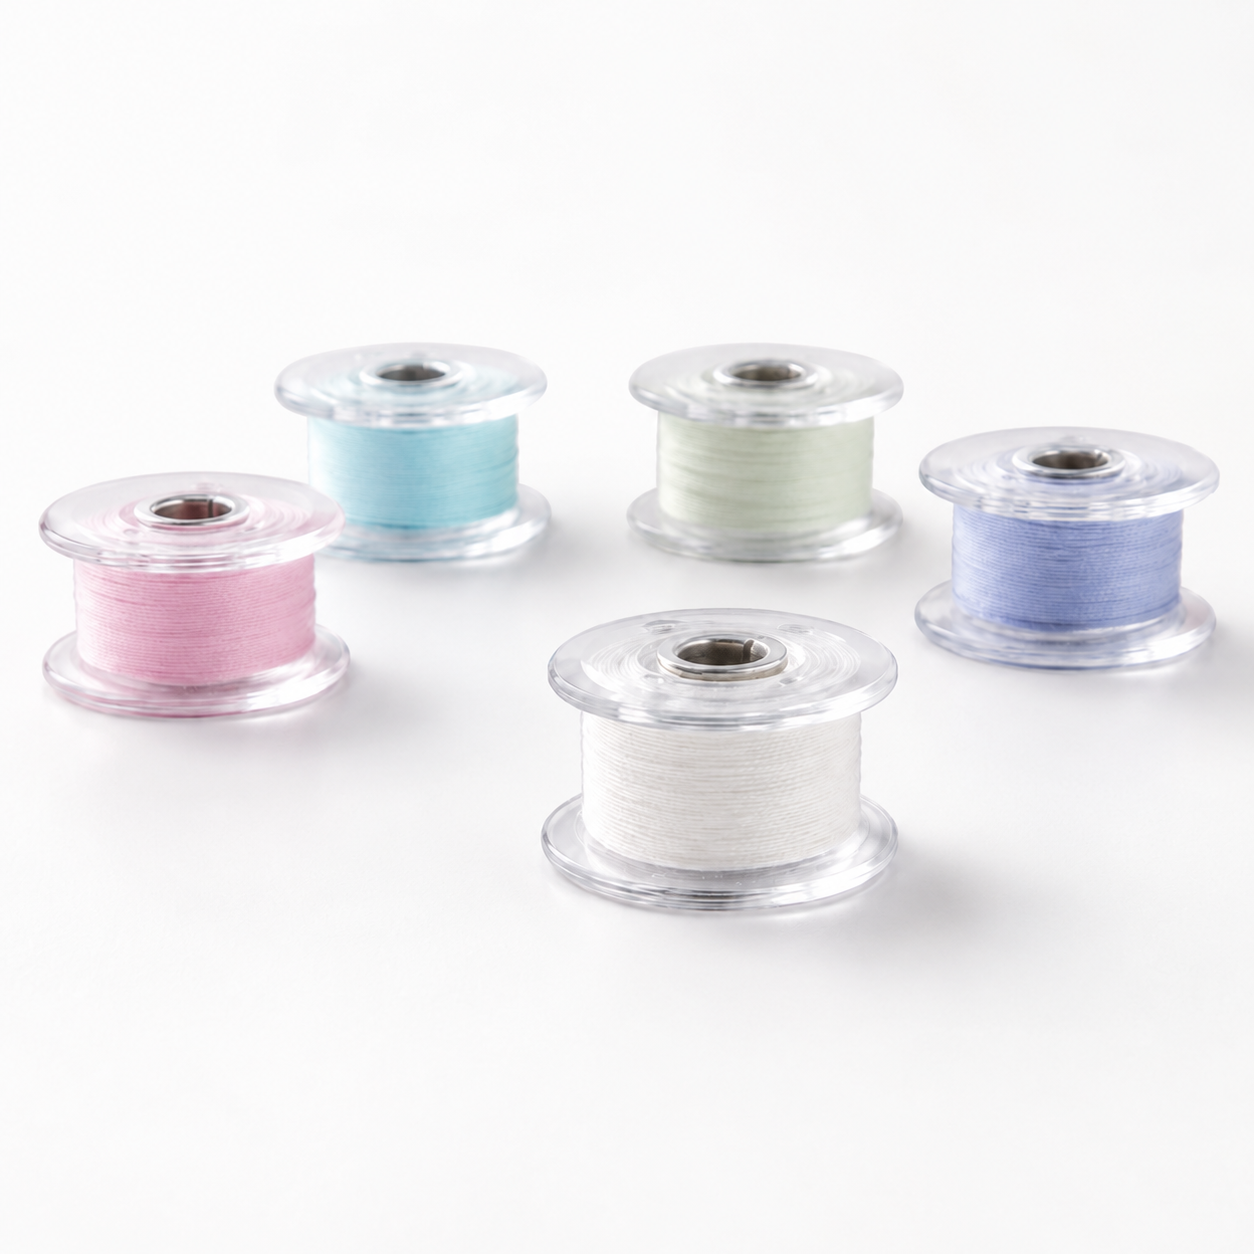
Return the hoop to the machine and embroider the final outline. This stitching joins the embroidered front, ribbon ends and backing into one finished ornament.
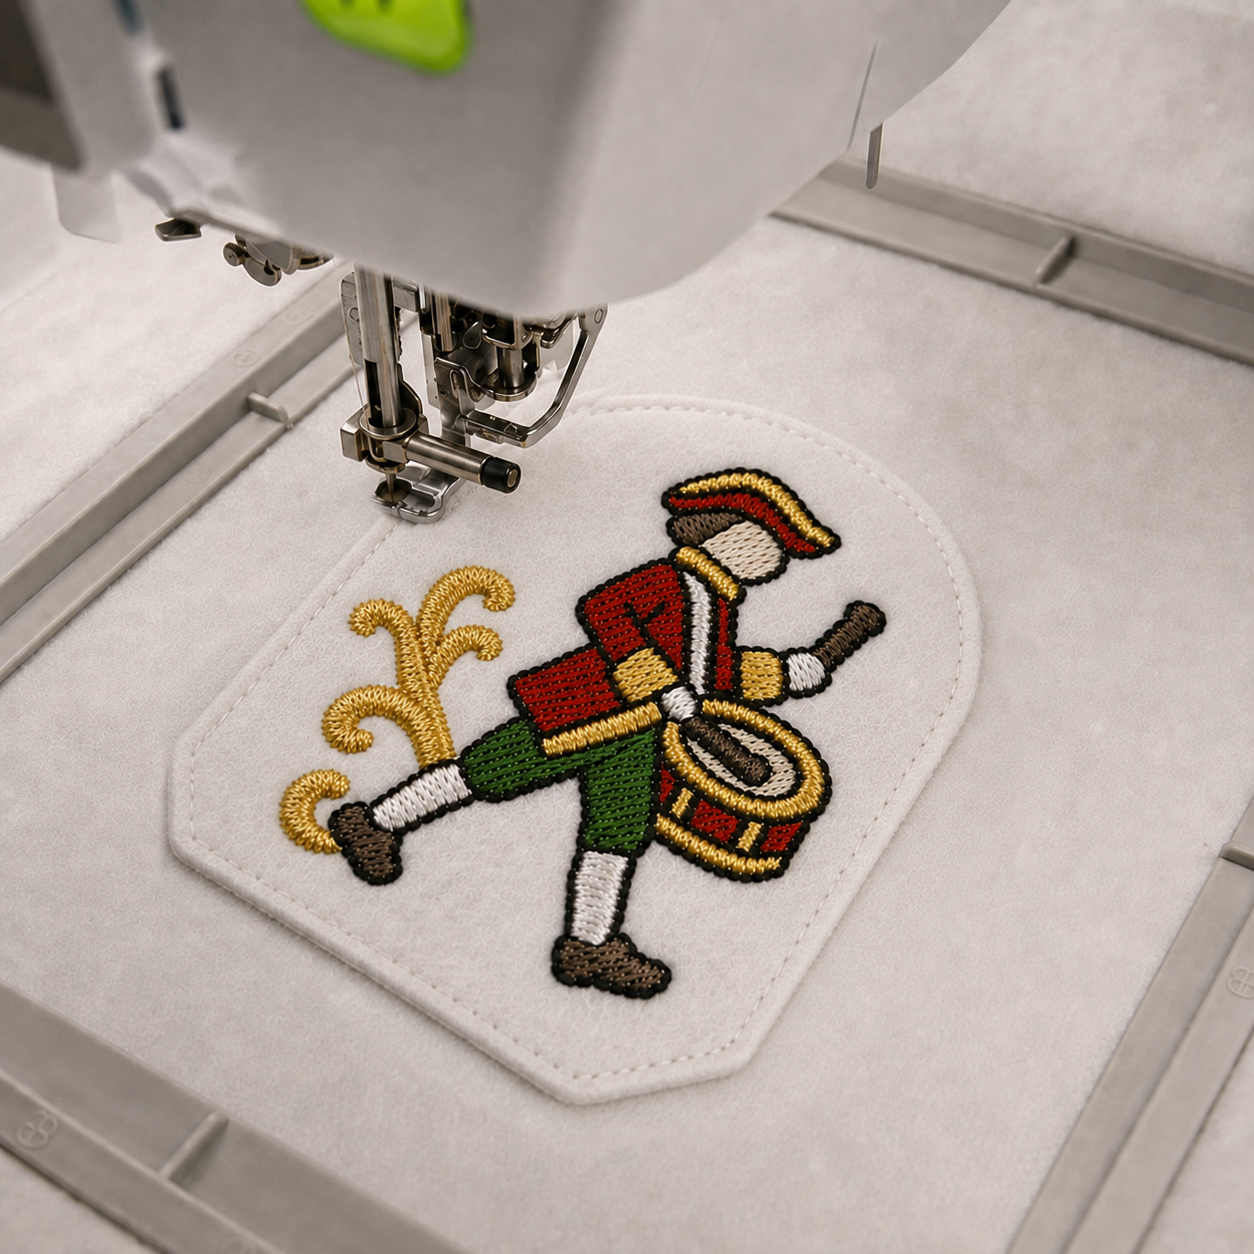
Final assembly seam joining the layers of a raw-edge ITH ornament
Watch the ribbon area as the final seam approaches the top of the ornament. The two ends must be caught securely, while the hanging loop remains safely outside the stitching area.
Step 10: Remove the ornament from the hoop
When embroidery is complete, remove the hoop from the machine and take the stabilizer out of the hoop.
Gently tear the excess stabilizer away from the outer stitching line. Begin at the corners and work toward the ornament instead of pulling sharply away from it. Support the finished edge with your fingers to avoid distorting the seam.
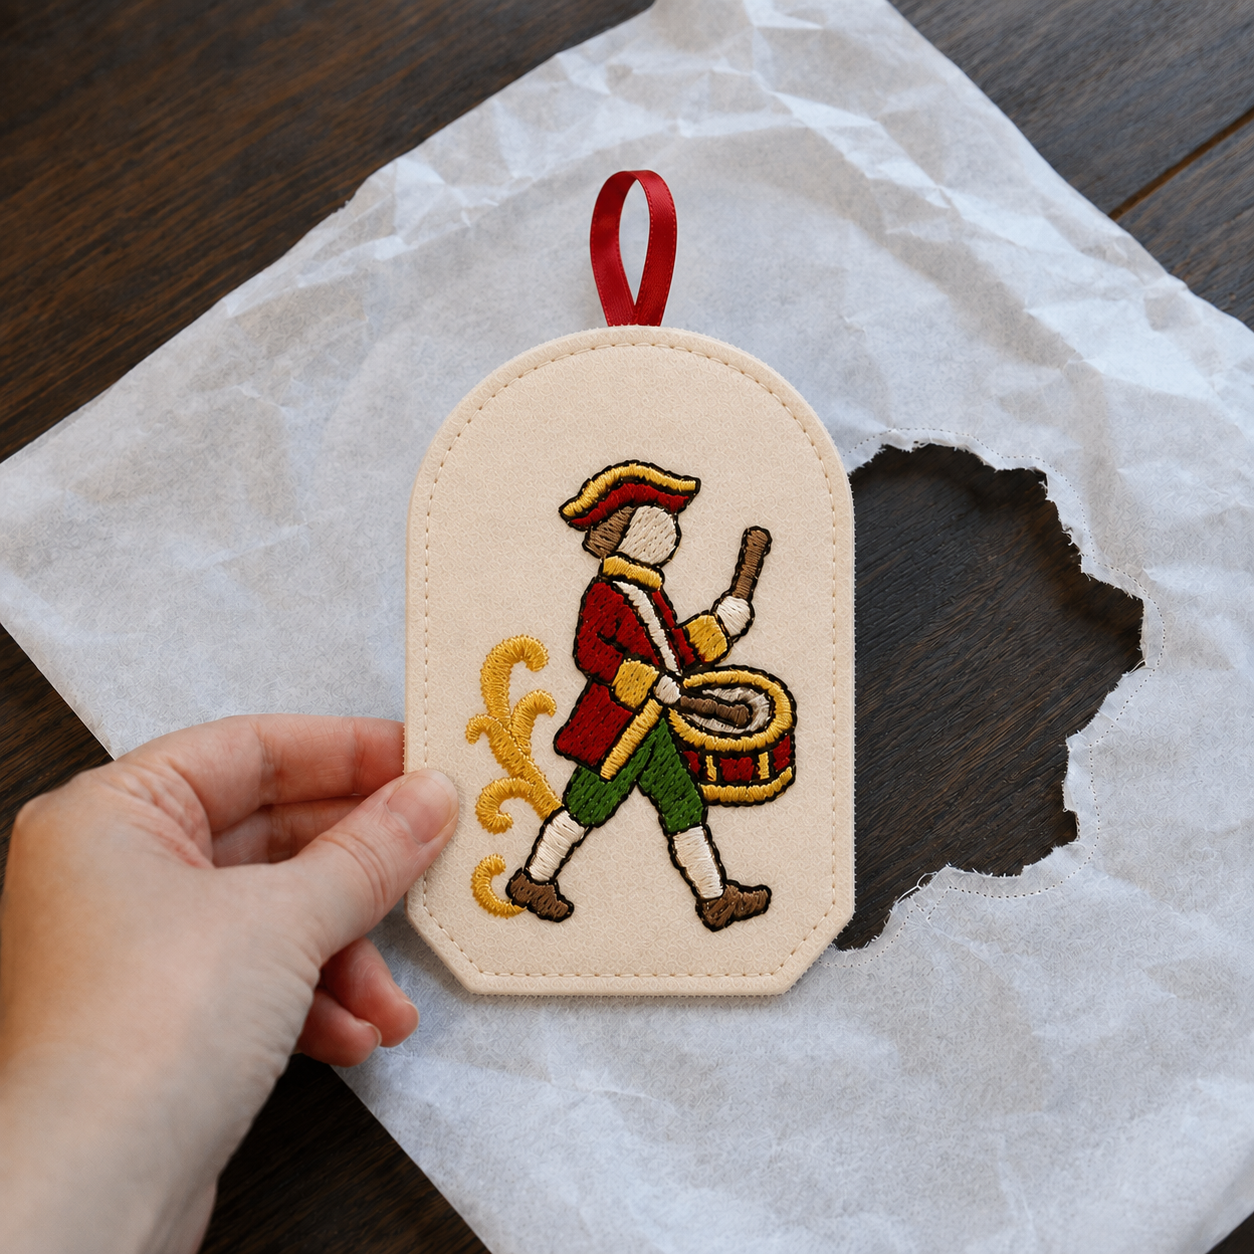
Finished drummer ITH ornament being removed from tear-away stabilizer
Remove any remaining stabilizer fibres and trim loose threads with small sharp scissors. Do not cut the final outline or trim too closely around the ribbon attachment.
Finishing the Christmas ornament
The ornament is now complete. No turning, stuffing or hand-sewing is required. The exposed fabric edge is an intentional part of the raw-edge finish.
For an additional decorative detail, attach a small satin or grosgrain bow at the base of the hanging loop. The bow can be secured with a few hand stitches or a small amount of suitable textile adhesive.
Use the integrated ribbon loop to hang the finished ornament on a Christmas tree. It can also be added to a Christmas wreath, garland or holiday gift, but the embroidered drummer is especially charming as part of a coordinated 12 Days of Christmas tree-ornament collection.

Author: Ludmila Konovalova
My name is Ludmila Konovalova, and I lead Royal Present Embroidery. Embroidery for me is more than a profession; it is a legacy of my Ukrainian and Bulgarian heritage, where every woman in my family was a virtuoso in cross-stitch and smooth stitching. This art, passed down through generations, is part of my soul and a symbol of national pride.
Date: 28.08.2026

 Get Sign-In Link
 Login with Google
 Login with Facebook
 Login with Amazon
 Login with Paypal