Small Pumpkin Faces Machine Embroidery Design Bundle – 4 Sizes Each
By knowing the speed of your embroidery machine, you can find out how long it will take to embroider a design.
To use the embroidery calculator, click on the number of stitches in the product description.
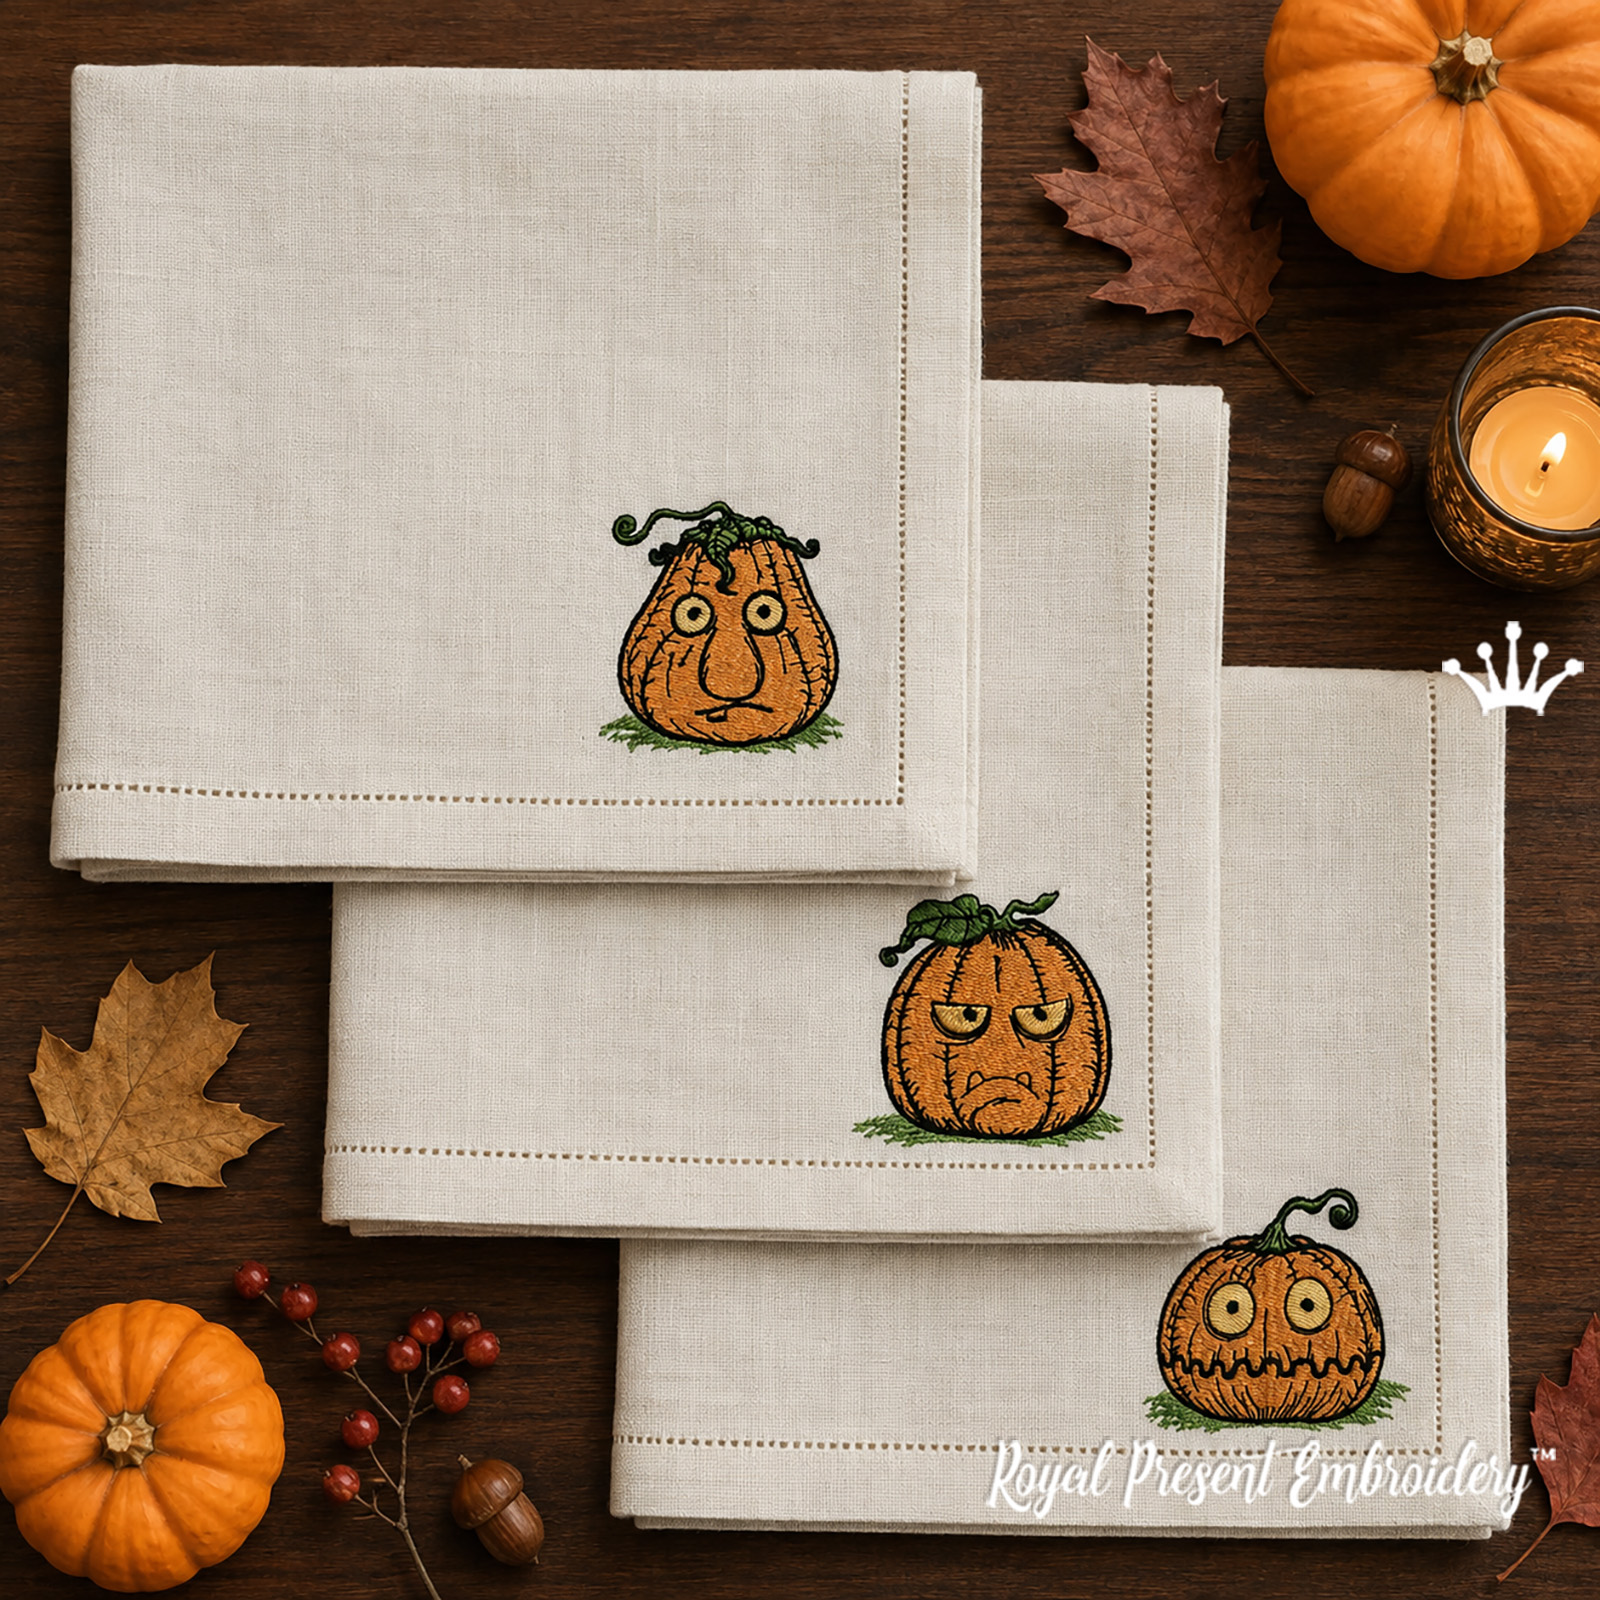
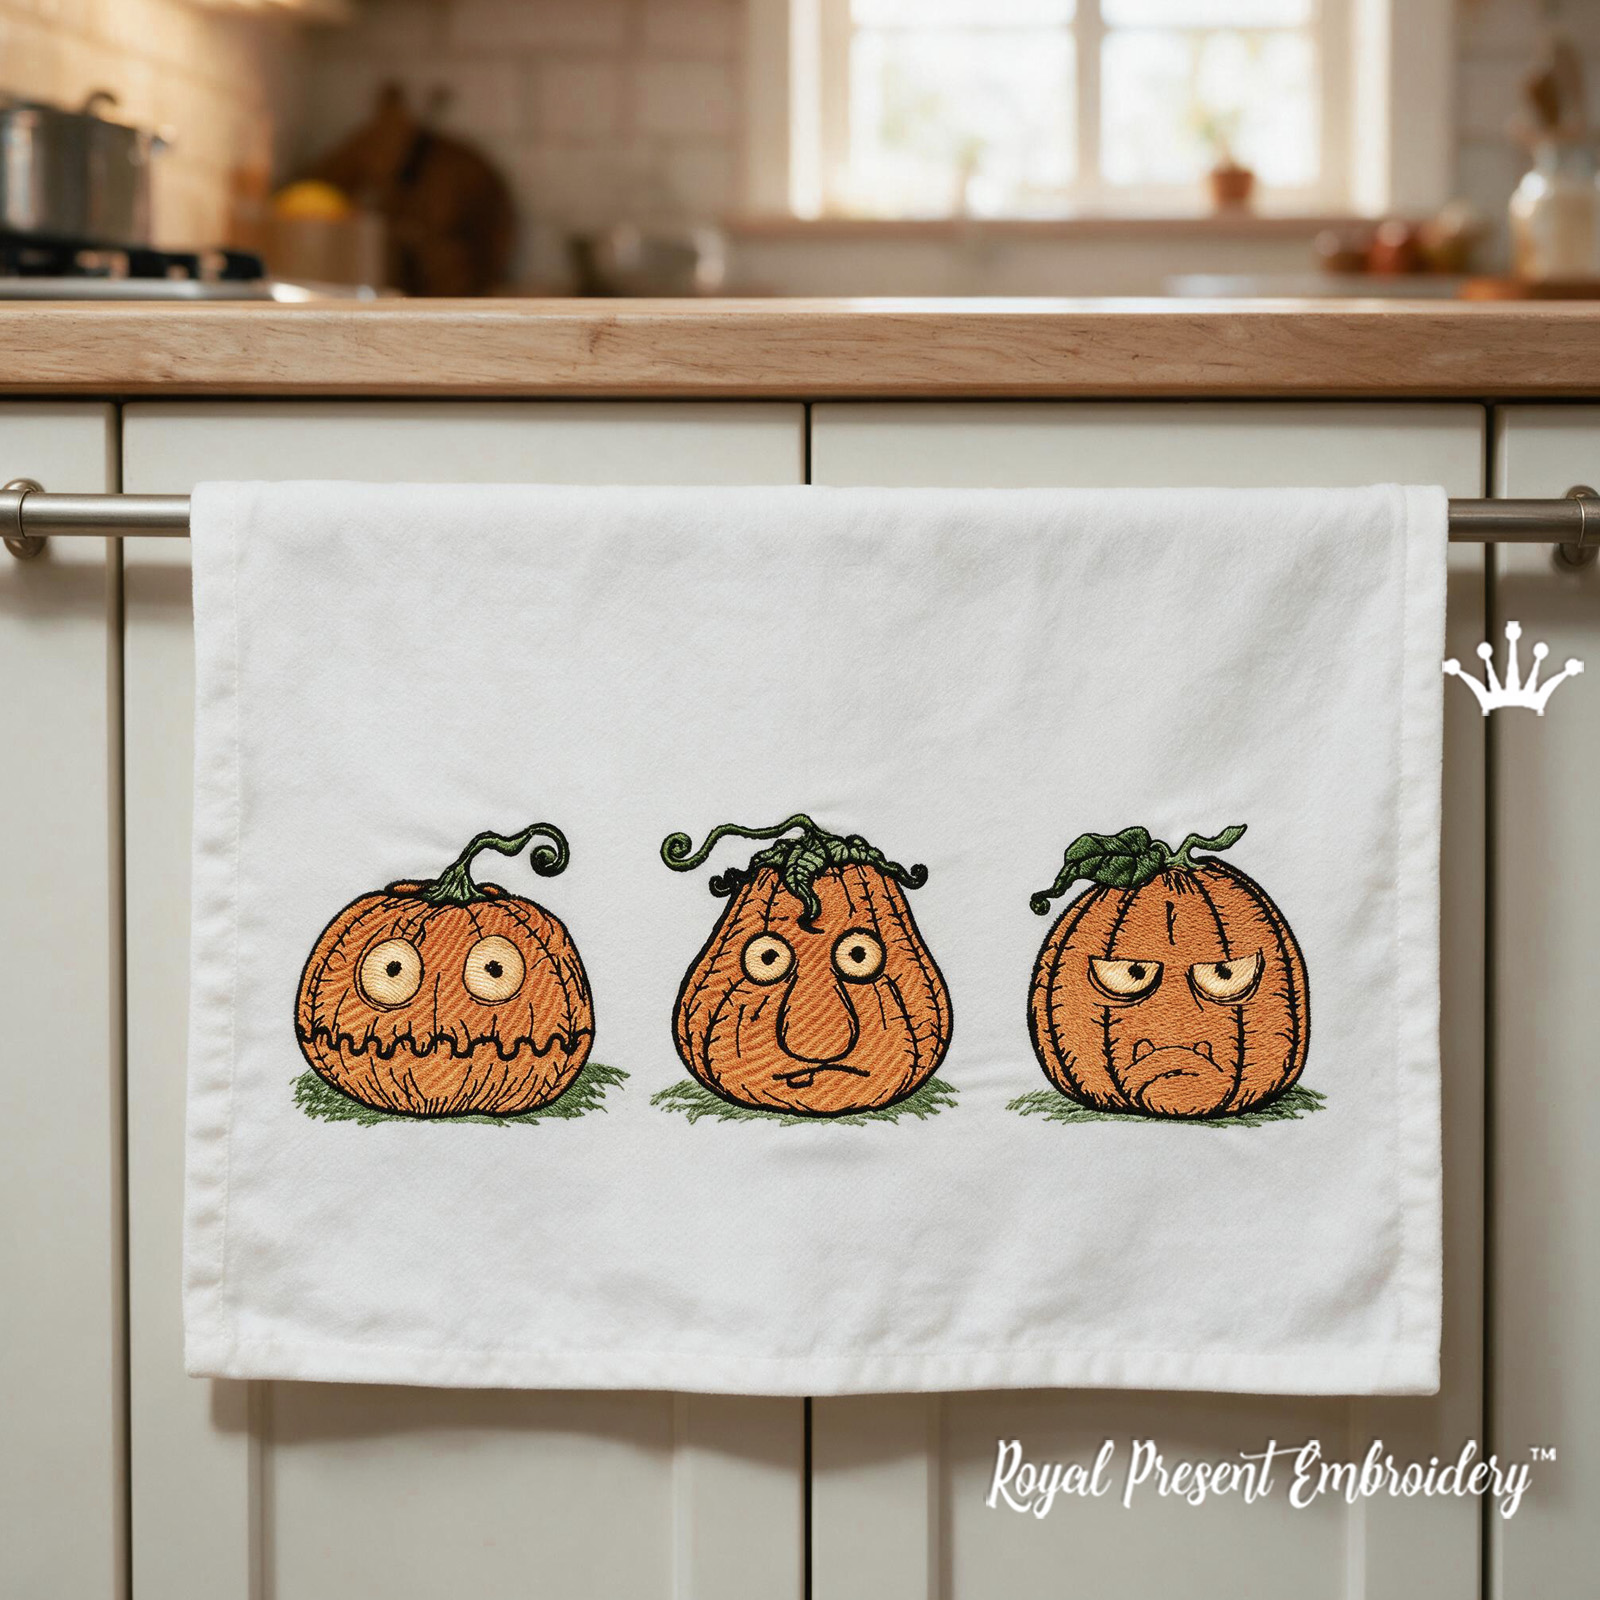
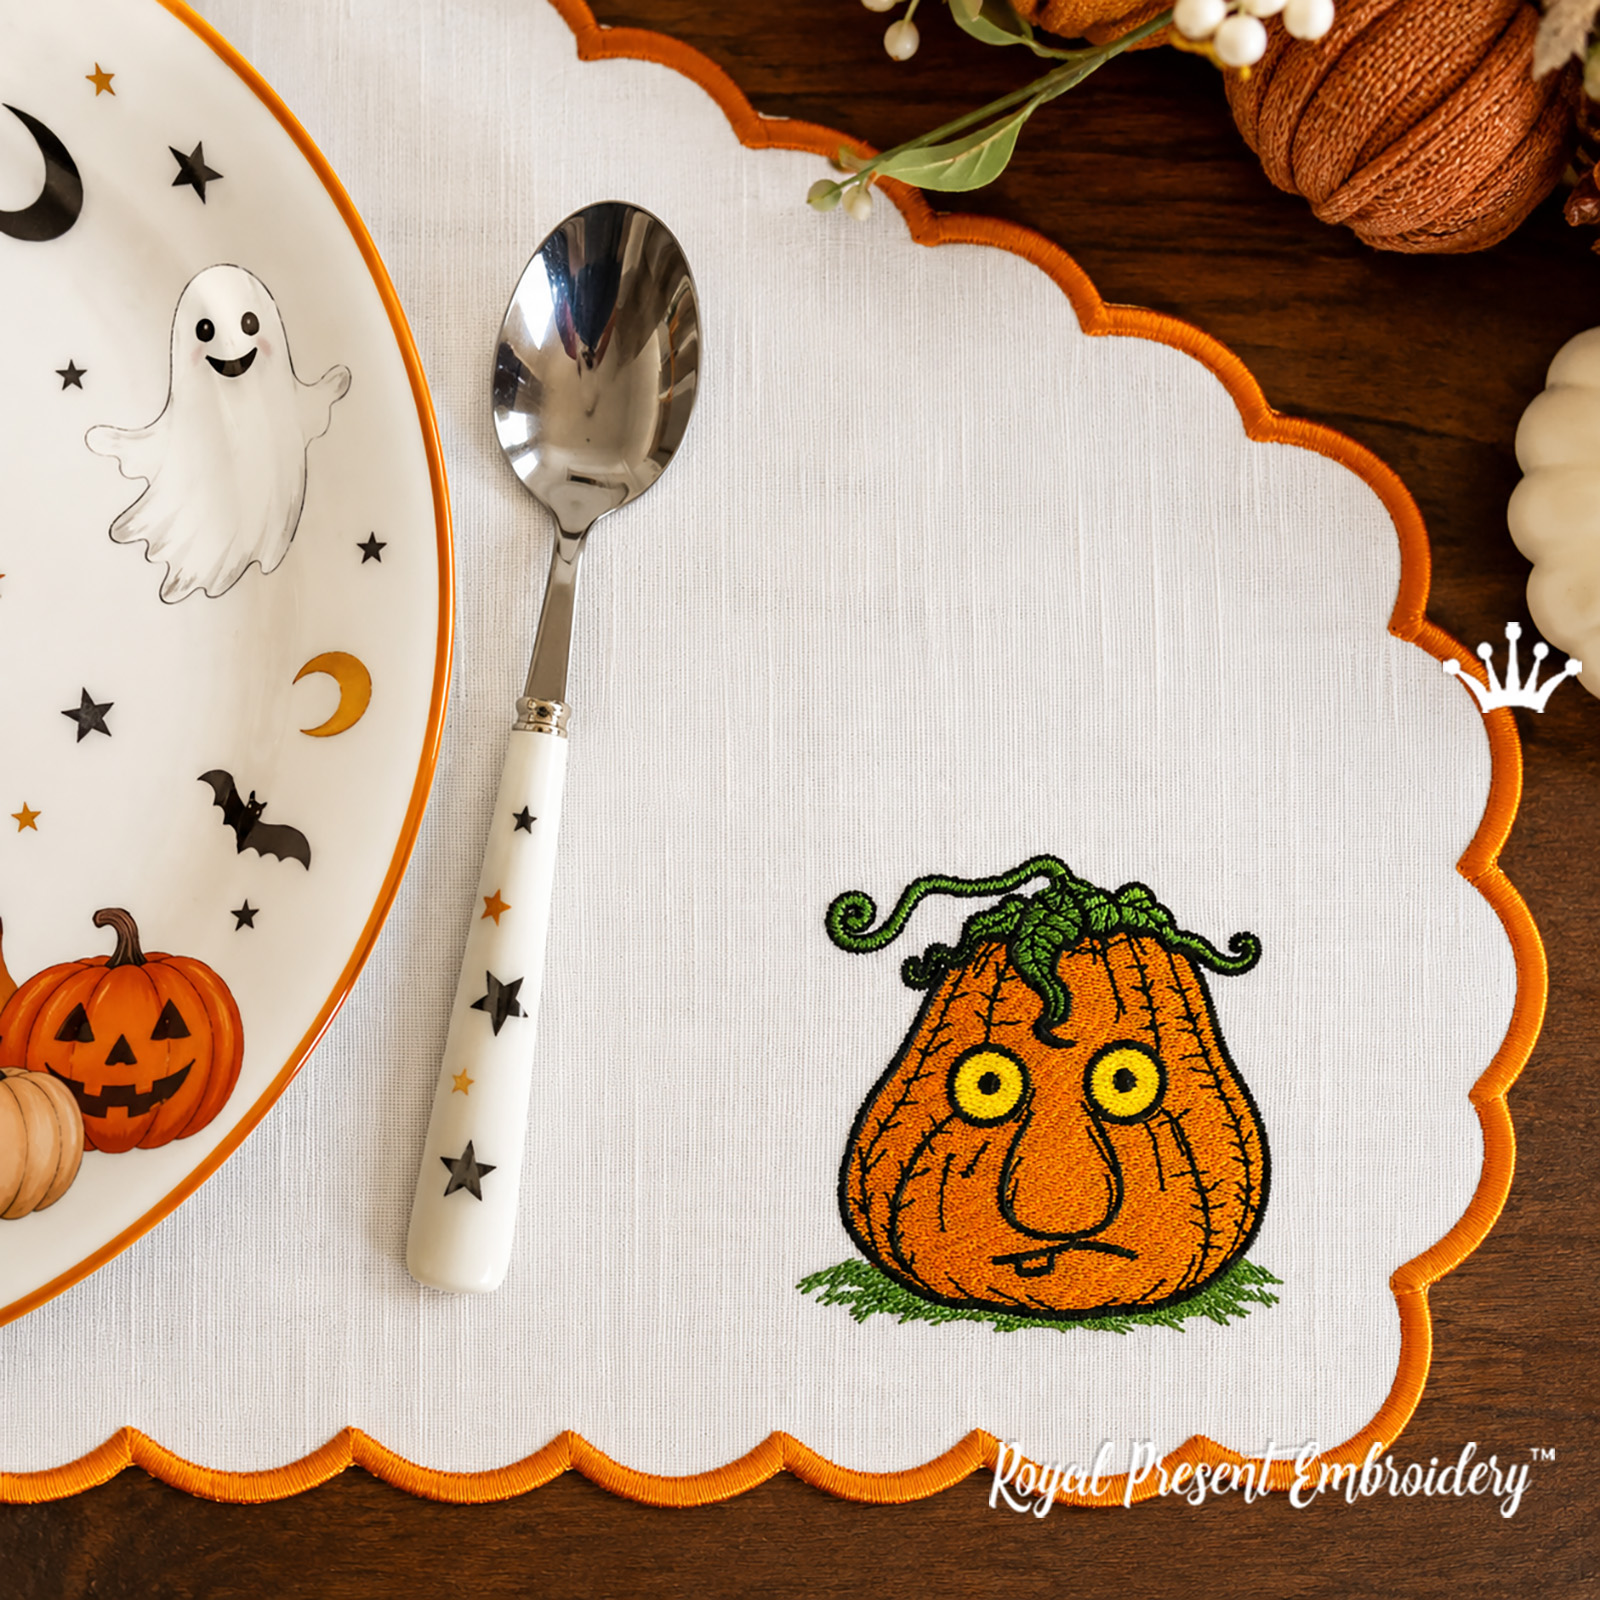
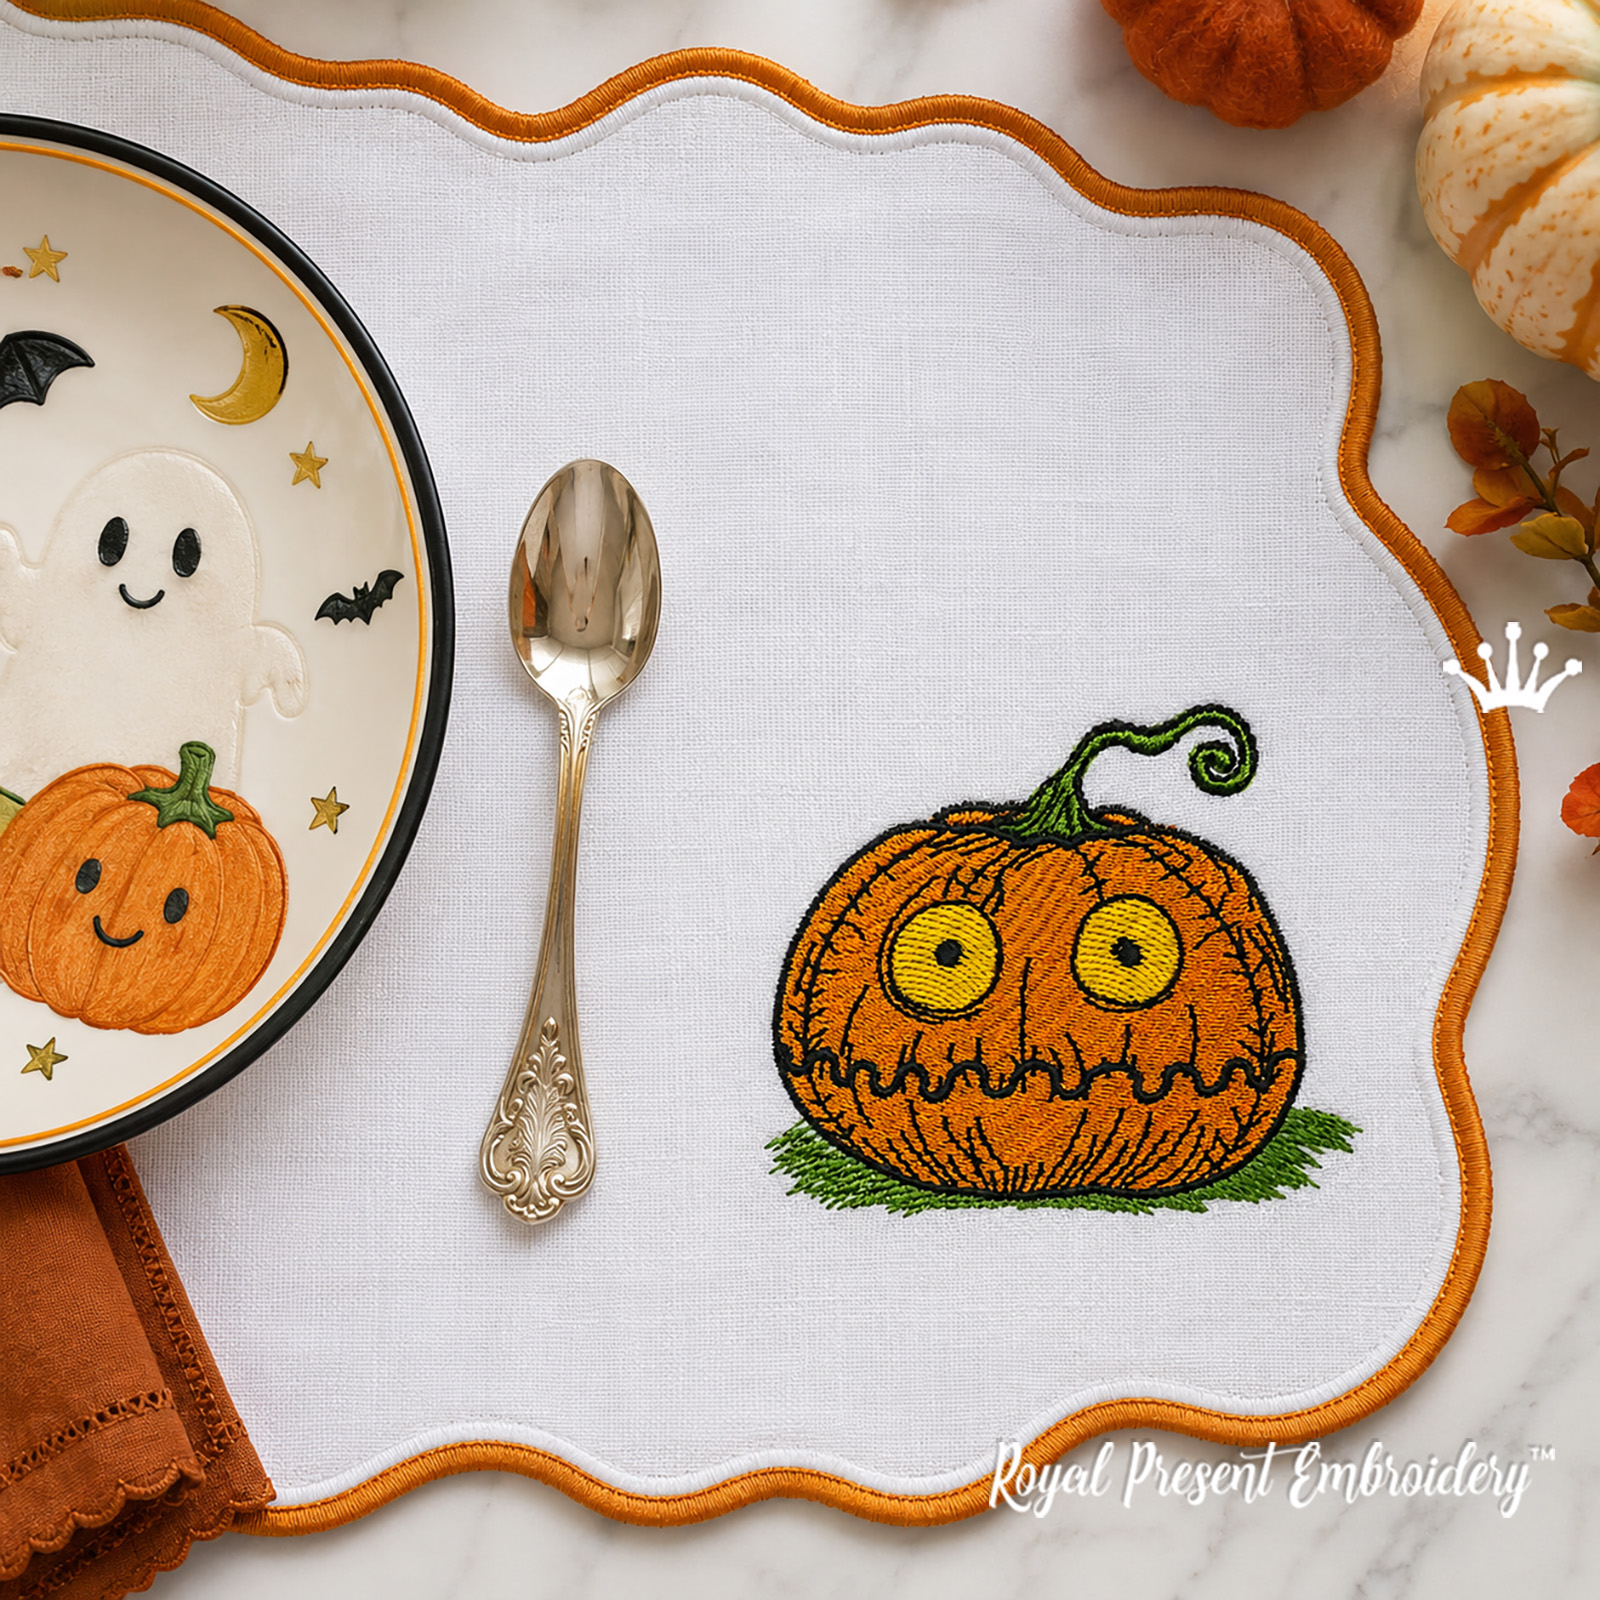
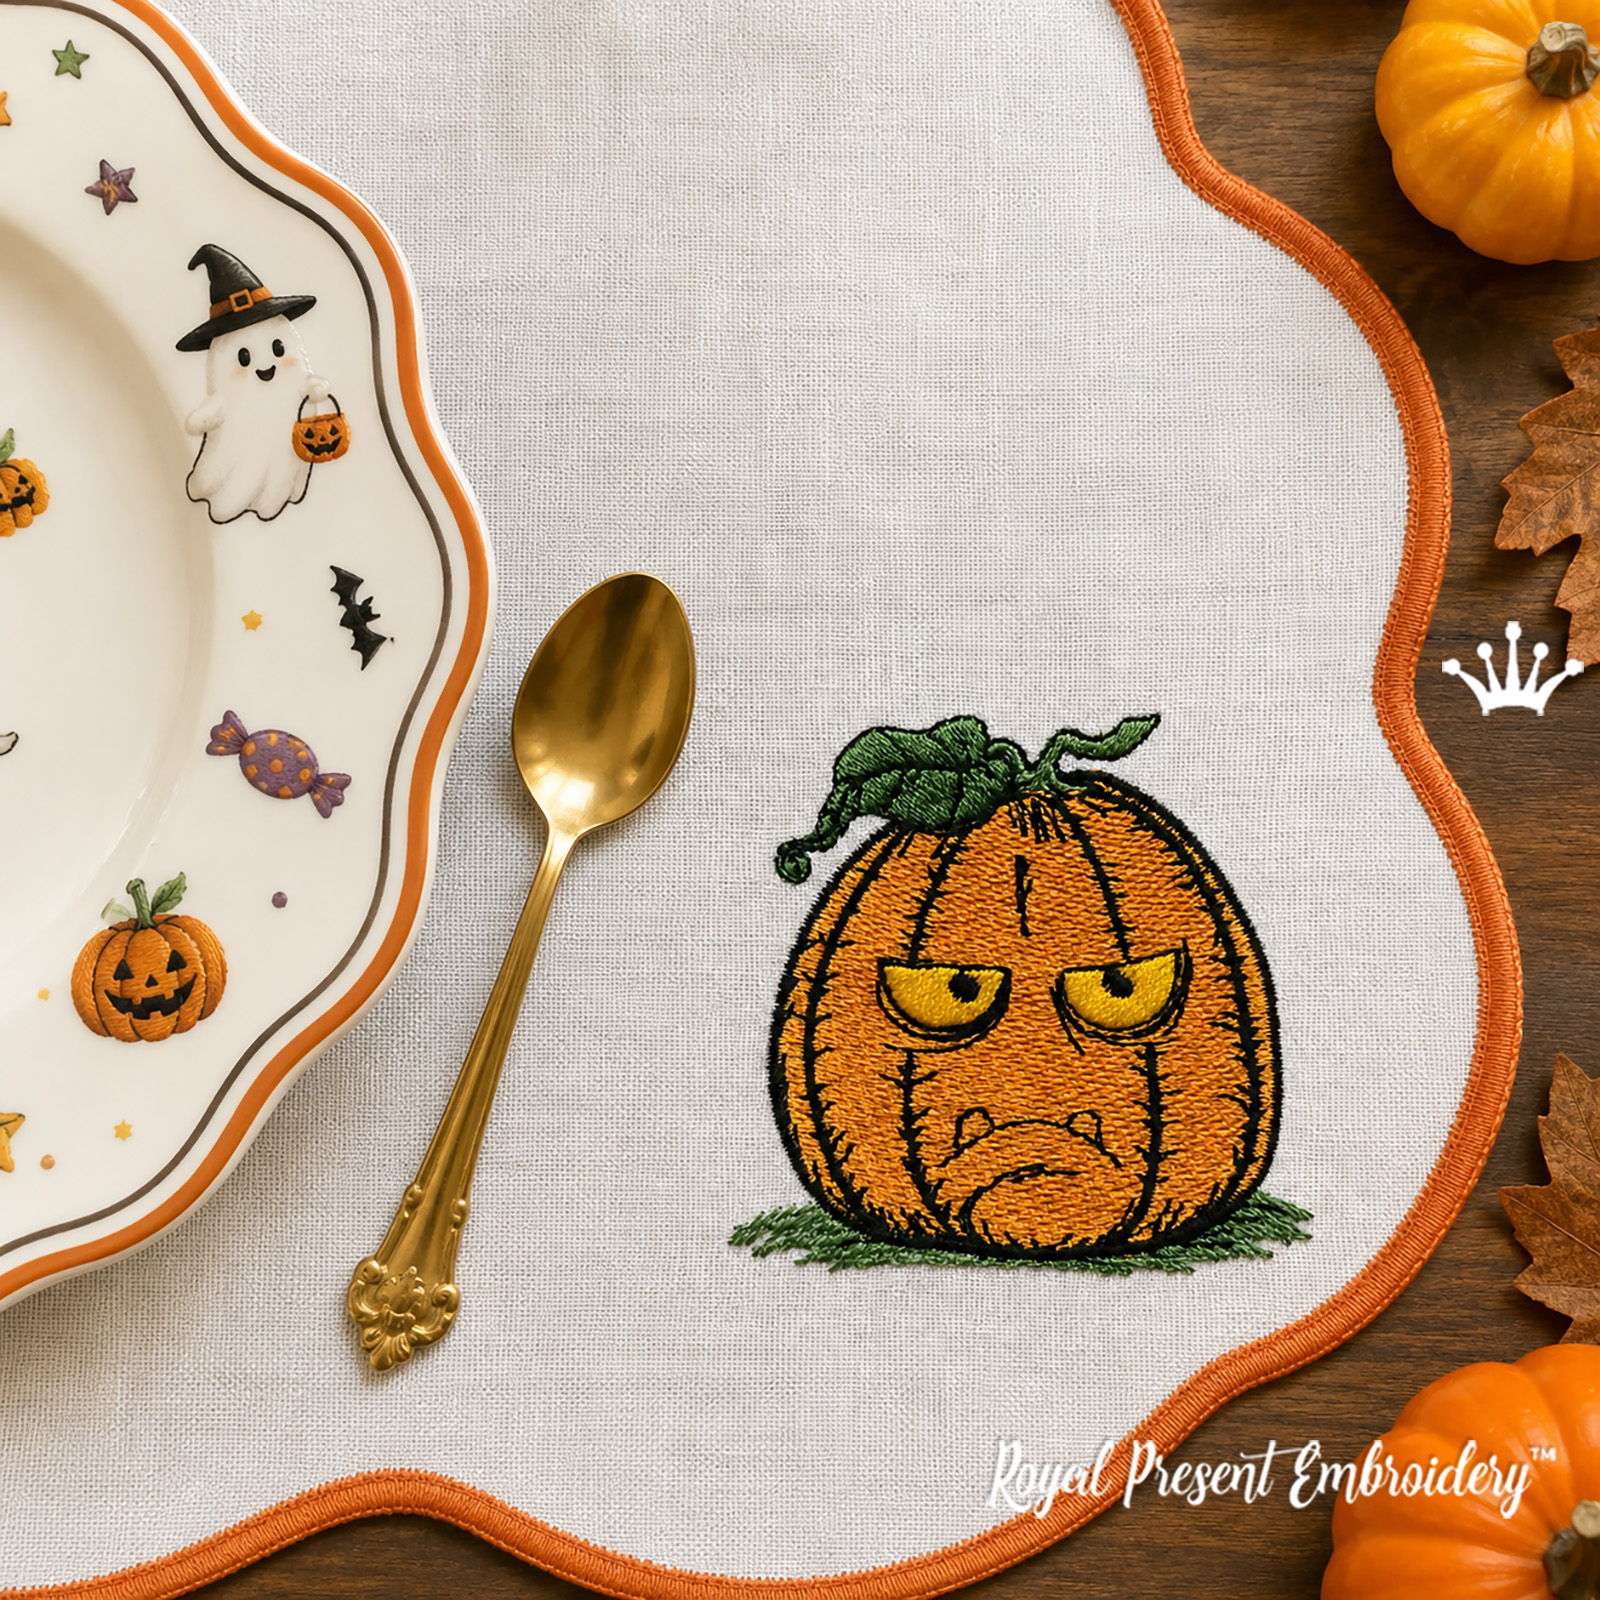
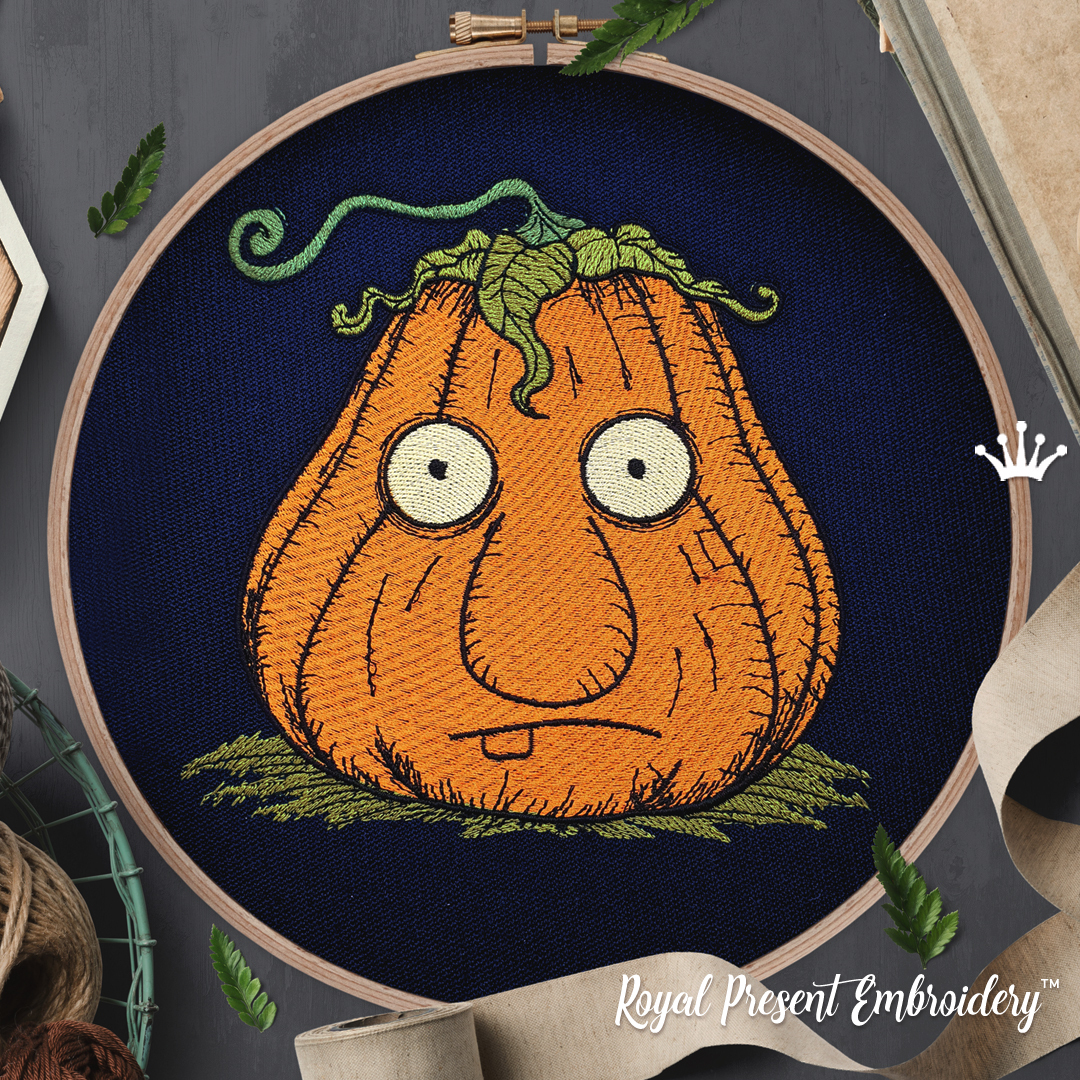
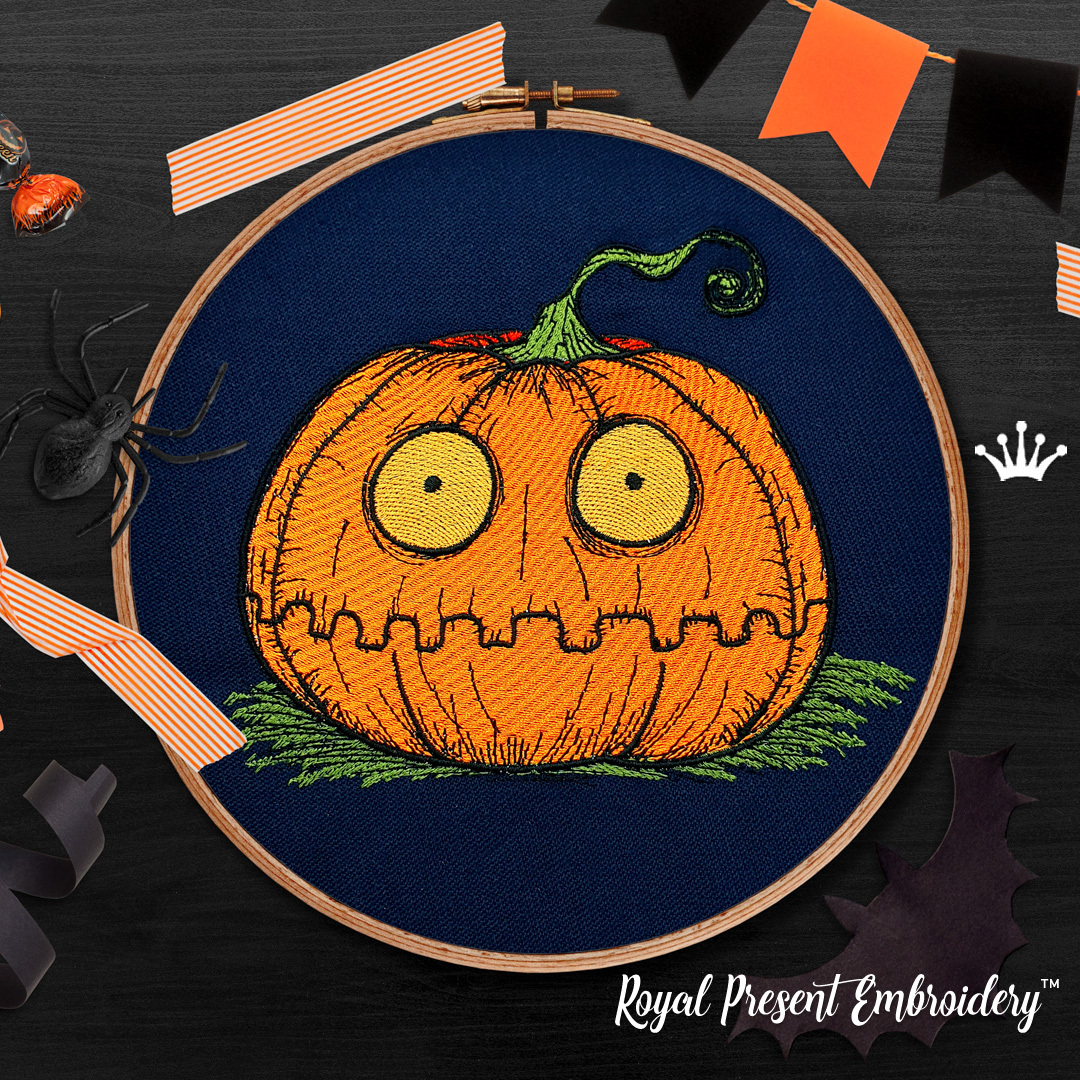
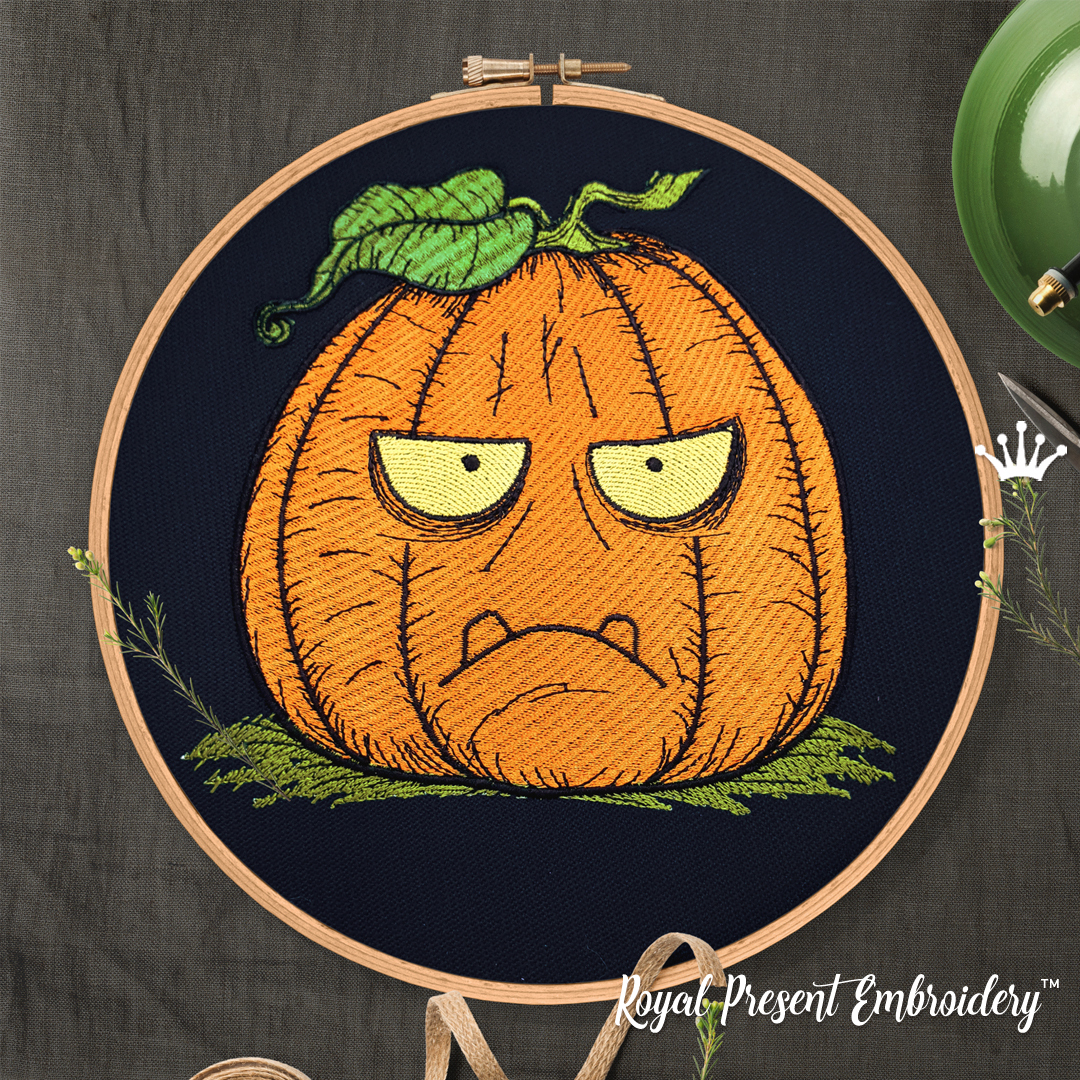
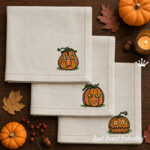
The Small Pumpkin Faces Machine Embroidery Design Bundle contains three digital embroidery designs: a surprised pumpkin, a scared pumpkin and a sad pumpkin with large eyes, expressive faces and sketch-style texture. Each character is supplied in four sizes, giving you 12 size versions for small embroidery hoops. This is a downloadable file set for an embroidery machine; no finished item will be shipped.
What is included
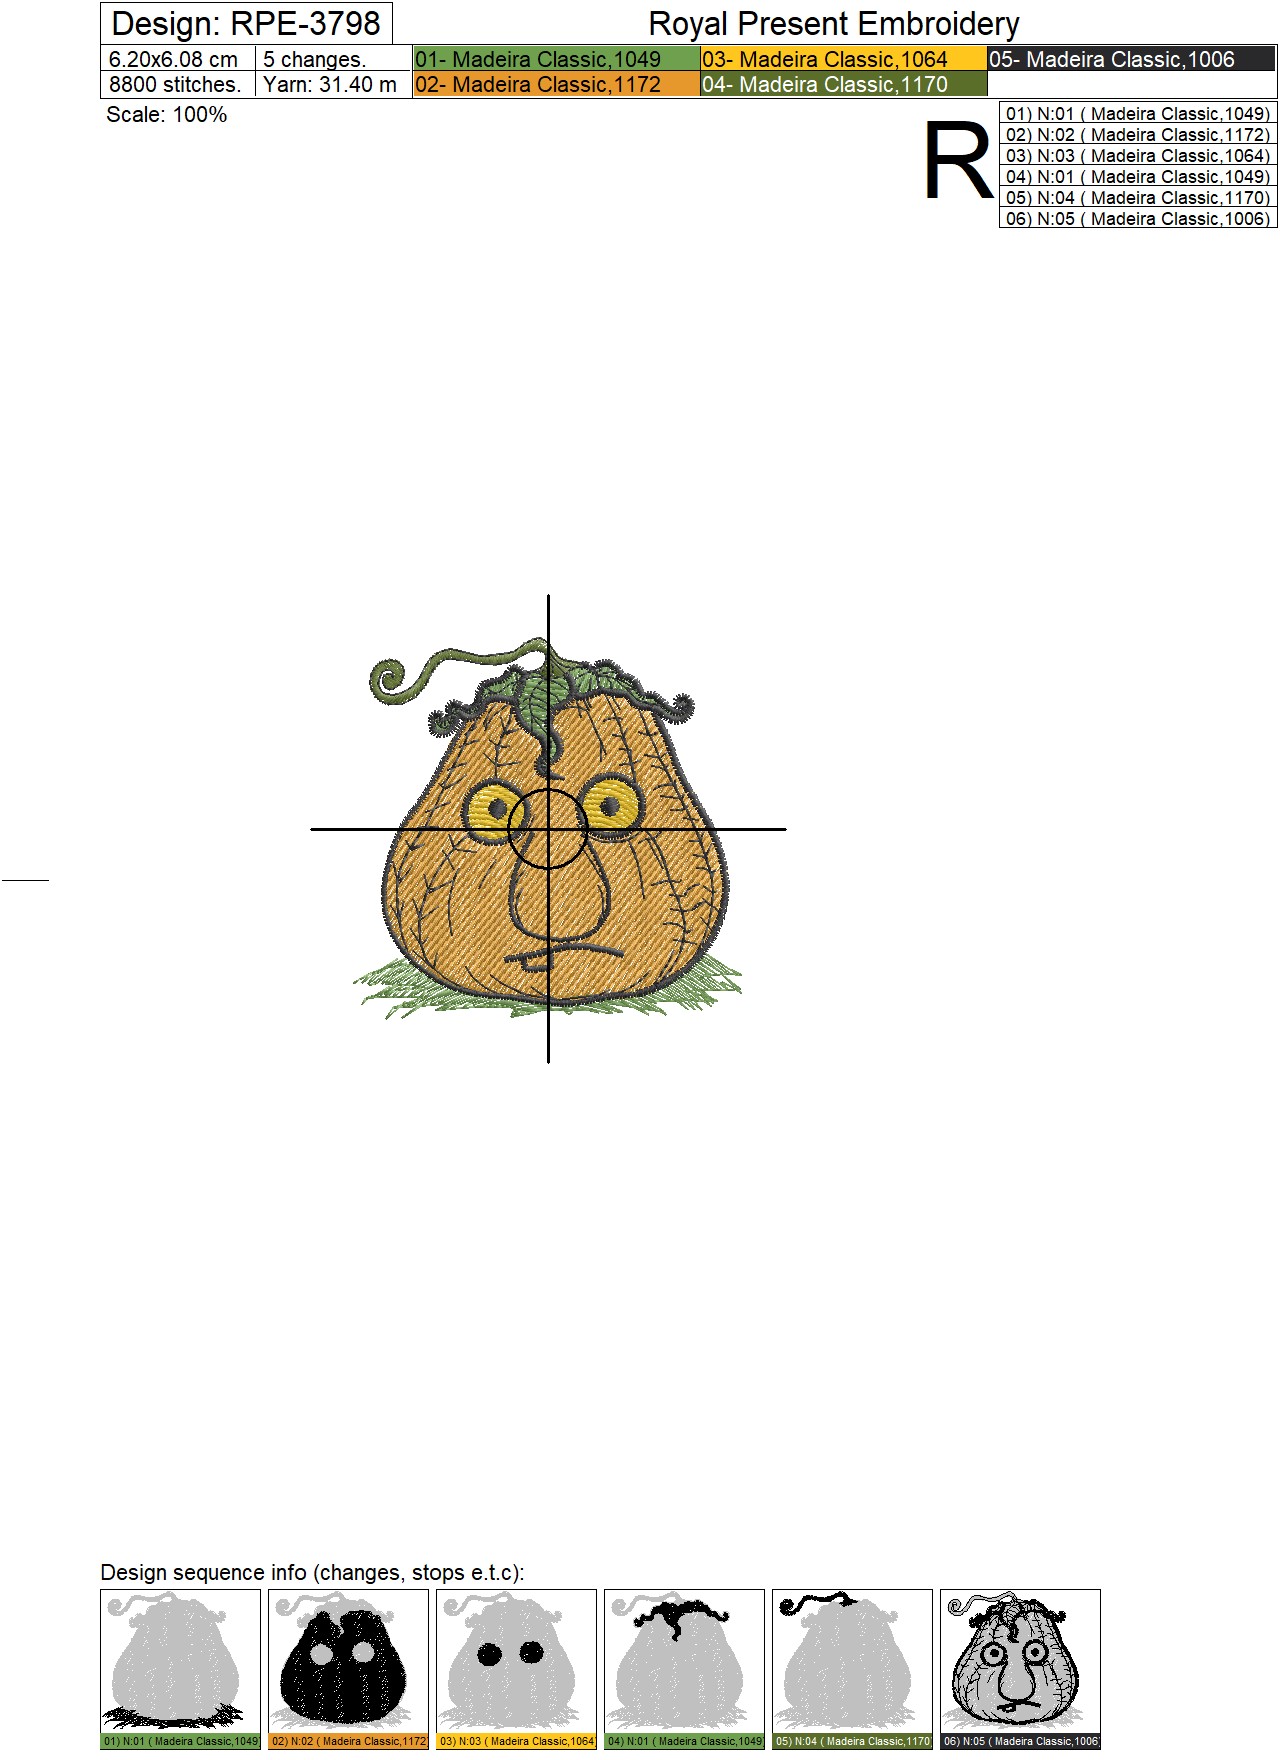
Small Surprised Pumpkin
Size: 62.0x60.8 mm (2.44x2.39"). Stitches: 8800
Size: 68.2x66.4 mm (2.69x2.61"). Stitches: 9700
Size: 75.2x73.5 mm (2.96x2.89"). Stitches: 11100
Size: 83.0x80.5 mm (3.27x3.17"). Stitches: 12500
Small Scared Pumpkin
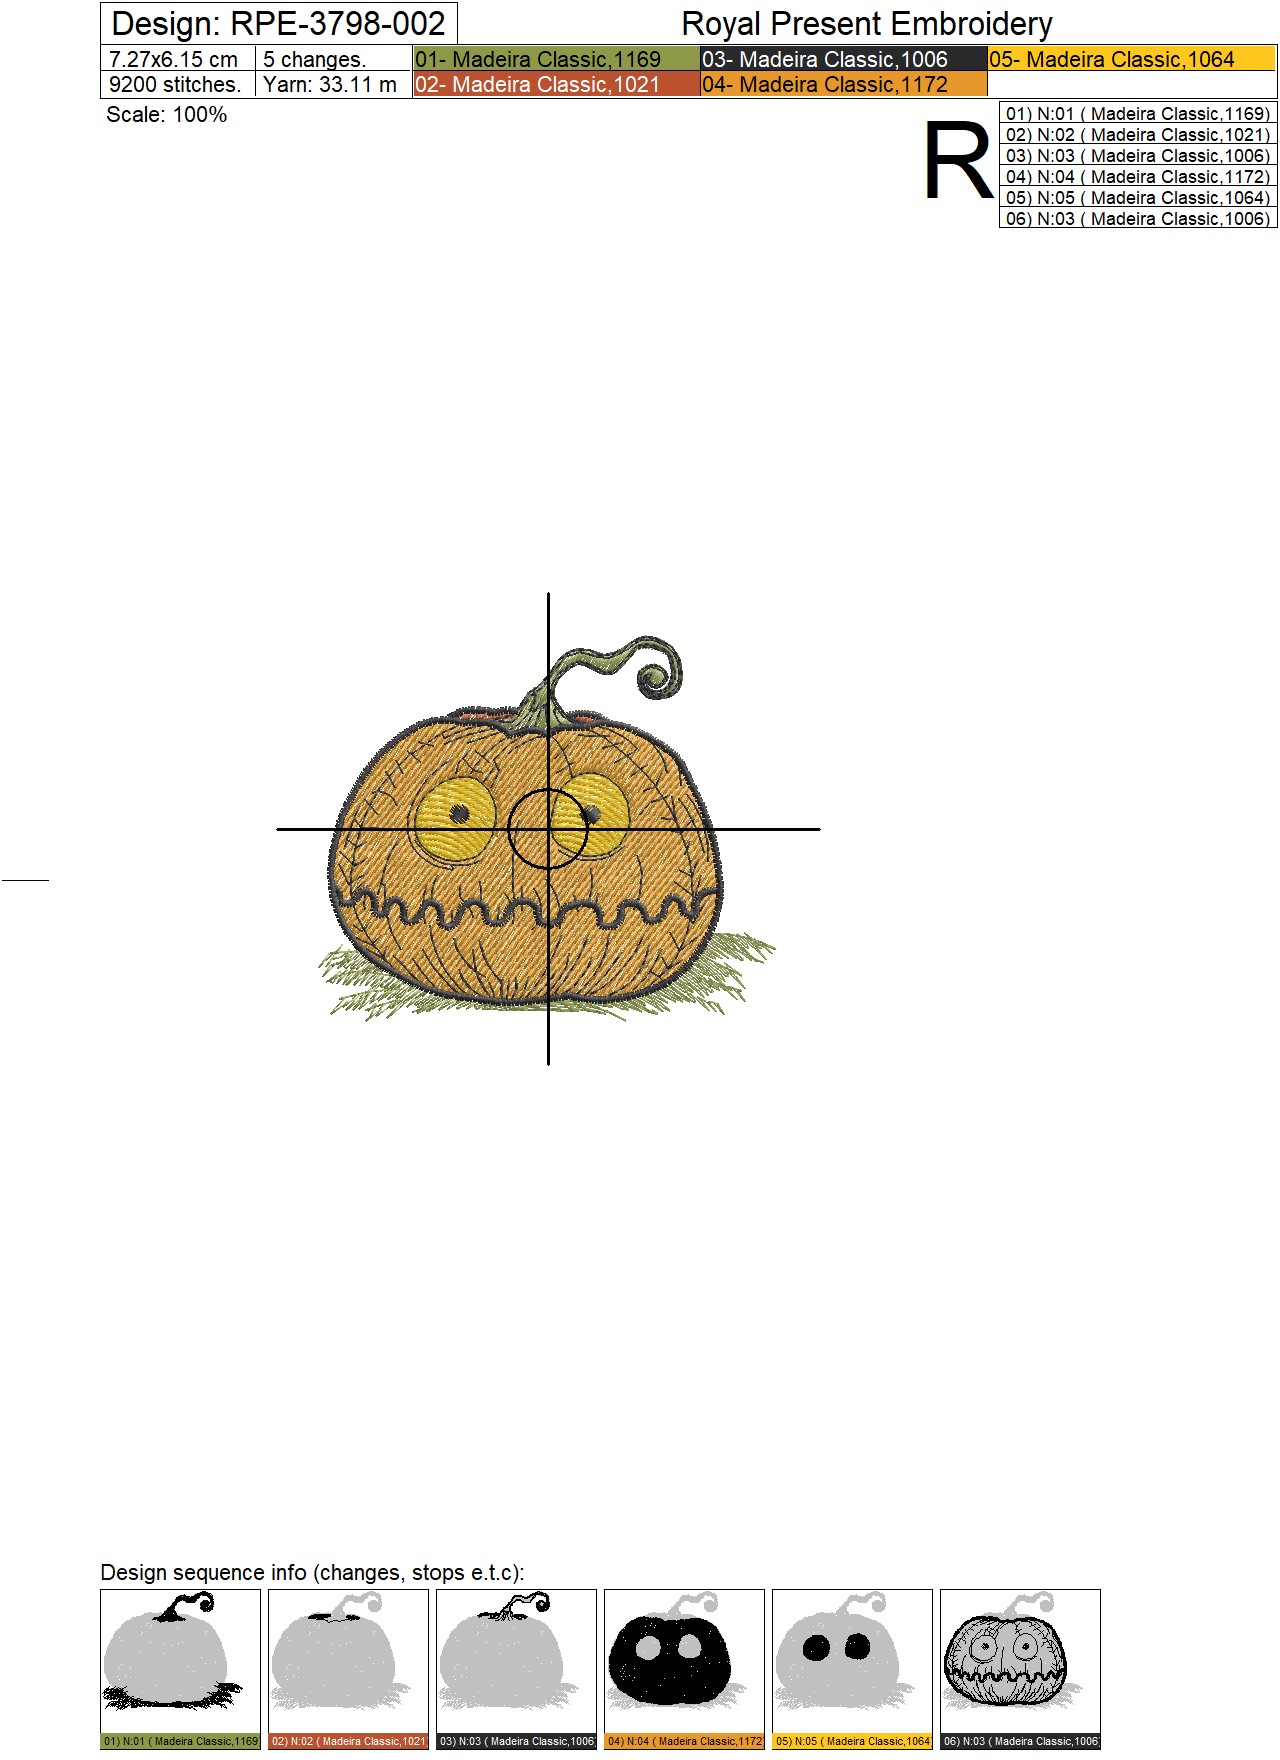
Size: 72.7x61.5 mm (2.86x2.42"). Stitches: 9200
Size: 80.1x67.8 mm (3.15x2.67"). Stitches: 10400
Size: 88.1x74.4 mm (3.47x2.93"). Stitches: 11500
Size: 96.1x81.7 mm (3.78x3.22"). Stitches: 12800
Small Sad Pumpkin
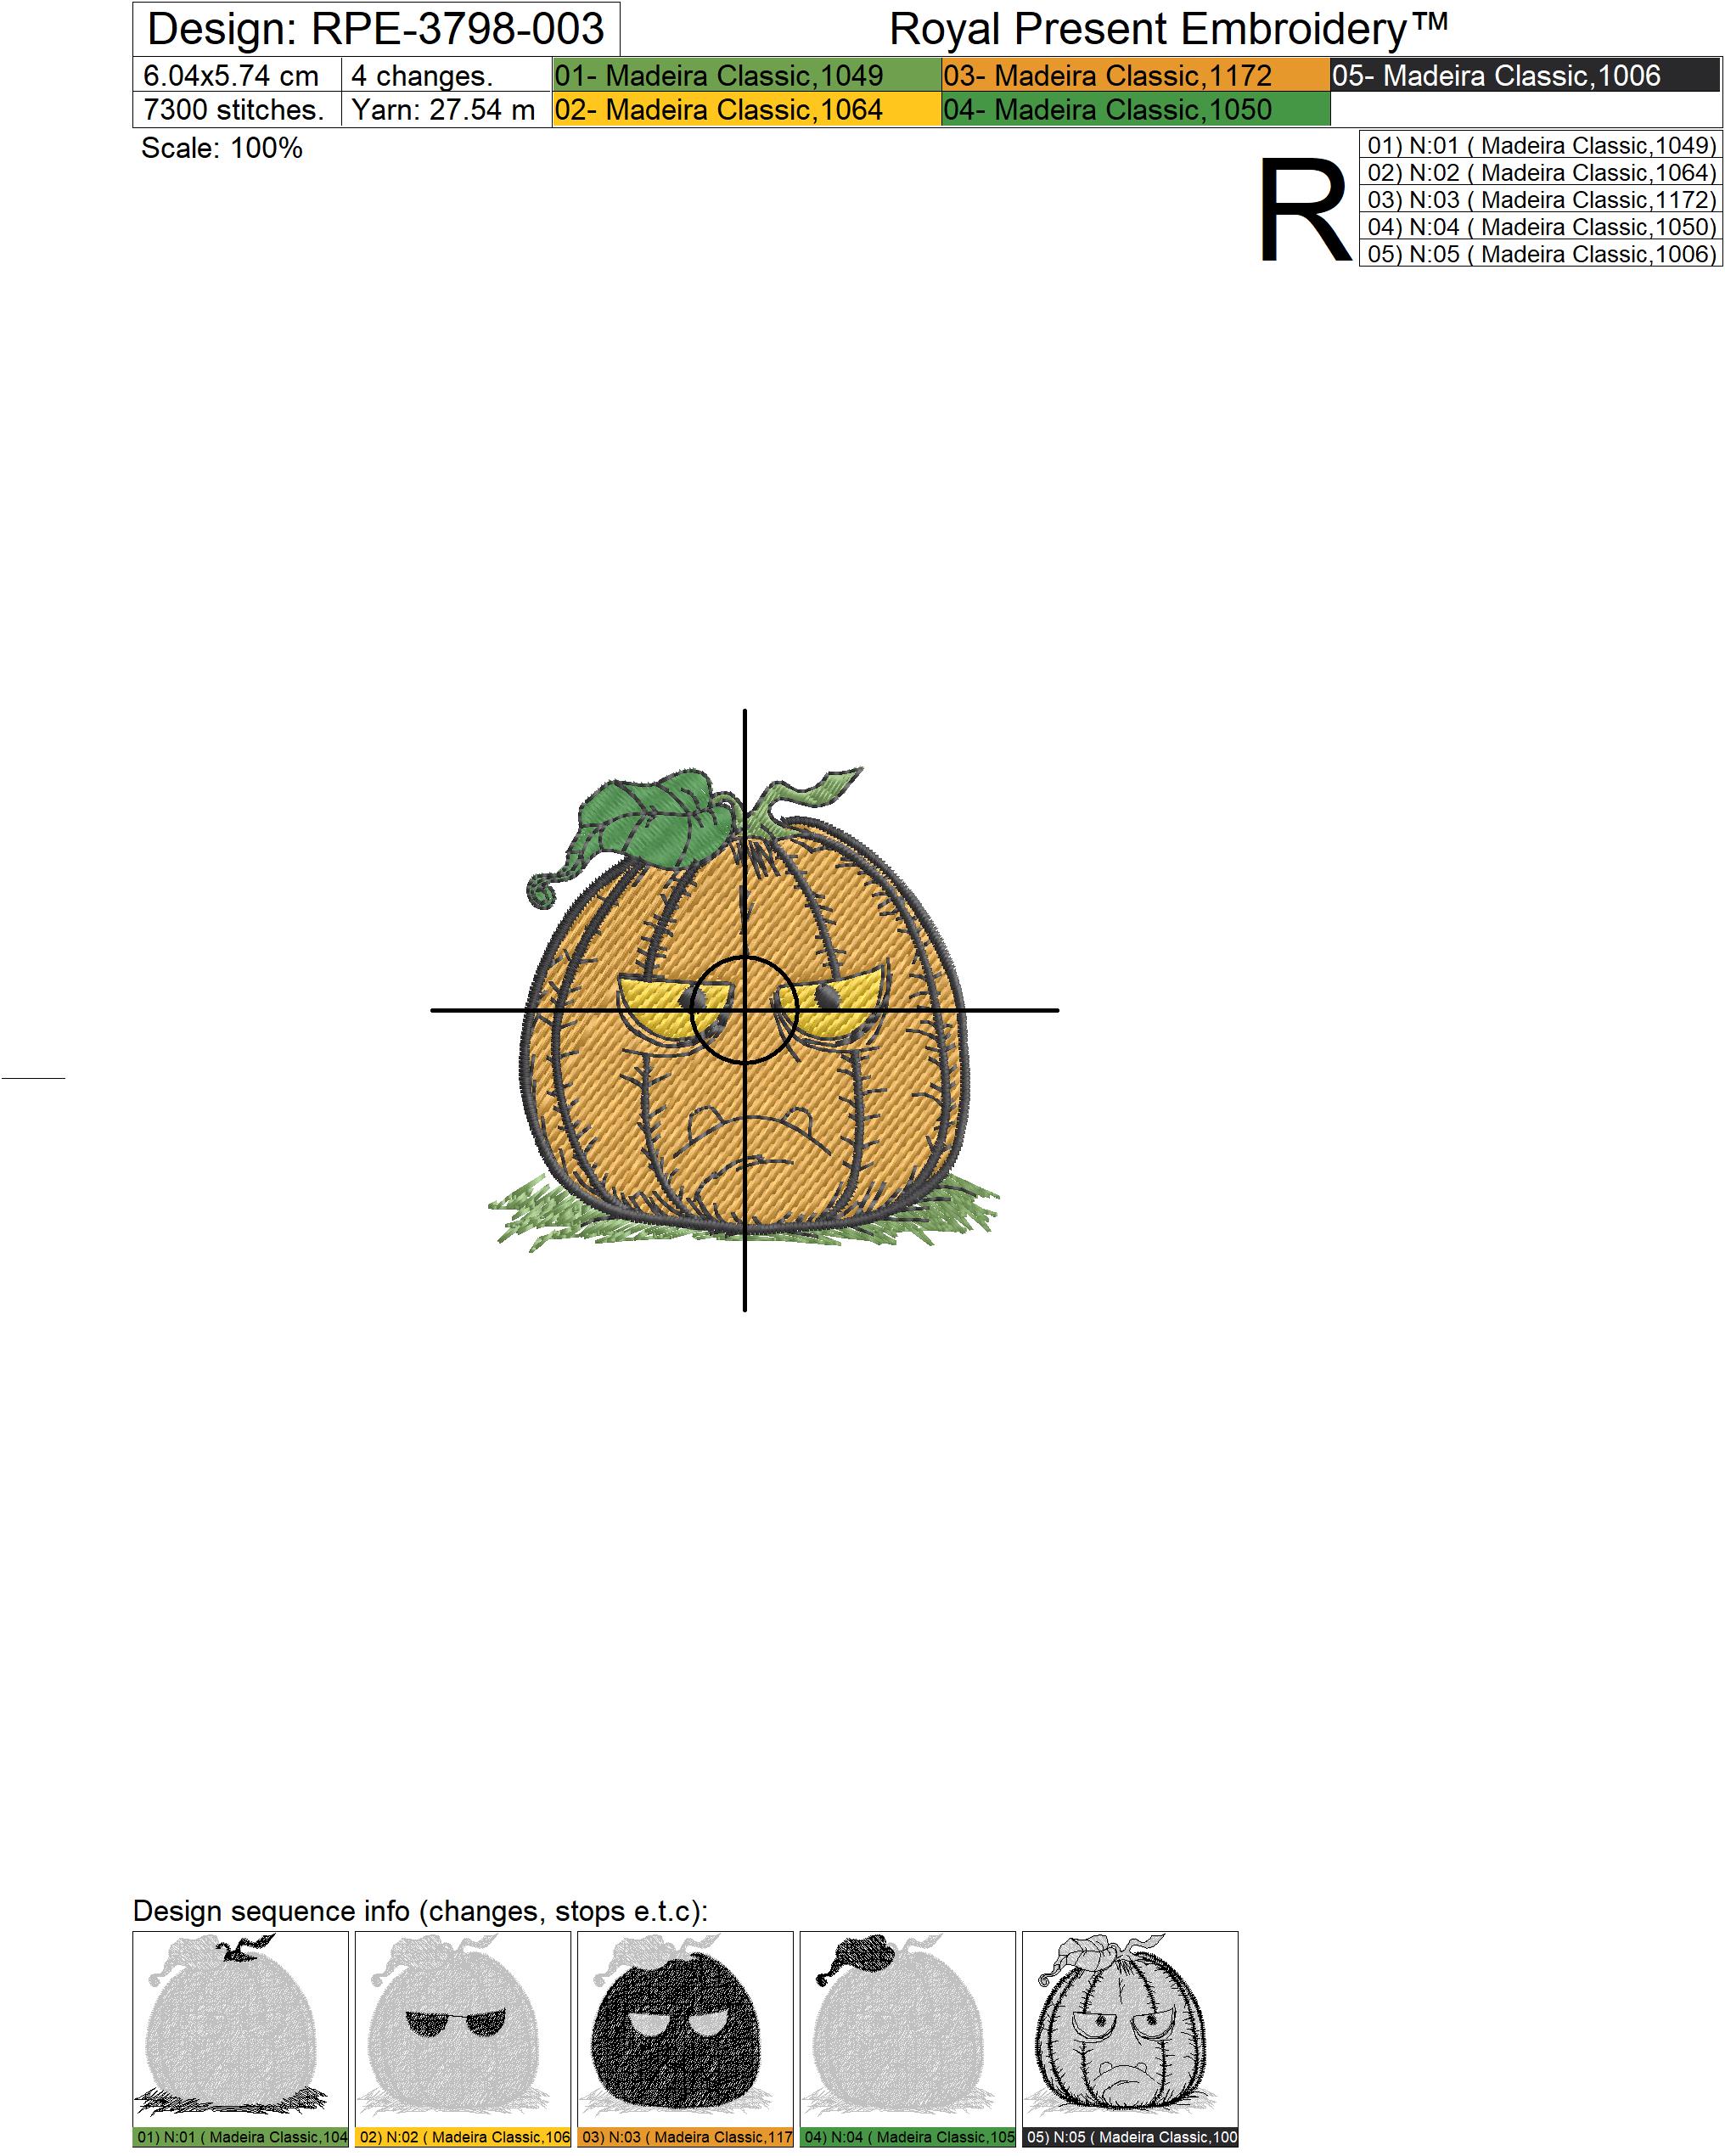
Size: 60.4x57.4 mm (2.38x2.26"). Stitches: 7300
Size: 66.4x62.8 mm (2.61x2.47"). Stitches: 8200
Size: 74.8x68.8 mm (2.94x2.71"). Stitches: 9400
Size: 81.4x76.4 mm (3.20x3.01"). Stitches: 10500
Formats: .dat, .dst, .exp, .hus, .jef, .jef+, .jpx, .pec, .pes, .sew, .vip, .vp3, .vp4, .xxx
Hoop sizes
Minimum hoop size: 80x80 mm (3.15x3.15").
The 80x80 mm (3.15x3.15") hoop accommodates the first three Surprised Pumpkin sizes, the first Scared Pumpkin size and the first three Sad Pumpkin sizes. Use a 100x100 mm (4x4") hoop for the remaining versions. The dimensions are listed in the actual file orientation, so no rotation is required when checking hoop compatibility.
Madeira threads for the complete bundle
You need eight Madeira Classic 40 colors to embroider all three pumpkins. Repeated numbers from the individual color charts have been combined and appear only once below. Screen swatches are approximate; choose thread by the Madeira number and a physical manufacturer color chart.
| Color | Madeira Classic 40 | Used for | |
|---|---|---|---|
|
1006 | Outlines, pupils, mouths and sketch lines on all three pumpkins | |
|
1021 | Warm shaded fill on the Scared Pumpkin | |
|
1049 | Grass and green details on the Surprised and Sad Pumpkins | |
|
1050 | Leaf and stem on the Sad Pumpkin | |
|
1064 | Yellow eyes on all three pumpkins | |
|
1169 | Stem and grass on the Scared Pumpkin | |
|
1170 | Olive leaves on the Surprised Pumpkin | |
|
1172 | Main orange fill on all three pumpkins |
Do not merge identical colors with automatic color sorting inside the individual files. A repeated color block may be needed after another section to preserve the intended overlaps and clean outlines.
Stabilizer guide
For quilting cotton, linen, twill and other stable woven fabrics, begin with one layer of medium-weight tear-away stabilizer around 50–70 g/m² (1.5–2.0 oz/yd²). Reliable choices include OESD Ultra Clean and Tear, Madeira Cotton Soft, Gunold Tear Away and Sulky Tear-Easy. Hoop the fabric and stabilizer together without stretching the grain.
For lightweight cotton or loosely woven linen, a fusible or self-adhesive tear-away keeps the fabric supported across the filled area. Madeira Cotton Fix, Gunold Filmoplast and OESD StabilStick TearAway are useful when direct hooping is difficult. One correctly selected layer is preferable to stacking unnecessary backing, which can make a small motif stiff.
For jersey, sweatshirt fleece and other stretchy fabrics, use a soft cut-away stabilizer around 60–80 g/m² (1.8–2.3 oz/yd²), such as OESD Polymesh CutAway, Madeira Weblon Cut Away or Sulky Soft ’n Sheer. On terry cloth and fleece, add a lightweight water-soluble topping such as OESD StitcH2O, Madeira Avalon Film, Gunold Solvy Film or Sulky Solvy. Topping controls the pile but does not replace the backing underneath.
Color and detail tips
Keep strong contrast between the orange fill, yellow eyes and dark outline. The eyes and mouth distinguish the three expressions, so a dark outline that is too close to the pumpkin color will make the faces less readable. For a softer fall palette, replace black with deep brown or plum.
For a glow-at-night effect, replace Madeira 1064 with glow-in-the-dark thread only in the eyes. Test the specialty thread on the same fabric and stabilizer, use the needle recommended by its manufacturer and reduce the embroidery speed.
When making a coordinated series, print the placement templates and mark the center and fabric grain. This keeps all three faces at the same height and maintains consistent spacing across separate items.
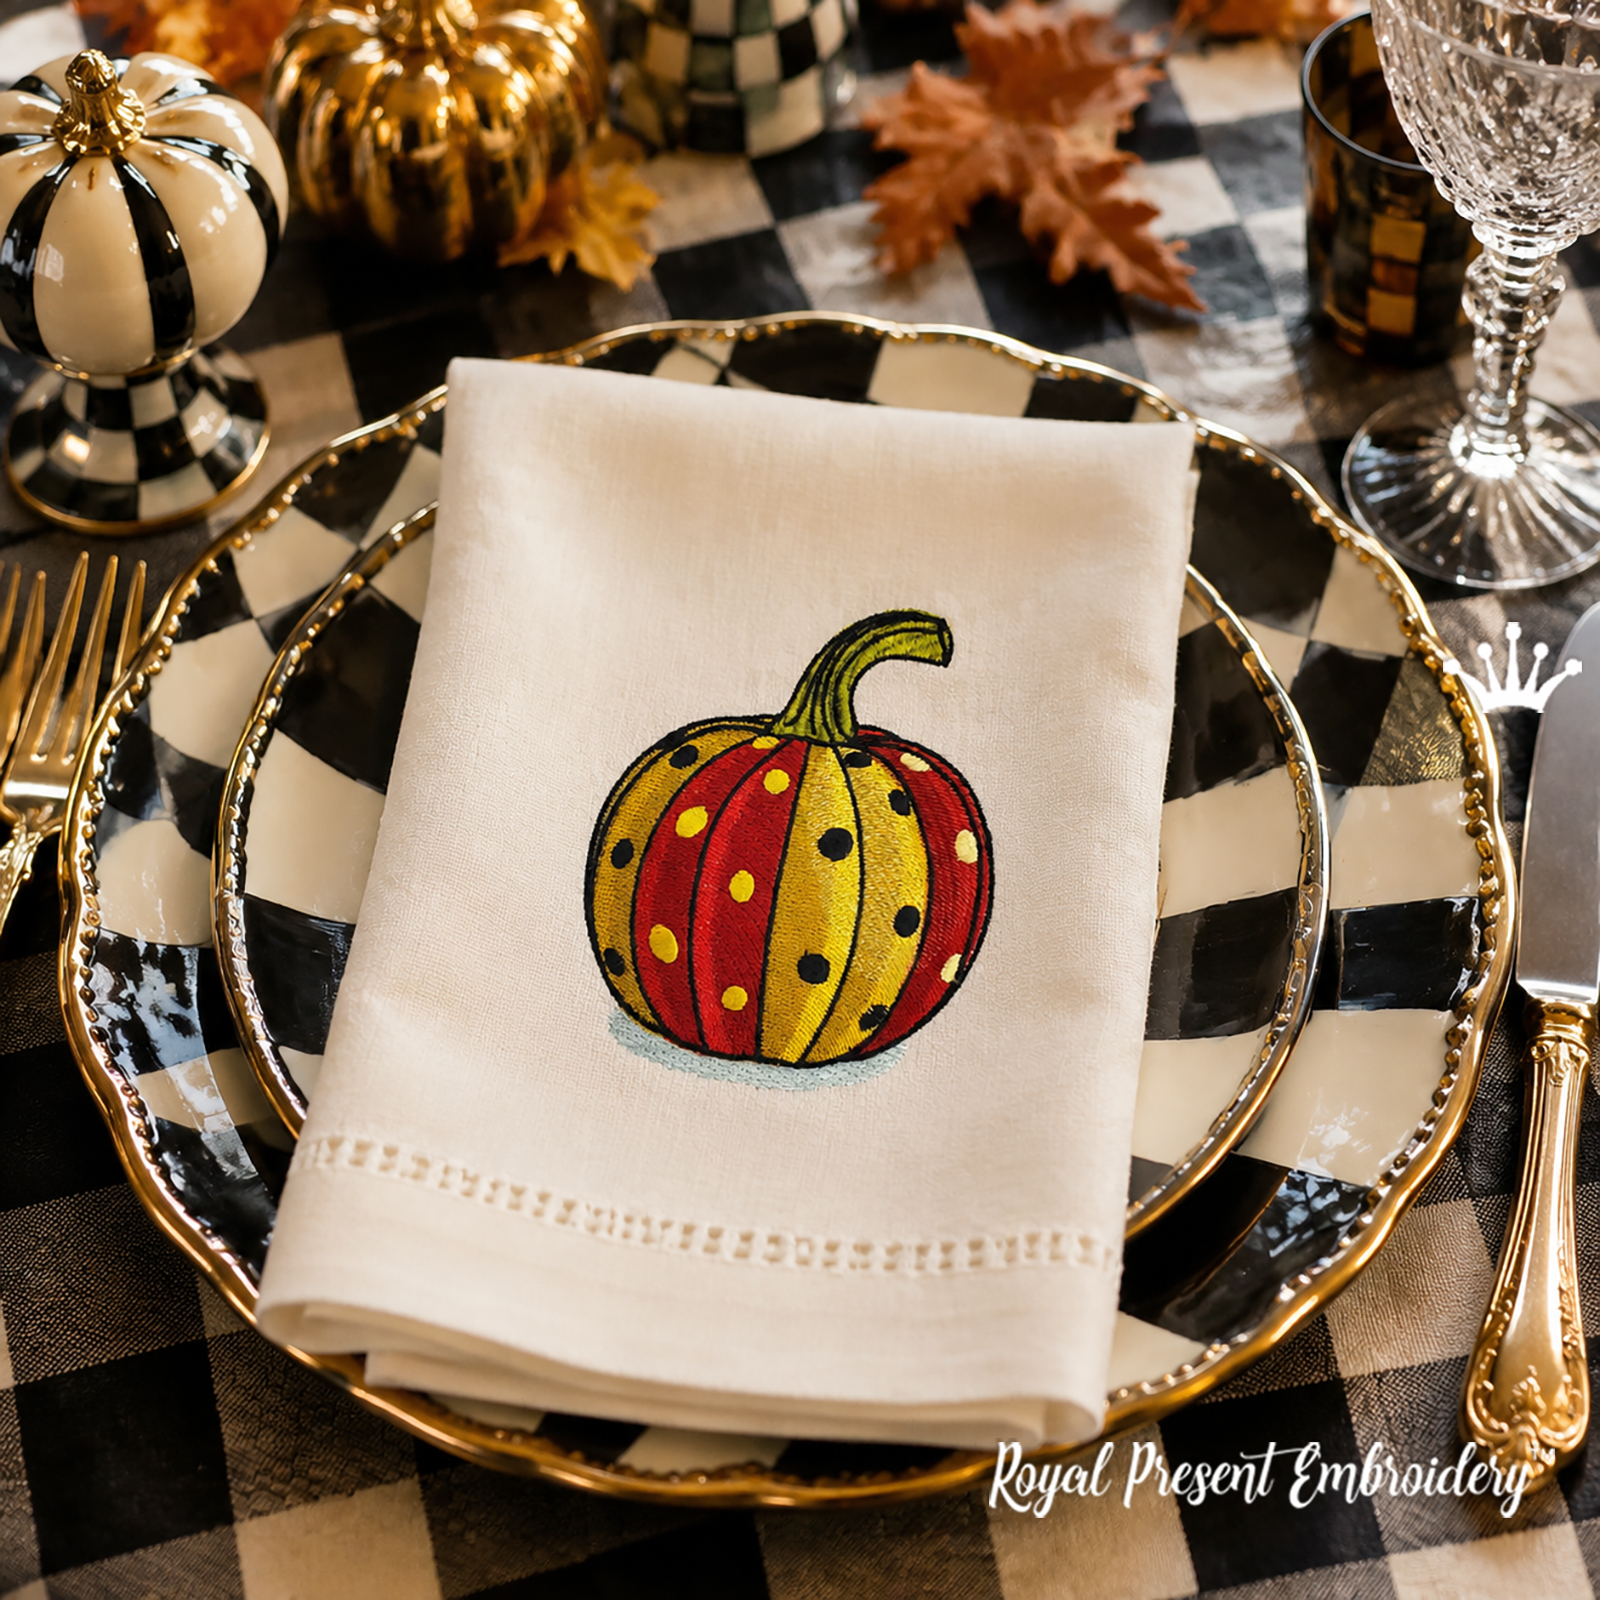
More expressive pumpkin designs
|
|
|
|
Machine embroidery questions
How do I remove tear-away stabilizer around fine lines?
Trim away the excess backing first. Support the edge of the filled embroidery with one finger and tear the stabilizer in small sections toward the stitches. Pulling away one large sheet transfers unnecessary force to the outline. Remove narrow pieces with blunt tweezers without catching the bobbin thread.
Why can an outline shift even when the fabric feels tight in the hoop?
Tight hooping should not mean stretched fabric. Registration may move when the fabric shifts along its grain, the backing is too soft for the material, or the weight of the item pulls on the hoop. Align the template with the fabric grain, support the garment at machine-bed height and match the stabilizer to the fabric. For stable woven cotton, begin with 50–70 g/m² (1.5–2.0 oz/yd²) tear-away.
When is adhesive tear-away a better choice?
Adhesive tear-away is useful for lightweight cotton, loosely woven linen and small pieces that can shift against ordinary backing. It supports the fabric across the whole filled area and removes around the finished motif. Madeira Cotton Fix, Gunold Filmoplast and OESD StabilStick TearAway are practical options; always test adhesive residue and removal on a fabric scrap.
How do I keep the eyes and sketch lines visible on terry cloth?
Use stabilizer underneath the fabric and a thin water-soluble film on top. The backing controls fabric movement while the topping holds the loops below the facial details. Secure the topping with a basting box or small pieces of water-soluble tape outside the design area, then remove it according to the manufacturer’s directions.
Small Pumpkin Faces Machine Embroidery Design Bundle – 4 Sizes Each

 Get Sign-In Link
 Login with Google
 Login with Facebook
 Login with Amazon
 Login with Paypal