Blank Shaped ITH Placemat Machine Embroidery Design - 5 sizes


By knowing the speed of your embroidery machine, you can find out how long it will take to embroider a design.
To use the embroidery calculator, click on the number of stitches in the product description.
This shaped ITH placemat machine embroidery design is a digital file for embroidery machines. It creates a finished, double-sided plate mat entirely in the hoop, with no sewing machine required after embroidery. The download includes 5 exact sizes. The smallest file requires a 300x300 mm / 12x12 inch embroidery field; the other four files require larger working fields specified in the table below.
The silhouette combines softly curved sides, stepped top and bottom sections, and parallel decorative contours around a generous blank center. The red-and-white sample suggests a Christmas table setting, but the design is not limited to one season: change the fabric and thread colors for weddings, Easter, formal dinners, or everyday table decor.
Design Details
| Product Type | Digital ITH Machine Embroidery Design |
| Finished Project | Shaped placemat, plate mat, or charger |
| Technique | In the Hoop: the front, back, and finished edge are joined in the embroidery hoop |
| Minimum Hoop | 300x300 mm / 30x30 cm / 12x12" for the smallest size only |
| Number of Sizes | 5 |
| Color Sequence | 4 consecutive blocks, 3 changes |
| Formats | .dst, .jef, .pec, .vip, .hus, .pes, .exp, .sew, .dat, .vp3, .xxx |
| Delivery | Instant digital download; no physical product is shipped |
Sizes & Hoop Compatibility
| Exact Design Size and Stitches | Minimum Compatible Hoop |
|---|---|
| Size: 298.4x270.4 mm (11.75x10.65 "), Stitches: 19800 | 300x300 mm (12x12") |
| Size: 348.4x313.8 mm (13.72x12.35 "), Stitches: 24600 | Hoop with an embroidery field of at least 348.4x313.8 mm (13.72x12.35 ") |
| Size: 397.6x360.4 mm (15.65x14.19 "), Stitches: 28400 | Hoop with an embroidery field of at least 397.6x360.4 mm (15.65x14.19 ") |
| Size: 447.6x405.7 mm (17.62x15.97 "), Stitches: 31900 | Hoop with an embroidery field of at least 447.6x405.7 mm (17.62x15.97 ") |
| Size: 497.7x451.0 mm (19.59x17.76 "), Stitches: 35400 | Hoop with an embroidery field of at least 497.7x451.0 mm (19.59x17.76 ") |
Step-by-step instructions:
Download ITH Placemat Instructions
What Is Shown in the Design
This is a complete shaped placemat with a spacious blank center for a dinner plate. Curved side sections flow into stepped sections at the top and bottom, while parallel stitched lines emphasize the silhouette. You may leave the center plain or combine the placemat with a compatible monogram, short name, or small motif in embroidery software before transferring the composition to your machine. Keep the complete combined design inside the embroidery field for the selected size.
Coordinating ITH Table Designs
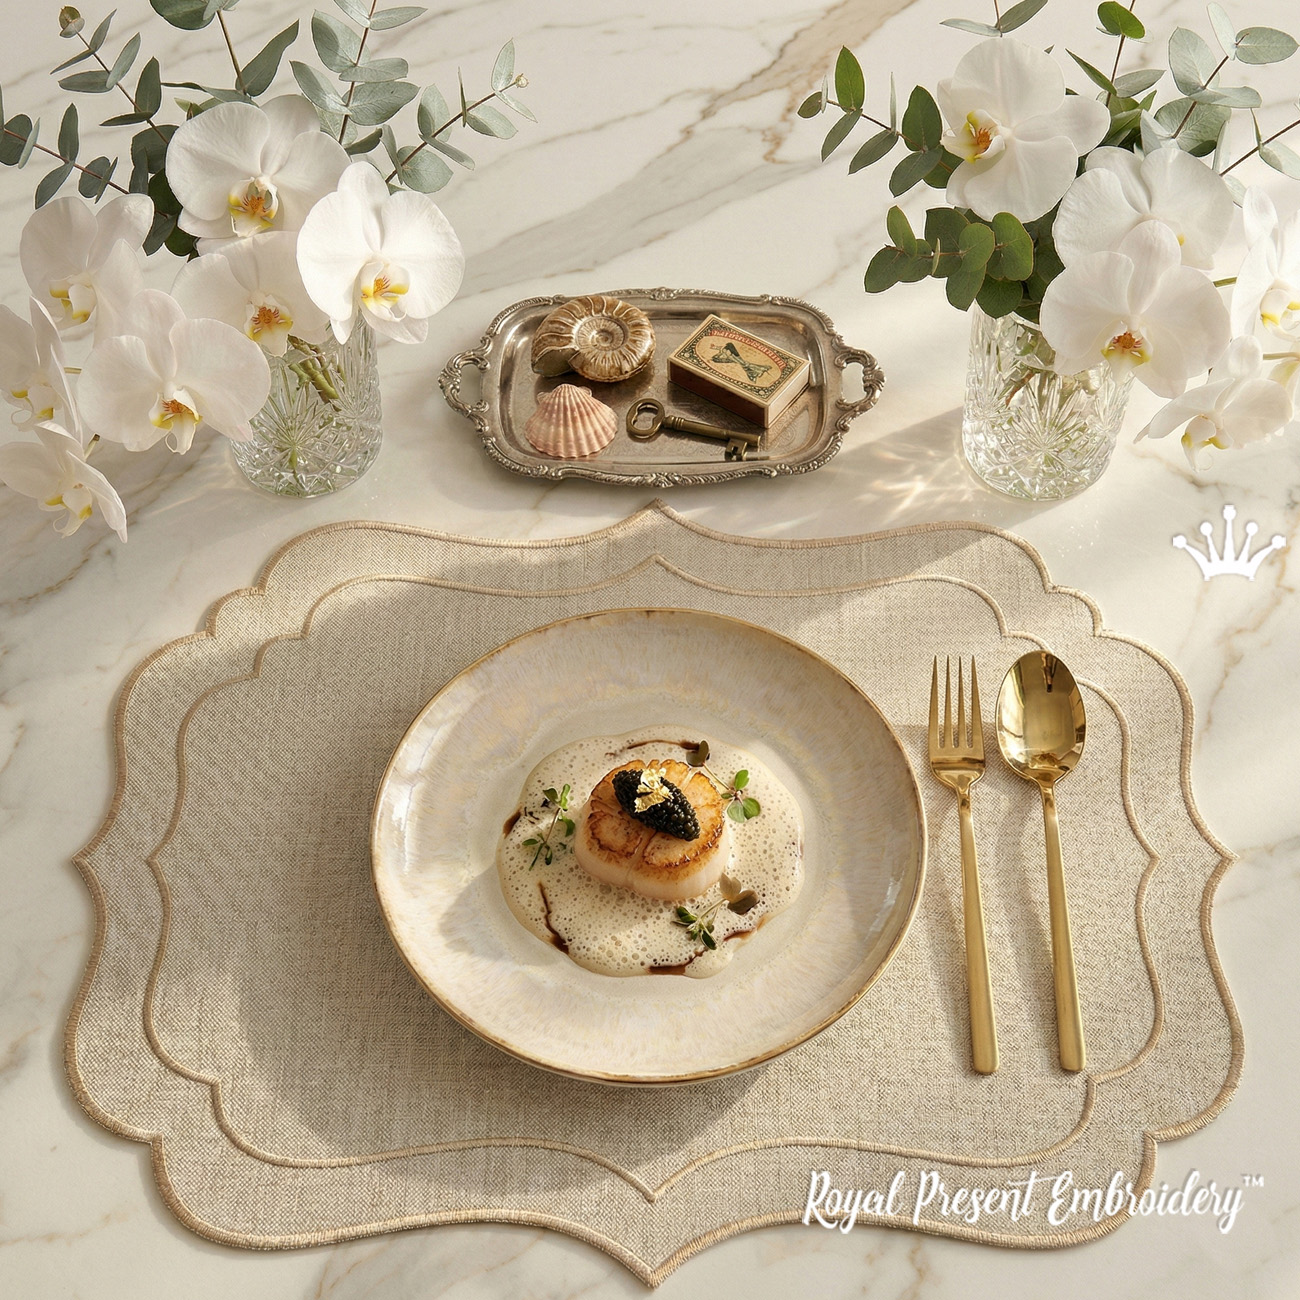 Blank ITH Placemat for Large Hoops Blank ITH Placemat for Large Hoops |
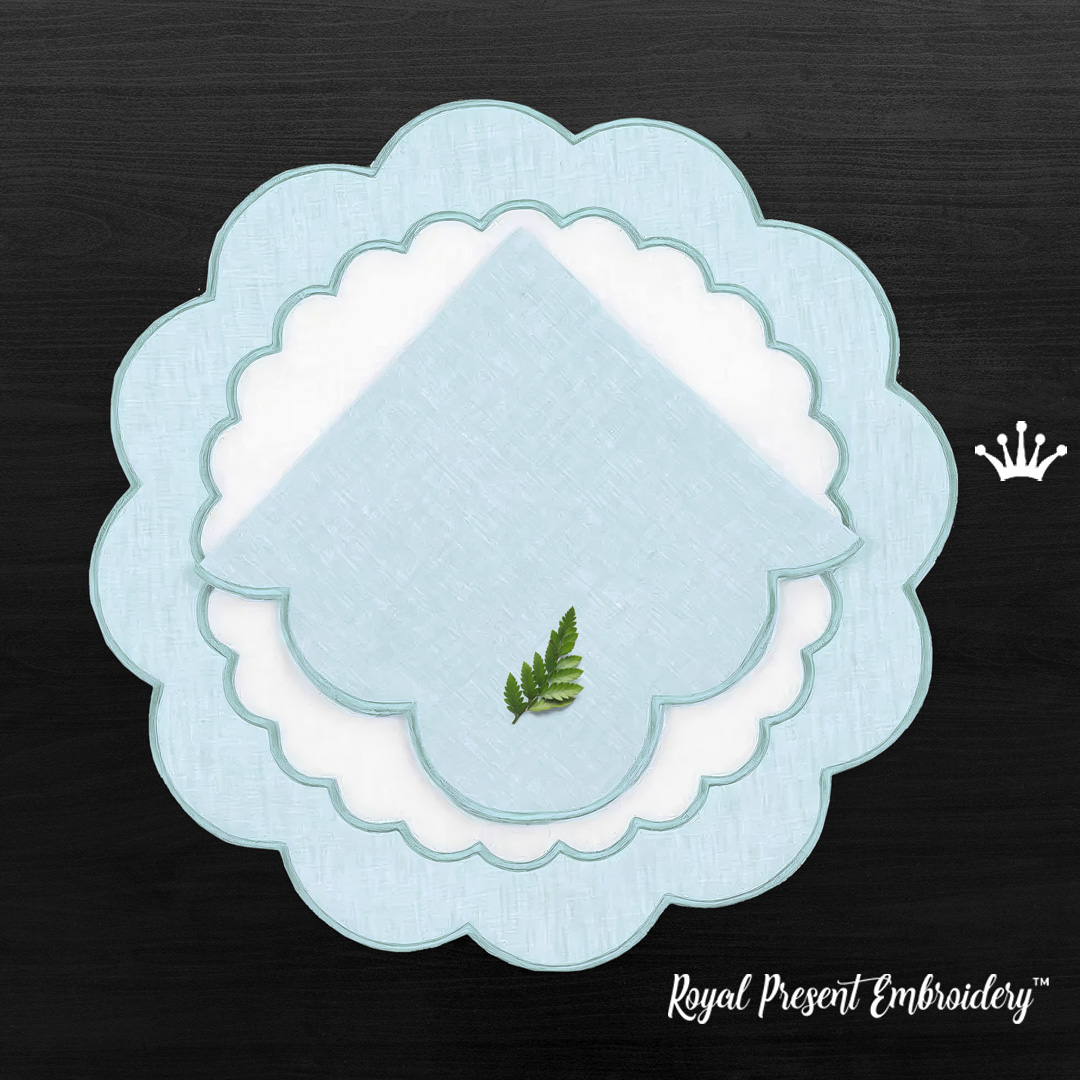 Mega Placemat and Napkin ITH Set Mega Placemat and Napkin ITH Set |
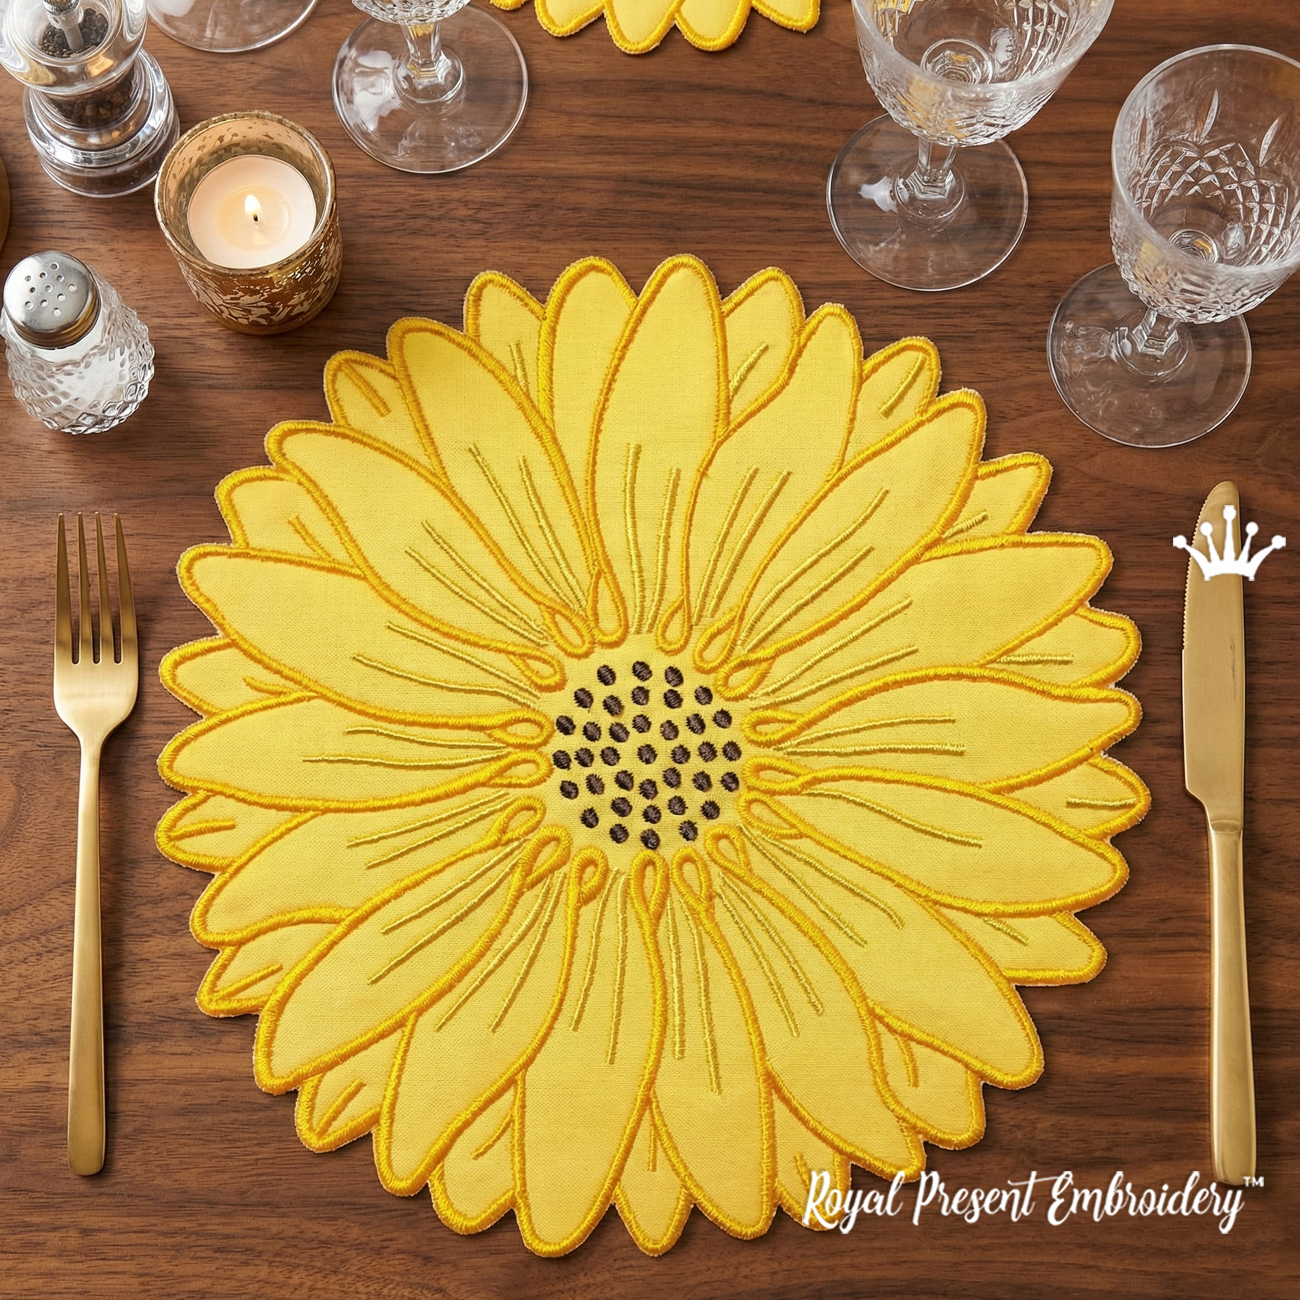 Sunflower Petals Placemat Mega ITH Sunflower Petals Placemat Mega ITH |
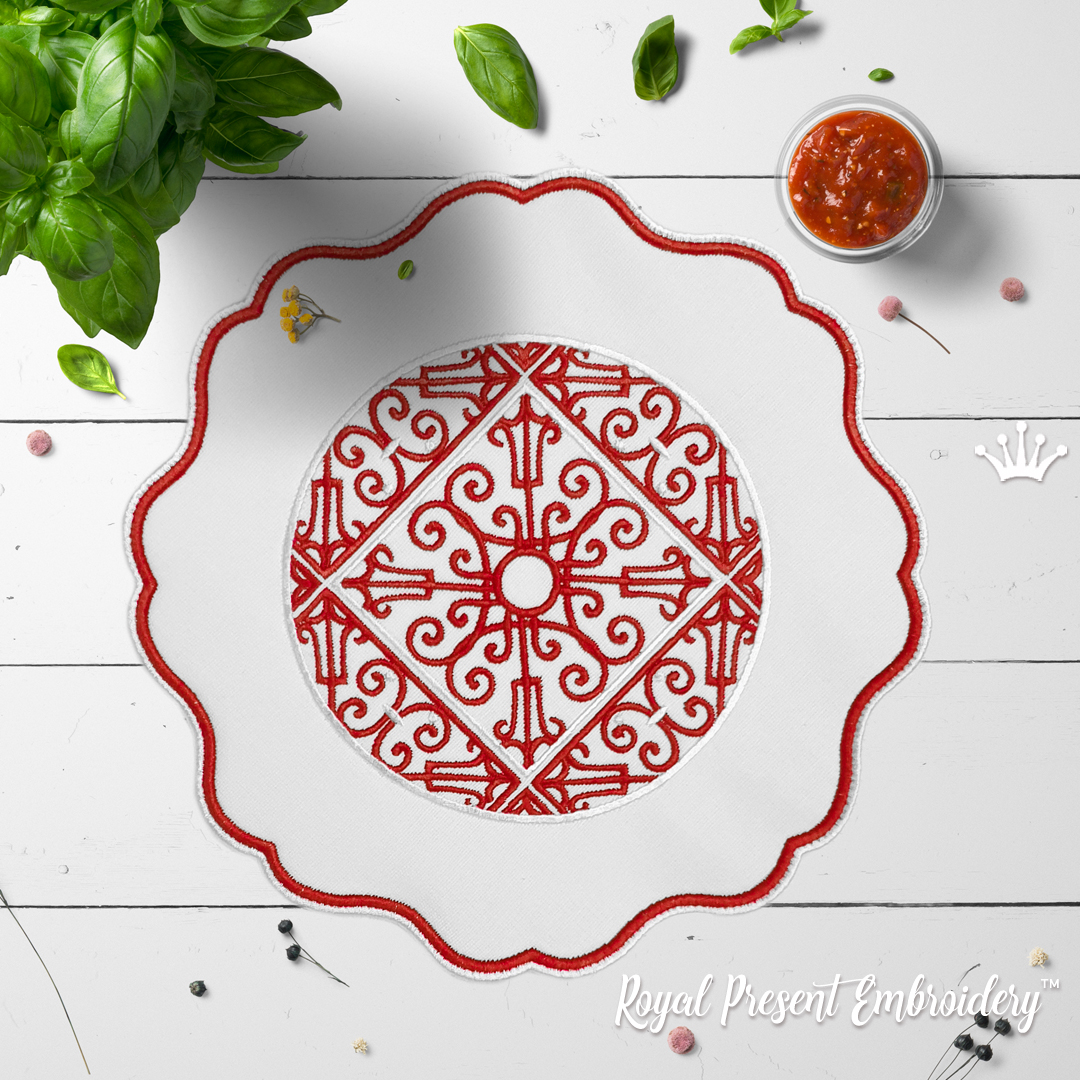 Andalusian In the Hoop Table Placemat Andalusian In the Hoop Table Placemat |
Madeira Classic 40 Thread Map
The chart separates four consecutive construction stages. Madeira Classic 1146 therefore appears at the beginning and again at the end. Do not merge these blocks with automatic color sorting: other contours and ITH construction steps occur between them. The listed colors are examples that identify the sequence; they are not mandatory.
| Color | Thread | What It Stitches | |
|---|---|---|---|
|
|
Madeira Classic 40 No. 1146 |
Block 1: placement outline on the stabilizer. Block 4: secures the backing and finishes the outer satin edge. | |
|
|
Madeira Classic 40 No. 1051 |
Block 2: first inner decorative contour. | |
|
|
Madeira Classic 40 No. 1004 |
Block 3: second parallel decorative contour; the machine then stops so the backing fabric can be added. |
For the photographed version, use red fabric, white thread for both parallel decorative lines, and red thread for the final satin edge. For understated table linen, work tone on tone. For stronger contrast, pair dark fabric with light contours or pale fabric with burgundy, navy, or deep green. Always compare thread against the actual fabric under the room lighting; the numbers on the chart are reference points, not required colors.
Materials and ITH Assembly
- Front and backing fabric: prewashed table linen, quilting cotton, or a stable linen-cotton blend without stretch.
- Stabilizer: two layers of tear-away stabilizer, as specified in the instructions. Suitable examples include Madeira Cotton Soft Tear Away and Gunold Tear Away.
- Temporary hold: use a light application of temporary fabric adhesive for the front and backing pieces.
- Scissors: small curved or applique scissors help trim fabric close to the tack-down line.
- Thread: 40 wt rayon or polyester embroidery thread. Polyester is the more practical choice for table linens that will be washed frequently.
The placement outline stitches first on the hooped stabilizer. The front fabric is secured and the two inner contours are embroidered. At the indicated stop, attach the backing fabric beneath the hoop with its right side facing outward. The final stage secures the layers. Remove the hoop from the machine without unhooping the project, trim both fabric layers close to the outline, and complete the satin edge in the same final color. Follow the PDF sequence for every stop and fabric-placement step.
Practical Tips for a Flat, Clean Placemat
- Cut a full-size paper template before choosing a file. Place your dinner plate on it to check how much of the shaped edge will remain visible.
- Support a large hoop level with the machine bed or table. The weight of the fabric should not pull on the carriage during long contour runs.
- Use front and backing fabrics with similar weight and shrinkage. Prewash both before making a matching set.
- When trimming, rotate the hoop after removing it from the machine instead of pulling the fabric. Remove the broad seam allowance first, then refine the edge with short scissor cuts.
- Before the final satin edge, install bobbin thread that matches the last upper thread. This makes the reverse side look intentional and neat.
- For a set of placemats, mark the grain direction on every front piece. Consistent grain and fabric orientation help all finished mats lie and wash alike.
For more help with large embroidery fields, read Prevent Puckering in Machine Embroidery: 9 Expert Fixes.
Frequently Asked Questions
Do I need a sewing machine after embroidery?
No. The front, backing, and satin-finished edge are joined in the embroidery hoop. You only need to trim the fabric at the indicated stage without unhooping the project.
Why does Madeira Classic 1146 appear in both the first and last blocks?
The first block is the placement outline on the stabilizer. The last block returns to that thread number for the construction and finished outer edge. They are separate stages and should not be combined by color sorting.
Must I use the green and pale gray colors shown on the chart?
No. The map identifies the block sequence. You can stitch both parallel contours in one color and the outer edge in another, use three contrasting threads, or work the entire placemat tone on tone.
How can I make the reverse side look neat?
Use front and backing fabrics with similar shrinkage, smooth the backing carefully before the final stage, and match the bobbin thread to the final satin-edge color.
Can I add a monogram or small motif in the center?
Yes. Combine it with the placemat in embroidery software before transferring the file to the machine. Check the revised stitch order, the clear area required by the plate, and the total dimensions of the complete composition.
How do I choose the right size for my plate?
Subtract the plate diameter from the placemat width and divide the remainder by two. The result is the approximate visible margin on each side. Confirm the look with a full-size paper template before cutting fabric.

Blank Shaped ITH Placemat Machine Embroidery Design - 5 sizes

 Get Sign-In Link
 Login with Google
 Login with Facebook
 Login with Amazon
 Login with Paypal