Zombie hand Machine Embroidery Design - 3 sizes
By knowing the speed of your embroidery machine, you can find out how long it will take to embroider a design.
To use the embroidery calculator, click on the number of stitches in the product description.
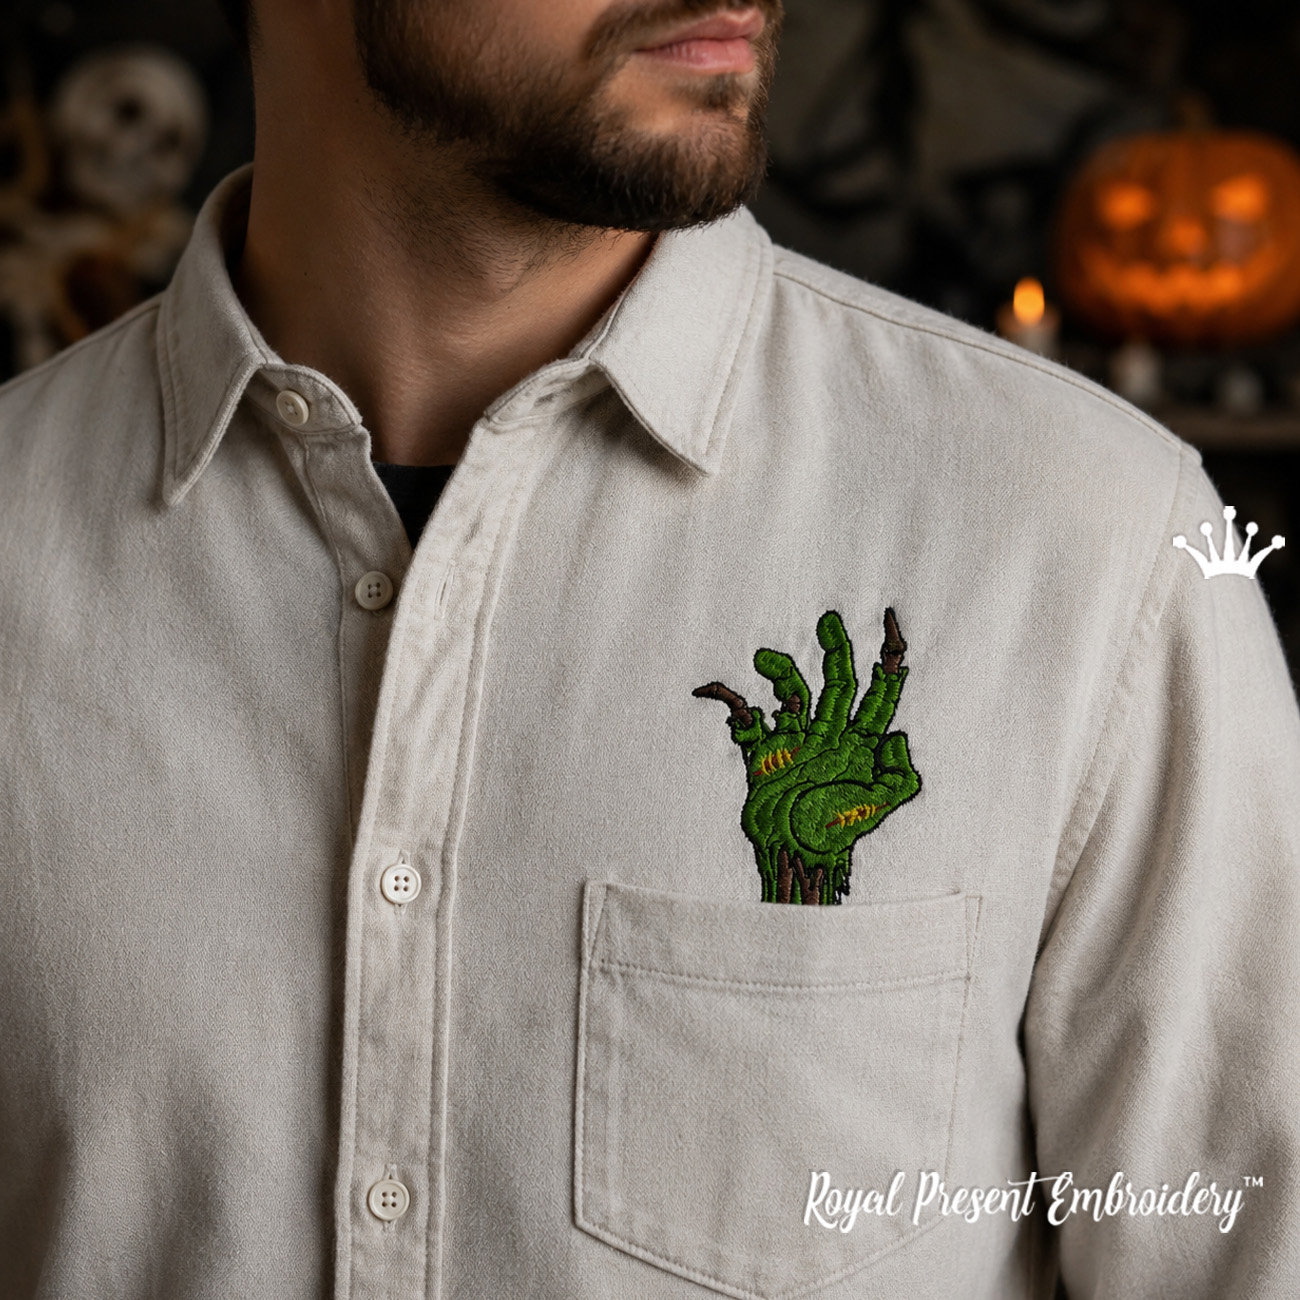
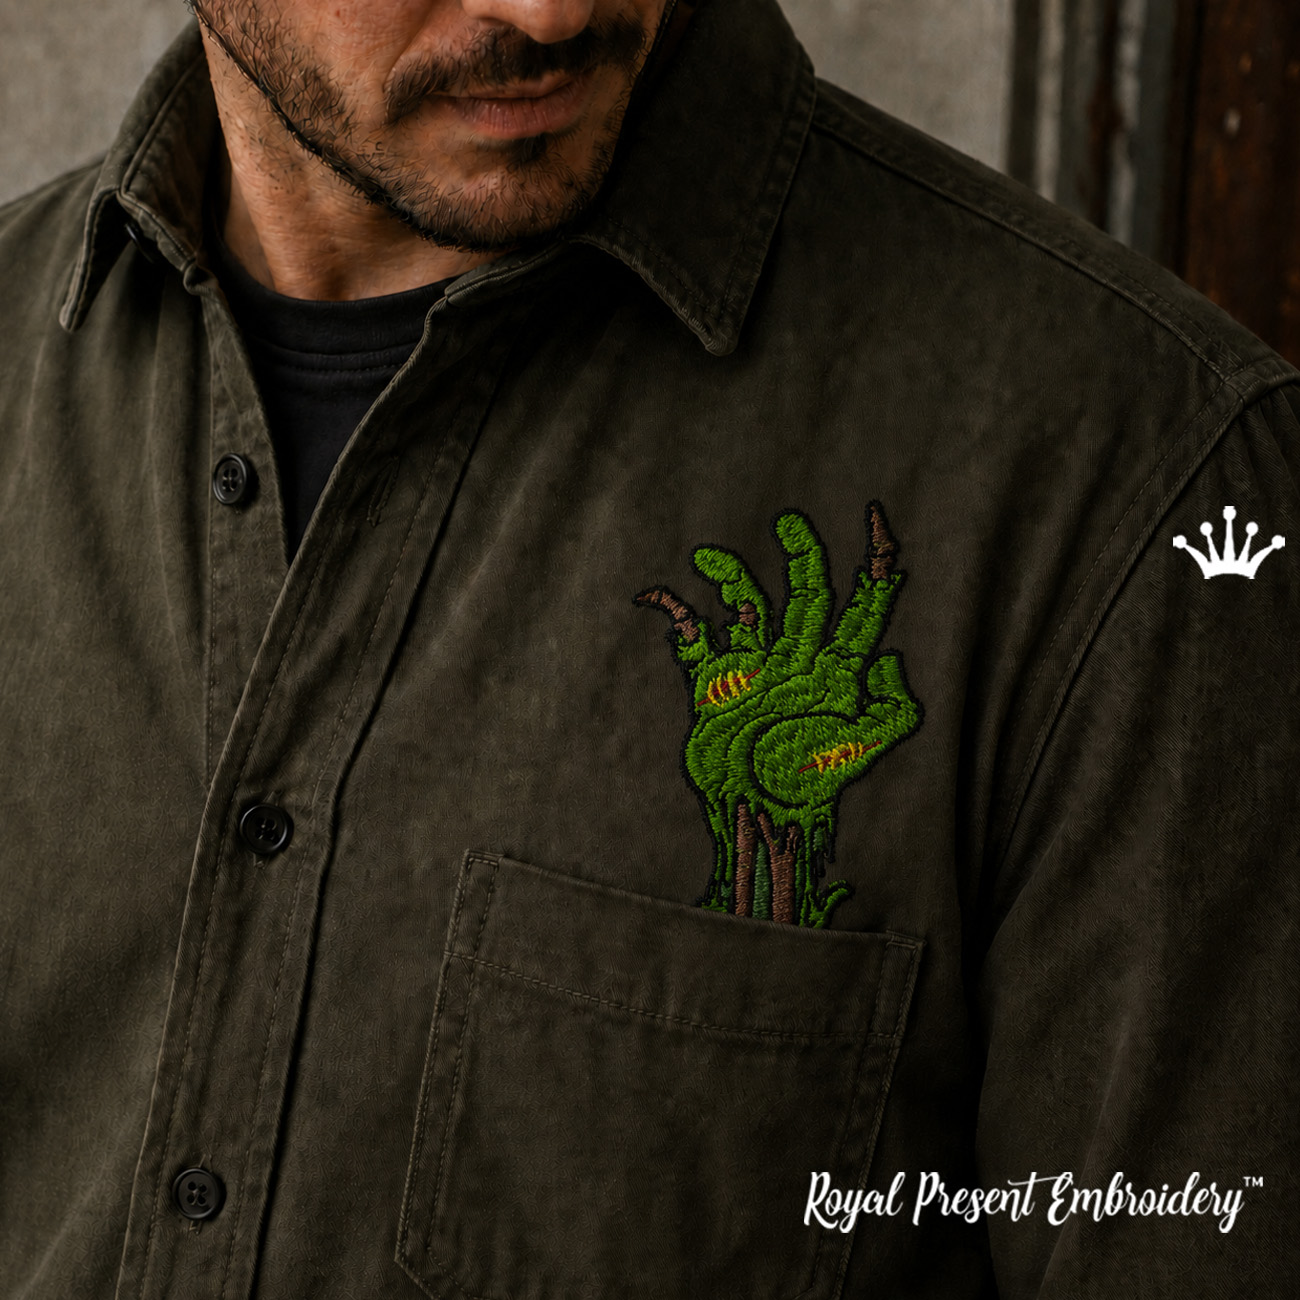
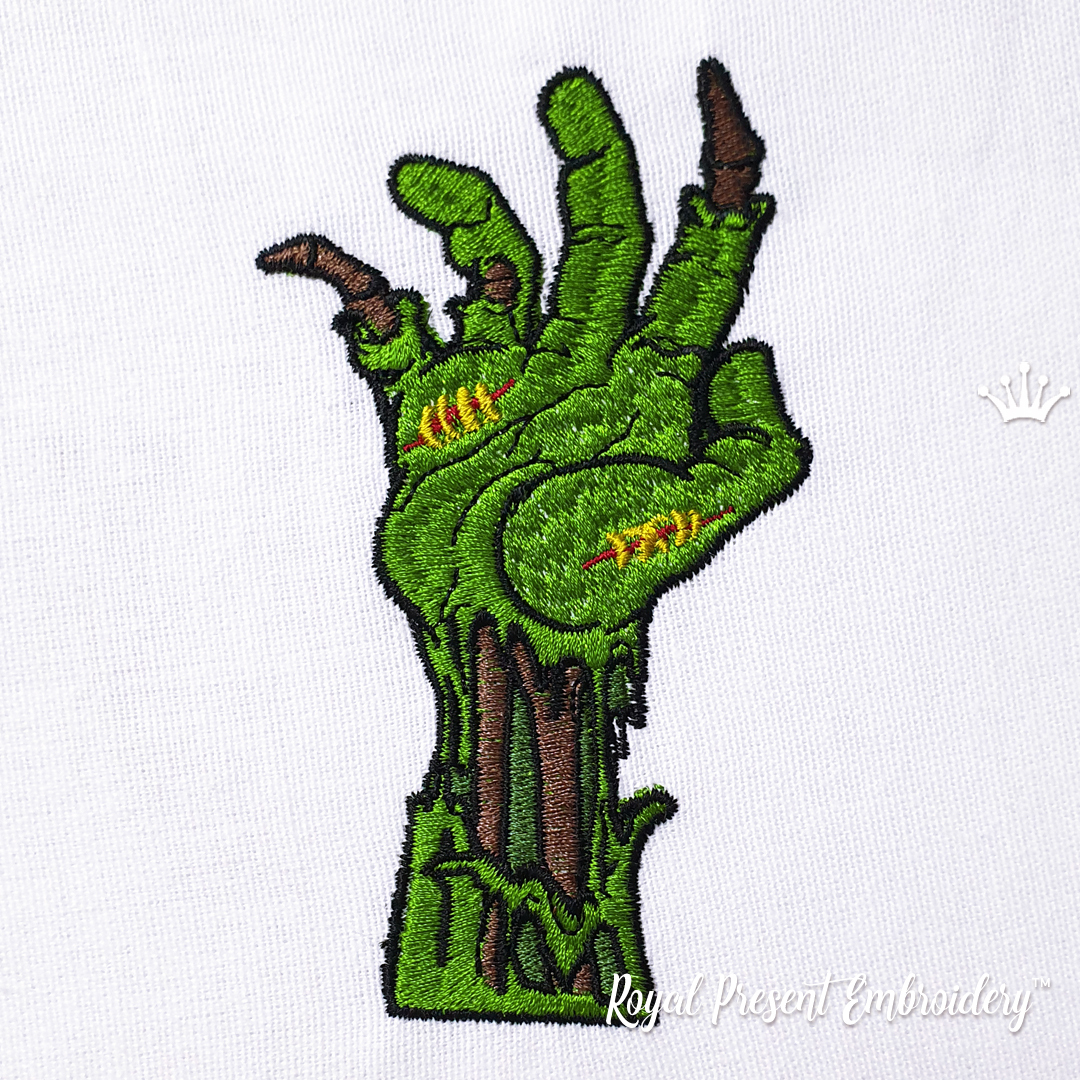
This Zombie hand Machine Embroidery Design creates the illusion of a creepy green hand reaching out of a shirt pocket. Use it on Halloween shirts, hoodies, jackets, costumes, patches, backpacks and trick-or-treat bags. The long vertical shape makes the design especially effective above a chest pocket or behind the upper edge of a bag.
Design sizes and formats
Size: 58.8x98.6 mm (2.31x3.88 "), Stitches: 10938
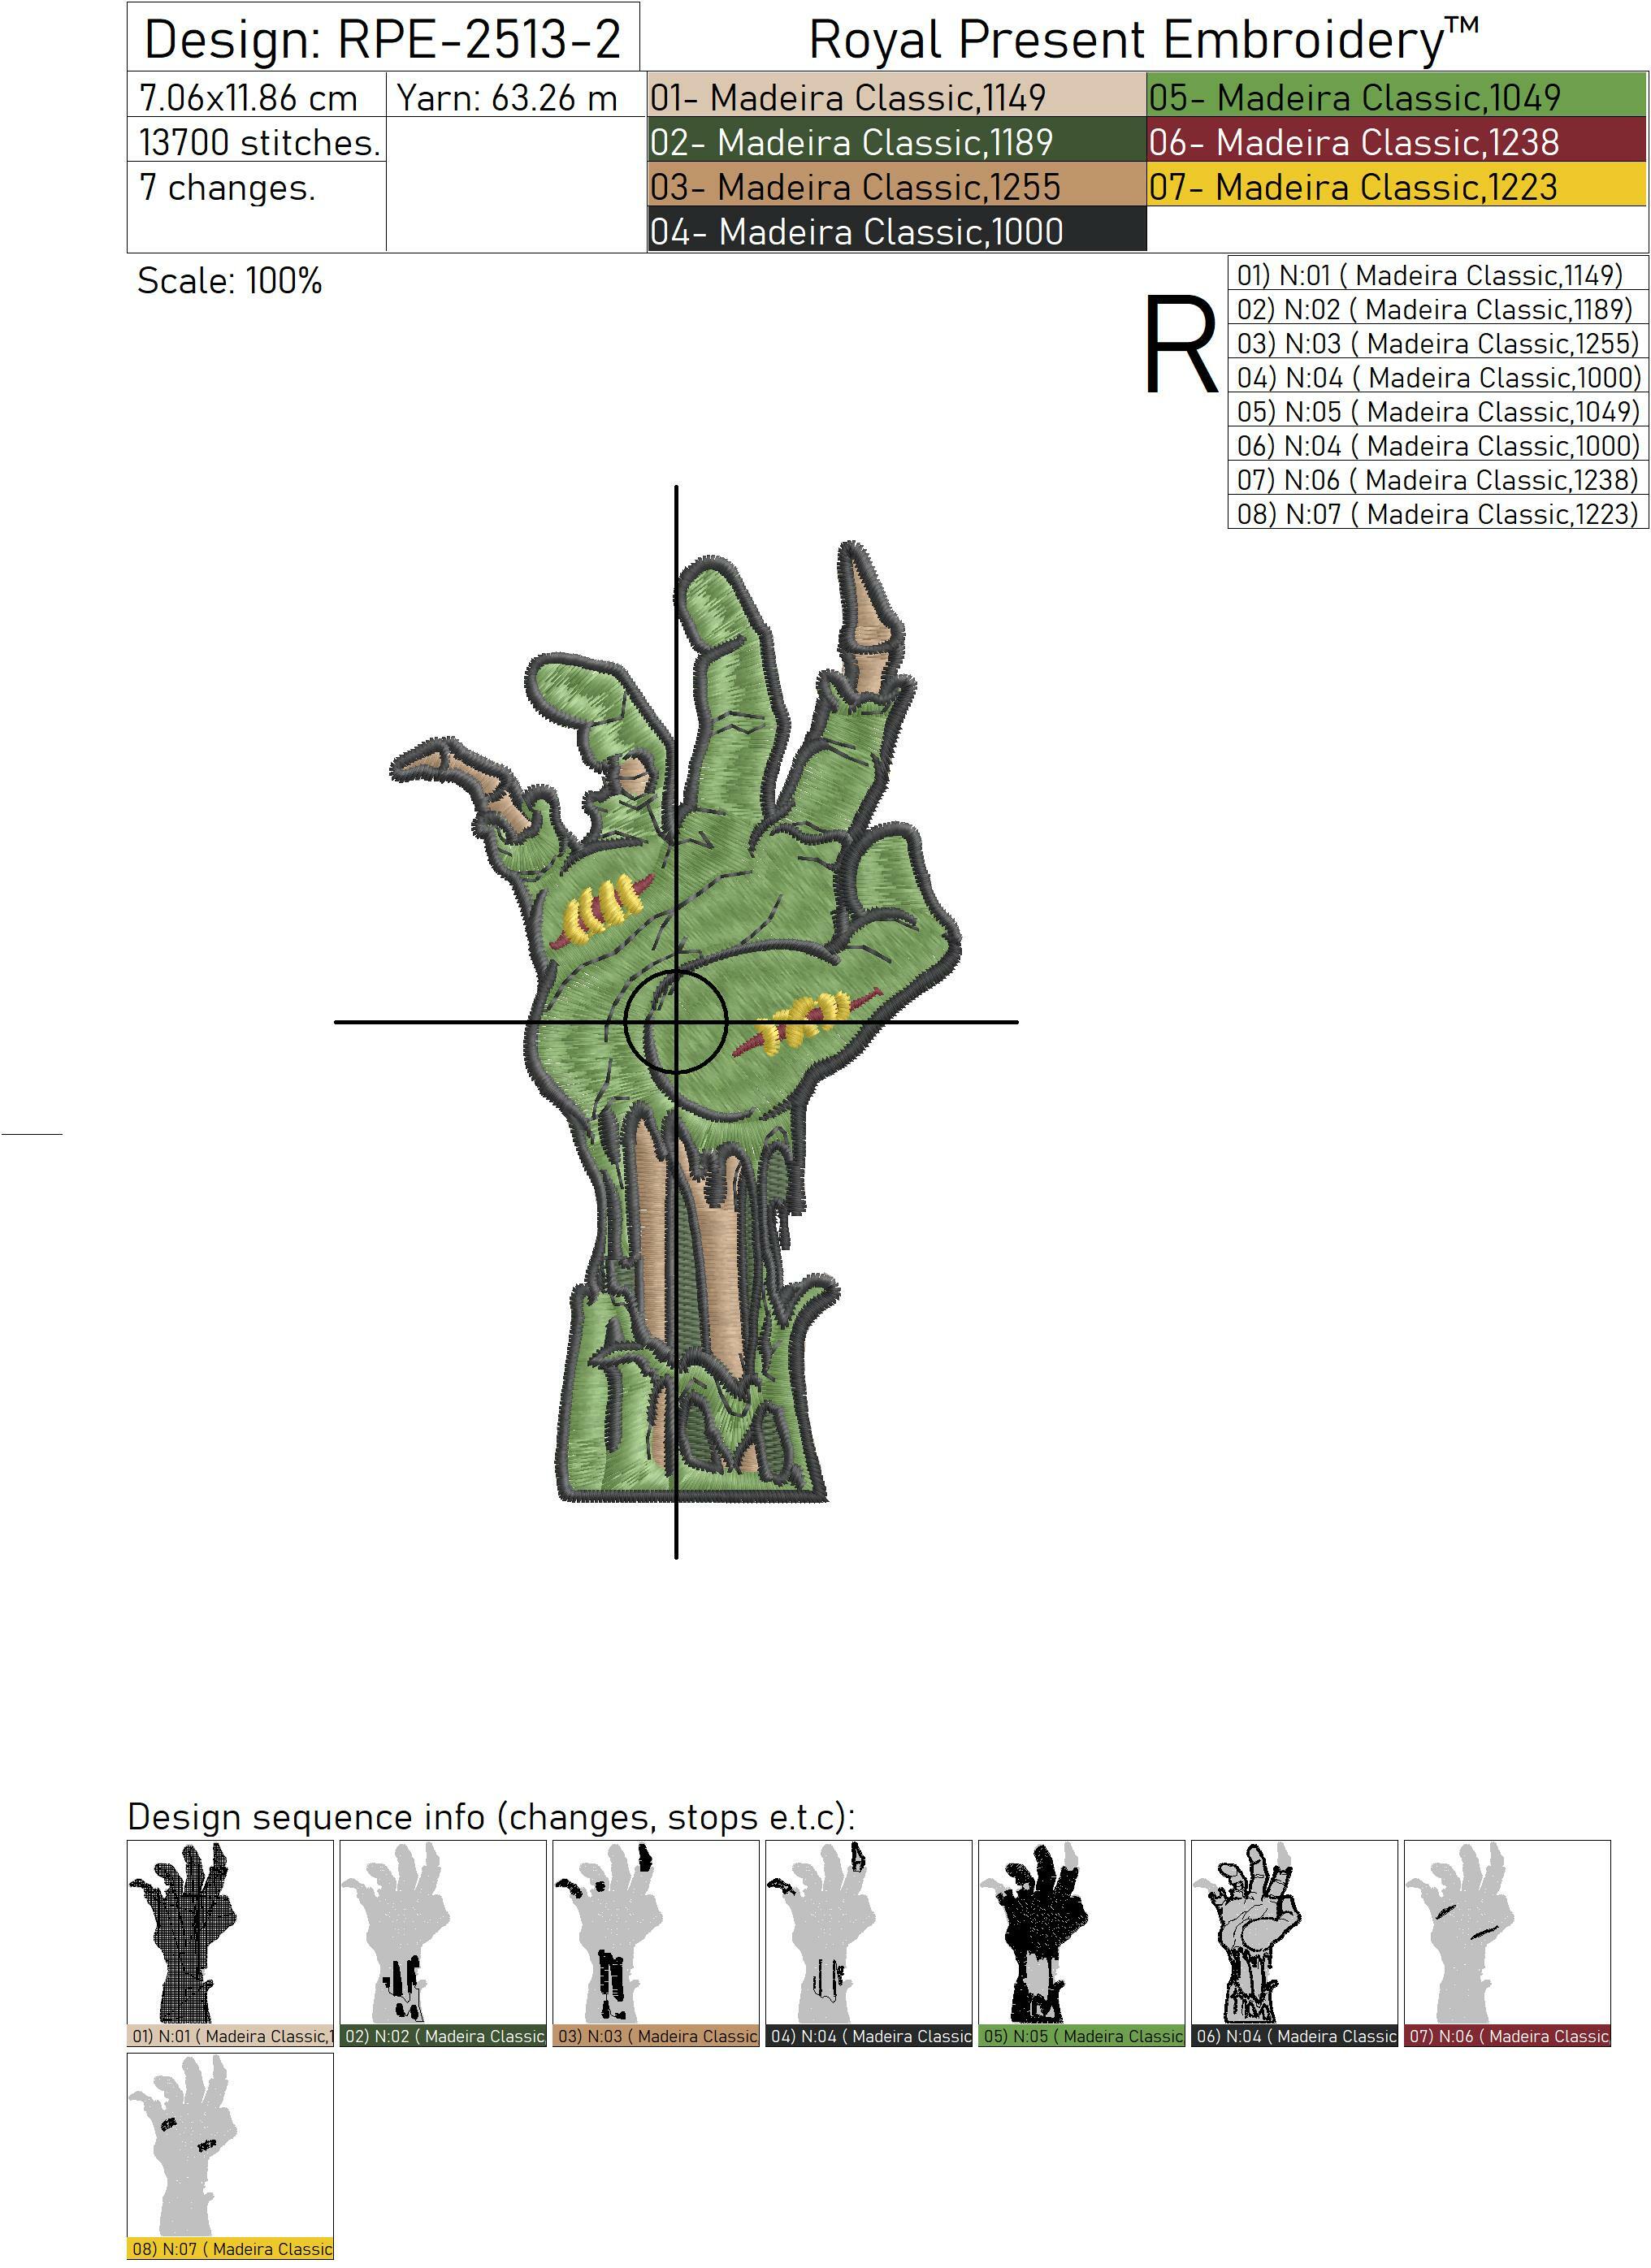
Size: 70.6x118.6 mm (2.78x4.67 "), Stitches: 13706
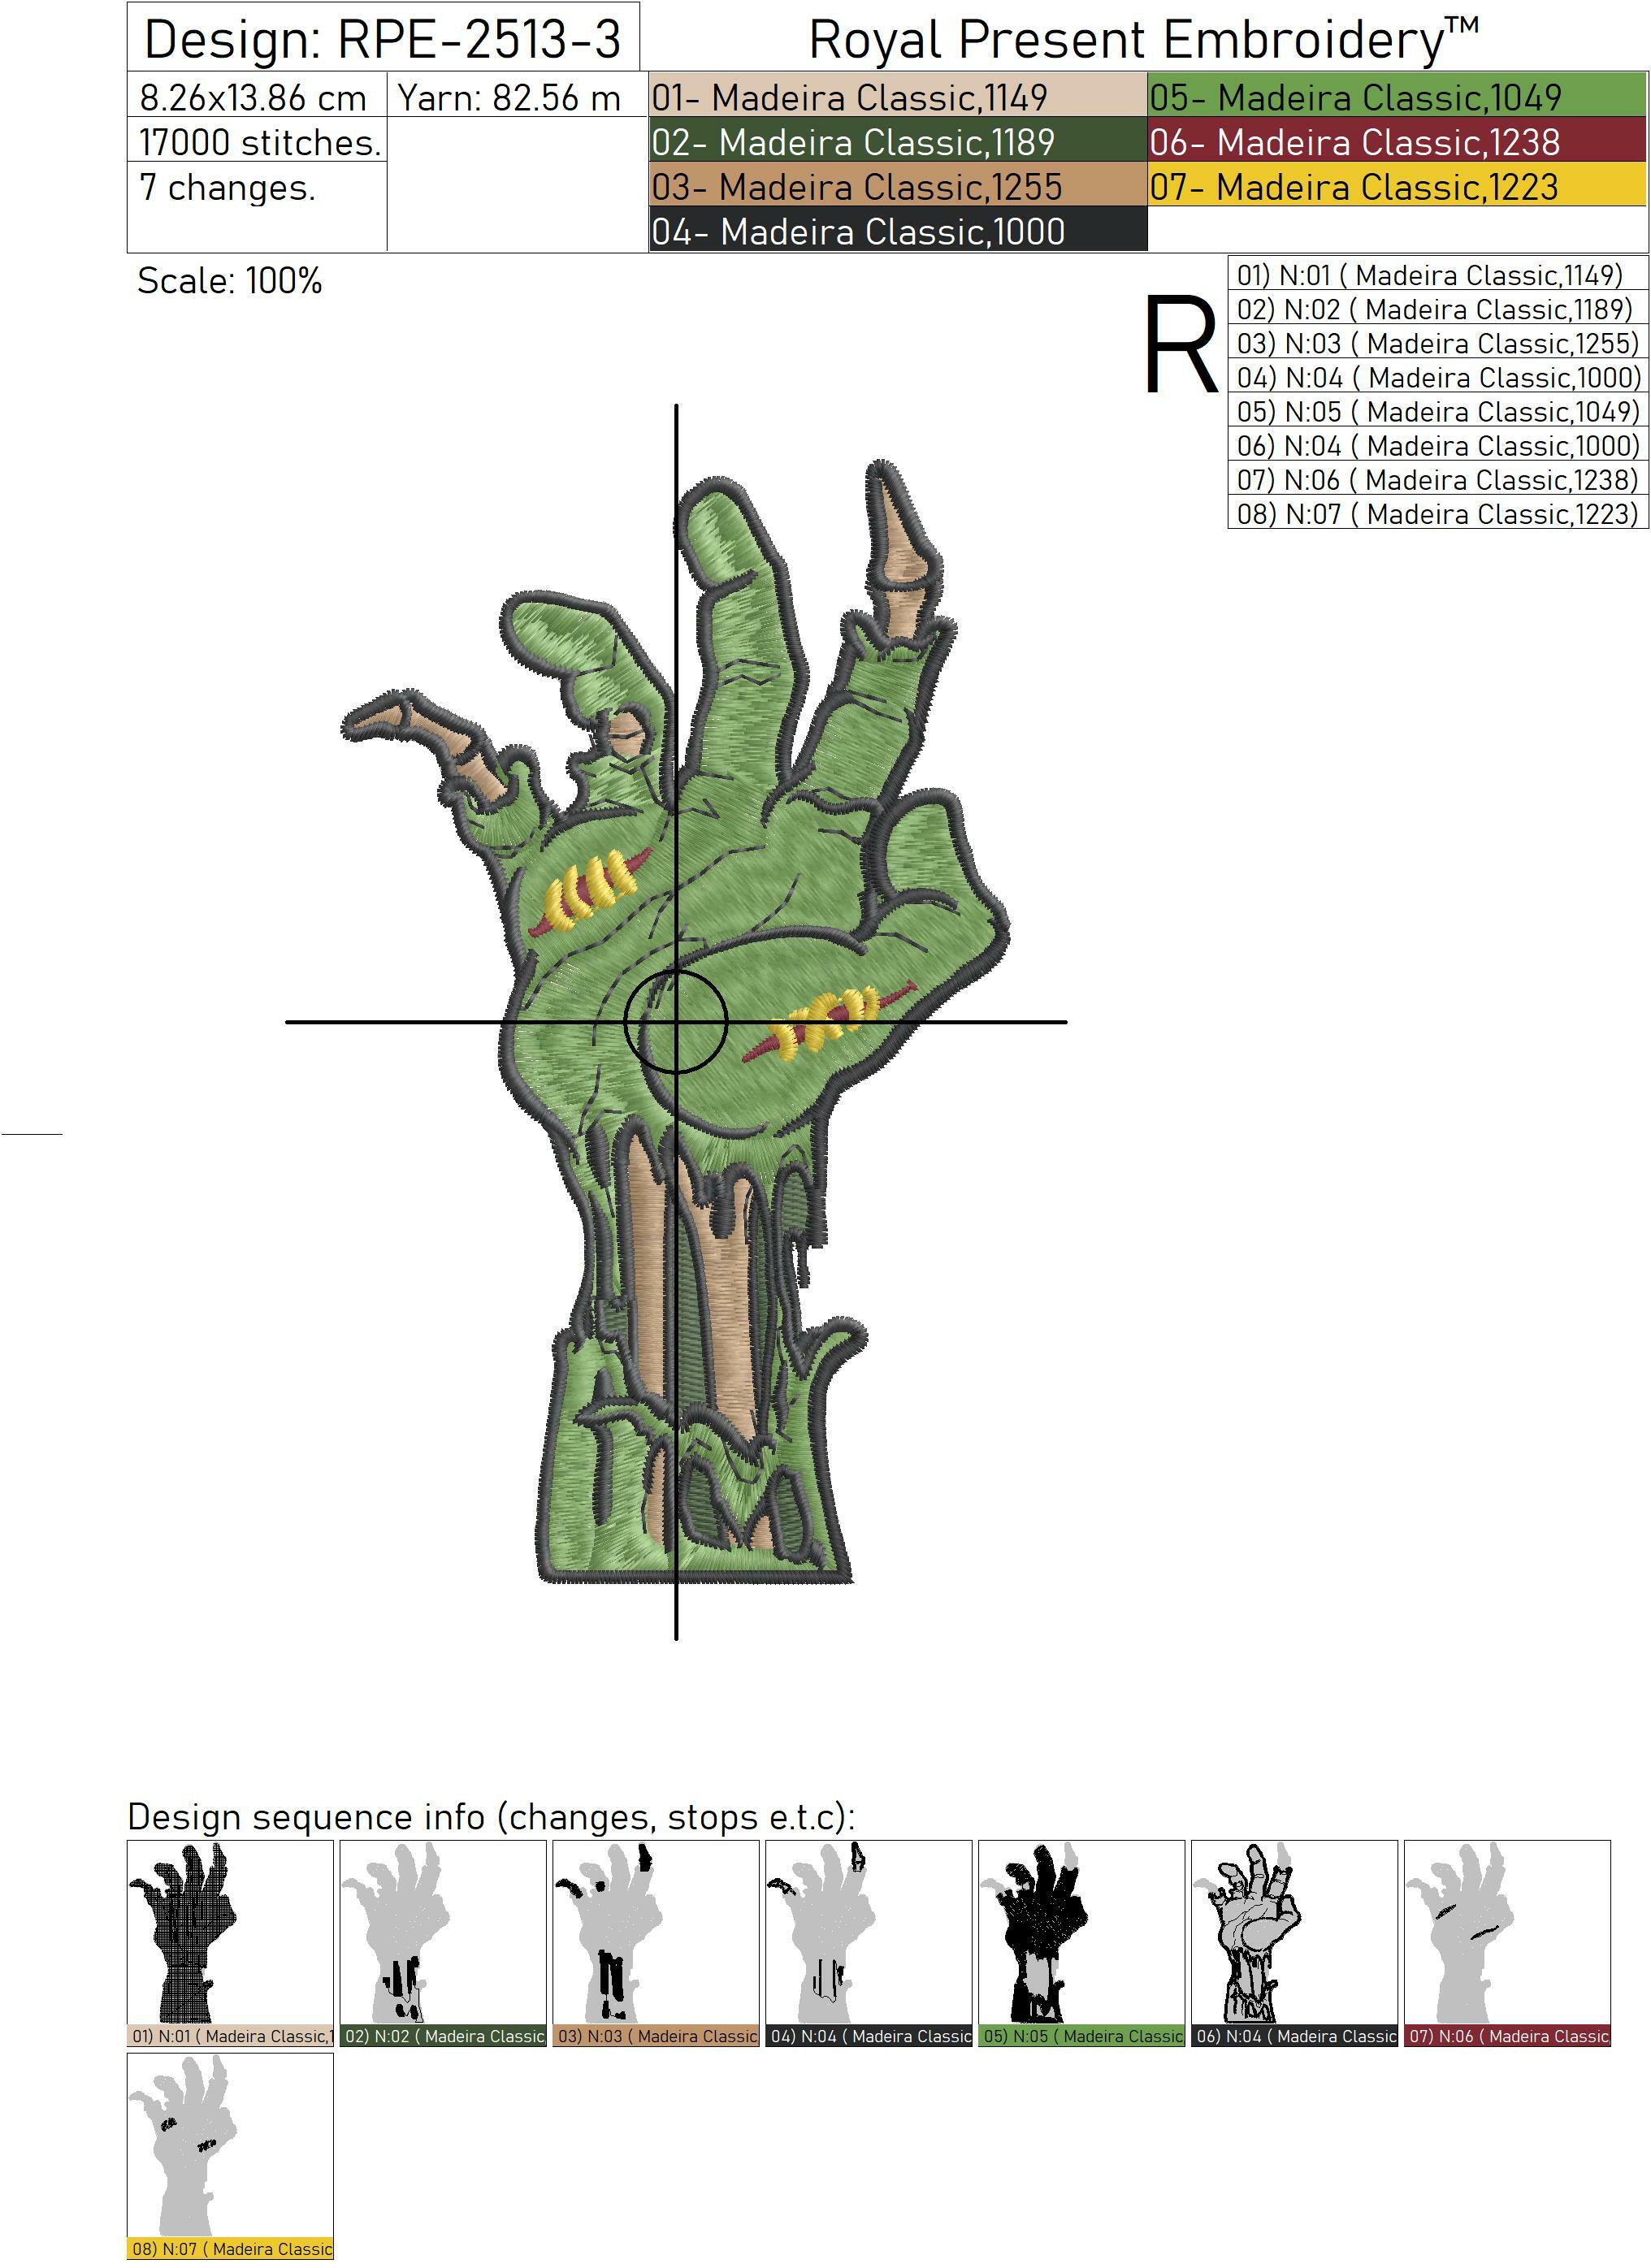
Size: 82.6x138.6 mm (3.25x5.46 "), Stitches: 16947Formats: .dst, .jef, .pec, .vip, .hus, .pes, .exp, .sew, .dat, .vp3, xxx
Suitable embroidery hoops
How to embroider the zombie hand above a pocket
For a ready-made shirt, jacket or hoodie, the easiest method is to embroider the hand as a separate patch. Stitch it on black felt or embroidery patch fabric, remove the stabilizer and trim the fabric close to the outer contour without cutting the edge stitches.
Place approximately 10–15 mm (3/8–5/8") of the lower part inside the pocket. Secure the visible section with small hand stitches or a narrow machine stitch placed close to the black outline. The fingers and exposed bones should remain completely visible above the pocket.
If you are sewing the garment yourself, embroider the design on the front panel before attaching the pocket. Sew the pocket over the bottom of the design. This produces a cleaner and more realistic reaching-hand effect.
Print or trace the design template before hooping. Check that the fingers are positioned above the pocket and that the embroidery hoop will not hit buttons, seams, zippers or thick seam allowances.
Matching Halloween designs
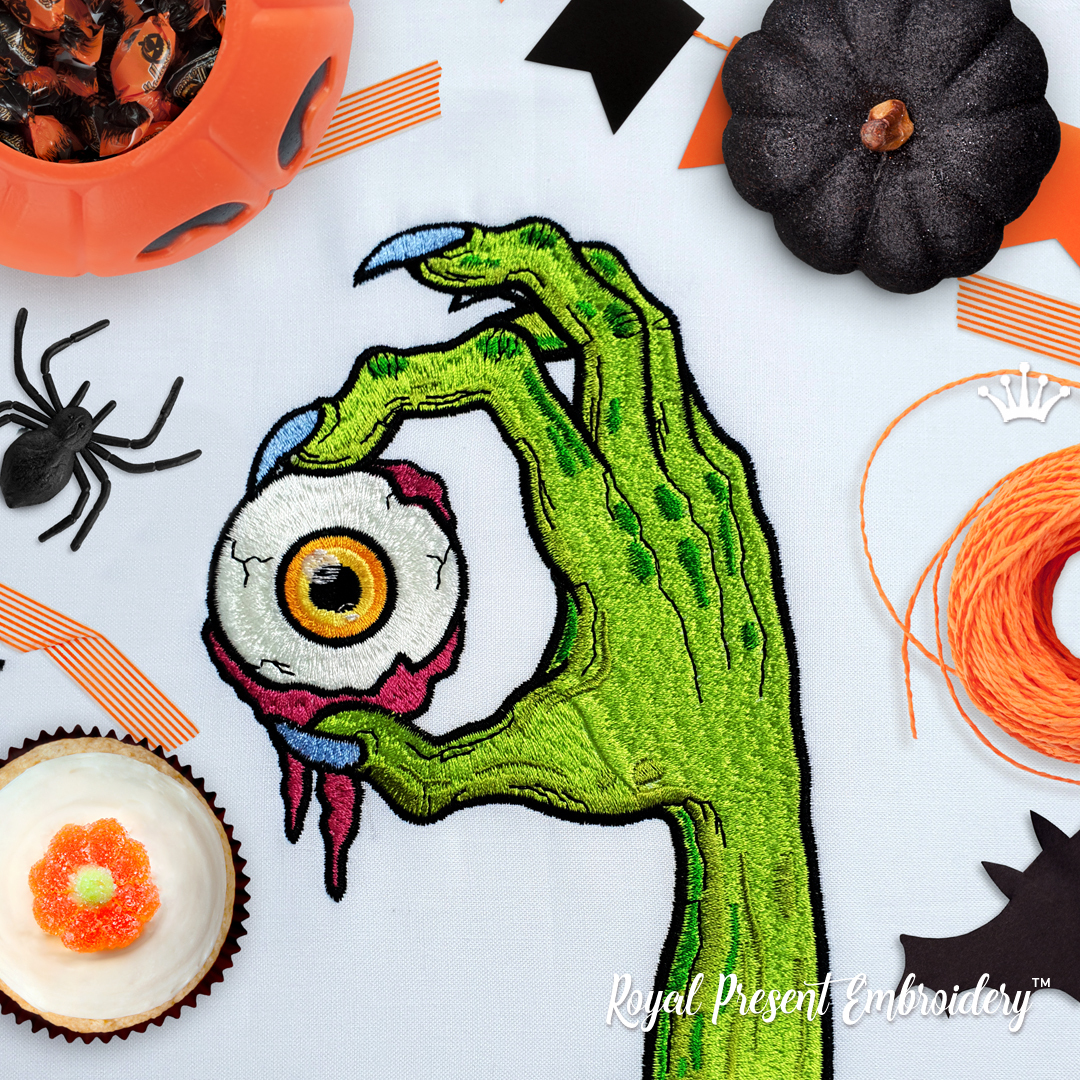 Zombie Hand with an Eye Zombie Hand with an Eye |
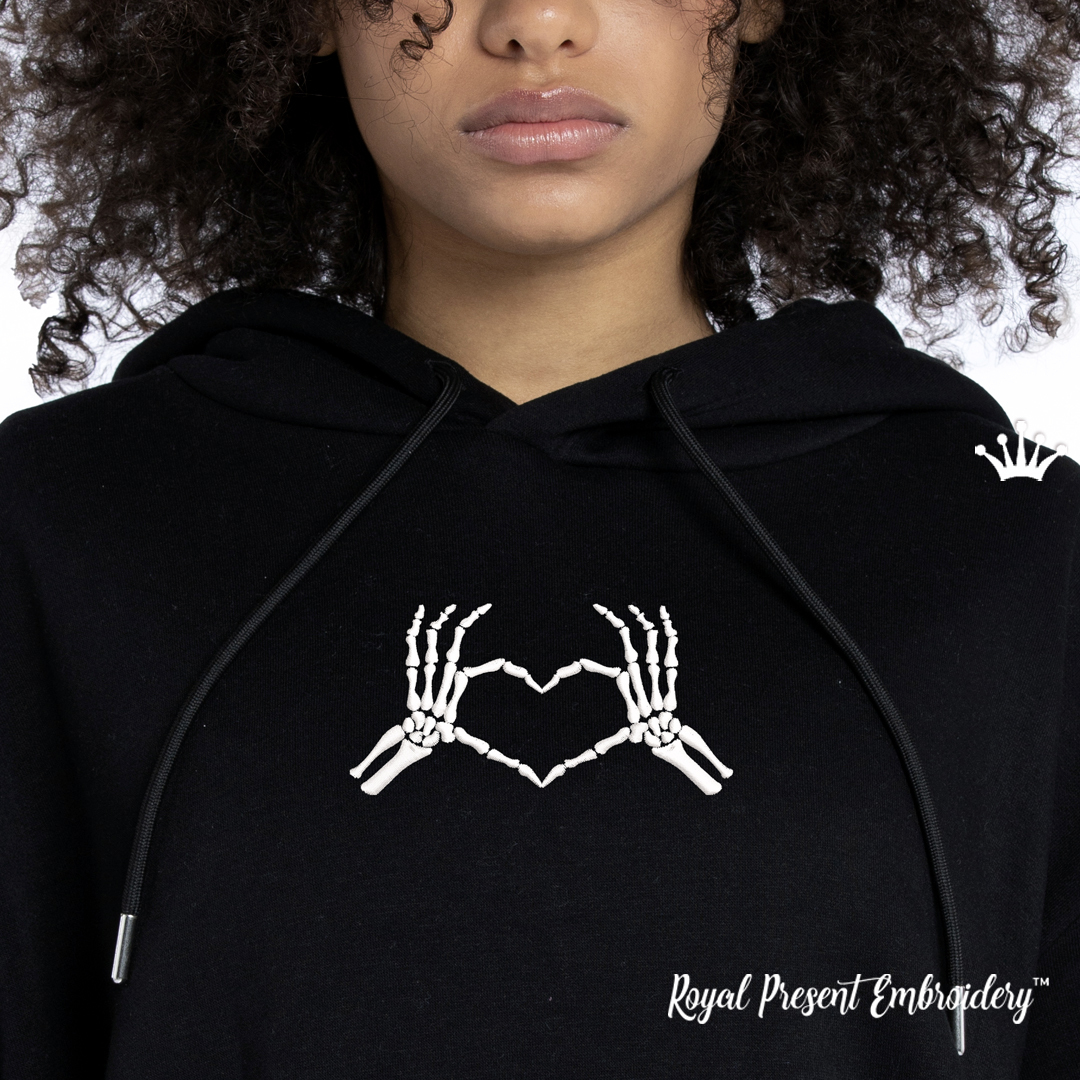 Skeleton Hand Heart Skeleton Hand Heart |
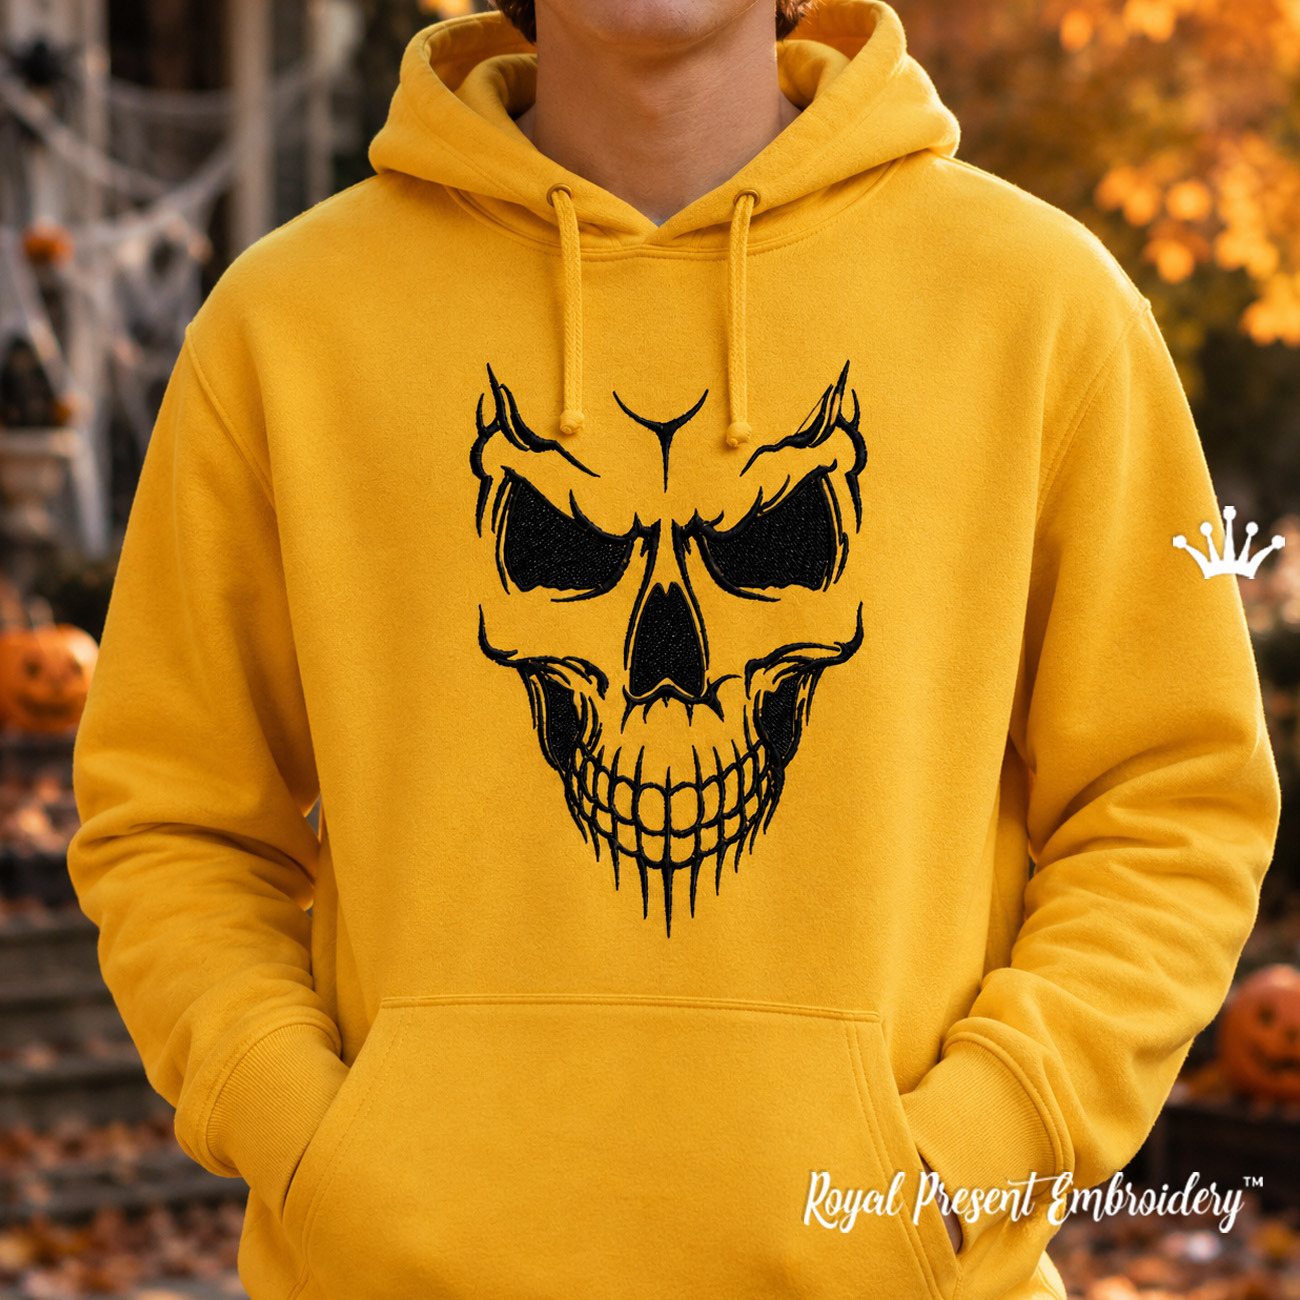 Smiling Skull Smiling Skull |
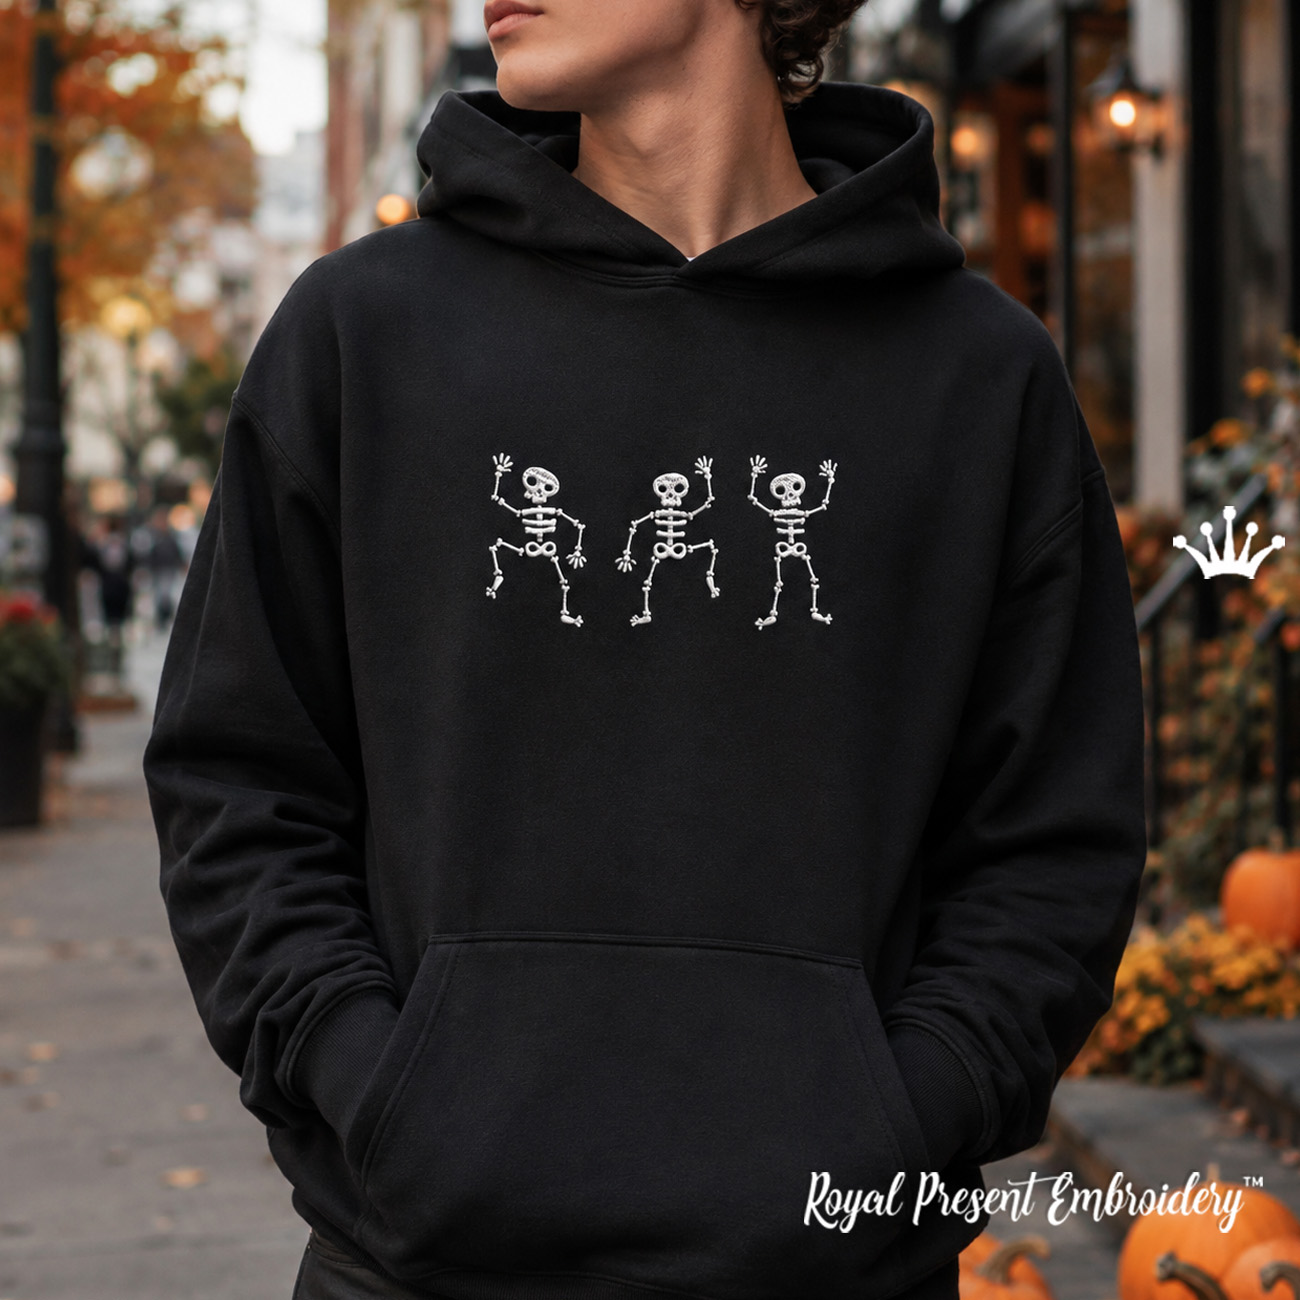 Three Skeletons Three Skeletons |
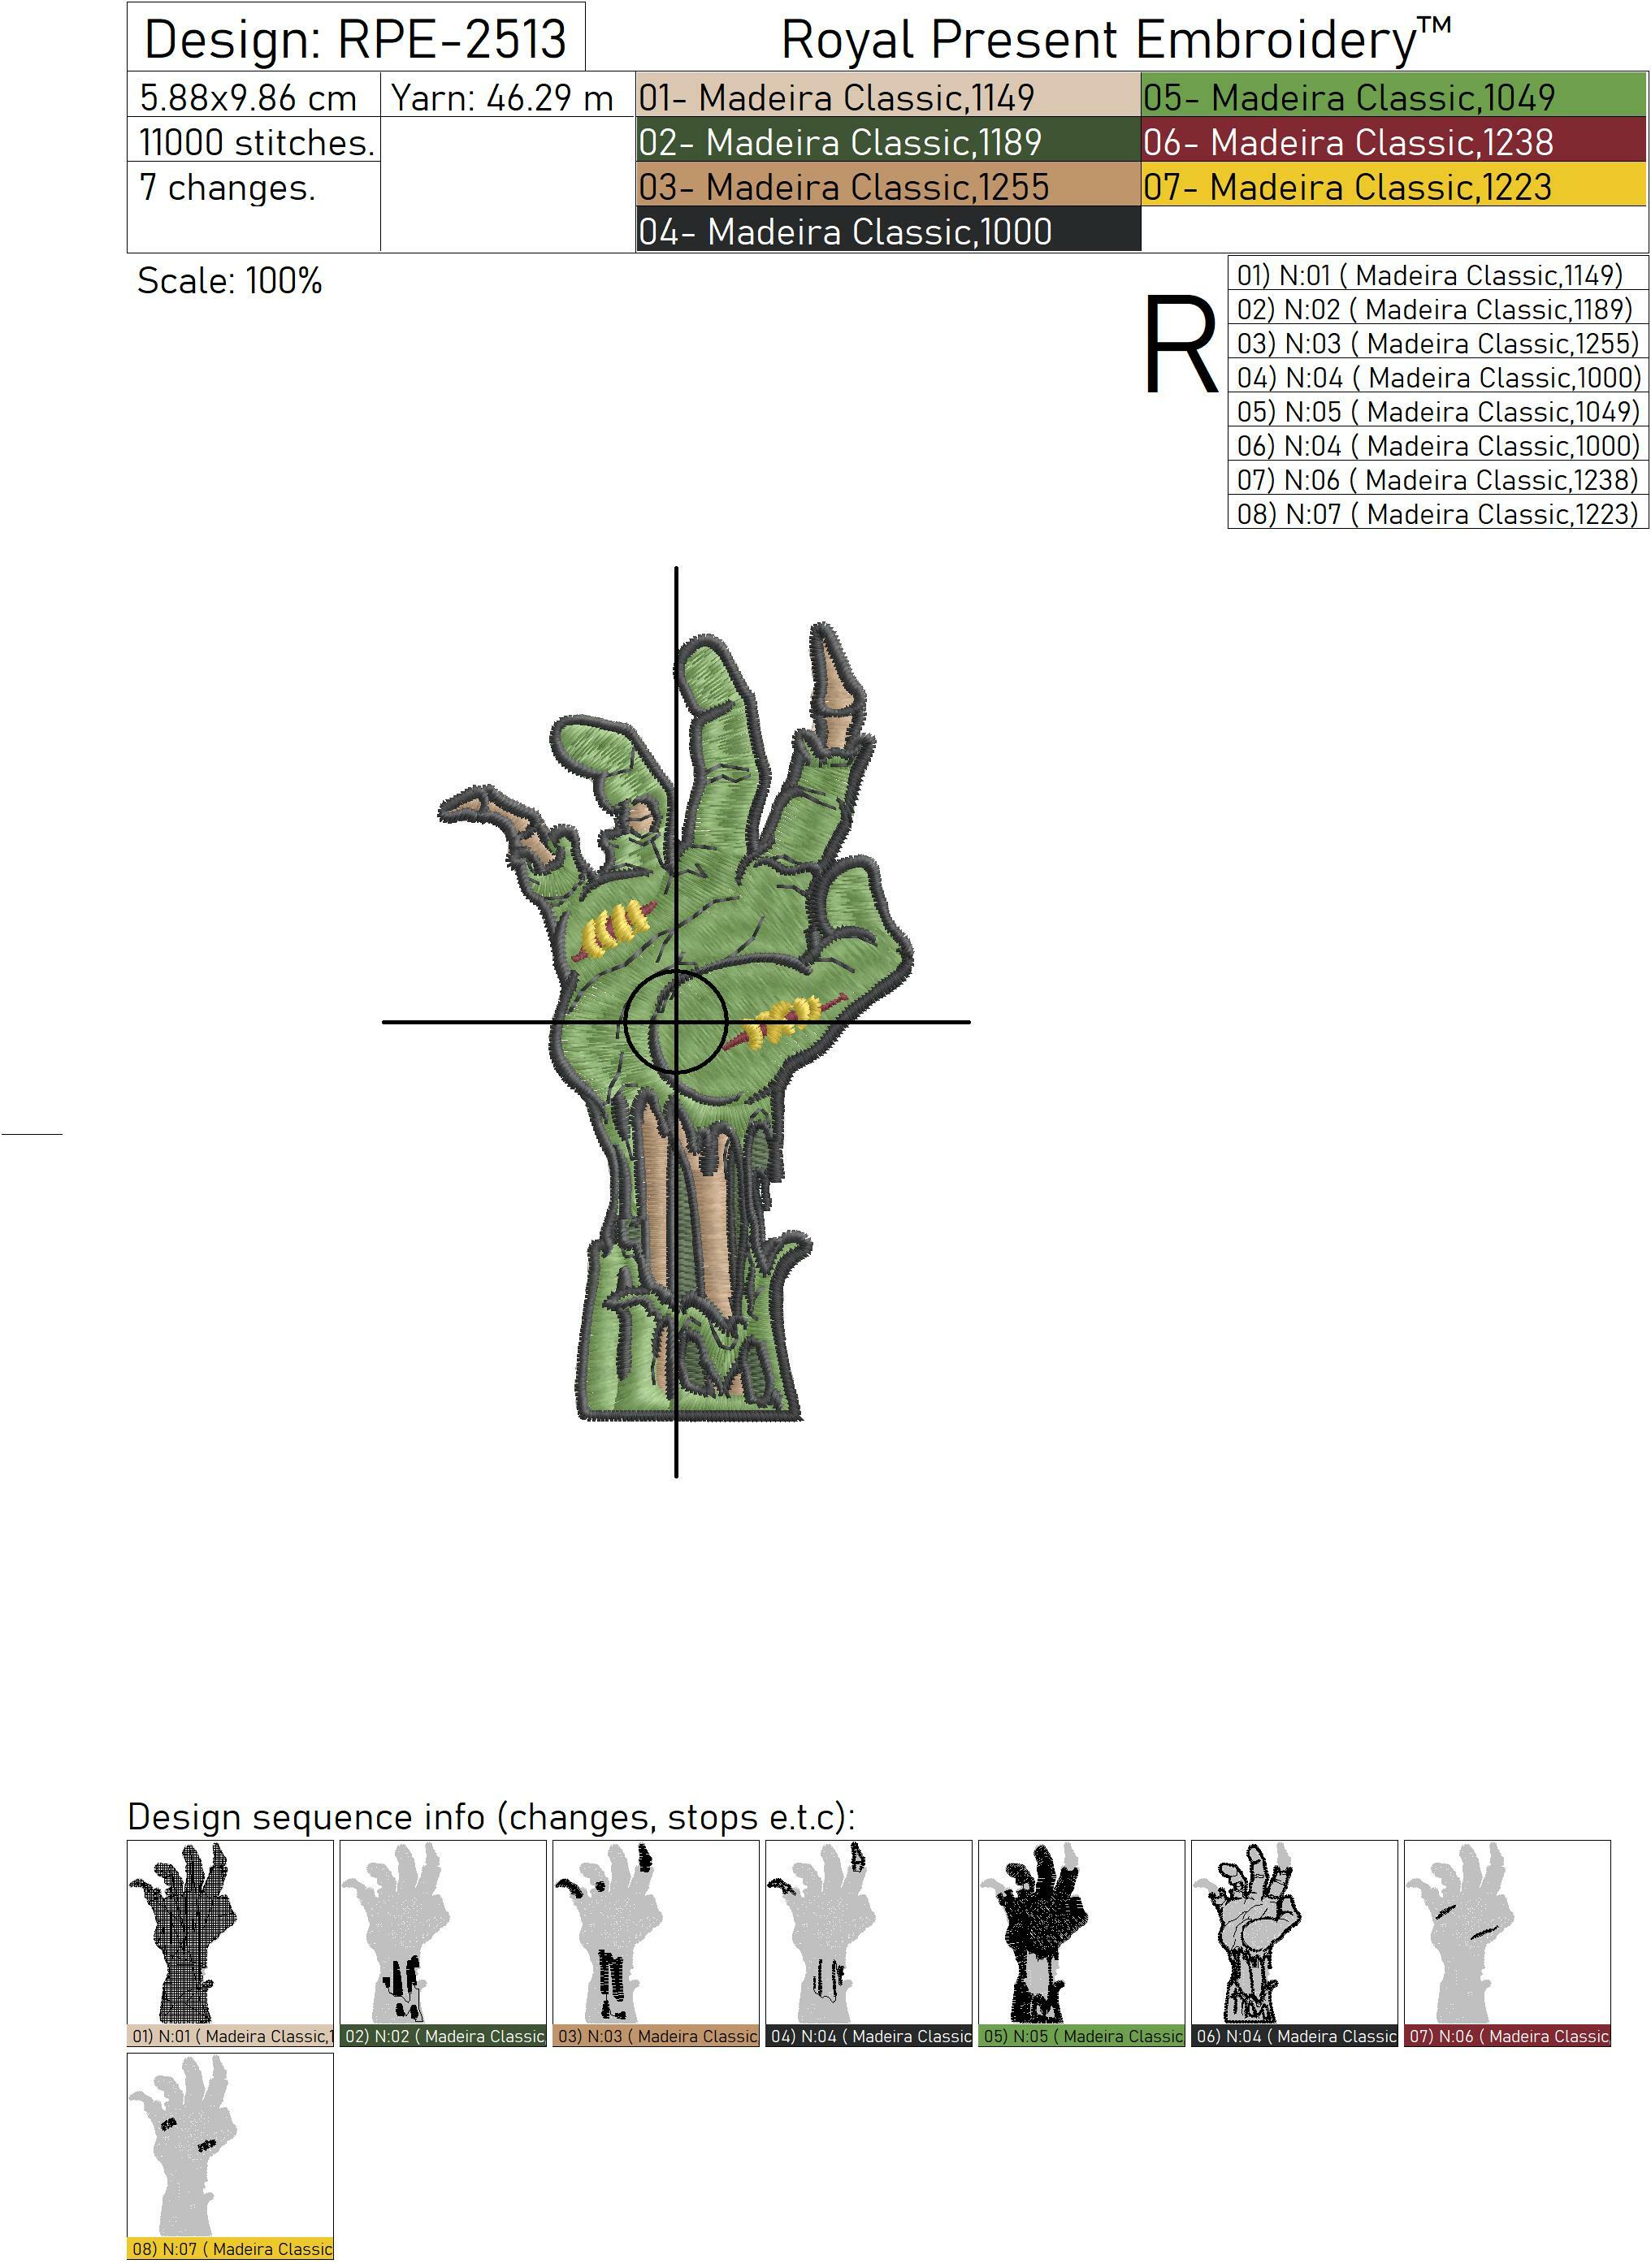
Madeira Classic 40 color chart
The design contains 7 unique thread colors and 8 stitching segments. Madeira Classic 1000 is used twice. The thread numbers below are taken directly from the RPE-2513 color chart.
Stabilizer guide
Practical embroidery tips
- Use a 75/11 embroidery needle for felt and medium-weight cotton.
- Use an 80/12 sharp needle for dense twill, canvas or denim.
- Use a 75/11 ballpoint embroidery needle for sweatshirt knit.
- Stitch at approximately 550–650 stitches per minute, especially around the fingers and narrow details.
- Do not significantly resize the file directly on the machine. Excessive resizing can change stitch density, underlay and outline registration.
- If using temporary spray adhesive, apply a light layer to the stabilizer away from the embroidery machine. Do not spray near the needle bar, hook assembly, sensors or moving machine parts.
- Test the design on similar fabric with the same thread, needle and stabilizer before embroidering the finished item.
Please note: This is a digital machine embroidery design, not a finished patch or physical product. After purchase, you will receive a ZIP archive containing the listed embroidery file formats. Check the design size, hoop size and machine format before purchasing.
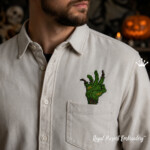
Zombie hand Machine Embroidery Design - 3 sizes
This is a really spooky Zombie hand that would be perfect for your Halloween projects!
Zombie hand Machine Embroidery Design - 3 sizes
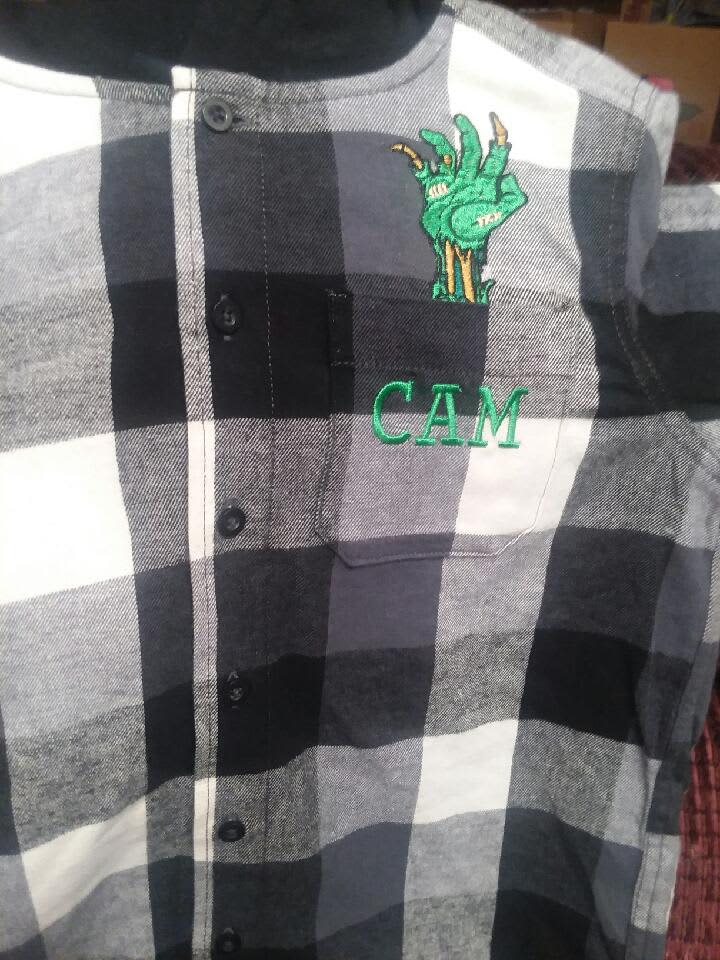
Stitched out great grandson loves it

 Get Sign-In Link
 Login with Google
 Login with Facebook
 Login with Amazon
 Login with Paypal