


Ostrich Portrait with a Hand-Stitched Look
Ostrich Portrait is a machine embroidery design of an ostrich’s tilted head and long neck, with wispy gray plumage, expressive eyes, long eyelashes and a pink beak. Directional stitches give the feathers a hand-stitched look, while the close-up composition makes the face the focal point. Use the vertical motif on a canvas tote front, a cushion panel or a framed textile picture made from a stable woven fabric. The main preview shows the embroidery on a dark background, creating contrast with the pale feathers and pink beak.
One portrait is supplied in two ready-to-stitch sizes, with a Madeira Classic color chart for each version. This is a digital embroidery file download for an embroidery machine, not a finished item or a hand-embroidery pattern.
Design Sizes and Suitable Hoops
Use a hoop supported by your machine and check that the original file fits its actual embroidery field. The hoop examples below are popular sizes, not a guarantee of compatibility with every machine.
Size: 118.0x230.0 mm (4.65x9.06 "), Stitches: 28200
Hoop: 150x240 mm (5.91x9.45 ").
Size: 87.0x170.0 mm (3.43x6.69 "), Stitches: 20400
Hoop: 100x170 mm (4x6.69 ") if the machine accepts the original file at the full nominal height. There is no spare height for an external basting frame. A compatible 130x180 mm (5x7 ") hoop provides more room. Run the full boundary check before stitching.
Formats: .pes, .pec, .hus, .vip, .dst, .exp, .sew, .dat, .vp3, .xxx, .jef
Recommended Bird Designs
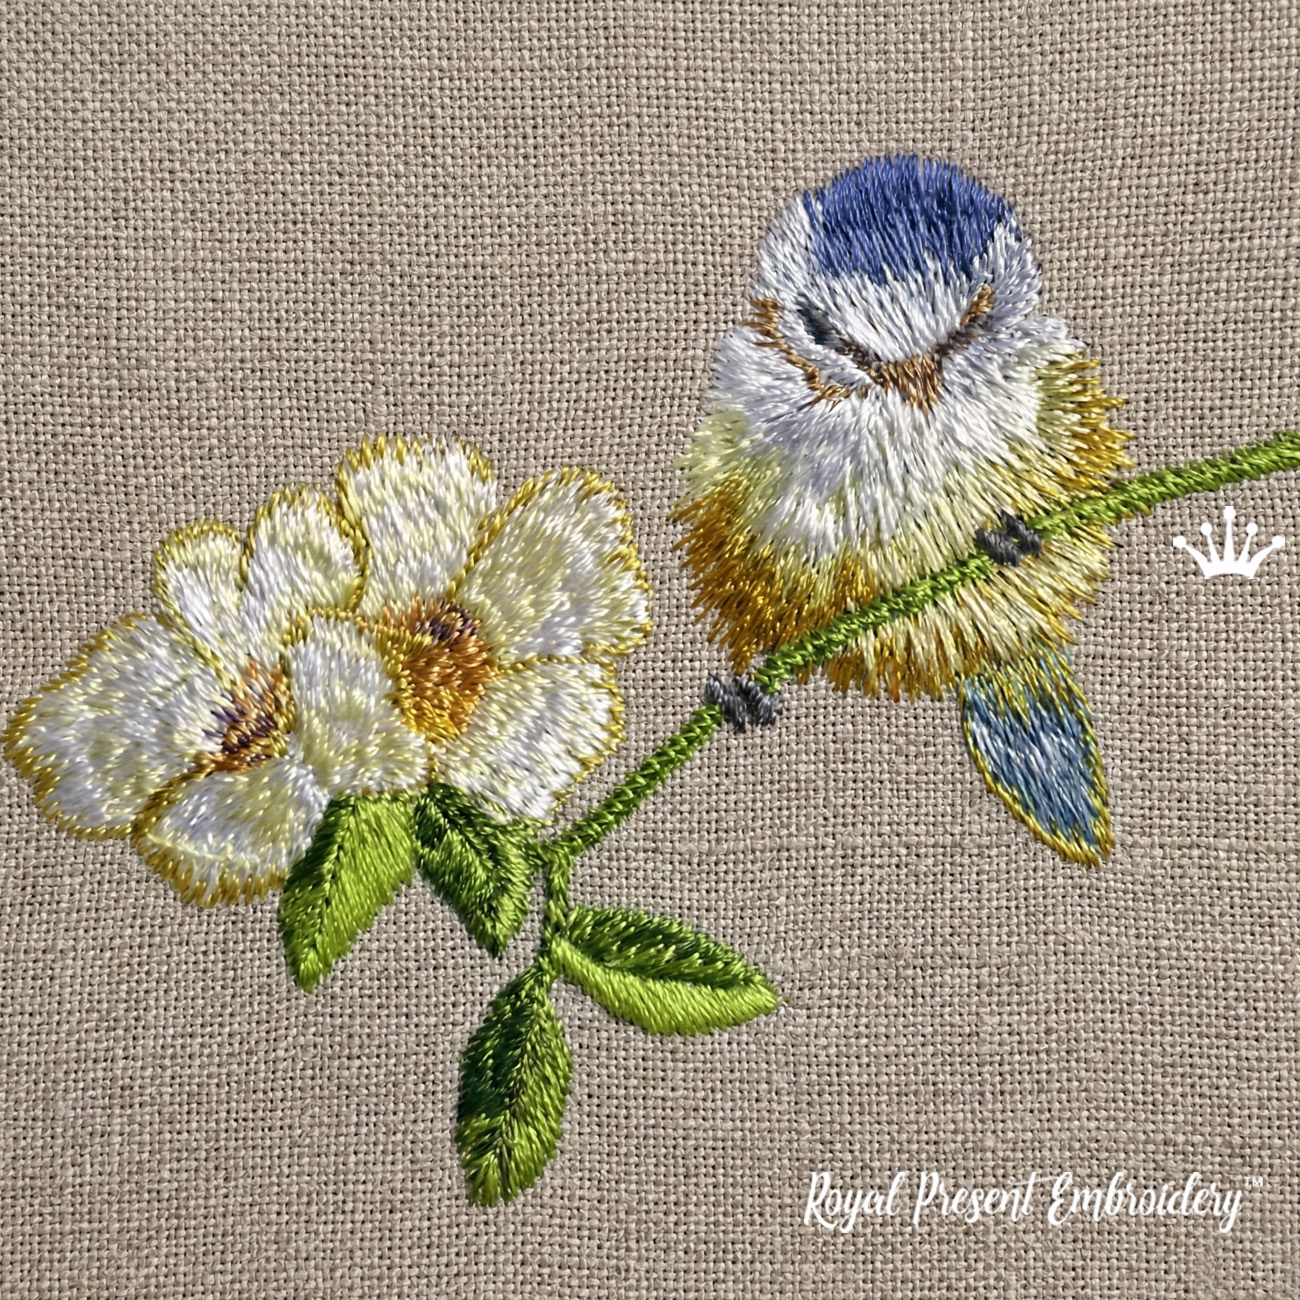 Long Stitch Small Titmouse |
 Long Stitch Blue Redbreast |
 Green Kingfisher Long Stitch |
 Beautiful Australian Bird |
These four different bird-and-flower compositions complement a bird-themed textile collection. The titmouse, blue redbreast and green kingfisher use a long-stitch look; the Australian bird adds another exotic subject. Each is a separate product and is not included with the ostrich.
Madeira Classic Thread Colors
Each size’s chart lists eight Madeira Classic color numbers. The large version uses 1212 for light feather details; the small version uses 1219 instead. Both are shown below, so follow the chart for the size you are stitching. The 48x48 px squares reproduce the digital samples in the published color charts. For physical thread matching, use the Madeira number and an actual shade card rather than a monitor.
| Color | Madeira Number | What This Color Stitches |
|---|---|---|
|
|
Madeira Classic 1363 | Gray plumage across the head and long neck. |
|
|
Madeira Classic 1164 | Darker feather shading and definition on the head and neck. |
|
|
Madeira Classic 1212 Large version only |
Lighter feather details on the head and neck in the 118.0x230.0 mm version. |
|
|
Madeira Classic 1219 Small version only |
Lighter feather details on the head and neck in the 87.0x170.0 mm version. |
|
|
Madeira Classic 1307 | Deeper pink areas of the beak. |
|
|
Madeira Classic 1015 | Pale pink highlights and lighter areas of the beak. |
|
|
Madeira Classic 1056 | Brown iris details and the fine dividing line on the beak. |
|
|
Madeira Classic 1000 | Pupils, dark eye areas, eyelashes and nostrils. |
|
|
Madeira Classic 1071 | Light feather highlights and small reflections in the eyes. |
Useful Questions About Stitching the Ostrich Portrait
Which fabric will show the wispy feather texture clearly?
A smooth, tightly woven, non-stretch fabric is a practical starting point: try medium-weight cotton canvas or twill for a tote front or cushion panel. The fine feather lines need a clear surface; pronounced pile and an open, coarse weave can obscure them. A plain dark background gives contrast similar to the main preview. Test the actual background and thread combination before committing to the finished item.
How should I choose and size the stabilizer for the long neck?
For a canvas project, start with medium-weight cut-away backing and test it with your chosen file. Cut a piece large enough to be held securely by the hoop on every side; a small patch behind the face will not support the full length of the neck. The fabric’s weight and stability matter, so do not calculate backing layers from the stitch count alone. Pre-shrink washable cotton canvas before embroidering.
How can I keep the eyes and beak aligned with the feather layers?
Hoop the fabric and backing together with even tension and no slack, without stretching the fabric. A compatible temporary embroidery adhesive applied to the backing can help keep canvas in contact with it; test for marking and follow the adhesive manufacturer’s instructions. Adhesive does not replace backing or secure hooping. Keep excess fabric clear so its weight cannot pull on the hooped area during stitching.
What is the best way to place this tall portrait on a tote bag?
If you are making the bag, embroider the flat front panel before adding the lining, handles and side seams. Place a full-size paper template first, checking the entire neck against the finished panel, seam allowances and handle positions. On an assembled bag, only the front layer must be under the needle, with the back, lining and handles clear throughout the hoop’s travel. If that is not possible, open a seam or embroider a separate finished fabric panel to attach afterward.

 Get Sign-In Link
 Login with Google
 Login with Facebook
 Login with Amazon
 Login with Paypal

