Christmas Garland Machine Embroidery Design Set – 3 in 1
By knowing the speed of your embroidery machine, you can find out how long it will take to embroider a design.
To use the embroidery calculator, click on the number of stitches in the product description.
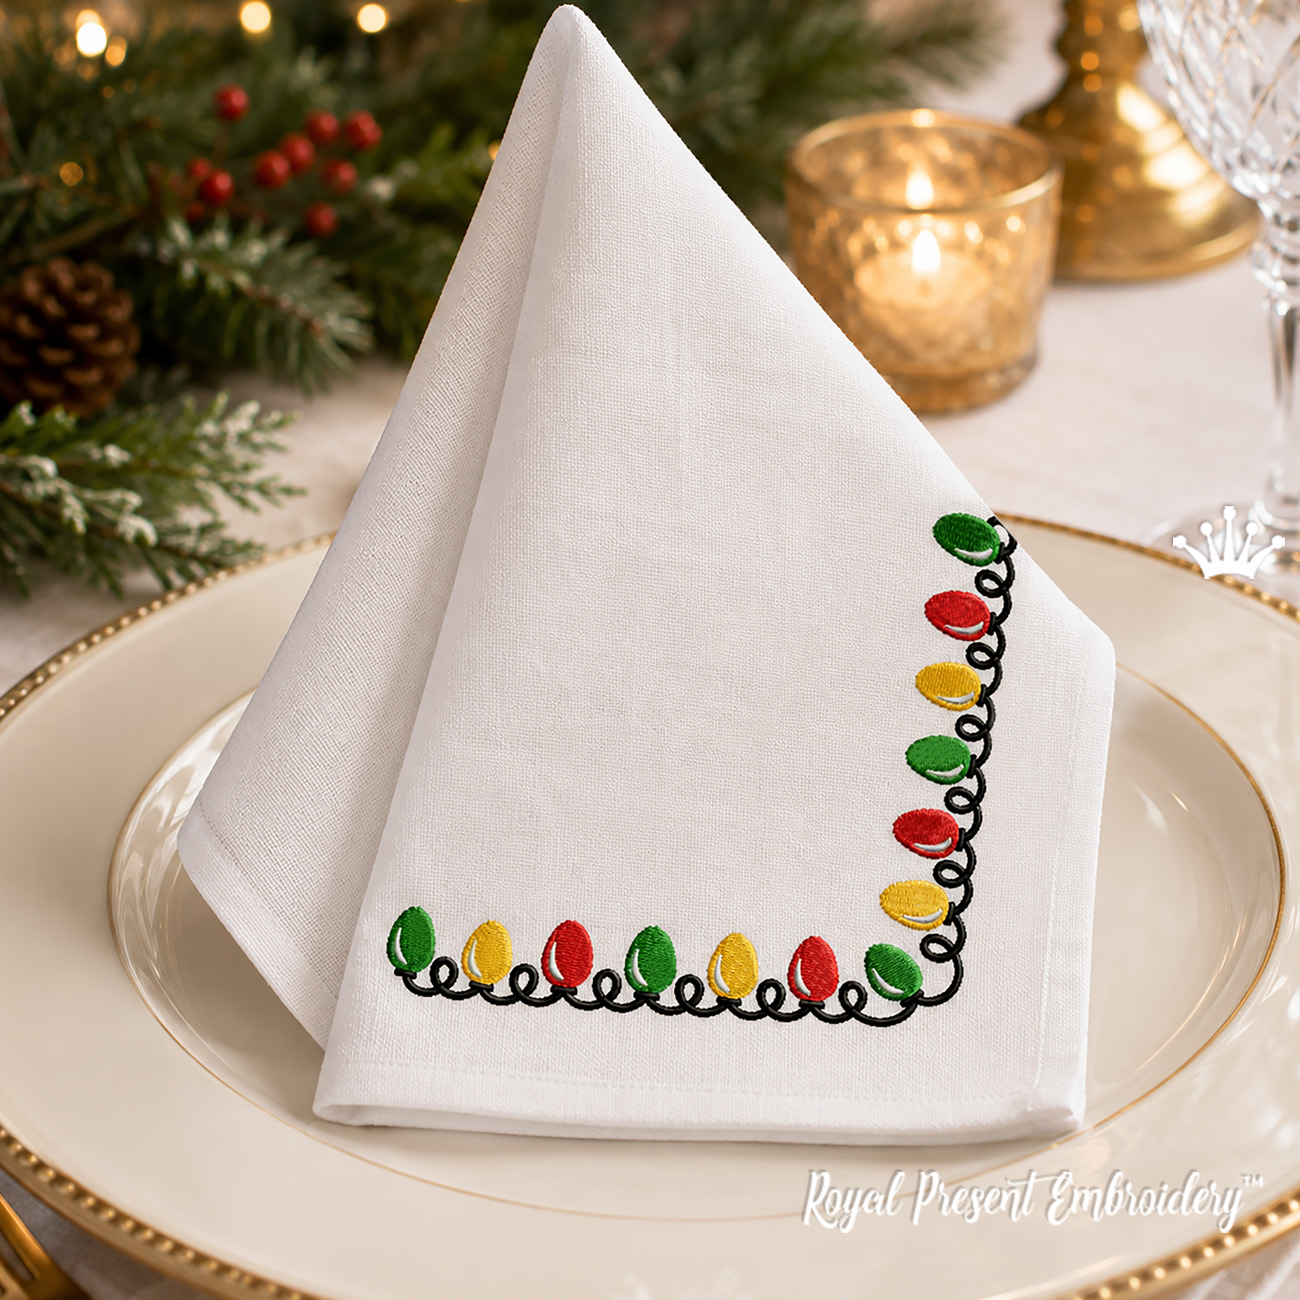
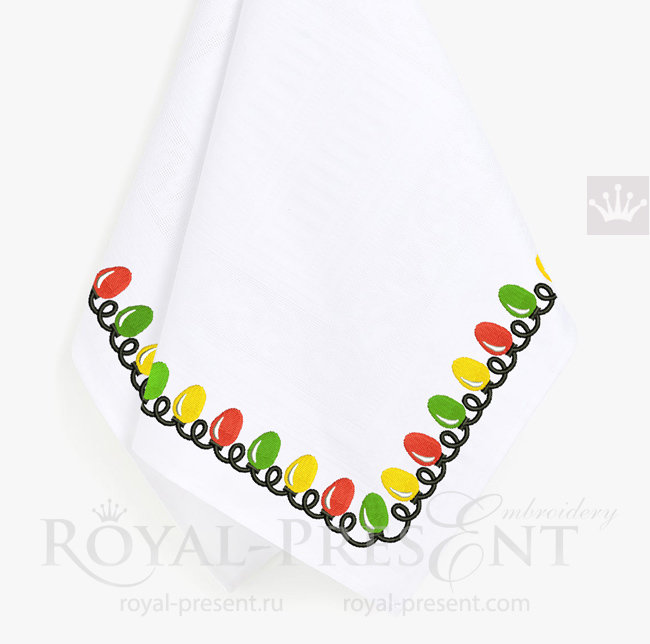
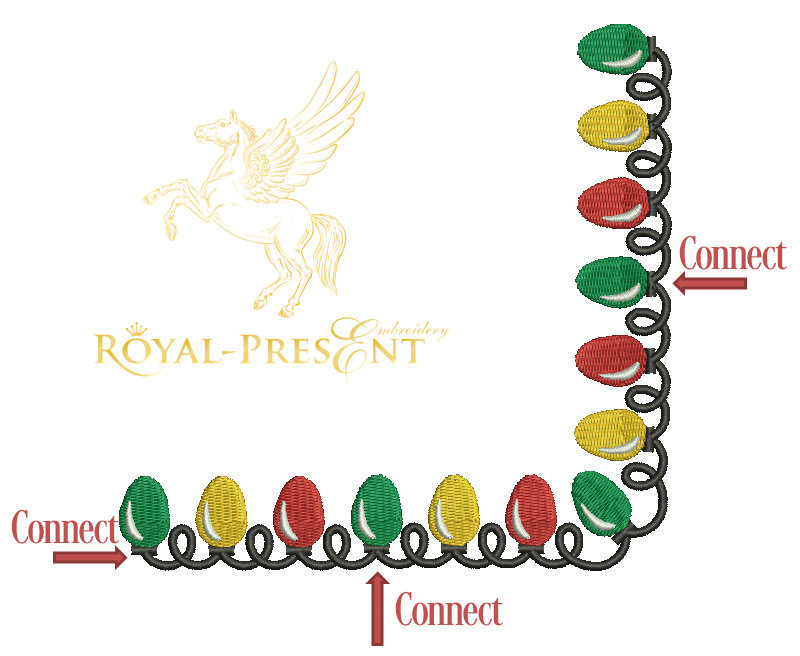
Christmas Garland Machine Embroidery Design Set contains three coordinating files: a horizontal border, a square corner and a vertical border. Use the corner alone on a napkin or combine all three elements to continue the same festive garland along two perpendicular edges.
Every file fits a true 100x100 mm (4x4") embroidery field. The elements are separately digitized and use logical joining points, so the set can form short accents, repeated borders or an L-shaped arrangement without enlarging the hoop.
What is included
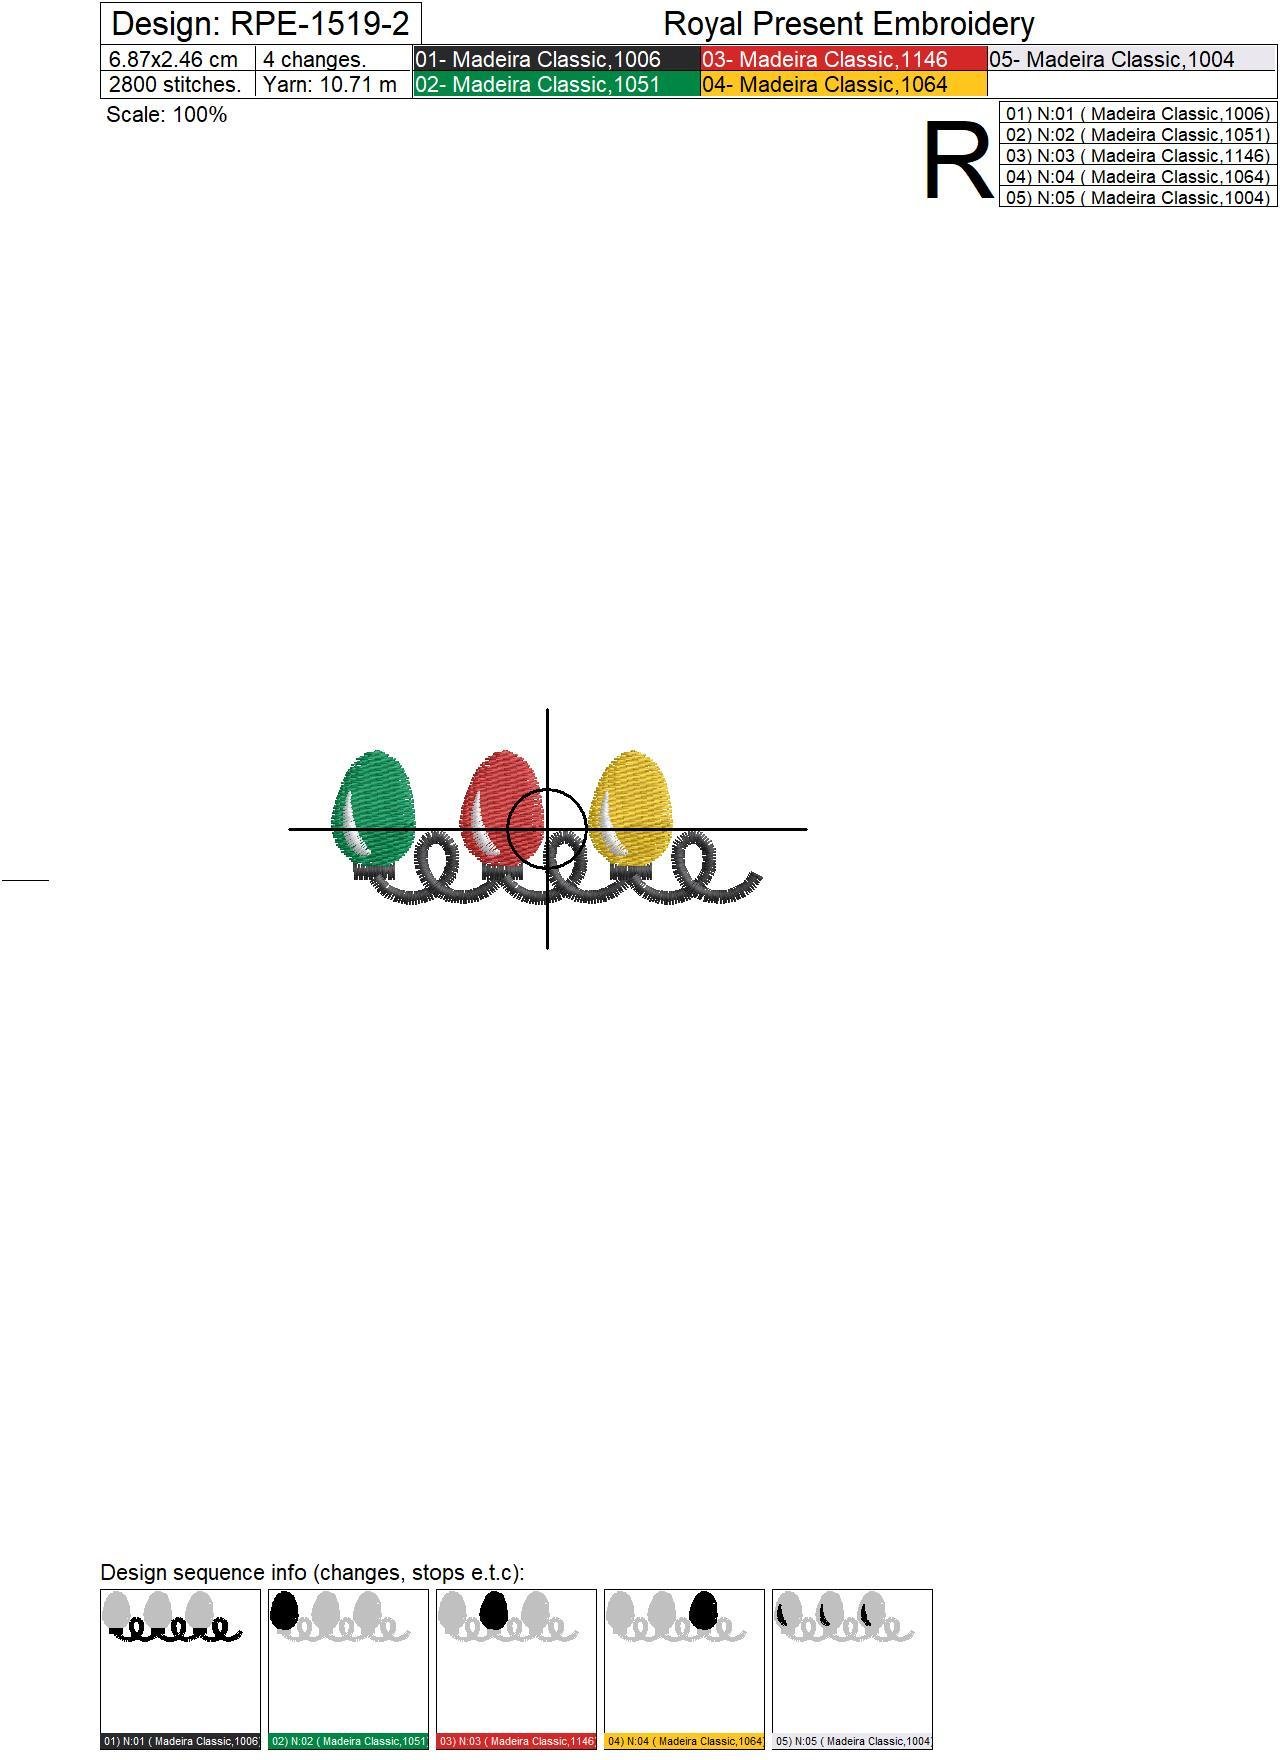
Size: 68.7x24.6 mm (2.70x0.97 "), Stitches: 2743
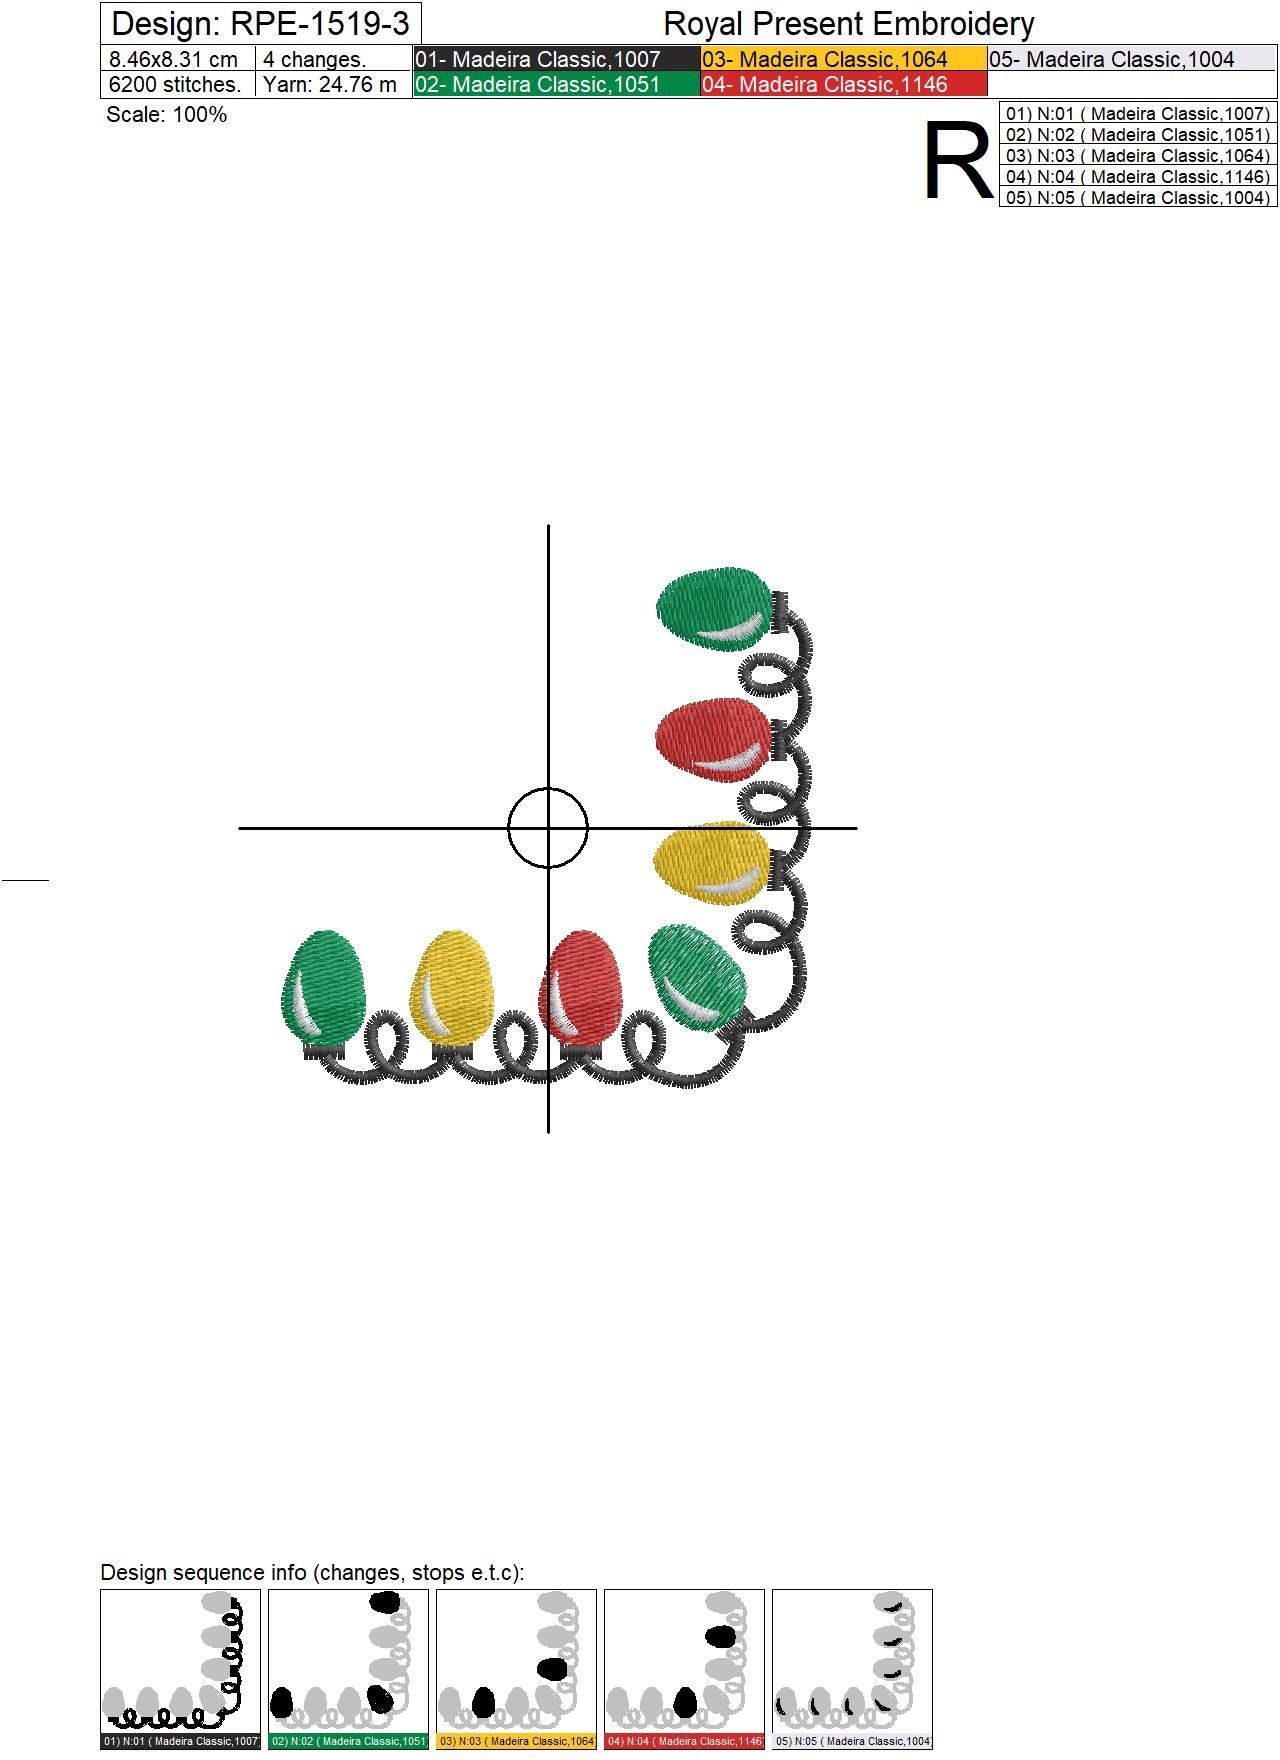
Size: 84.6x83.1 mm (3.33x3.27 "), Stitches: 6185
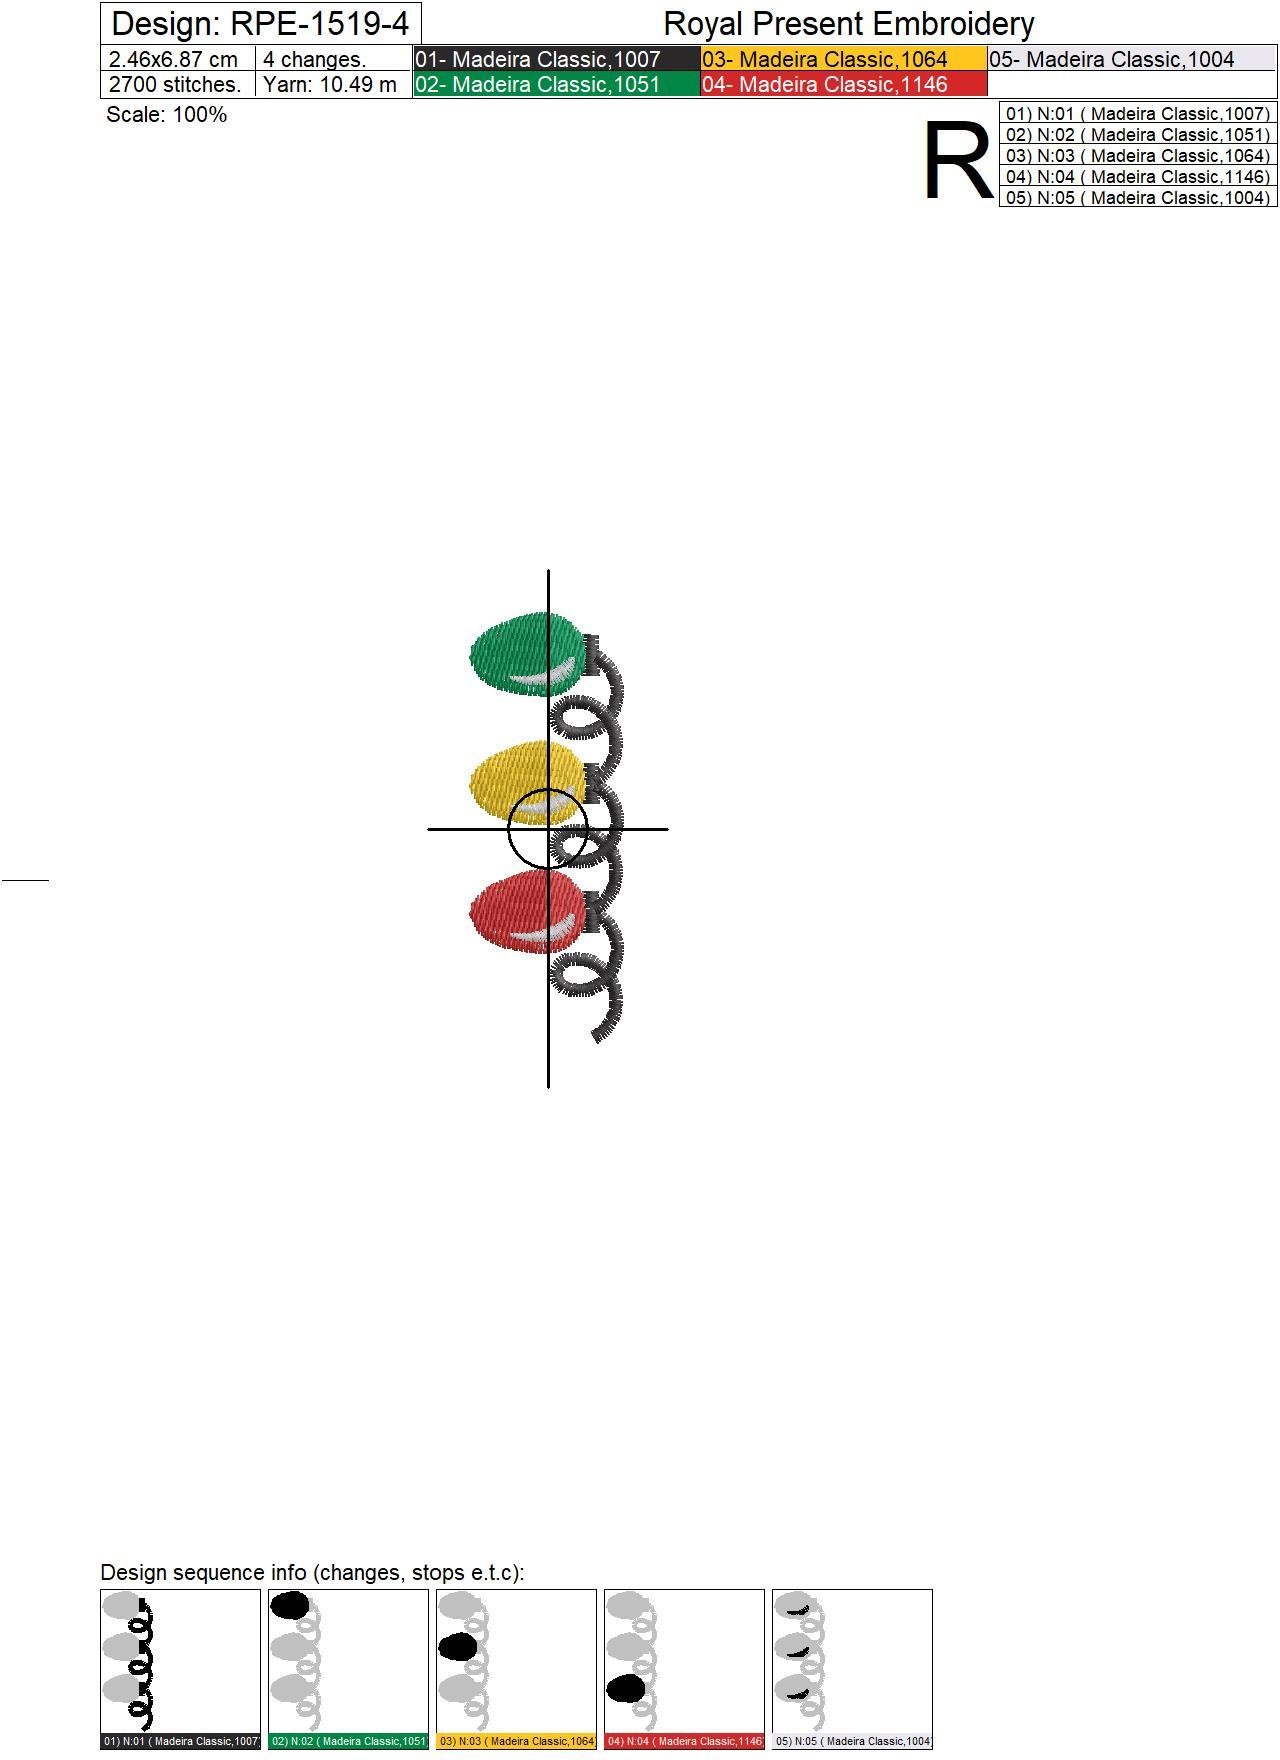
Size: 24.6x68.7 mm (0.97x2.70 "), Stitches: 2681
Formats: .pes, .pec, .hus, .vip, .dst, .exp, .sew, .exp, .dat, .vp3, .jef, xxx
4x4 hoop compatibility
All three files fit within a 100x100 mm embroidery field. The largest element is the corner at 84.6x83.1 mm, leaving adequate working margin inside a true 4x4 field. Always compare the file dimensions with the machine’s actual stitch field rather than the outside dimensions of the plastic frame. The guide to hoop sizes and real embroidery fields explains the difference.
How to build a clean 90-degree garland
| Order | Element | Placement rule |
|---|---|---|
| 1 | Corner | Mark the fabric corner, two perpendicular axes and the required distance from both finished edges. Stitch this element first. |
| 2 | Horizontal border | Align a 100% printed template with the corner’s horizontal joining point and continue outward. |
| 3 | Vertical border | Return to the corner, align the dedicated vertical file with the second joining point and continue down the side. |
Logical joining means the motifs were designed to continue, but the machine does not position repeated hoopings automatically. Print the templates at 100%, mark their center lines and test the complete join on scrap fabric.
For a square result, use a quilting ruler or an L-square instead of judging the angle by eye. Do not guess an overlap. If the test produces a gap or a doubled section, measure the error and move the next template by that exact amount. When fabric slips inside the frame, the article about non-slip rubber strips for Brother hoops explains one way to improve grip without overtightening the screw.
Thread plan for a festive garland
Use 40-weight machine embroidery thread for the main design. The palette below is a practical color plan for a coordinated Christmas result; follow the color-change chart supplied with the selected file for the programmed order and exact thread numbers.
| Color family | Function | Selection note |
|---|---|---|
| golden cord, caps or festive accents | warm antique gold looks softer on natural linen than bright yellow | |
| classic red ornaments and focal details | choose a clear medium red that remains distinct from burgundy | |
| traditional evergreen sections | a mid-dark green reads clearly on white and cream fabric | |
| ivory highlights | replace with soft gray or pale gold on white fabric if contrast is too low |
- Frequently washed napkins, tablecloths and kitchen towels: quality 40-weight polyester is the most practical choice because it resists laundering and abrasion.
- Decorative runners, cushions and seasonal bedding: 40-weight rayon gives satin areas a softer sheen.
- Metallic accent: replace only selected gold blocks after a sample. Use a Metallic 90/14 needle, reduce the speed to approximately 450–600 stitches per minute and adjust upper tension gradually.
- Bobbin: use the fine bobbin thread recommended for the machine, commonly No. 60–90. Metallic thread is not required in the bobbin.
When substituting another brand, compare physical shade cards and use the Madeira thread converter as a starting point. Do not use automatic color sorting because repeated colors can be separate technical blocks. For flat ribbon-style sparkle thread, see the detailed guide to Gütermann SULKY SLIVER metallic thread.
Fabric, stabilizer and needle
| Material | Stabilizer | Needle | Key technique |
|---|---|---|---|
| Stable cotton or medium linen | Medium-weight tear-away; use a fibrous wash-away backing when a cleaner reverse is essential | Sharp embroidery 75/11 | Prewash, press and hoop on grain so both border axes remain square |
| Loose or lightweight linen | Light-to-medium cut-away or no-show mesh; temporary adhesive only if compatible with the fabric | Sharp embroidery 75/11 | Support the complete stitched path and do not pull the weave while hooping |
| Satin, fine cotton or delicate bedding | Lightweight cut-away or fine polymesh | Sharp embroidery 70/10 or 75/11 | Test for needle marks, puckering and shine before stitching the finished item |
| Terry kitchen towel | Medium backing underneath plus thin water-soluble topping over the loops | Embroidery 75/11 or 80/12 | Topping controls the surface but does not replace the supporting layer below |
| Quilted cotton or padded runner | Medium cut-away for shifting layers; firm tear-away only when the complete sandwich is stable | Embroidery 75/11 or 80/12 | Baste the layers and keep one continuous backing beneath every joined element |
The stabilizer must control both stitch pull and movement between repeated hoopings. The guide to choosing stabilizers for machine embroidery explains how fabric structure and final use affect the choice.
Tips for accurate joins and flat corners
- Stitch the corner first. It establishes the exact 90-degree relationship for both border directions.
- Use the dedicated files. Do not replace the vertical element by rotating the horizontal one; their stitch counts differ and each file was digitized for its own direction.
- Print every template at 100%. Confirm the printed size with a ruler before transferring marks to the textile.
- Keep one measured offset from the finished edge. Mark the seam or hem line first, then place the embroidery from that line rather than from an unfinished fabric edge.
- Support the whole garland. Whenever possible, place one continuous strip of backing beneath the corner and all planned repeats.
- Do not stretch fabric during rehooping. A straight line can become bowed after release even when every template looked correct in the hoop.
- Test one complete join. Use the same fabric, stabilizer, thread and machine speed as the final project; joining errors often come from fabric movement rather than the file coordinates.
- Remove backing toward the stitches. Support the embroidery with one hand while tearing away excess so the narrow border is not distorted after stitching.
Christmas project ideas
- a matching set of square dinner or cocktail napkins;
- an L-shaped accent on the corner of a tablecloth or placemat;
- repeated borders along a table runner or buffet cloth;
- Christmas kitchen towels and guest towels;
- pillowcases, duvet covers and seasonal bed linen;
- apron corners, bread-basket liners and fabric gift wraps;
- curtain tiebacks, valances and small festive textile panels.
If another size is required
All three supplied elements must remain at the same scale. Enlarging or reducing the corner, horizontal border and vertical border by different percentages will move their joining points and break the continuous garland. For a specific finished width or offset, request the professional embroidery design resizing service and provide the required dimensions for the complete three-part set.
Frequently asked questions
How many embroidery files are included?
The set contains three separately digitized files: one horizontal border, one 90-degree corner and one vertical border.
Do all three elements fit a 4x4 hoop?
Yes. Their sizes are 68.7x24.6 mm, 84.6x83.1 mm and 24.6x68.7 mm. Each file fits within a true 100x100 mm embroidery field.
Does the set stitch a complete frame in one hooping?
No. The three elements are independent files. Stitch the corner first, then position the horizontal and vertical files separately. Additional border repeats require additional placements.
How is an exact square corner maintained?
Mark two perpendicular axes with a quilting ruler or L-square, position the corner from the finished hem lines and verify the printed template at 100% scale. Do not rely on the visible fabric edge if it has not yet been cut or hemmed accurately.
Can the horizontal and vertical borders be repeated?
Yes. They have logical joining points for building longer runs. Test one repeat on scrap fabric and measure any correction before stitching the finished textile.
Can the horizontal file simply be rotated for the side border?
Use the supplied vertical file. It has its own stitch path and a different stitch count, so it should not be replaced by a rotated copy of the horizontal element.
Which stabilizer is best for linen napkins?
Use medium-weight tear-away on stable medium linen. Choose light-to-medium cut-away or no-show mesh for loose, thin or shifting linen. A fibrous wash-away backing can give a cleaner reverse on reversible table linens, but it must be tested with the full design.
Can metallic thread be used?
Yes, for selected golden accents after a test stitch. Use a Metallic 90/14 needle, slow the machine and adjust upper tension gradually. Replacing every regular block with metallic can change coverage and increase thread breaks.
Can only one element be resized?
Not if it must join the other two. All three elements need the same proportional change so their joining points remain compatible. Independent scaling will break the continuous border.
Christmas Garland Machine Embroidery Design Set – 3 in 1
Impeccable quality

 Get Sign-In Link
 Login with Google
 Login with Facebook
 Login with Amazon
 Login with Paypal