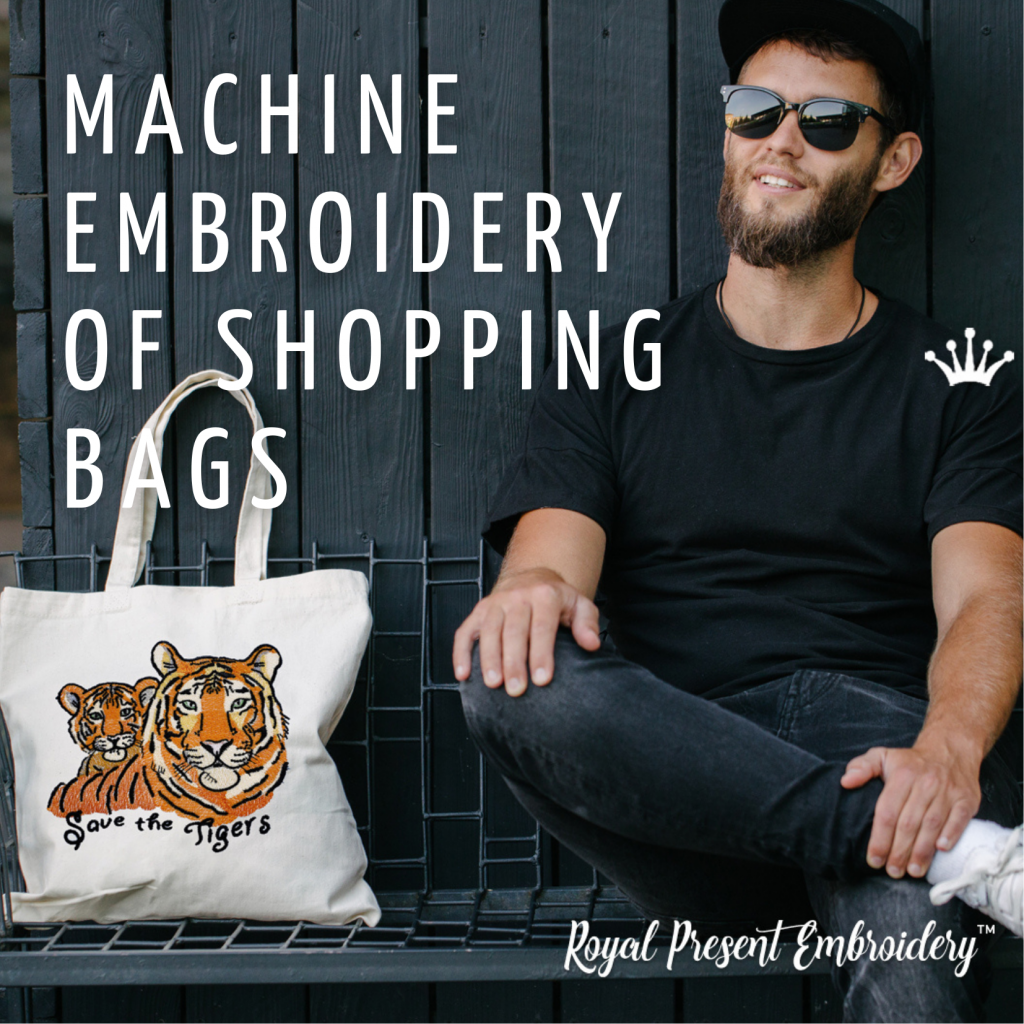
We call them farmer’s market bags, grocery bags, shopping bags, shopping totes, shoppers, and so on and so forth. They help us carry groceries from supermarkets, books from campus libraries, and other important whatnots. They are always at hand and are easy to use. They make our life so much easier and they help us protect the environment too. What more can we wish from these little helpers of ours? Well, it wouldn’t hurt if they could add to our style, right? Is it possible, though? Yes, it is! In this article, we’ll speak of how to make it happen with the help of machine embroidery.
Machine embroidery of shopping bags story will unfold itself according to the following plan:
- Shopping bags: most popular types.
- Machine embroidery of shopping bags: the role of the type of the bag.
- Machine embroidery of shopping bags: the role of the fabric.
- Machine embroidery of shopping bags: step-by-step instructions.
- Shopping bags: templates and patterns.
- Machine embroidery designs best suited for shopping bag decoration.
Now that we’ve announced the plan let’s get to elaborate on it.
Shopping bags: most popular types
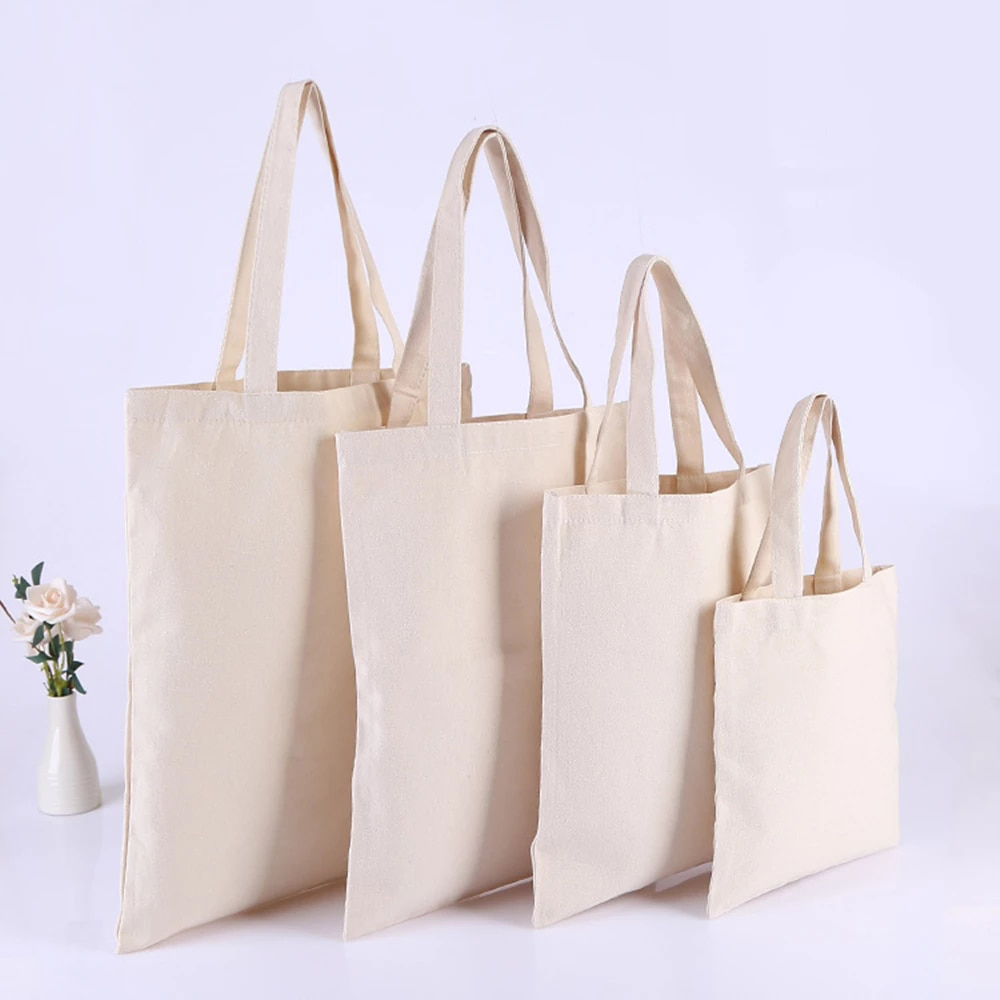
As there’re lots of names for the shopping bag, so there’re lots of their types and styles. Shopping bags can differ in size, form, shape and, of course, the material they are made of. Further, we’ll give you the most popular of their types and describe why each of them differs machine embroidery-wise. So, there’re the following shopping bag types:
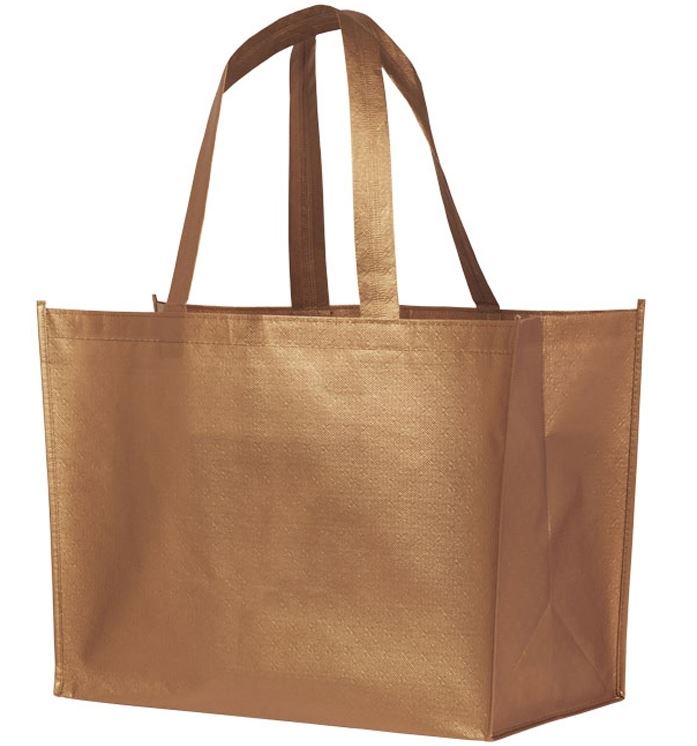
Handle bags:
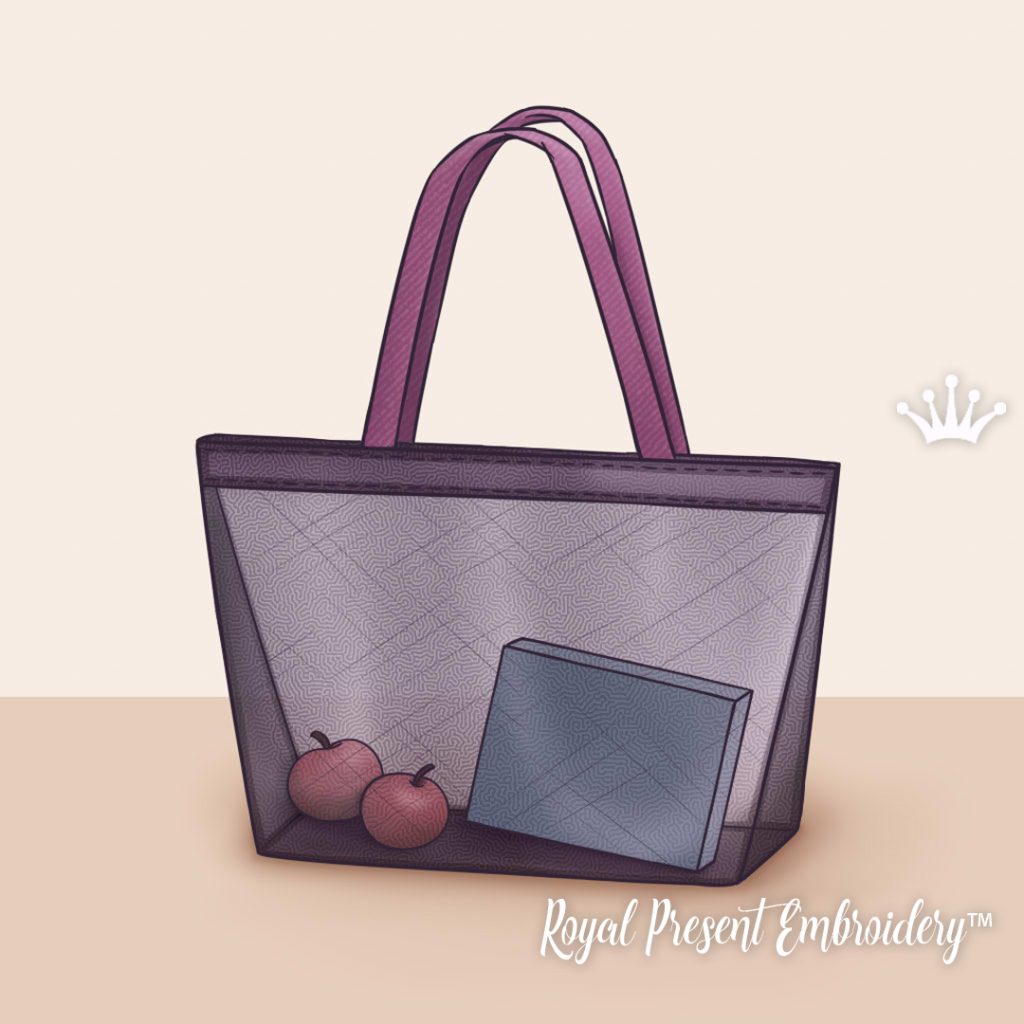
1) Bags with bottom and sides
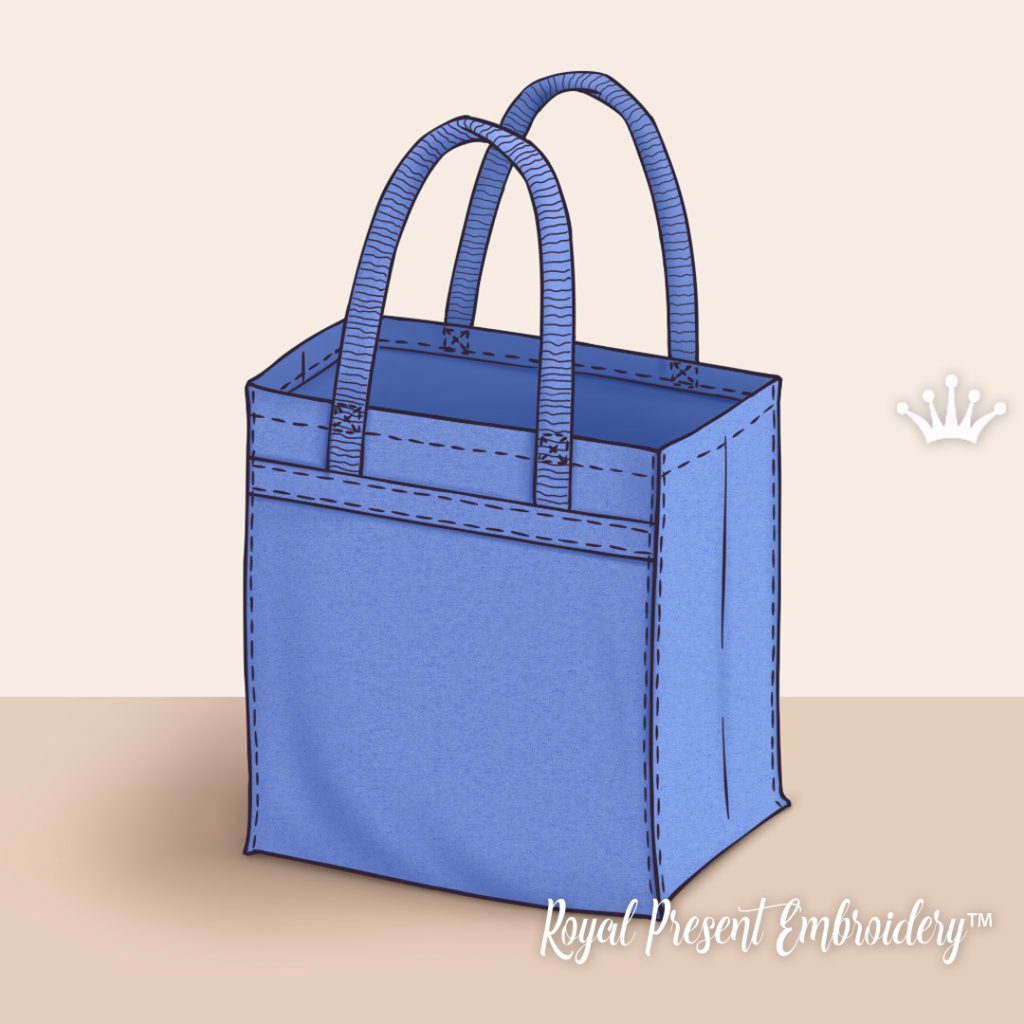
Bags with bottom and sides
2) Bags without bottom and sides
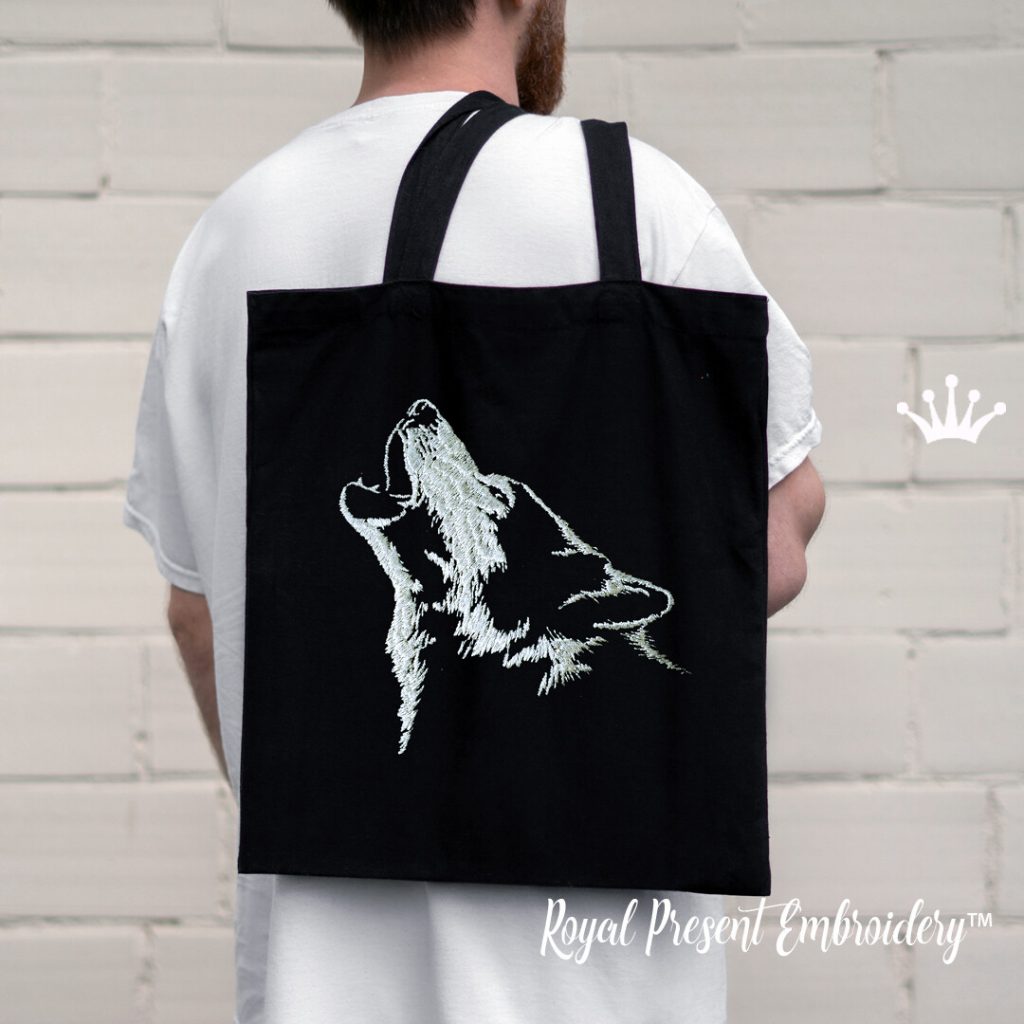
Howling Wolf Machine Embroidery Design – 8 sizes
3) T-shirt bag/ U cut bags
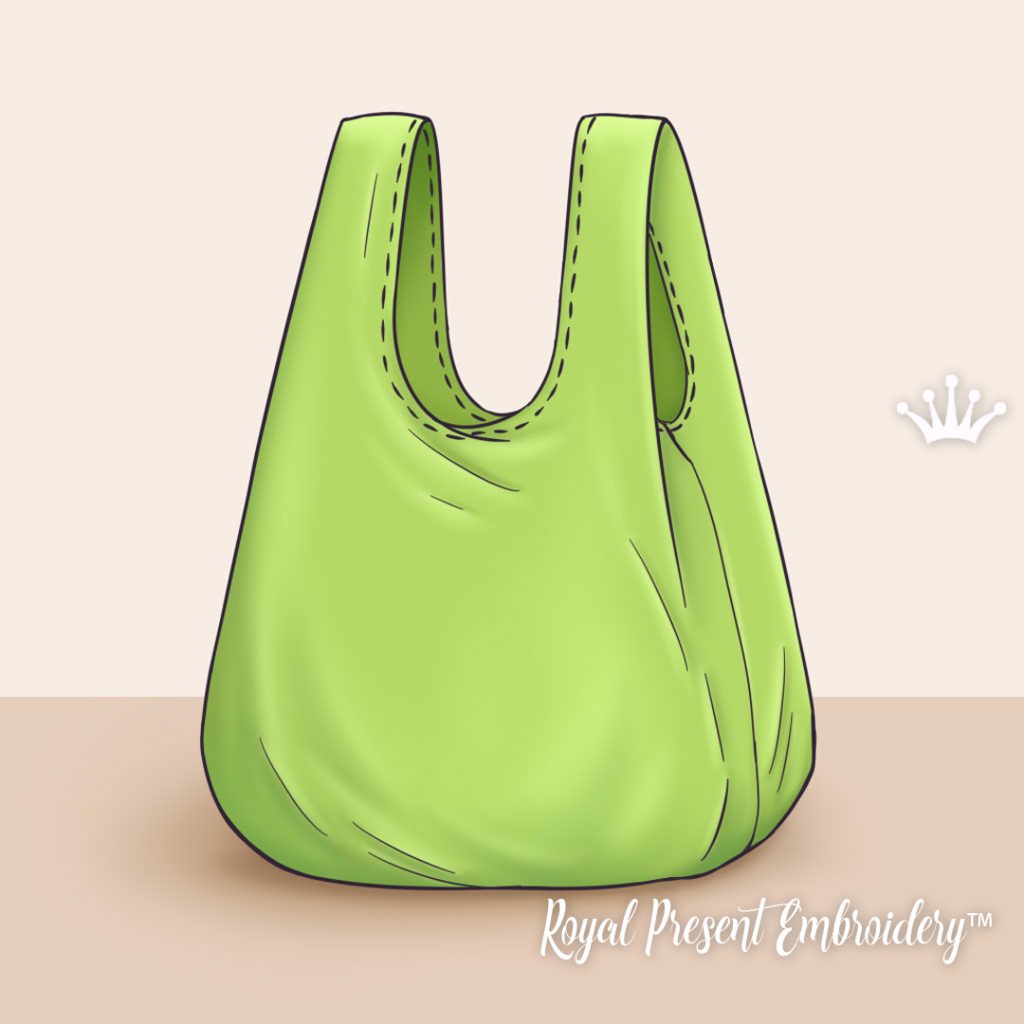
T-shirt bag/ U cut bags
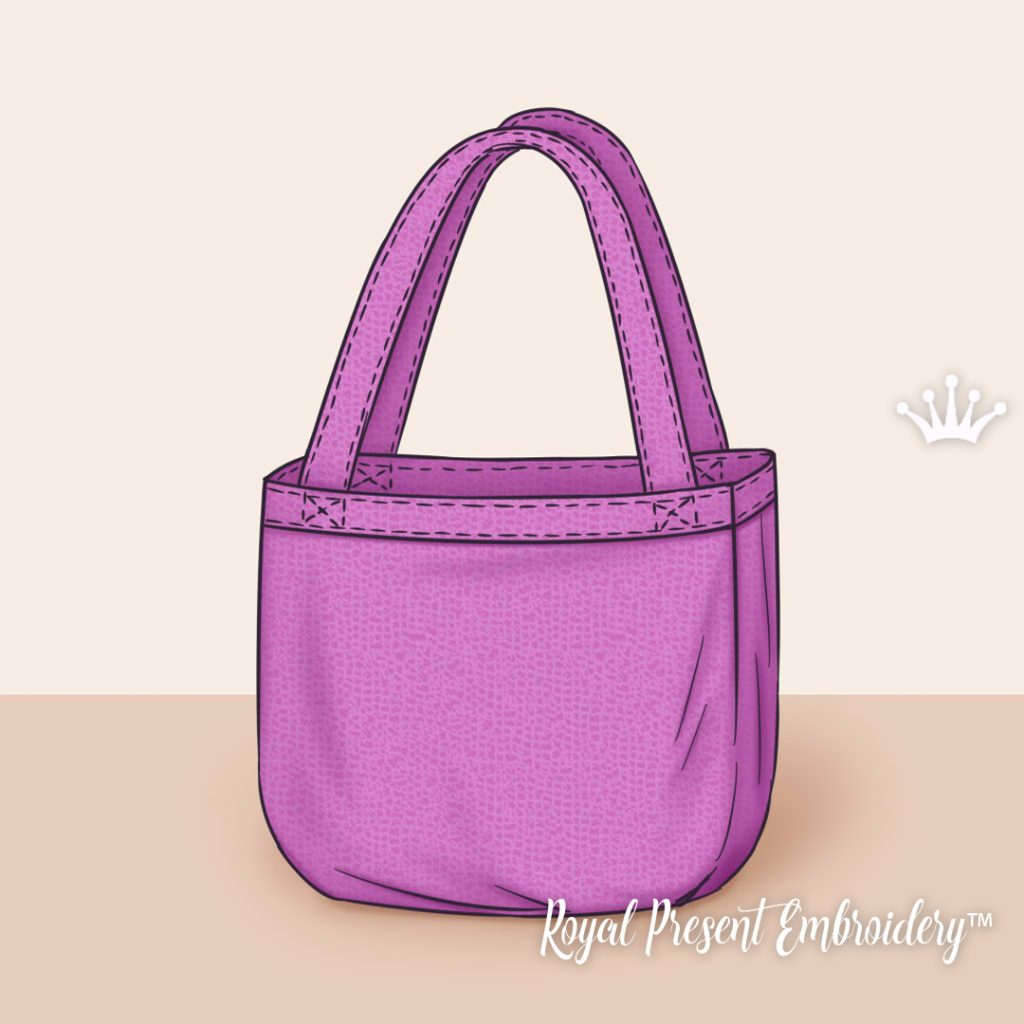
4) Handle to bottom bags
Handle to bottom bags
5) Multi-pocket bags/ bottle bags/ wine bags
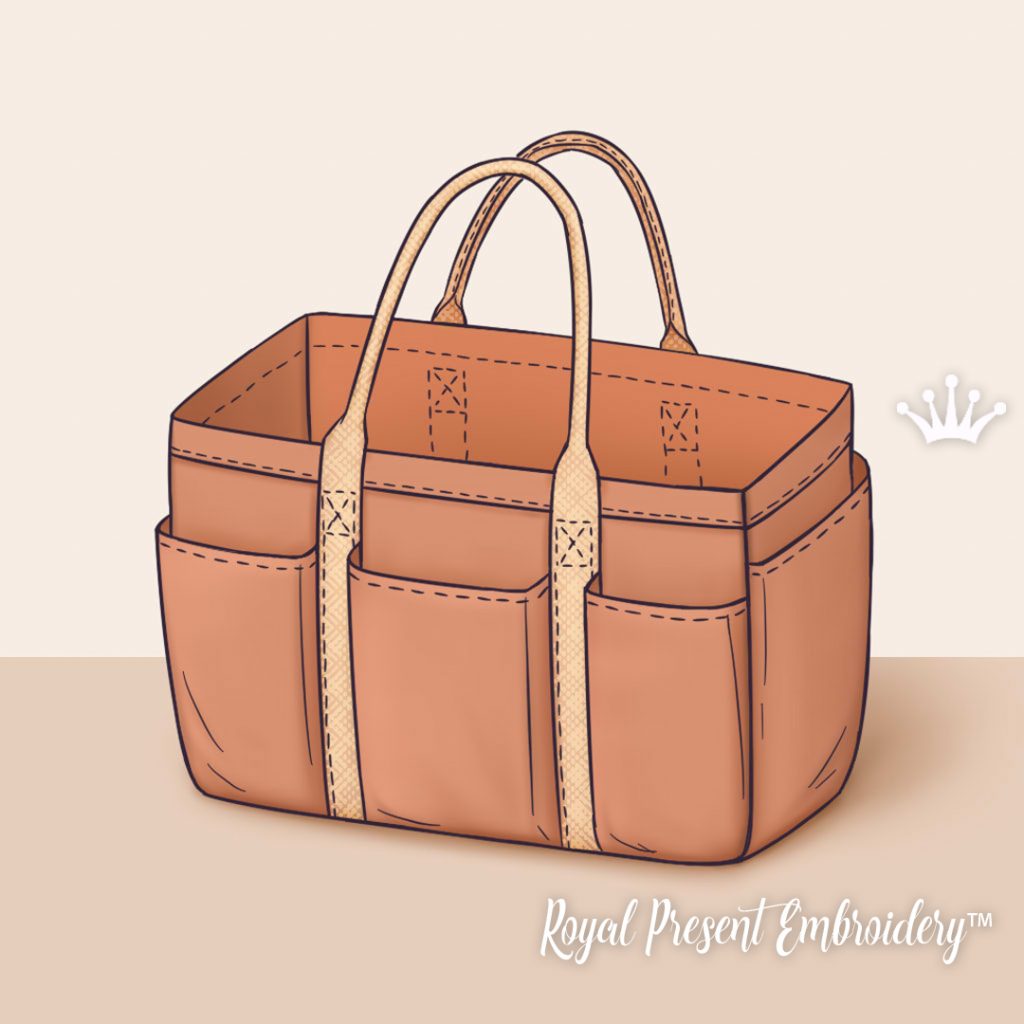
Multi-pocket bags bottle bags wine bags
6) Drawstring bags
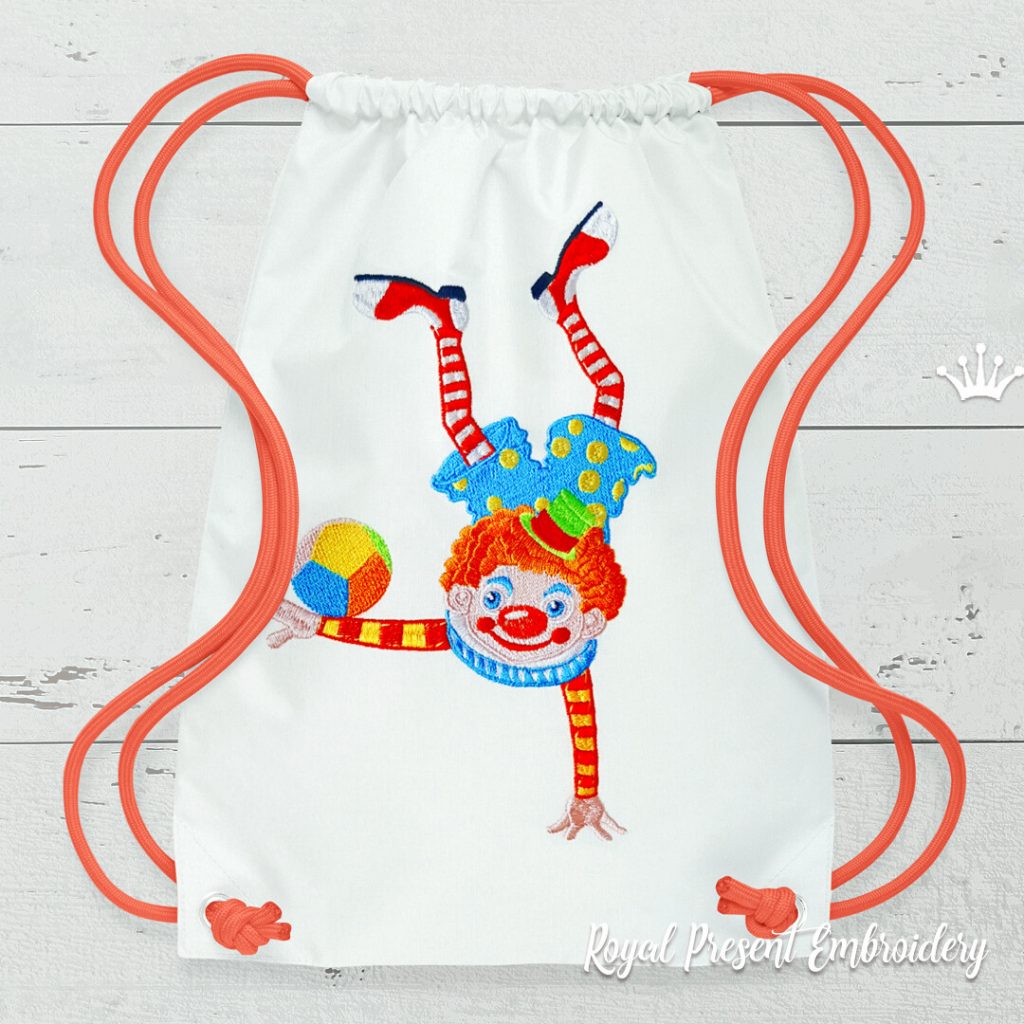
Clown Acrobat Machine Embroidery Design – 3 sizes
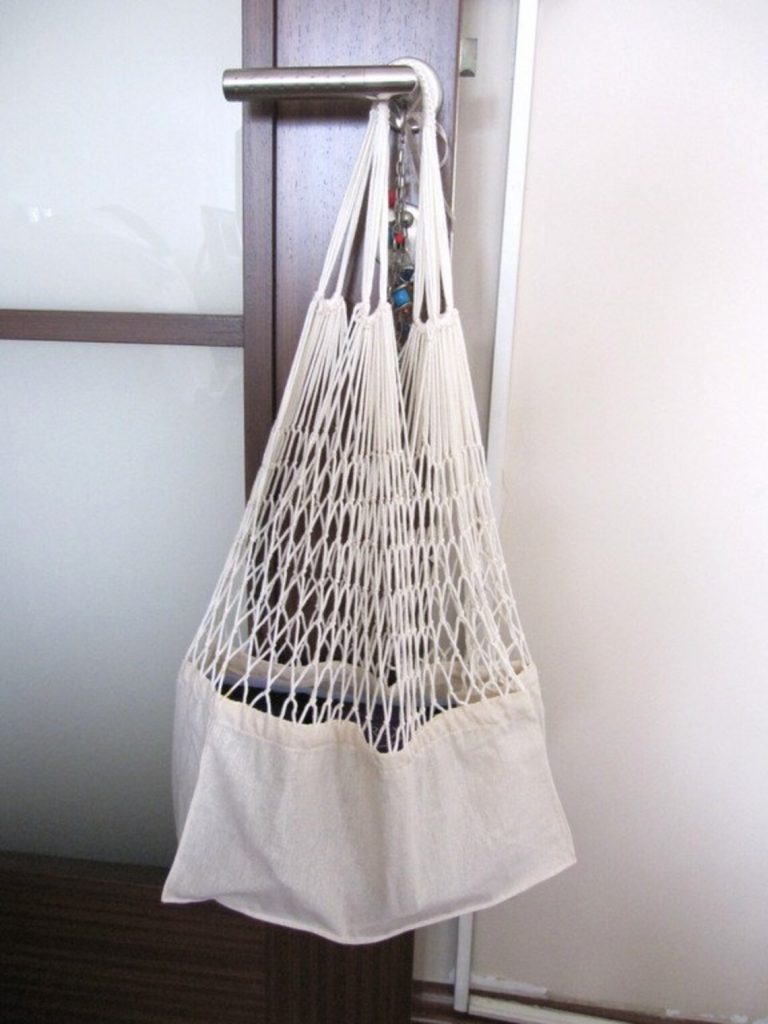
7) Fishnet/macramé/net market/rope shopping bags
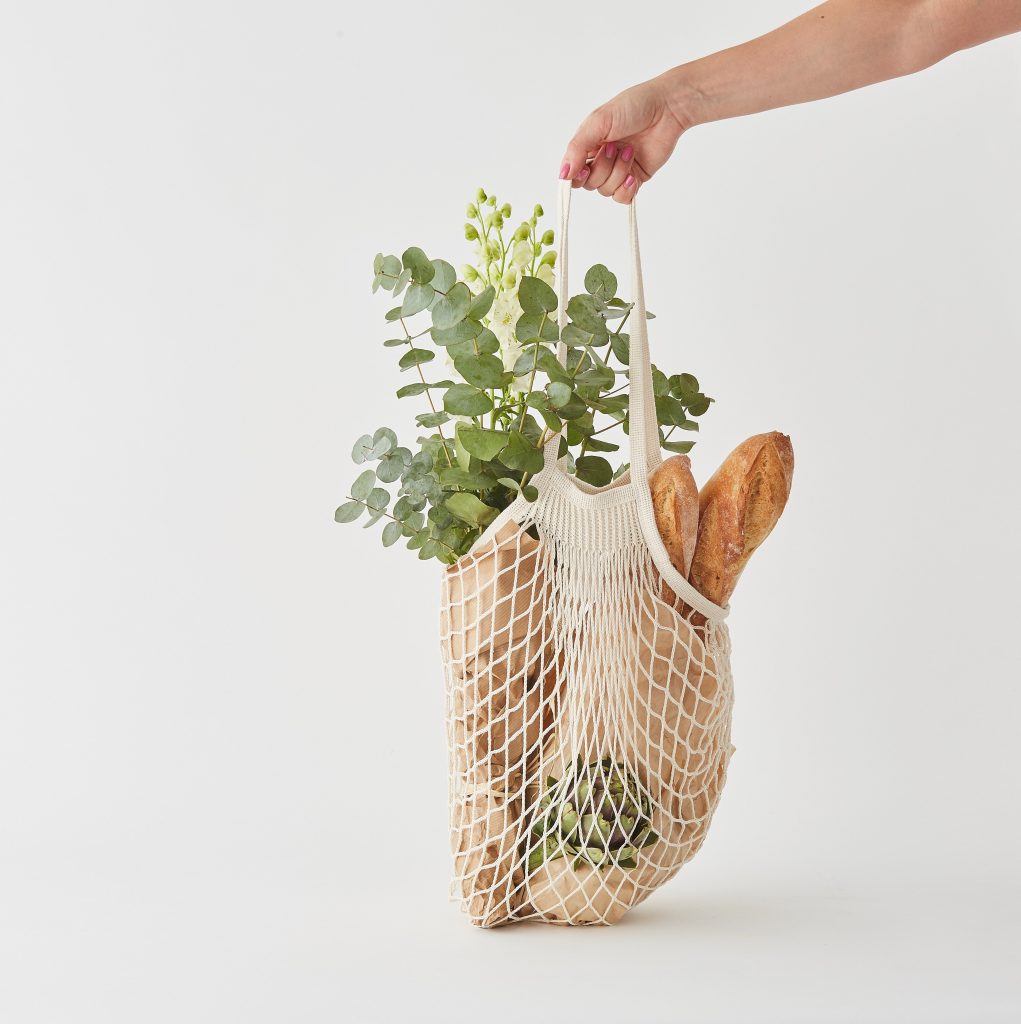
Fishnet/macramé/net market/rope shopping bags
8) Fishnet with cotton bottom shopping bags
Fishnet with cotton bottom shopping bags
9) Collapsible grocery bags/boxes
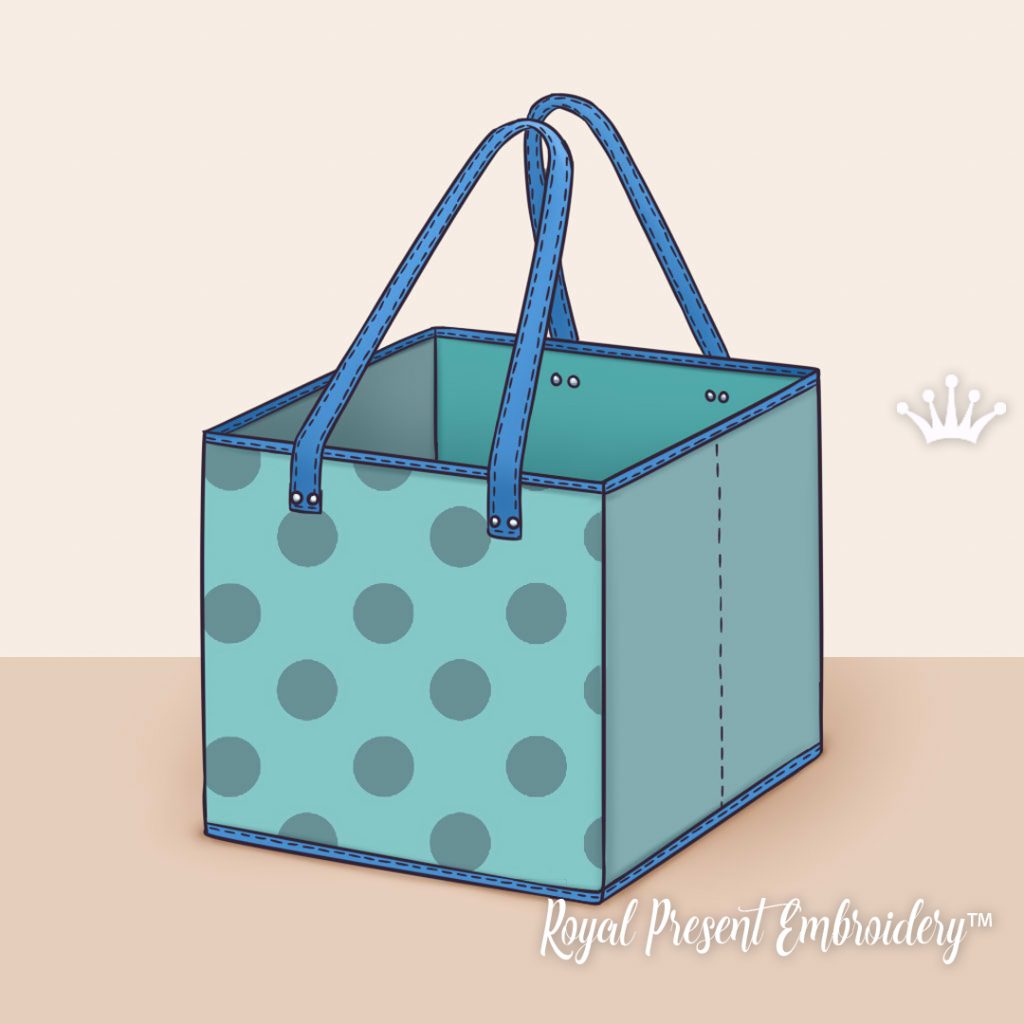
Collapsible grocery bagsboxes
10) Foldable shopping bags
Foldable shopping bags
No handles shopping bags:
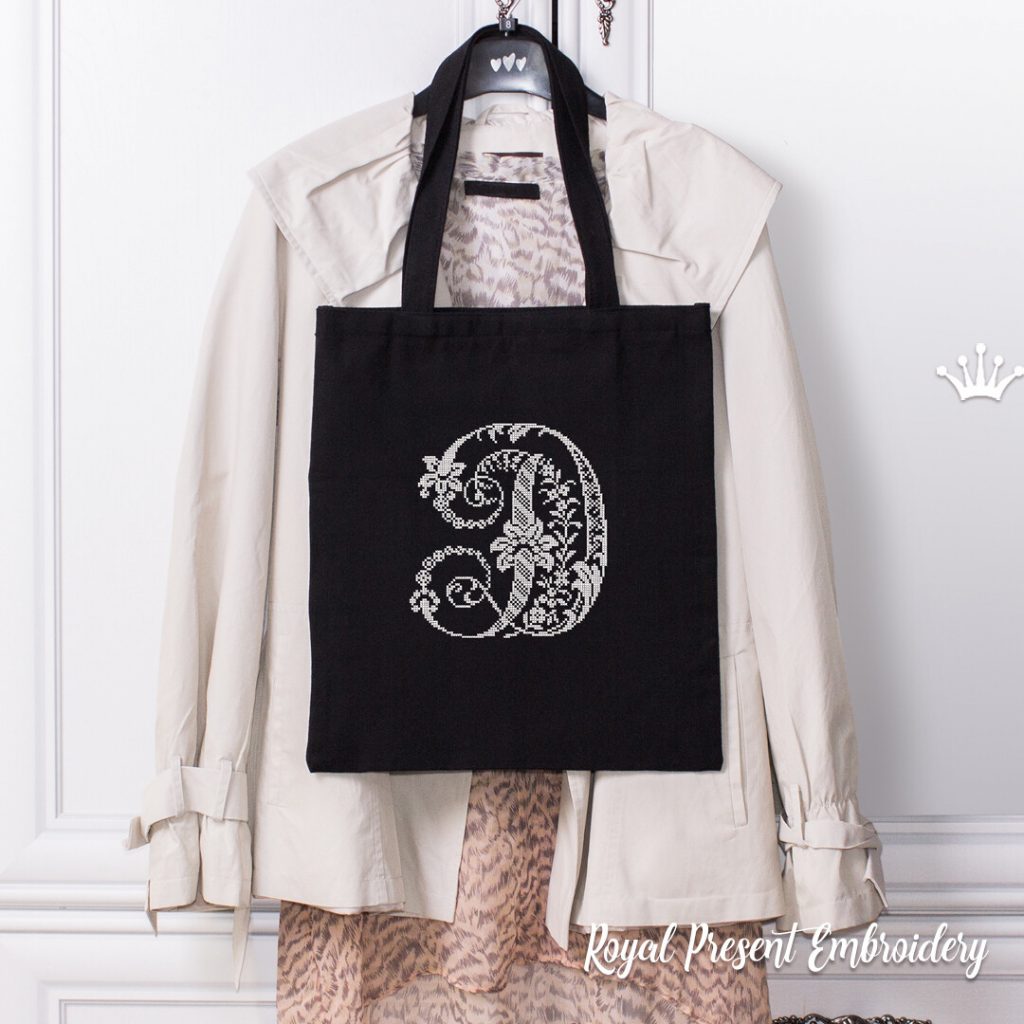
Capital letter D Cross-Stitch Machine Embroidery Design
As you see, shopping bags come in lots of various styles and types. Some of them you can effortlessly sew at home, others are easier to get ready-made in retail.
As far as machine embroidery goes, hand-made shopping bags are always easier to work with. The thing is that when you sew your own bag, you can machine embroider before you assemble the pieces into a finished product. This makes hooping, centering of designs, and other parts of the embroidery process a lot easier. What’s more, the process of making a shopping bag from scratch allows a wider choice of embroidery designs too. Be it a border or a full-on cross-stitch coverage pattern, with a flat fabric it’s so much easier to plan and sew. That is why, for those of you who want a proper tailor-made bag for your groceries, further on we will share some of the most popular patterns.
On the other hand, there’re so many readily available blanks in dollar-trees and the like, that those who are just not into sewing, can still enjoy making a thing of beauty out of the ones that they already have. The head-ups that we’ll be sharing today will target machine embroidery of ready-made bags. This way all sides can benefit from our helpful advice.
Machine embroidery of shopping bags: the role of the type of the bag
Firstly, of all the above-mentioned bags only macramé ones are not compatible with machine embroidery. The thing is they you simply can’t hoop or sew the particular net-like fabric with all the nots and spaces between the fibers. What’s more, even patches, the most forgiving and ready-to-use types of machine embroidery designs, can’t be applied to such bags. The reason for this is the macramé and some other fish-net “fabrics” per se. Such types of fabrics are meant to stretch to accommodate items of any shape and form. Patches or any type of sew-on décor for that matter will interfere with the “stretchiness” of the fabric. That being said, we think it’s only fair that such shopping bags are not included in the discussion.
Note: In the net-like shopping bag category there’re certain types of bags which are still can be machine embroidered. We’re talking about the “mixed-media” bags given in the list above. Other mesh grocery bags compatible with machine embroidery are ones, sewn from a screen mesh type of fabrics.
Shopping bags made of such fabrics are suitable for machine embroidery decoration. We’ll discuss how to machine embroider mesh-like shopping bags later in our article.
The second grocery bag type posing some difficulties machine embroidery-wise is the wine-bag category. The thing with the type is that there’re pockets or sections inside the bag, which separate bottles or other groceries from each other.
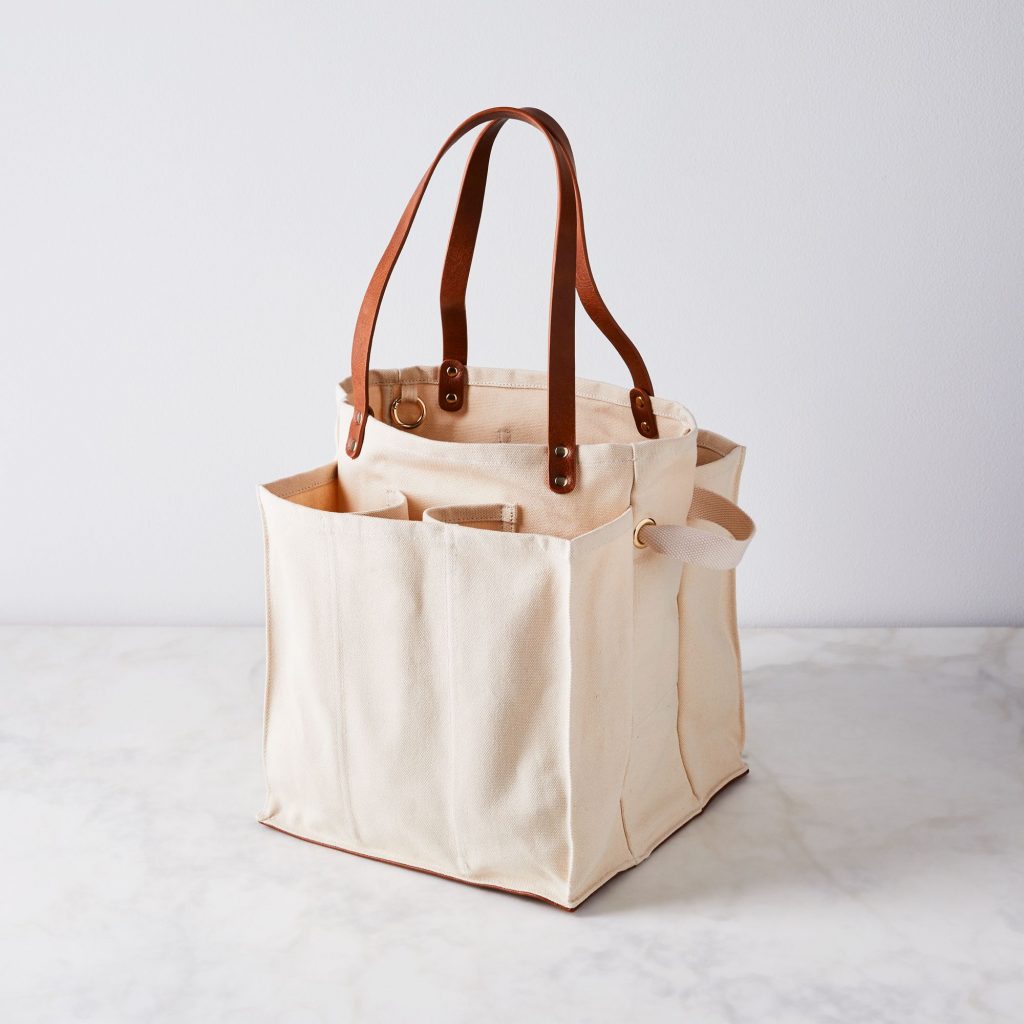
Multi-pocket bags bottle bags wine bag
These sections (or you can call them pockets) are what make the bag difficult to machine embroider because you simply can’t hoop the thing. Also, it’s almost impossible to embroider the design onto wine shopping bags without sewing everything together. The only way out of the situation is, again, to sew machine embroidered patches with the designs of your liking. Another solution is to make the bag from scratch. This way you can embroider the fabric first and then sew the bag.
Machine embroidery of shopping bags: embroidery issues in general.
As we’ve discussed shopping bags that almost can’t be machine embroidered, it’s time we moved onto the categories which can. Here one needs to remember that such bags might pose some difficulties in the process. We speak about pockets, zippers, buttons, and other extras, which might interfere with the hooping, design positioning, etc. Further, we’ll point out each of such issues and which of the shopping bag types might raise them.
Machine embroidery of shopping bags with handles that go to the bottom of the bag (a.k.a. shopping totes).
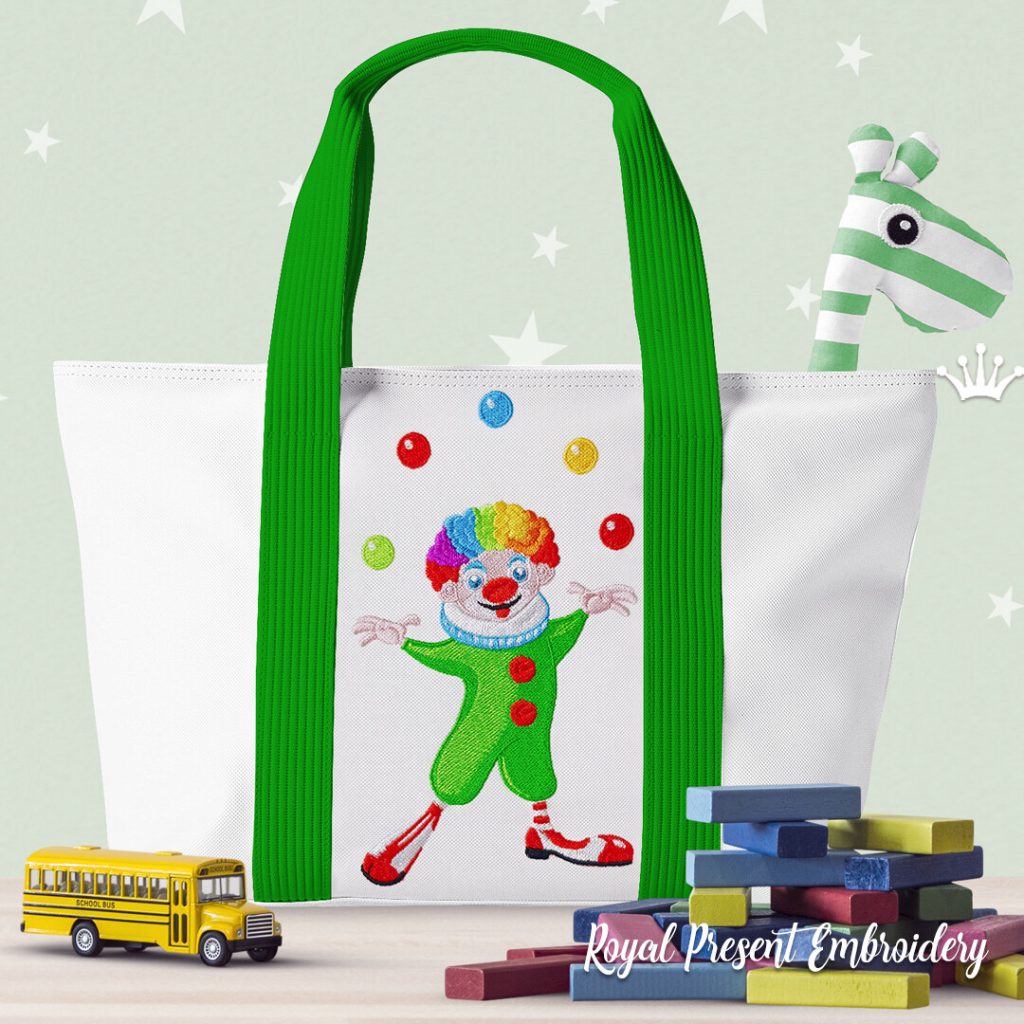
Juggling Clown Machine Embroidery Design – 3 sizes
Bags of the types require precise design sizing and centering. You don’t want those handles to get in the way of your design as the embroidery machine might not take to it kindly. You see, the difference in the thickness of the fabric layers could not work well for the tension, stitch application, and needle too. So make sure you measure well before you sew.
Machine embroidery of a shopping bag with pockets or buttons

Might require special attention during hooping. None of the mentioned accessories makes hooping easy. However, you can remove buttons just for the process and then attach them back on. Embroidering over pockets is a bit trickier. If a pocket isn’t in the embroidery area, you can simply remove it and then sew it back to make hooping easier. If, however, a pocket is in the embroidery area, make sure your design doesn’t go over it. It’s important because you’ll have a multiple-layer problem (just like with the handles). Secondly, if you decide to sew over the pocket, you’ll lose its functional quality.
Machine embroidery of shopping bags with decorative folds

Such an endeavor will certainly require careful design choice, good design positioning, and proper fabric hooping. To make everything work you’ll need to take into account fabric characteristics (the hand of the fabric) and the cut of the bag itself. The design shouldn’t interfere with either of the factors. Usually, such bags are machine embroidered during the cutting of the fabric before the bag is assembled. Otherwise, it’ll be very difficult to properly hoop the bag and center the design.
Machine embroidery of shopping bags with zippers
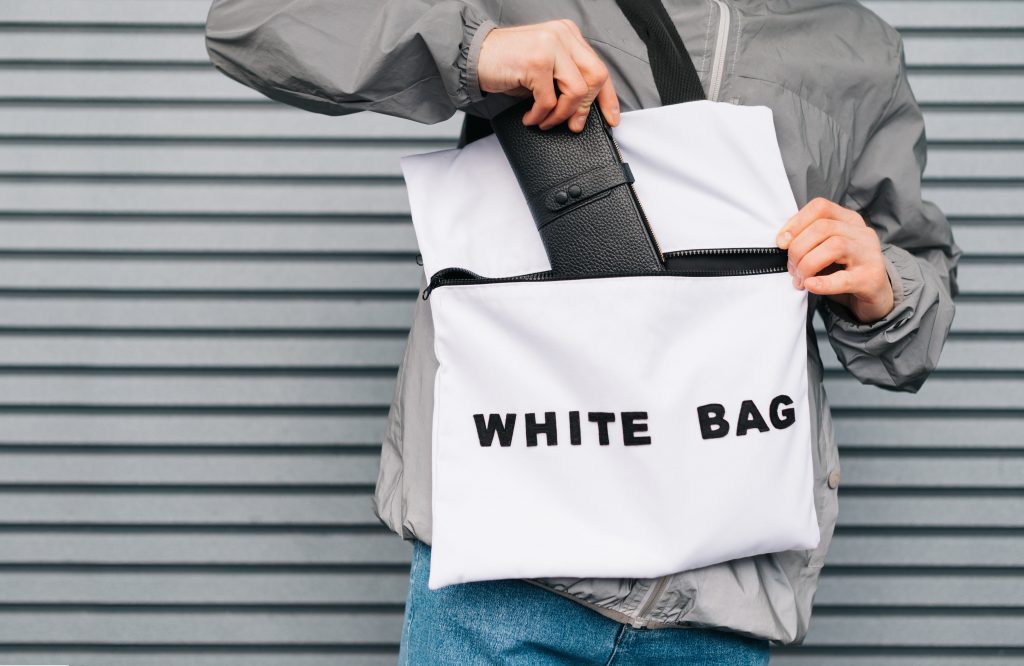
Will require careful design choice. Zippers, unlike buttons and pockets, can’t be easily removed and sewn back. That is why it’s easier to plan beforehand all the details of the embroidery process (design size, its positioning, etc.). When at it, make sure the zipper on the bag is out of the embroidery area (for the needle) and the area of the hooping too.
Machine embroidery of shopping bags: the role of the fabric
As shopping bag’s main purpose is to carry groceries, which are bulky and heavy, the material they are made of must handle the weight. That is why usually such bags are sewn from quite solid and sturdy fabrics. Usually, such fabrics include cotton, linen, canvas, nylon, denim, jute, mesh, laminated fabrics (cotton, faux leather, oilcloth), etc.
Now that we’ve mentioned the most used fabrics, let’s analyze their peculiarities machine embroidery-wise.
Machine embroidery of the cotton shopping bag.
Cotton is strong, durable, soft, and can be machine washed. Cotton is easy to embroider as it can accommodate almost any type of machine embroidery design, plus it hoops easily. Usually, we machine embroider cotton with the help of medium-weight tear-away or cut-away backings. Make sure you pre-wash and iron cotton before you work with it to avoid any problems with shrinking.
Machine embroidery of linen shopping bags.
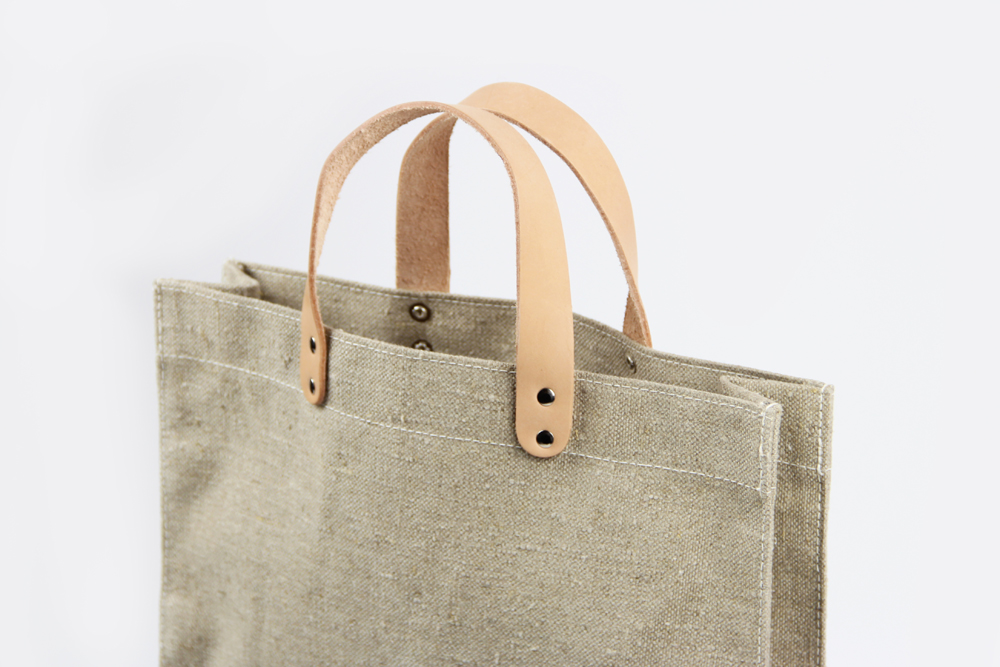
Linen has almost the same embroidery qualities as cotton. The only difference is that you need to pay extra special attention to the pre-washing of the fabric before you work with it. If not taken into account the shrinkage factor of linen might really spoil the result of your embroidery. Also, make sure your design matches the type of the weave of the fabric. Some linens have quite a loose weave so overly dense designs might cause puckering or fiber distortion.
Machine embroidery of denim shopping bags.
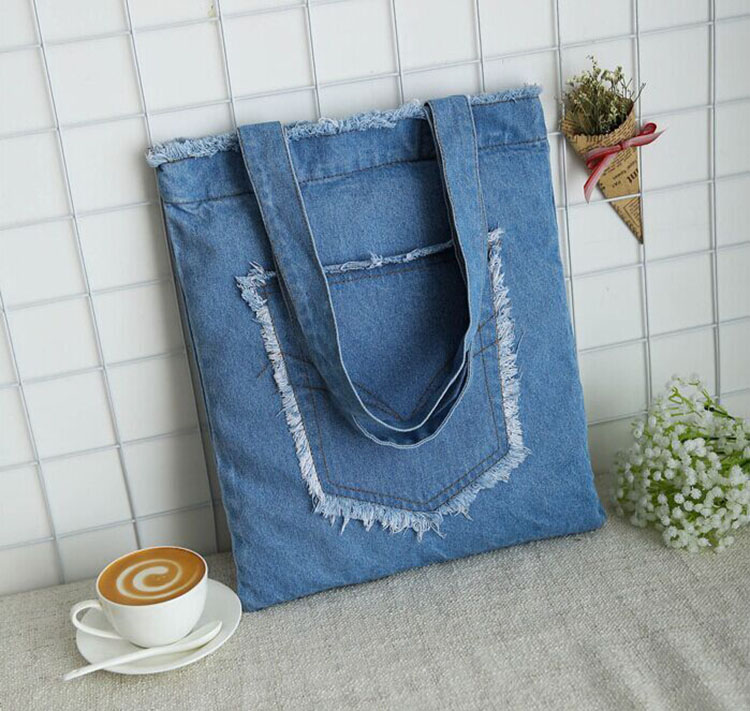
Denim has all the advantages of cotton fabrics and it can accommodate almost any type of machine embroidery design. The only thing to consider is the stretchiness of some denim, which requires good fixation and stabilization. When machine embroidering stretchy denim make sure you use temporary spray adhesive or some “sticky” stabilizer. Otherwise, the fibers of the fabrics might get distorted during the hooping. Also, due to the hand of the fabric, it might get a bit bulky after the embroidery is done. However, this makes the denim perfect for bags that need to keep form, but less advantageous for foldable bags.
Machine embroidery of canvas shopping bags.
Canvas is really easy to embroider. It’s solid and sturdy and easy to hoop. It can accommodate any type of design and is very easy to stabilize. Usually, a medium to lightweight cut-away backing is all you need for embroidering canvas. However, some types of canvas might be too thick for a regular home embroidery machine.
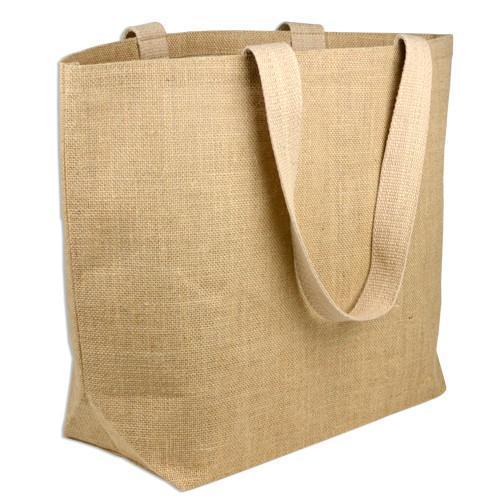
Machine embroidery of jute shopping bags
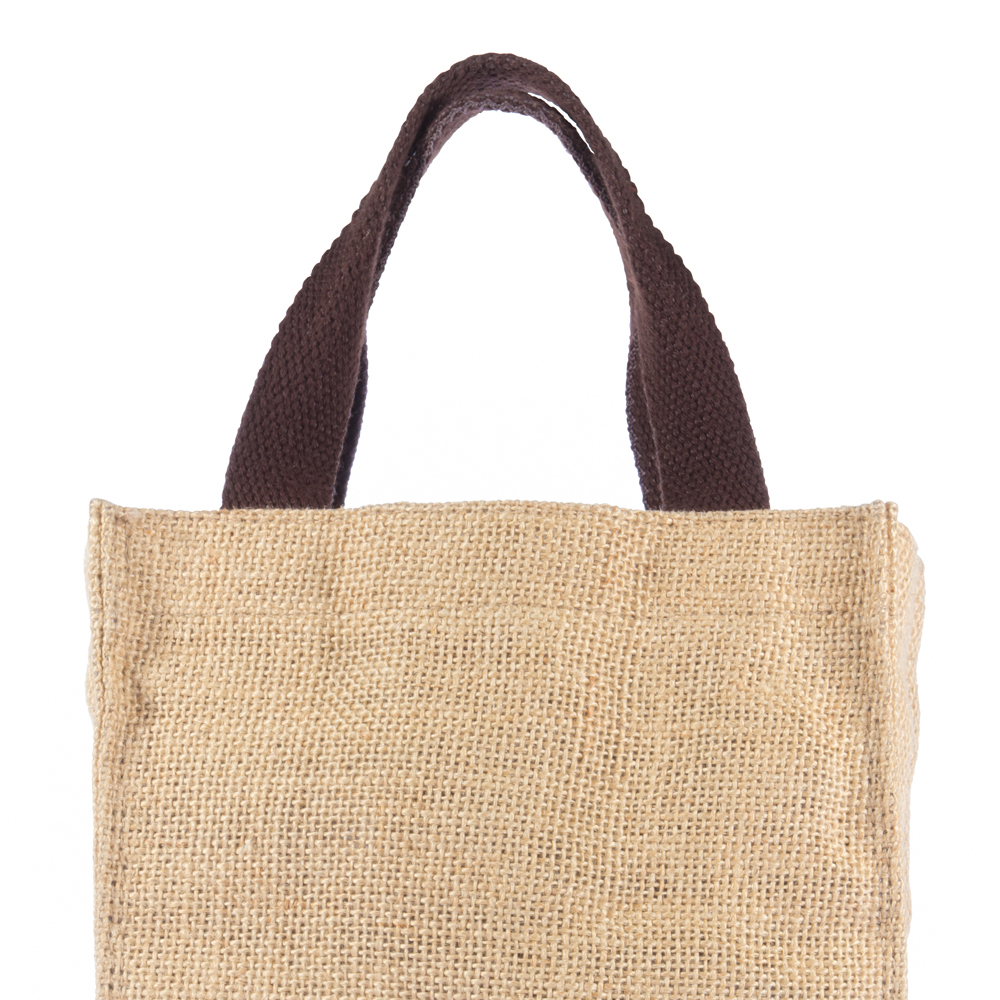
Jute is a very durable material, which, however, sometimes can be quite textured. Its grainy texture might cause difficulties for machine embroidery stabilization-wise. Sometimes loose fiber weave might interfere with the stitch coverage. As a result, you might either get puckering or stitch distortion. That is why sometimes, besides the usual medium-weight tear or cut-aways, you might also need some sort of topping. Also, not all machine embroidery designs can be used on jute. When the weave is too loose, avoid overly light designs (e.g. Red-work) and overly dense ones (like densely fill-stitched cross-stitch ones).
Machine embroidery of mesh shopping bags.
We have already mentioned that mesh shopping bags are tricky to machine embroider. Mesh of a window screen quality will yield the best results for that matter. The material is quite solid and able to withstand the tear-and-wear from everyday use that shopping bags get. Very often such bags are used as beach totes.
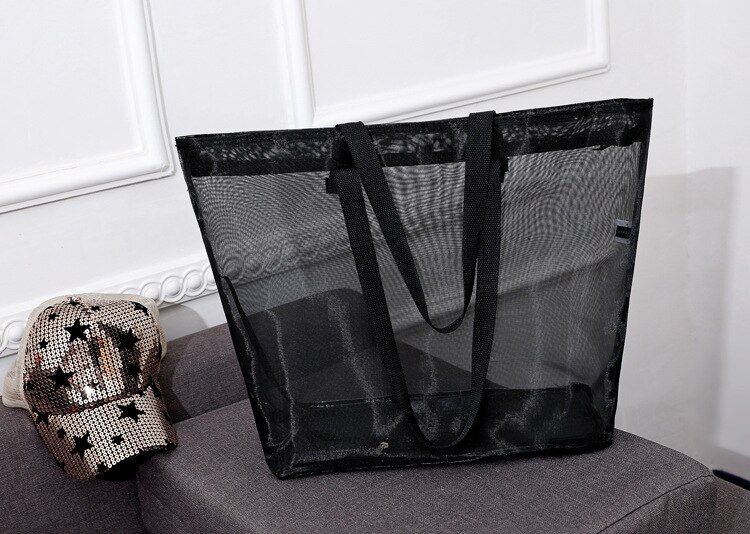
Your best bet when choosing designs for machine embroidery of a mesh shopping bag is a patch. Only patches will be able to withstand the tear-and-wear that embroidery stitched on a shopping bag get. With other machine embroidery designs, we use permanent stabilizers to help their stitches to fight the damage of time. As the mesh is quite a transparent material, we can’t use permanent stabilizers, because it’ll be seen. Temporal ones (heat-away or wash-away ones) can’t provide the same support. So, to enjoy the pretty look of your freshly embroidered shopping bag for as long as possible, just stick to patches.
Machine embroidery of laminated fabric shopping bags
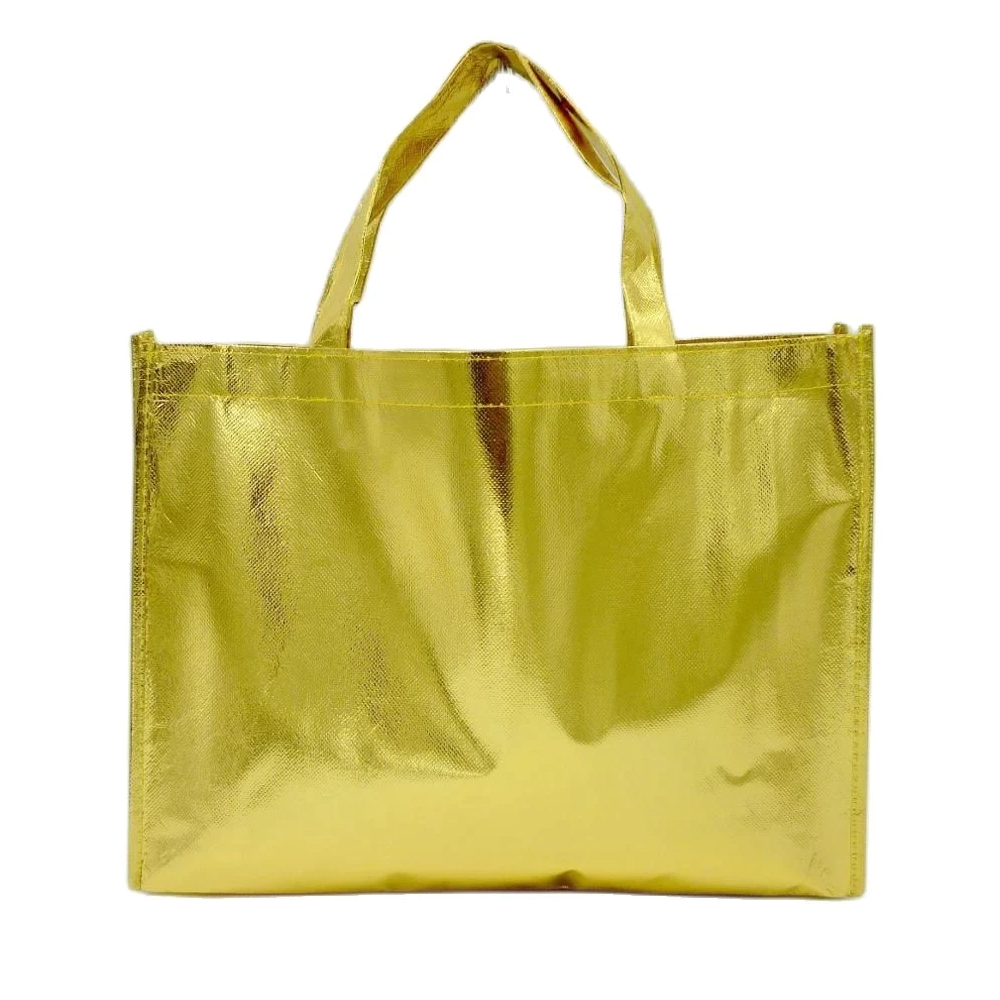
When machine embroidering laminated fabrics (laminated cotton, oilcloth, faux leather, etc.) opt for medium-weight cut-away backing. Tear-away ones might not do the trick with such fabrics. Also, pay special attention to the design choice. Remember, laminated materials don’t like unnecessary needle punching, so no run-stitches, no overly dense designs, and no fixation with pins. The thing is that holes from the unnecessary needle punching might remain visible on the laminated surface of such fabrics. In order to somewhat reduce the unwanted effect, try embroidering with needles of a smaller size.
Machine embroidery of nylon shopping bags.
Nylon is a strong, durable, very lightweight, and easy to fold material. It’s often used for foldable shopping bags. If you’re embroidering one of such little things, which fold itself into a pocket, make sure the design you’re choosing is suitable for it. For example, some bigger patches might not fold well, and thus the bag won’t fit into its pocket. As to the rest, nylon might cause some difficulties during stabilization, as it is slippery and needle-punch sensitive. On the whole, if you treat nylon as a laminated fabric, you’ll get a great embroidery result.

If you haven’t found information about the fabric your shopping bag is made of, please read our series “Choosing fabric for machine embroidery.” In the second article of the series, “Choosing fabric for machine embroidery. Part 2,” you can find a very detailed description of most woven fabrics and how to machine embroider them.
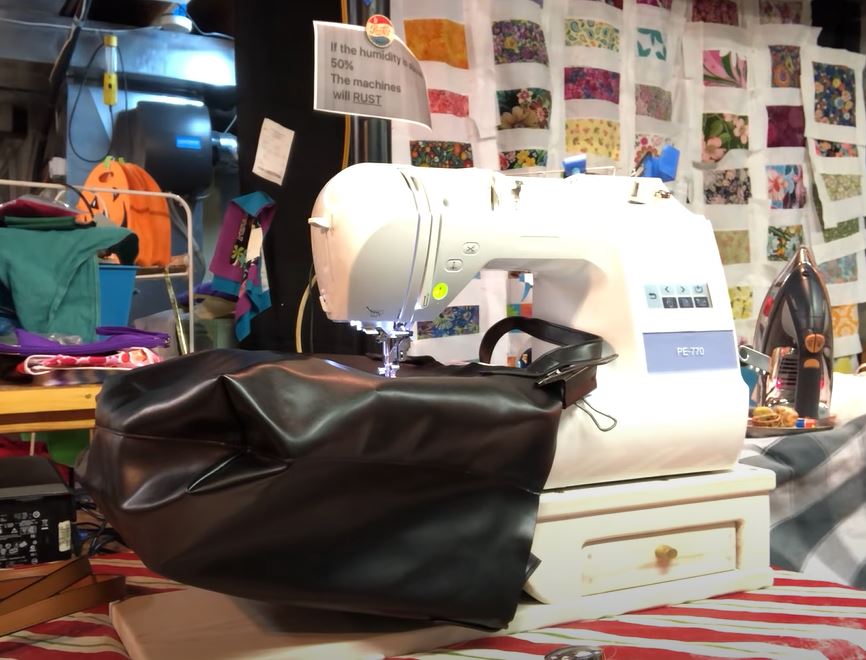
Machine embroidery of shopping bags: step-by-step instructions
So, as we’ve said, we’ll be talking about machine embroidery of ready-made shopping bags. For those who want to embroider not on the item itself, but on the fabric, which later is to be sewn into a shopping bag, further on, there’ll be several templates for the most popular shopping bag models. For now, however, we’re talking about machine embroidery on ready-made shopper bags.
There are two approaches to machine embroidery of shopping bags:
- Machine embroidery of shopping bags, involving seam opening,
- Machine embroidery of shopping bags without seam opening.
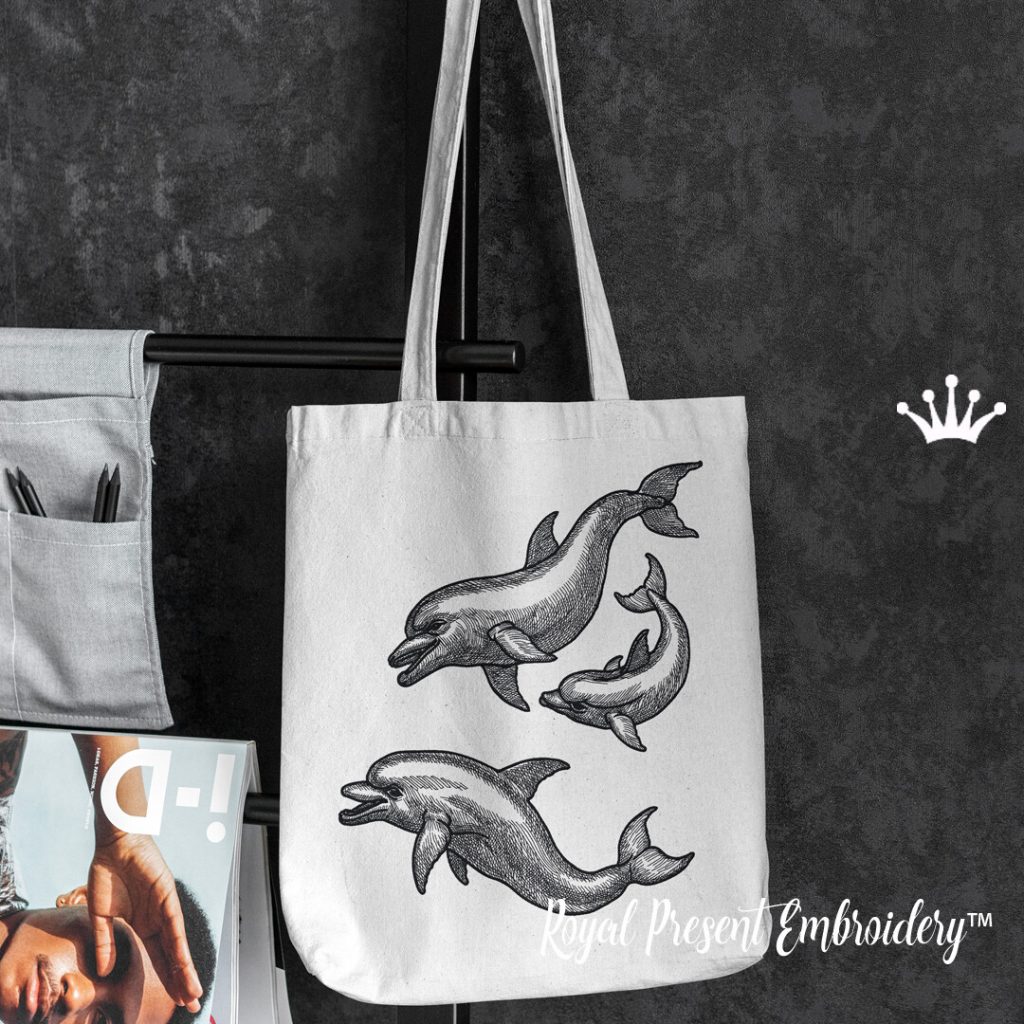
Dolphins Machine Embroidery Designs – 4 sizes
The difference between the two is obvious. How to decide whether you need to rip the seams or not, though? The answer is simple. You’ll usually need to open seams (of the bag’s sides) for better hooping. If a shopping bag is too small and can’t be hooped or floated, usually you’ll need to open the seams. D-cut shopping bags will surely need their seams open before hooping, as the opening of such bags is relatively narrow. That is why, in order for the hoop to fit in and the embroidery are to be clean for the needle to freely work, you’ll have to open seams on such bags. Another reason for it could be the size of the design. If you’re embroidering a large design or a border, which needs careful alignment, you’ll have to open seams in order to achieve it.
If there’s a lining in your shopping bag, you might want to open the seams in order to remove it. This will give you a “clean” backside of the embroidery. You can leave the lining as it is and just sew through the two layers. However, hooping two layers of fabric (the lining and “face” fabrics) might not get you good fixation in the hoops and you definitely won’t be able to float such a “sandwich”. So, before starting the project, think through all pros and cons of the matter.
Now, let’s talk about the things that you’ll need for the machine embroidery of shopping bags.
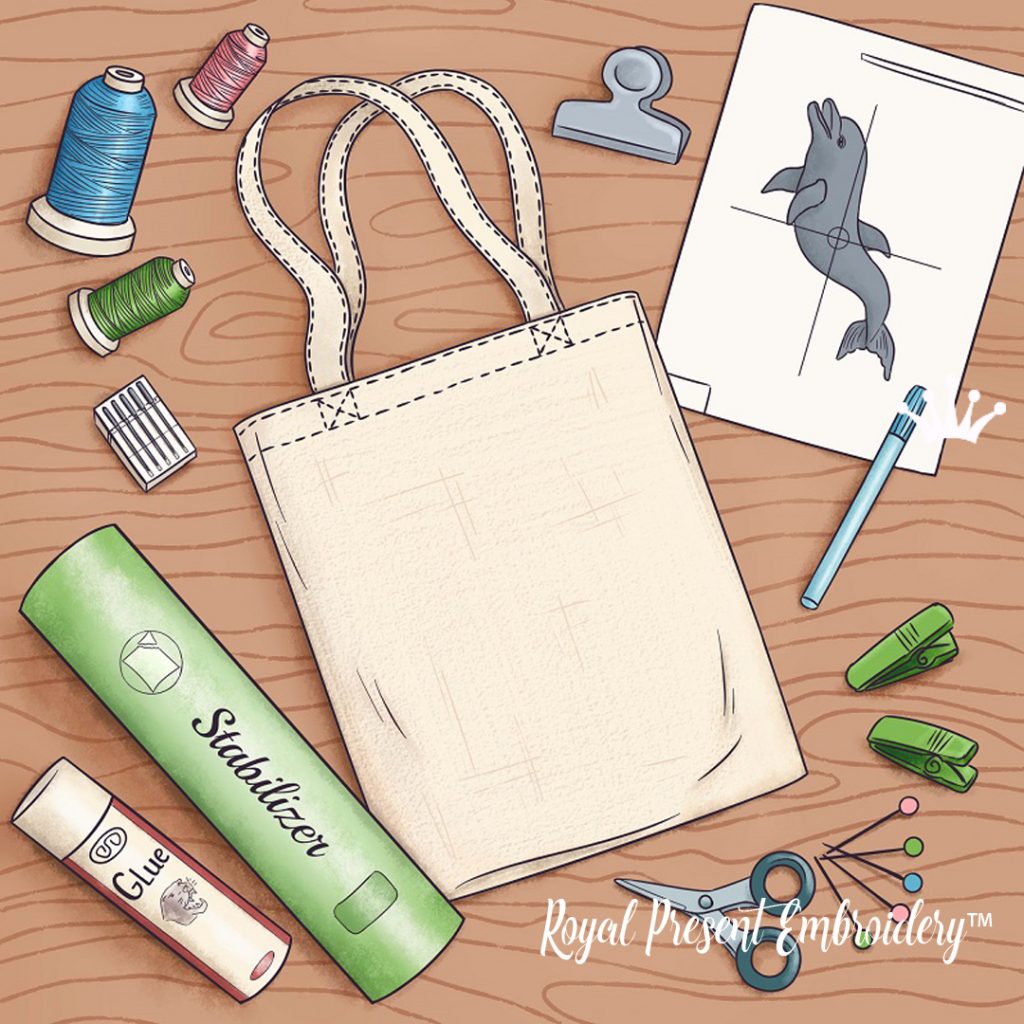
You’ll need:
1) Shopping bag,
2) Machine embroidery design,
3) Stabilizers (usually medium-weight tear-away or cut-away backing) and a temporary spray adhesive. Otherwise, you can also use self-adhesive stabilizers (sticky backing).
4) Needles and threads (according to the fabric you’re working with),
5) Scissors or a seam ripper (in case you’ll need to open the seams),
6) Temporary marker,
7) Pins, binder clips, or even hair claw pins or clamps to keep the unhooped fabric away from the embroidery area.
Now, let’s embroider!
Machine embroidery of shopping bags, involving seam opening
- Position your design on the bag the way you want it to be embroidered. You can use a printed template of the design for a better visual.
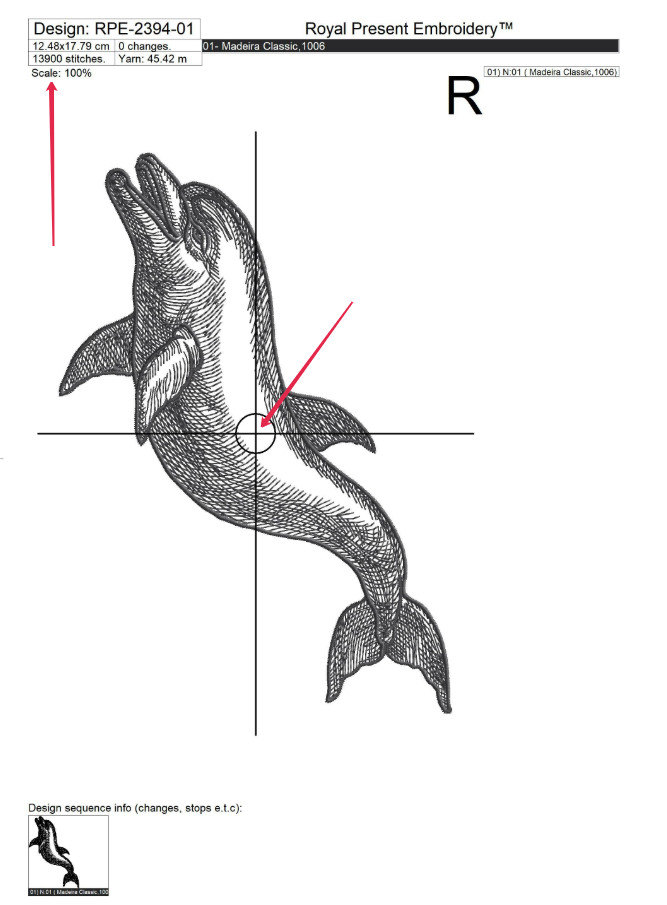
- Center the design and mark its center and axis points with the help of a temporary marker. This will help you to hoop the fabric correctly.
- Choose the hoops that you want to use.
- Turn the bag inside out and open the seams of its sides. Depending on the size of your hoop, you might need to open either one or both of the seams. What you want is to provide enough space for the hooping. From that moment and on, we’re working with the turned-out bag.
- If you opt for hooping, hoop the embroidered-to-be area according to the marks you’ve made by the marker. If you prefer to float, hoop the stabilizers and glue the bag onto it. Remember, you shouldn’t float multiple layers of fabrics (a.k.a. a bag with a lining). The front side of the fabric should face the needle.
- Make sure you fix the unhooped part of the bag around the hoop so that it won’t go into the embroidery area. Use pins, binder clips, hair claws for this job. If you don’t do it, you might sew through the unhooped part of the bag and ruin your project. Also, the unhooped part of the bag (if left loose) might catch on to something and interfere with the correct work of your embroidery machine.
- Embroider.
If you’re more of a visual learner, you can easily find the online video tutorial on the matter. Just type «how to machine embroider a tote bag» in your search bar, and you’ll get several videos on the topic.
Machine embroidery of shopping bags without seam opening
The embroidery process in this case is a bit different. The first part of the project will be the same. You still need to position and center the design correctly. You still need to either hoop or float your bag during embroidery. There’s however one major difference – one issue, which you’ll need to address in a different way. We speak about clean, obstacle-free embroidery area. With the “seam opening” method it was secured with the help of the pins or binder clips. This time, however, as we won’t open seams, we can’t enjoy as much freedom of movement. So what do we do? Well, there’re two answers to this question. Each of them offer a bit different approach to machine embroidery of shopping bags.
Both of the methods start in the same way. You mark the future design where you want to embroider it. After that you can follow either of the described below ways:
- Turn the bag inside out and hoop the embroidered-to-be area. Then insert the hoop into the embroidery machine so that the front hooped area faces the needle. Secure the unhooped part of the bag (handles, the rear part of the bag, etc.) outside of the embroidery area. Use pins, binder clips etc. If the size of the bag doesn’t allow it, you can slip the turned-out bag on the embroidery machine horizontally. This way the bag goes above the main body of your embroidery machine. Such a maneuver will provide the clean embroidery area for the needle to work freely. Also, this way you will keep the rest of the bag (the unhooped part) away from the embroidery area.
- The second method is almost similar to the first. The only difference is that you don’t turn the bag inside out. Instead, you hoop the embroidered-to-be area as it is. Then you slip the bag onto your embroidery machine with the unhoooped part to be under it. For this method to work, however, you’ll need a machine riser. A machine riser is a platform, which you put you embroidery machine on. This platform has an opening (usually it’s right under the hoop area of the machine), where the unhooped part of embroidered-to-be items go. This opening allows the «left-out» fabric move freely without getting in the way of the needle and without it catching on something else.
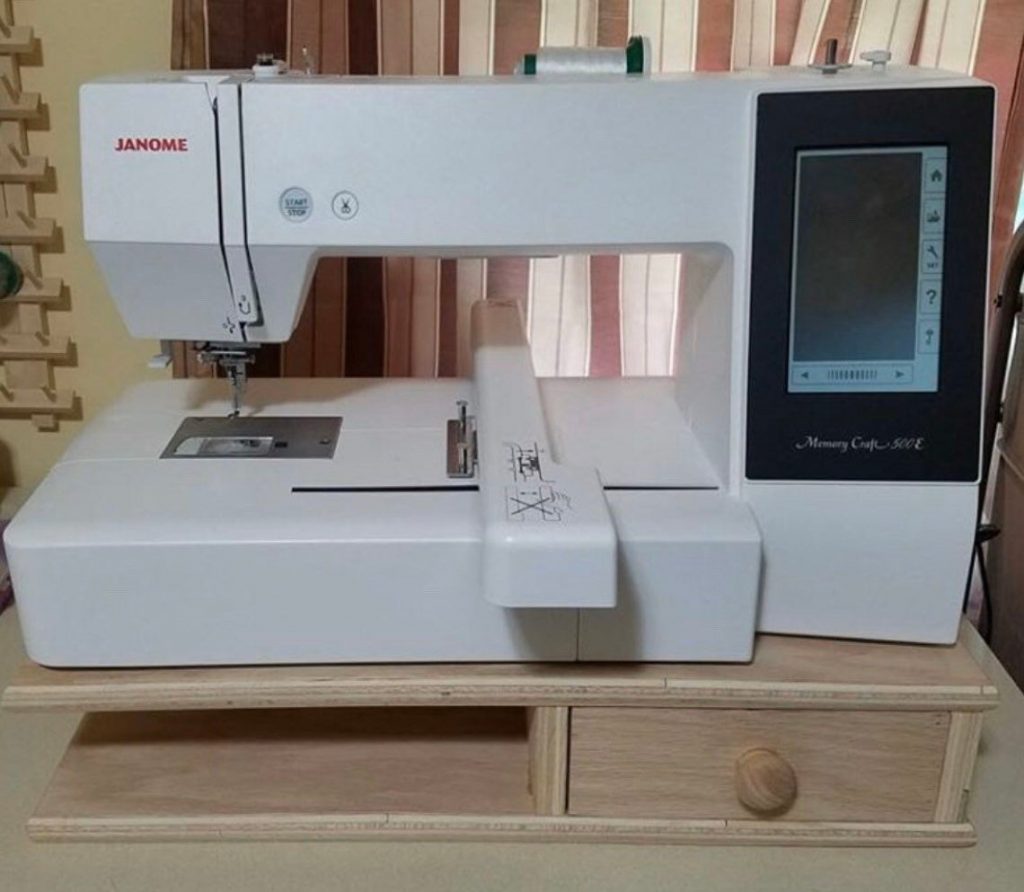
For those of you who is interested in a machine riser, on the Internet there’re a lot of tutorials on how to make one. All you need is to type in a search bag «machine riser», «riser for a single needle embroidery machine» and that is it. The thig looks like
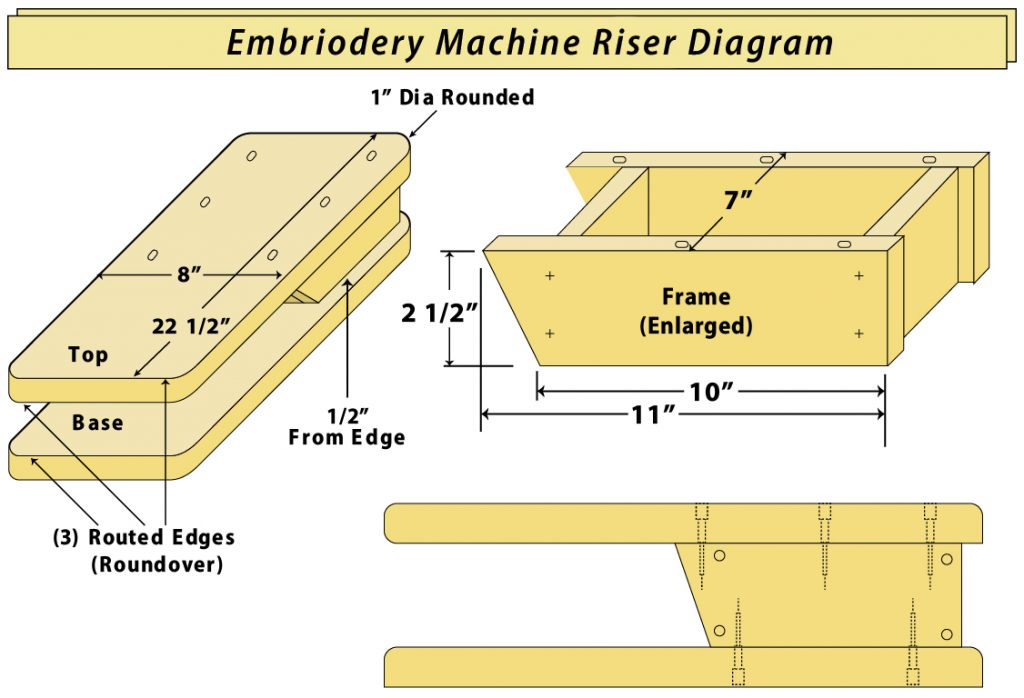
There are a lot of detailed descriptions on how to make them.
Now you know all the ropes on how to machine embroider a shopping bag without seam opening. The process of stabilizers and designs choosing, threading, hooping (or floating) and sewing is similar to any other embroidery project.
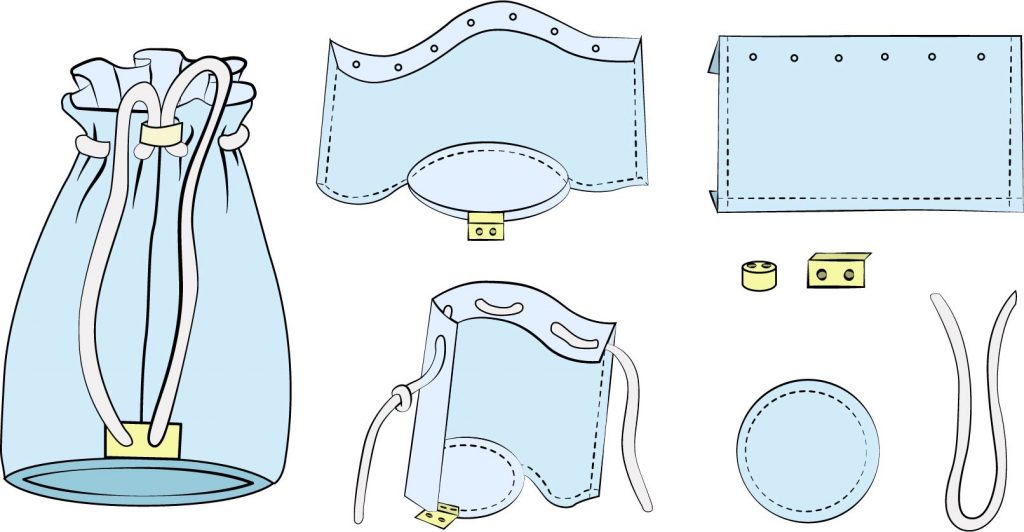
Shopping bags: templates and patterns
Now that we’ve covered the instruction on how to machine embroider shopping bags, let’s elaborate on how to sew them. The templates and patterns, which we share below, are useful for those, who want to embroider not on the ready-made bag, but on the fabric.
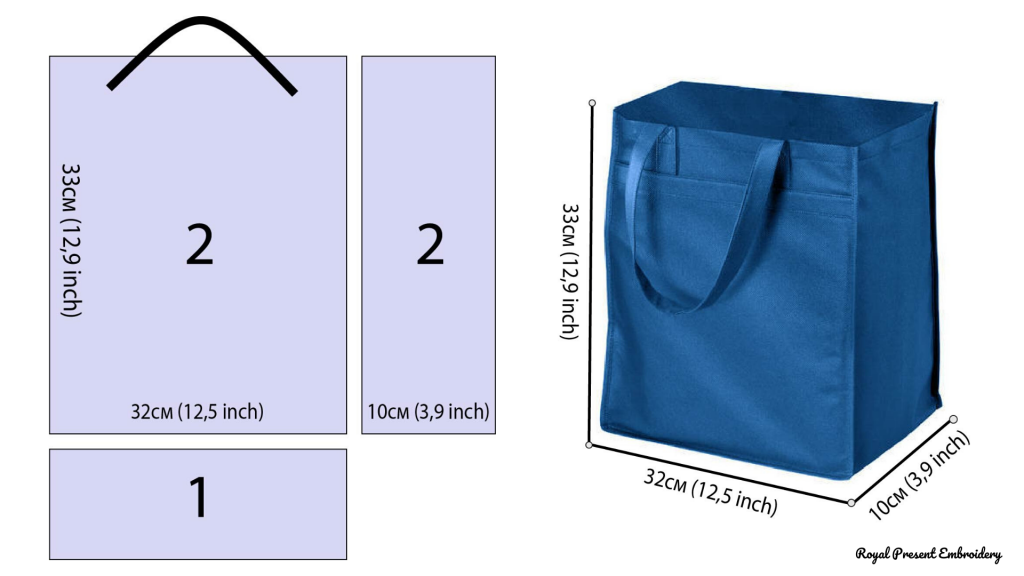
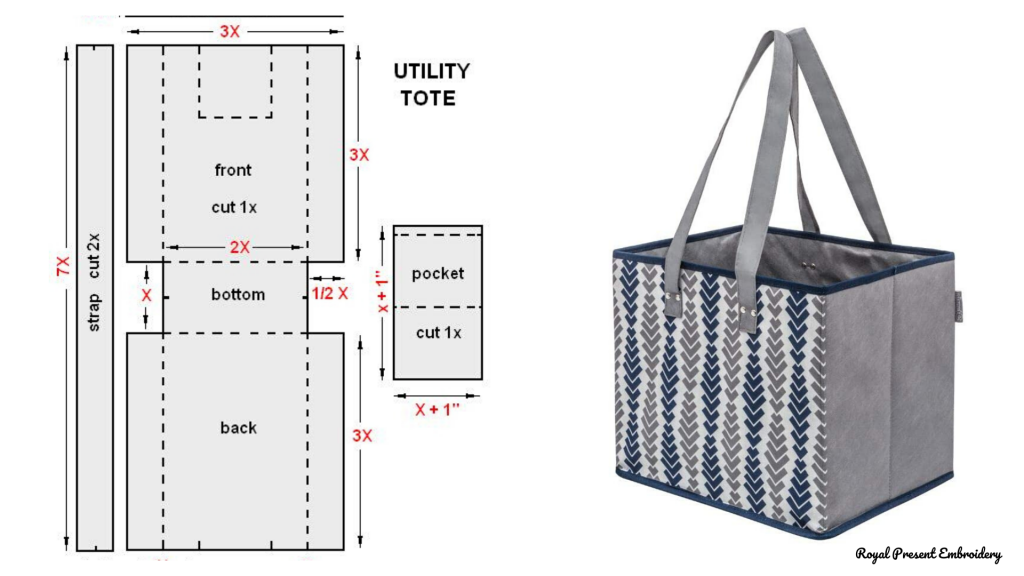
Shopping bag with bottom and sides
Foldable shopping bag
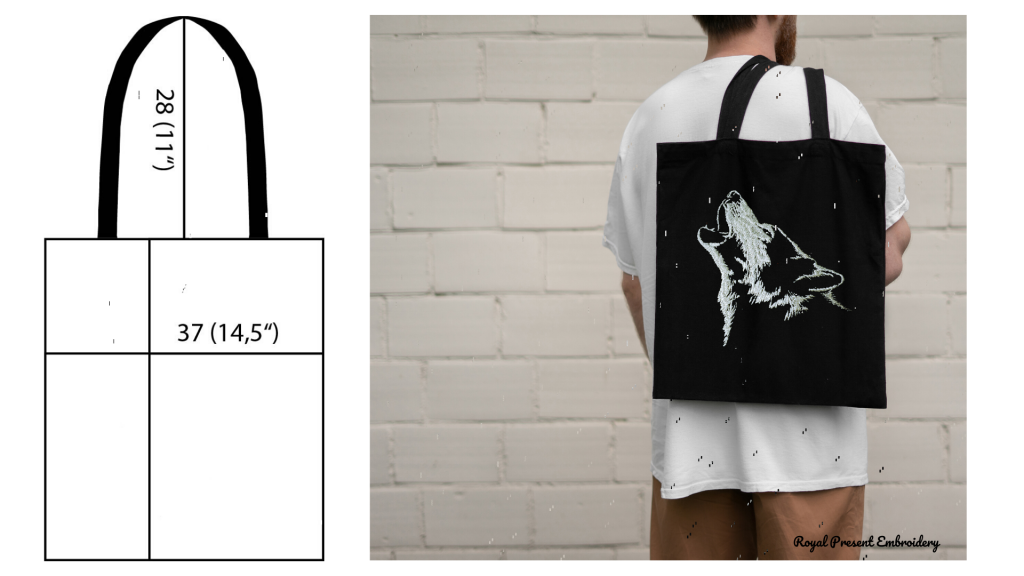
Shopping bag without bottom and sides
T-shirt bag/ U cut bag

Drawstring shopping bag
Now that you know how to sew shopping bags, you can get more creative with the machine embroidery designs that you use. Be it a border, a corner ornament, a monogram, and a wreath – you can embroider almost anything on your shopping bags. Why do we say «almost»? Well, because there’re some things you need to know on how to choose machine embroidery designs for your shopping bags. The next chapter is about it.
Machine embroidery designs best suited for shopping bag decoration
Machine embroidery designs for shopping bag decorations are an interesting topic. Colors, sizes, styles, and types – embroidery designs for grocery bags decoration are very diverse, but still, not all of them can be used similarly.
Royal Present Embroidery wants to help you make the right choice for your particular project. Thus, to be as illustrative as possible, we’ll base our advice on our online collection. This way it’ll be easier to understand why some designs are better than others shopping bag decoration-wise.
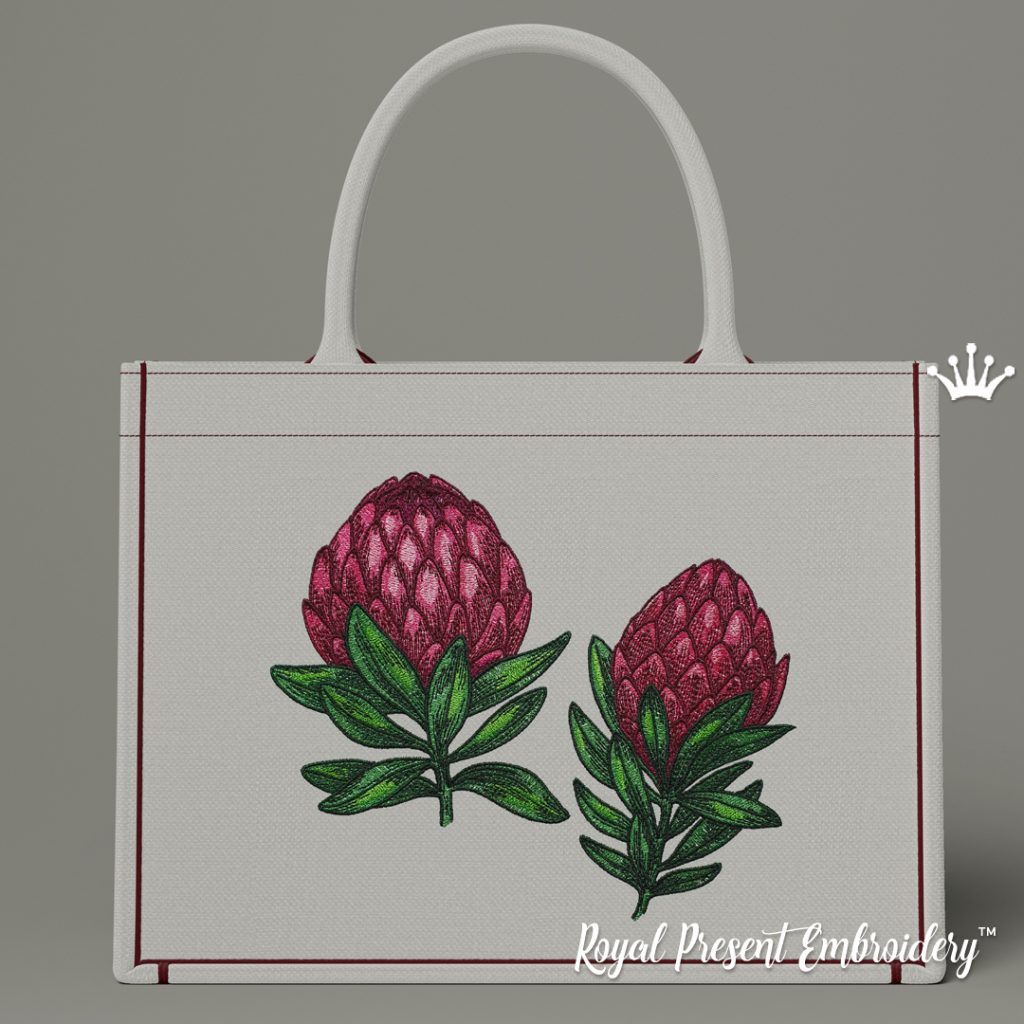
Protea Machine Embroidery Designs – 4 sizes
So, the traditional and most popular way to decorate shopping bags is with “edible” embroidery motives. If you’re into “tasty”, yet stylish embroider decorations, then our “Flowers and plants” and “Kitchen and food embroidery” sections are just for you. Be it a set of patterns to make a beautiful arrangement on the cut of your shopping bag or a single design to style it up just a bit – each and every number of these collections are no less than perfect.
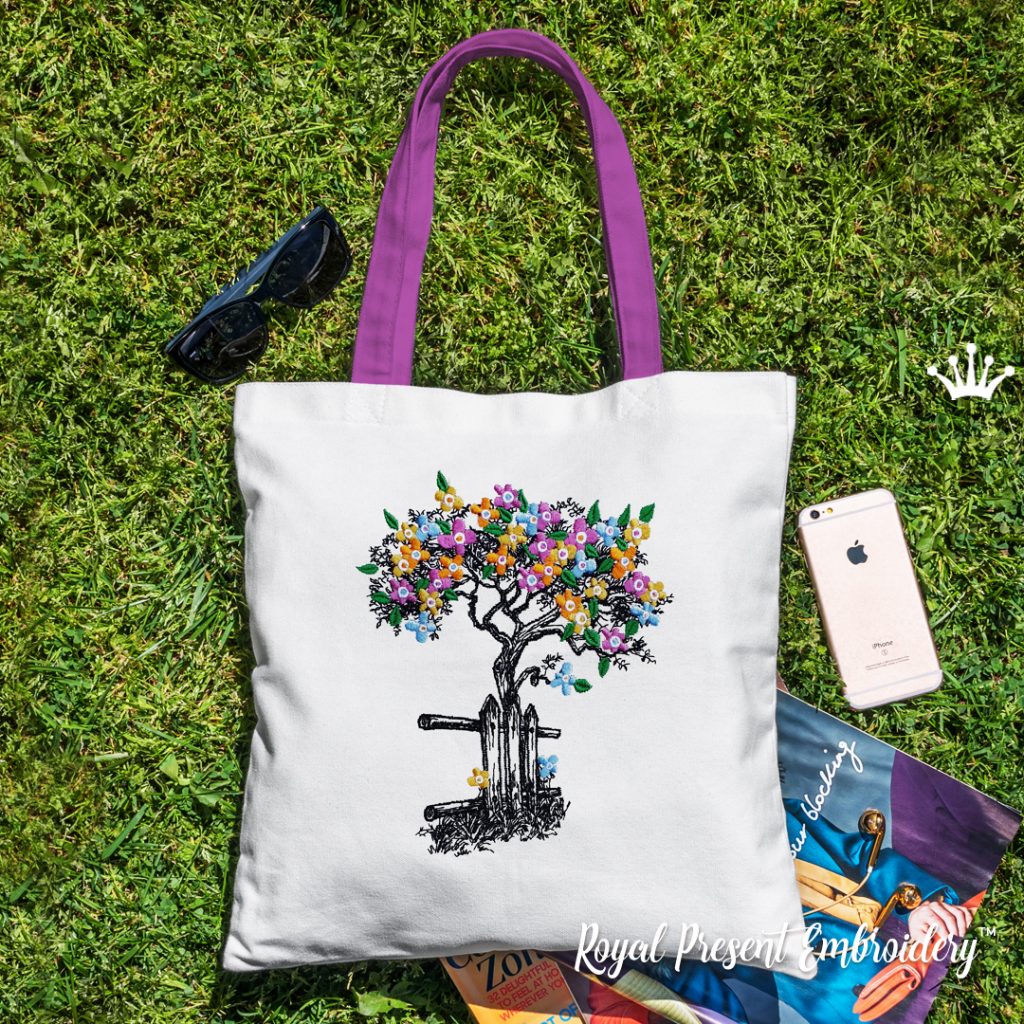
Spring Tree Machine embroidery design – 5 sizes
These “yummy” and “aromatic” designs will certainly make any grocery bag look its best.
Another classic decorative move for shopping bags embroidery decoration is their personalization. If you are looking for such an enhancement, combine designs of “Monograms, inscriptions, letterings, and quotes” with “Wreaths and blank monograms patterns”. Such designs add an extra elegant personalized look to your shopping bags. As patterns of these collections are not overly dense, you won’t have any problems with embroidering them on any fabric. Just don’t forget the general rules for choosing the right stabilizer for each of your projects.
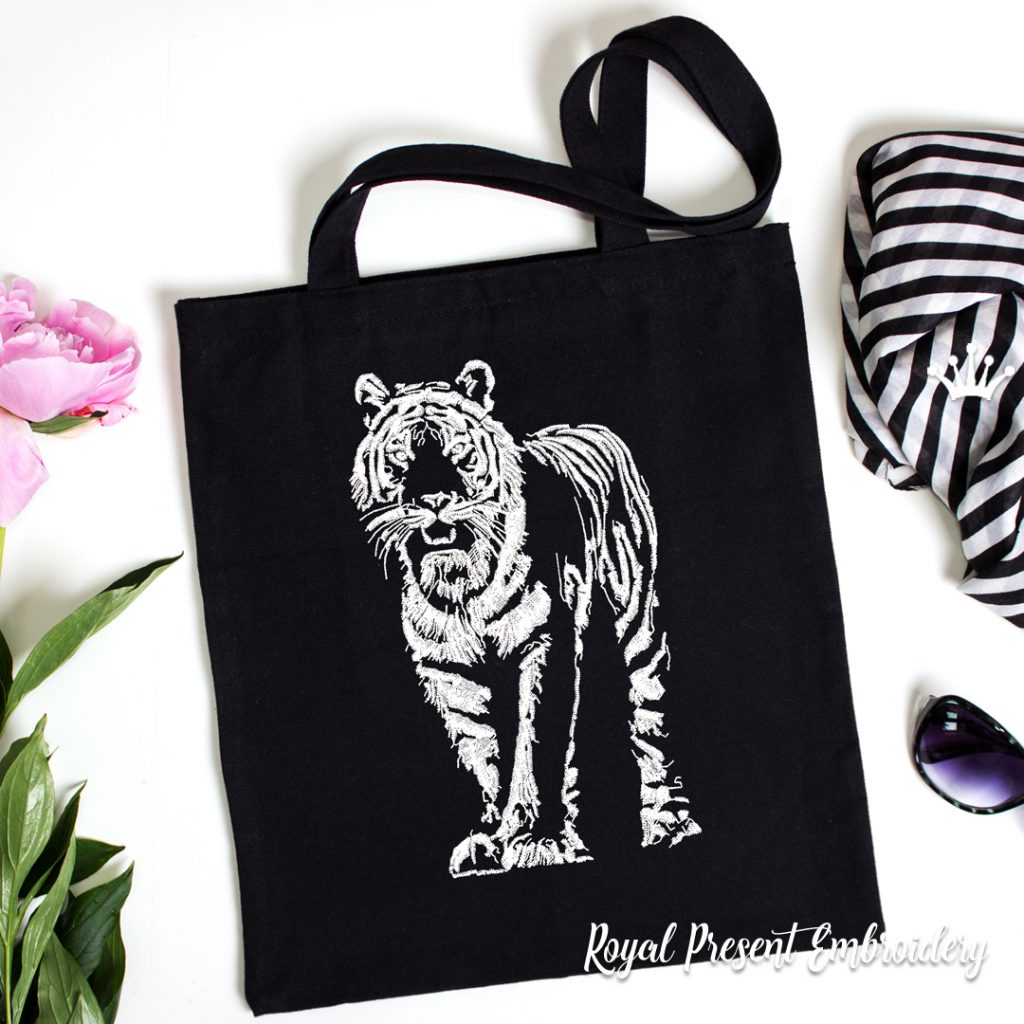
Black and White Tiger Machine Embroidery Design – 7 sizes
Machine embroidery patches and appliques are great for any type of shopping bag. Even the ones, that can’t be machine embroidered (ones described at the beginning of the article) could use some of the bright colors of patch designs. Look them up in our “Sports designs”, “Art styles, Tatoo art, Skulls, and Skeletons”, “Decorate your clothes, Patches” and “Animal embroidery designs” collections.
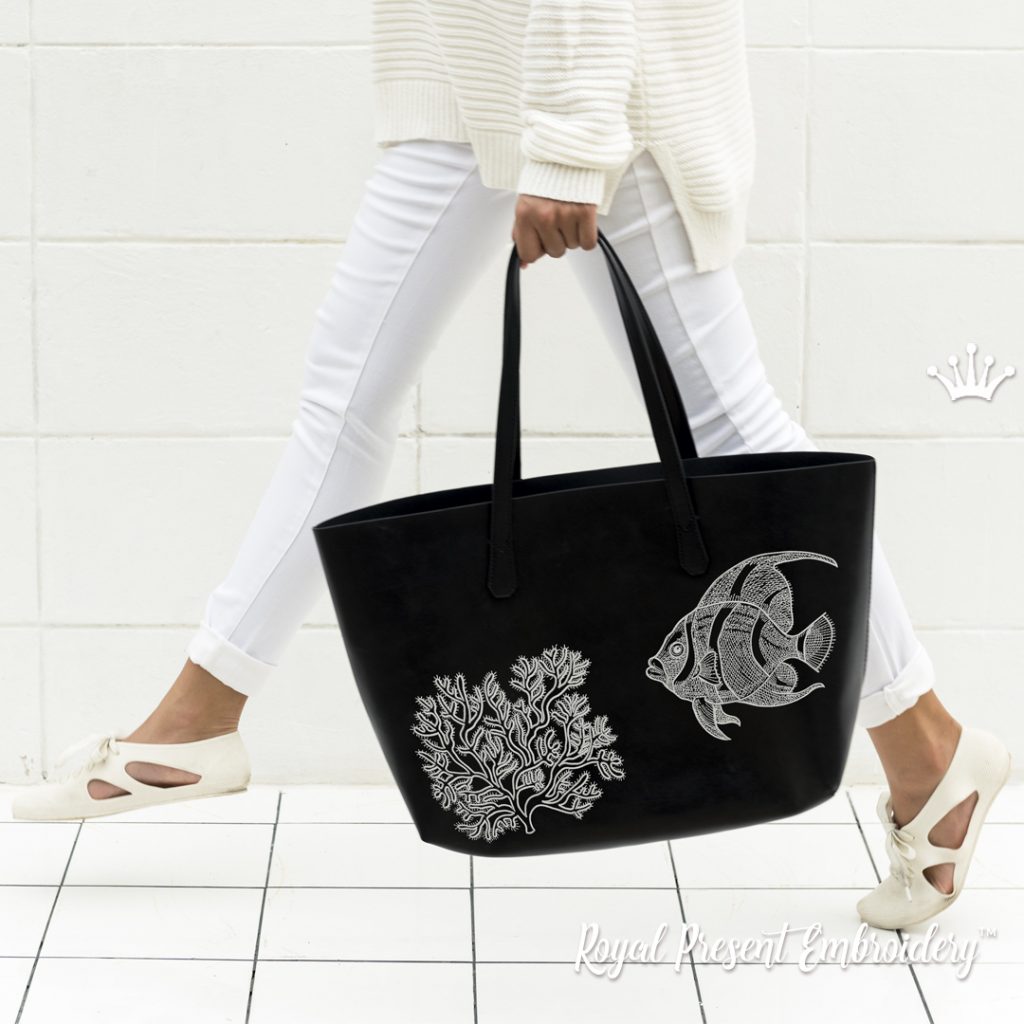
Tropical Fish and Corals Machine Embroidery Designs – 5 sizes
“Red-work” and “Line art, Outline vintage collection” are also beloved selections of machine embroidery designs that work almost for any type of shopping bag. Be careful not to use them on bags with extra texture or fabrics with overly loose weaves in order to avoid any stitch-related problems.
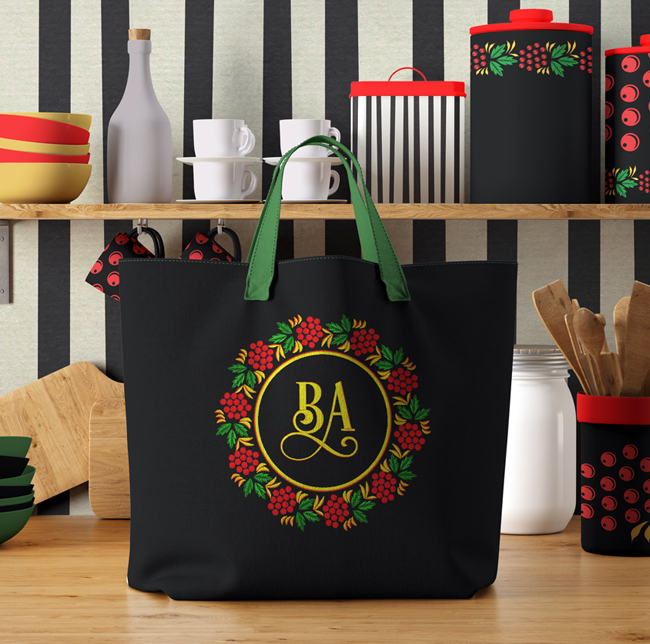
Khokhloma Round Frame Machine Embroidery Design – 3 sizes
“Folklore embroidery designs” are great if you want to steer a bit further from the classic decorative styles. Ethnic, boho, florals and ornamental décor – whatever your artful soul desires can be found in this exotic collection.
Another fun and whimsical way to decorate a shopping bag is using “Pocket animals embroidery designs”. The designs are arranged to pop up out of the pockets of your bag, creating a blast of positive emotions for everyone!
So as you see machine embroidery designs can really enhance the look of a shopping bag. What’s more, they can also transform it into something entirely different. Unique gift wrappings for presents, yoga bags, sports bags – machine embroidery can give a simple grocery bag a million of stunning make-overs. Just browse our collections for inspiration and we’re sure you’ll find a lot of fantastic ideas.
Here are some examples, just in case:
“Heart embroidery designs” can help you make a gorgeous gift bag for Saint Valentin’s Day.
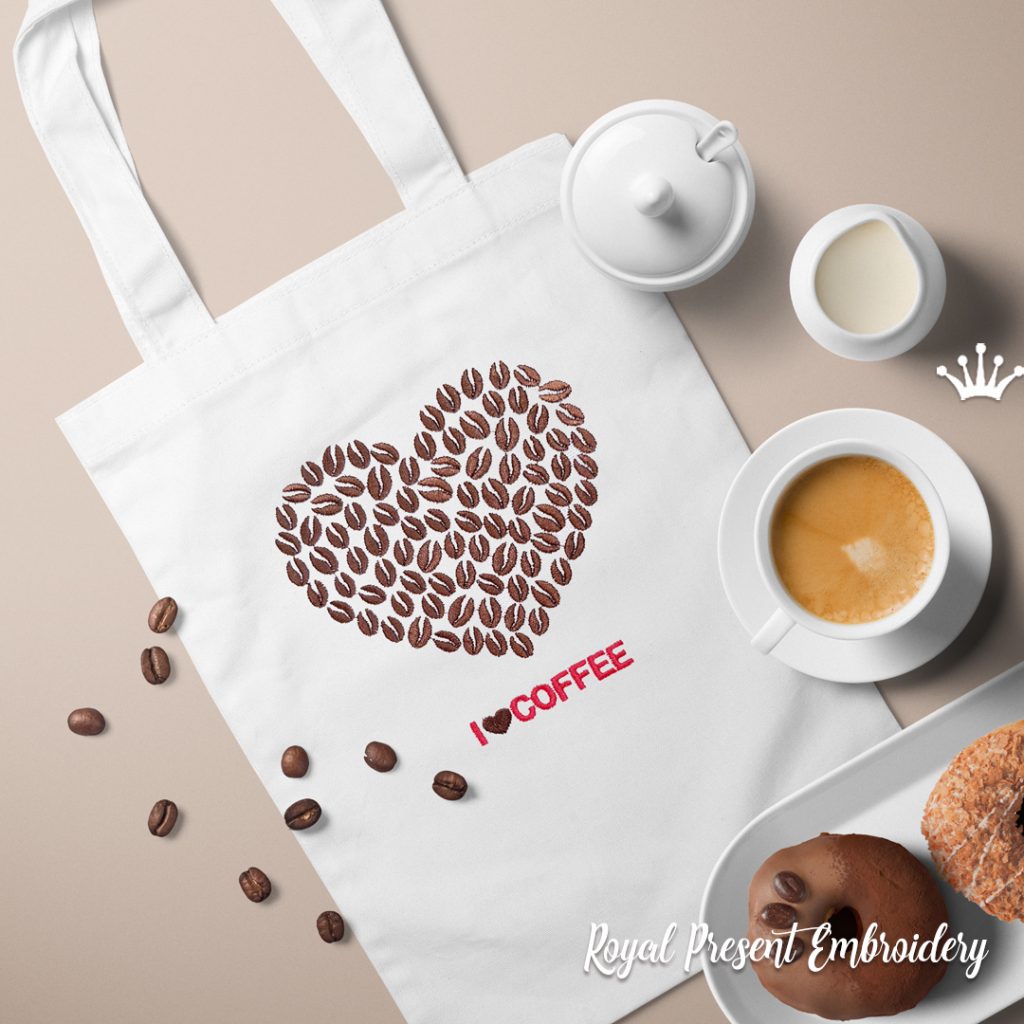
Сoffee Heart with inscription Machine Embroidery Design – 4 sizes
With designs from the “Celebrations and holidays” collection you’ll never have to worry about gift wrapping for Christmas, birthdays, and anniversaries again.
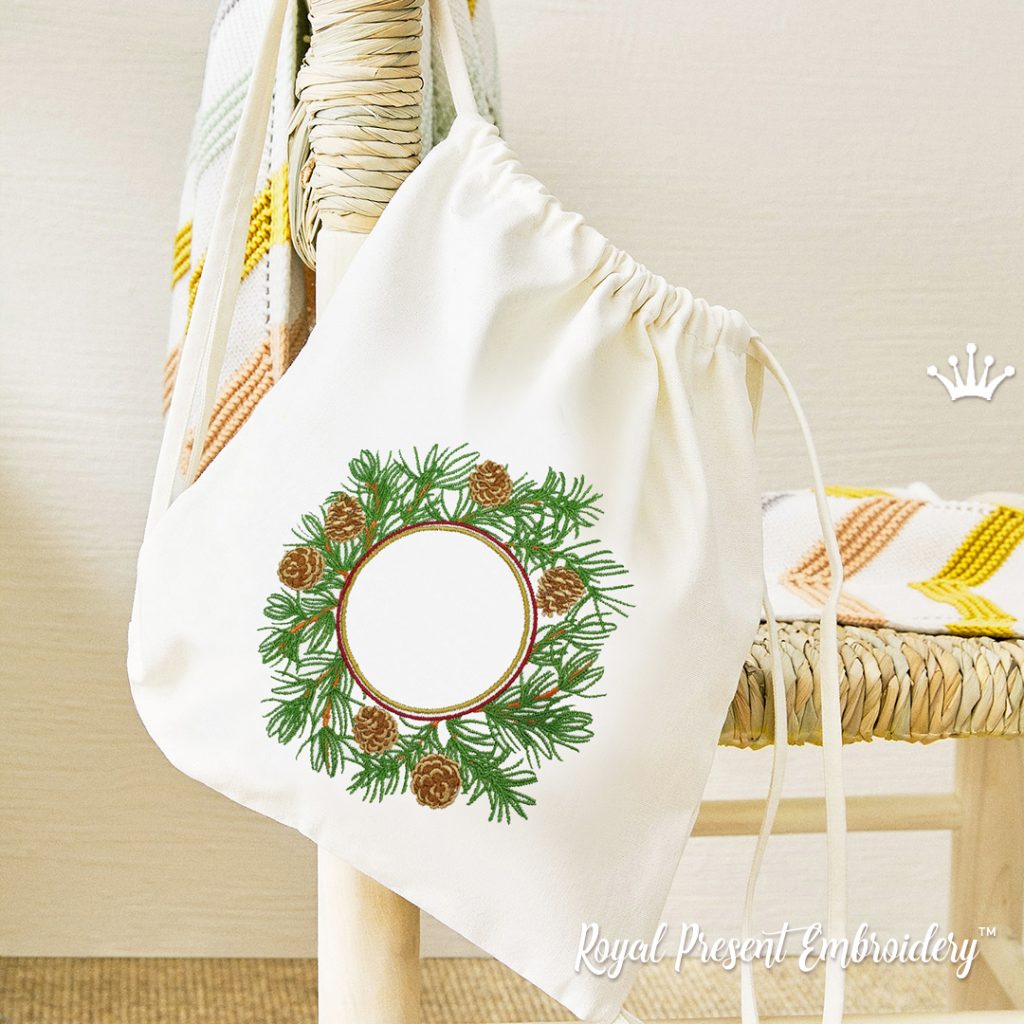
Pine tree with cones frame machine embroidery design – 5 sizes
“Nautical and marine life embroidery designs” will give you an ocean of ideas for beach bags and beach totes.
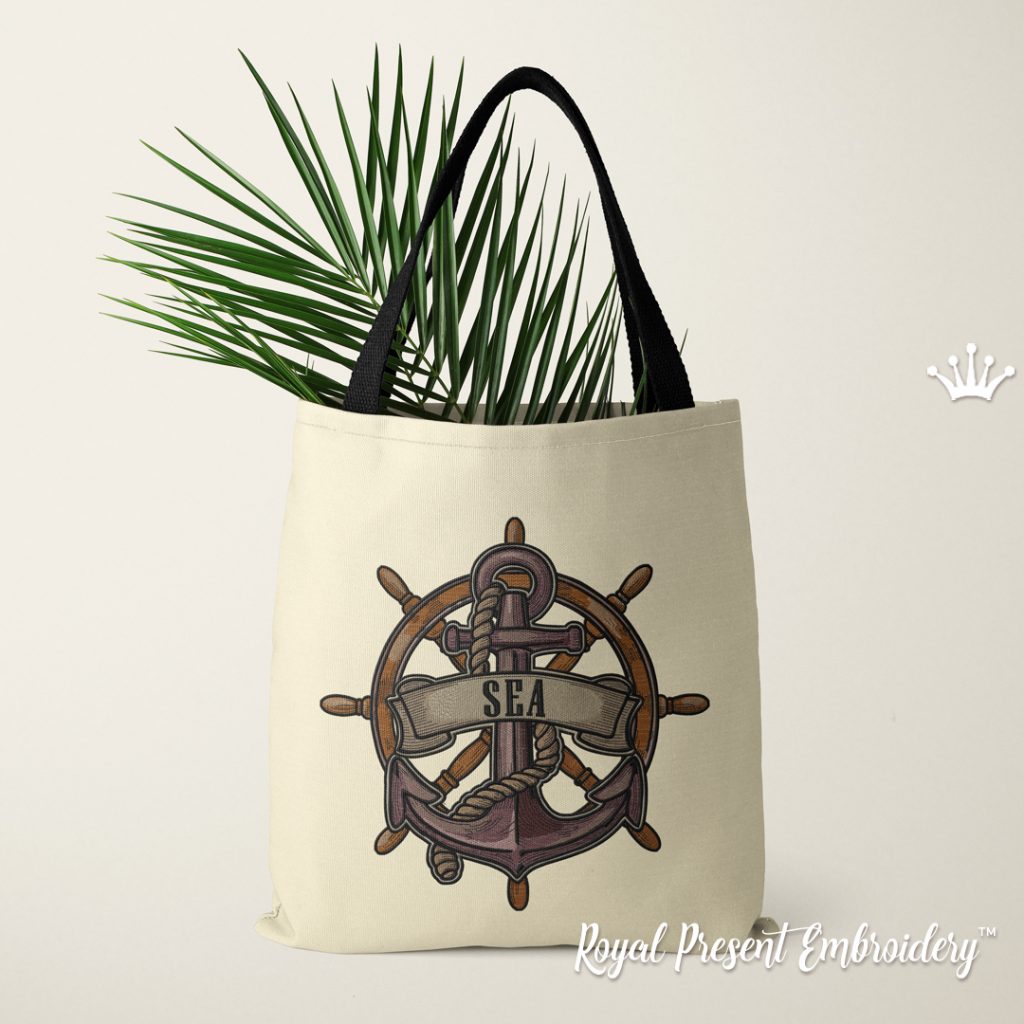
Sea Anchor and wheel Machine embroidery design – 4 sizes
“Ballet, Dance, Fashion” embroidery designs will make great little bags for points and tutu skirts of your little ballerinas.
“Oriental embroidery designs” with their zen aura and style are great for all kinds of yoga bags. Yoga mats will gladly fit into the simplest of the bags too.
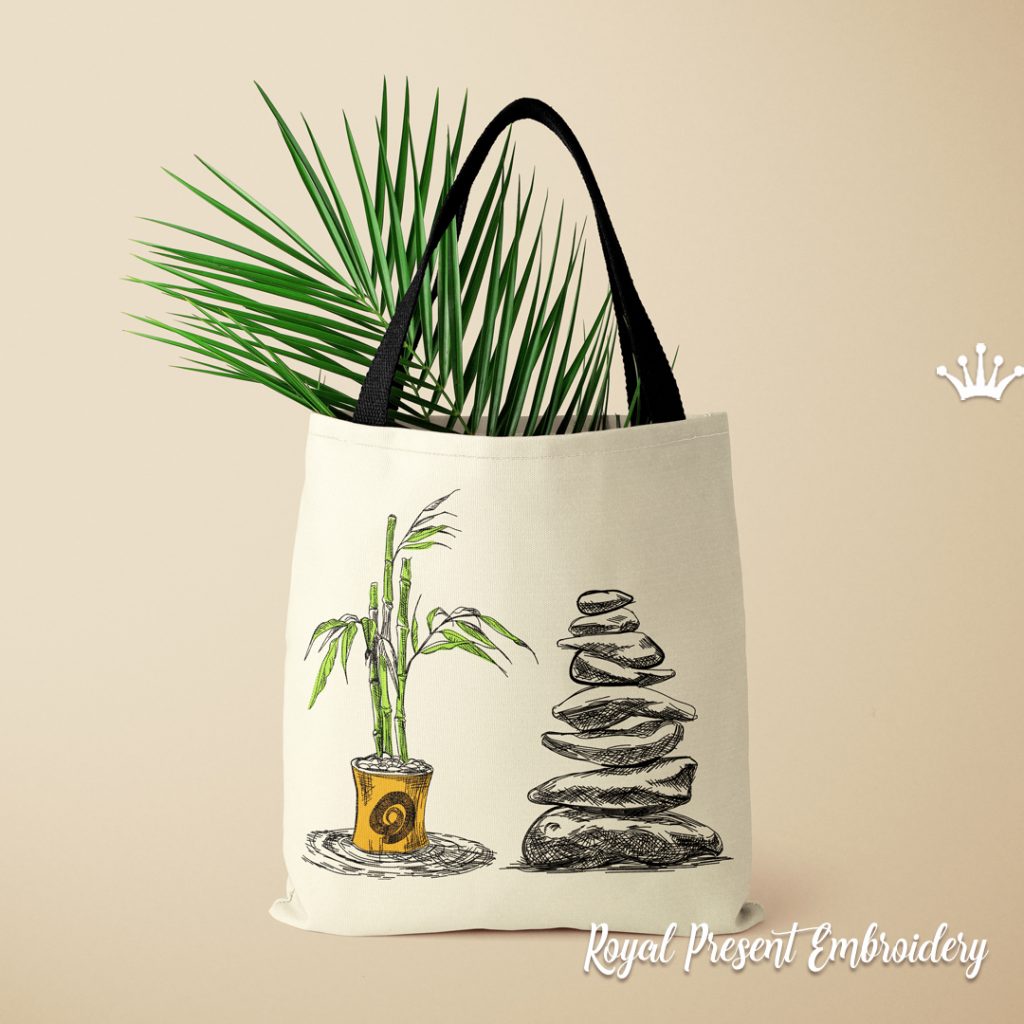
Bamboo and Zen Stones Machine Embroidery Designs – 8 sizes
Didn’t find inspiration for the project in any of the above-mentioned collections? Try eternal classic designs of “Corners”, “Boarders” and “Decorative elements” sets. With a wide variety of themes, sizes, and styles you are bound to find the perfect one for your shopping bag project.
Now, as we’ve discussed machine embroidery designs that are perfect for shopping bag decoration, let’s move on to ones, which are not.
Of all the existing types of machine embroidery designs, only Richelieu and lace patterns are better to be left aside when planning the decoration of a shopping bag. The structure of such designs and their stitch arrangement is too feeble and delicate for obviously practical shopping bags. Such designs are too fragile to withstand pulls, stretches, and distortions, caused by the heavy-duty that grocery bags are involved in. Though undoubtedly beautiful, they might quickly lose their look after two or three tours to a grocery store.
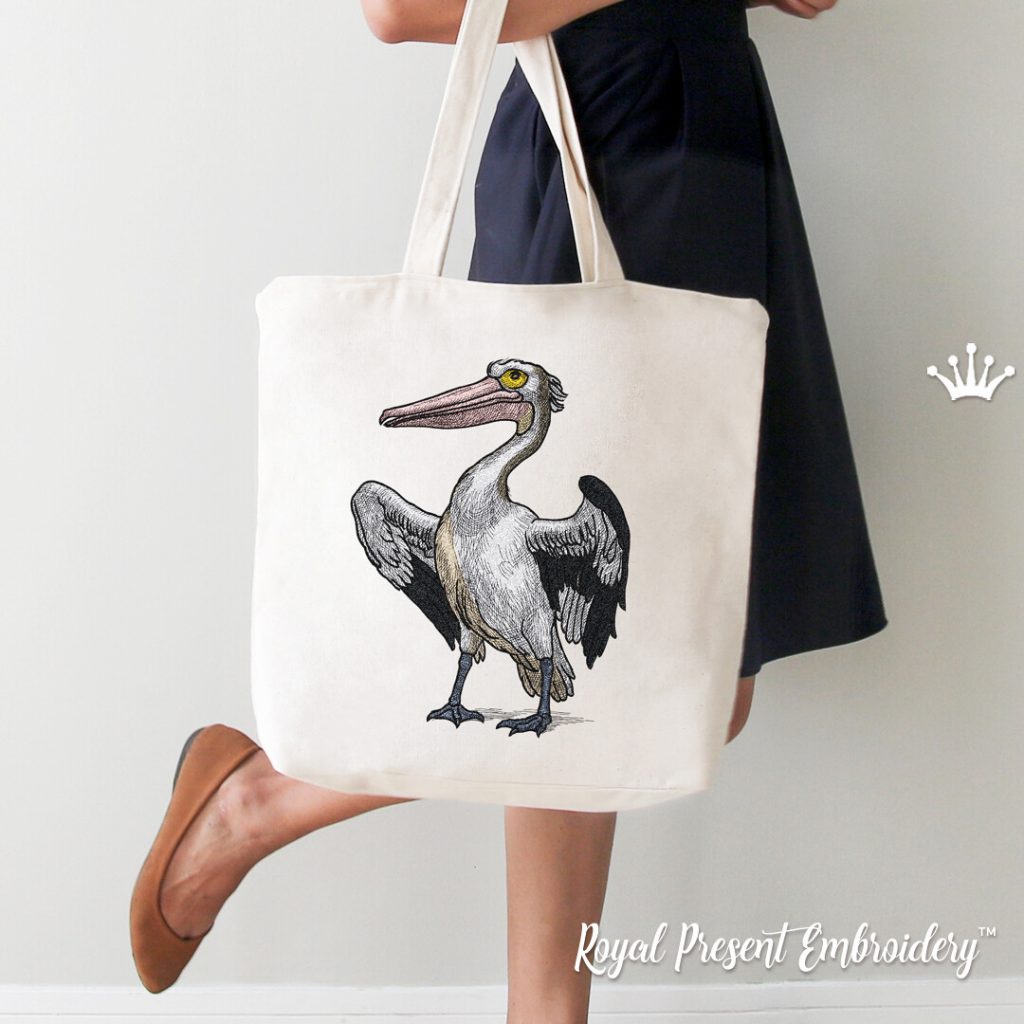
Colored Pelican Machine Embroidery Design – 7 sizes
As you see there’re few limitations when it comes to machine embroidery of shopping bags. With the knowledge that you’ve gotten from the article and the designs that you can find in our online store the possibilities for being creative are really endless. That being said, we think that every one of you is already planning your next shopping bag project. Well, let us not stand in the way of your imagination and creativity. Happy stitches and till next article!

Author: Ludmila Konovalova
My name is Ludmila Konovalova, and I lead Royal Present Embroidery. Embroidery for me is more than a profession; it is a legacy of my Ukrainian and Bulgarian heritage, where every woman in my family was a virtuoso in cross-stitch and smooth stitching. This art, passed down through generations, is part of my soul and a symbol of national pride.
Date: 31.05.2024

 Get Sign-In Link
 Login with Google
 Login with Facebook
 Login with Amazon
 Login with Paypal