So, you’ve entered the world of machine embroidery… Congrats! From now on things like “fabric hand”, “knit stretch”, “fabric-design match”, etc. will take up quite a big part of your thoughts. What are those things you say? Well, the funny little words define one of most important components of machine embroidery project – fabric!
That being said we’d like to invite you to ask yourself if you know your fabrics. Do you know how to choose the right fabric for machine embroidery projects? Which fabrics go well with, say, Richelieu, Red Work or all-over designs and which just won’t work for them? If you find it difficult to answer those questions, then our new series “Choosing fabric for machine embroidery” will be really useful for you. In it we’ll try to give all the necessary information on the theme in question.
We’ll speak about various types of fabrics and how they behave in different embroidery projects. Plus we’ll provide some really helpful tips and trick how to achieve best results embroidering on various types of fabric. Sounds interesting? Sure it does! Now, as we’ve introduced you to the theme, let’s give a brief announcement of the details.
The series will consist of the following four parts:
Article 1
Choosing fabric for machine embroidery. Part 1. Introduction
In this article, which is also the one that you’re reading now, we’ll address the issue of choosing fabric for machine embroidery in general. As choice of fabric (as far as machine embroidery concerns) depends largely on what embroidery project it’s used in, first we’ll discuss the notion of an embroidery project itself. Then, furthering onto the fabric per se, we’ll speak about the following questions:
~ How various components of embroidery project affect the fabric choice?
~ Why should we approach same fabric differently in various embroidery projects?
~ What fabric properties should an embroiderer take into account when choosing fabric for projects in general?
Article 2
Choosing fabric for machine embroidery. Part 2. Fabric properties: woven fabrics and knits.
In the second article of the series we’ll be furthering onto the more detailed description of various properties of fabrics. In particular we’ll describe woven fabrics and knits. We’ll analyze aspects of their structure essential for machine embroidery. Also, we’ll share some pretty helpful tips on how to assemble embroidery projects according to the chosen fabrics. Questions concerning stabilizer choice, hooping and so on will be answered, examples to the answers provided.
Article 3
In the third article we’ll address such fabric characteristics as: hand of fabric, colorfastness, shrinkage, edge fraying and many others. You’ll know why you need to take these characteristics into account, when choosing fabric for embroidery projects.
Article 4
Choosing fabric for machine embroidery. Part 4. Fabric properties: non-woven fabrics. Do designs, level of personal embroidery expertise or other factors influence the way we choose fabrics for embroidery projects?
We felt that it’d be easier to understand non-woven textiles would only after fabrics’ characteristics have been discussed. That is why we left fabrics like leather, neoprene, fur etc. to the fourth article of the series. Also this article will address such important for the fabric choice issues as the role of designs, level of professional expertise of each embroiderer etc.
As you see, in the series “Choosing fabric for machine embroidery” we’ll try to show you an all-around approach to the issue. It means that we won’t just give you a brief description of what certain fabrics look like (that wouldn’t have been of much help). What we wanted to do is to show you how different types of fabrics react to machine embroidery, how they can support stitches not only during the sewing process, but afterwards too. It’s only after you’ve created such understanding of nature of various fabrics that you can choose the right on for your next embroidery project.
So, are you interested in following us? Well, then, let’s begin with the basics.
Embroidery project: the components.
When you take up an embroidery project, you basically decorate an item, which will be used for various purposes. Garments, linens, towels, baby wear, quilts, framed art pieces – these are examples of items that are embroidered the most. Some of them are washed quite a lot, some are frequently stretched and some are just there “hanging”. It means that each of them undergoes different use and type of tear-and-ware. This, in its turn, means that when embroidering these items you’ll need to think of different requirements for each.
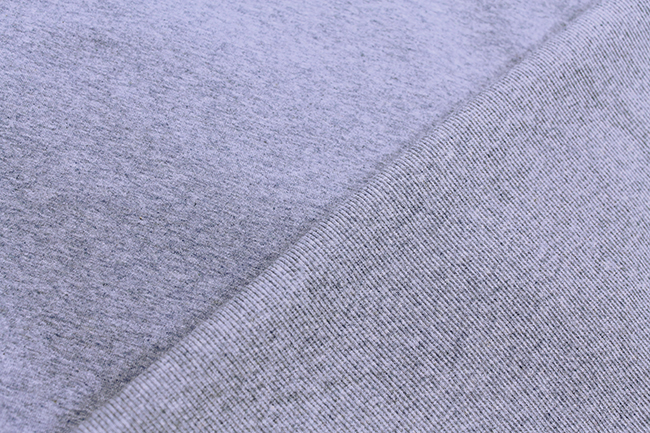
jersey
Example 1: Machine embroidery of a top, made of jersey with 2×2 needles. When working on this particular project one need to take into account the following factors:
~ A top of made of a type of textured jersey which is quite elastic. In order for it to keep its elasticity (important quality for its comfortable use) some designs shouldn’t be sewn on it. Usually it’s the designs with large coverage and dense fill stitches.
~ A jersey top is usually worn right to the skin. This means that, despite the type of design to be sewn on, an embroiderer should use proper backing. Ideally it’s the type that helps the fabric support stitches and doesn’t show too much on the wrong side of the embroidery. Also, the backing shouldn’t interfere with the skin, otherwise the top will be really uncomfortable to use.
~ A jersey top is stretched unevenly. This means that when it’s on, some of its parts will be stretched (upper chest, upper back) and some won’t (lower front – a.k.a. the belly). So, this means that the stretched areas should be embroidered in a particular way. During the hooping stage, such area should be slightly stretched. Also temporary spray adhesive should be applied onto the backing. If these steps are eliminated, then when the top is worn (and stretched), the stitches of the embroidery won’t follow the yarns of the fabric. In short the look of the thing will be pulled and distorted.
~ There’re different types of density and texture of jersey with 2×2 needles. If the one that you’re embroidering on is too pronounced than a layer of topping should be applied too.
~ Jersey is embroidered with a particular type of needle – a jersey (ball-point) one.
So, all in all this project has at least 5 factors, concerning the fabric, which should be taken into account.
Example 2: Embroidered and framed wall art. The embroidery project of this type has relatively small number of aspects to note. The back of the embroidery won’t be seen. The fabric won’t be stretched, washed or otherwise “stressed”. This means that choosing fabric for machine embroidery of such kind is really up to the type of design and your own stylistic preferences. Usually it’s a non-stretchy fabric of medium to high level of density and thread count. If the design is dense, it’s preferable to use equally dense fabric – gabardine, poplin, felt. If the design is light (e.g. Red Work, Tulle, etc.) – medium one will do.
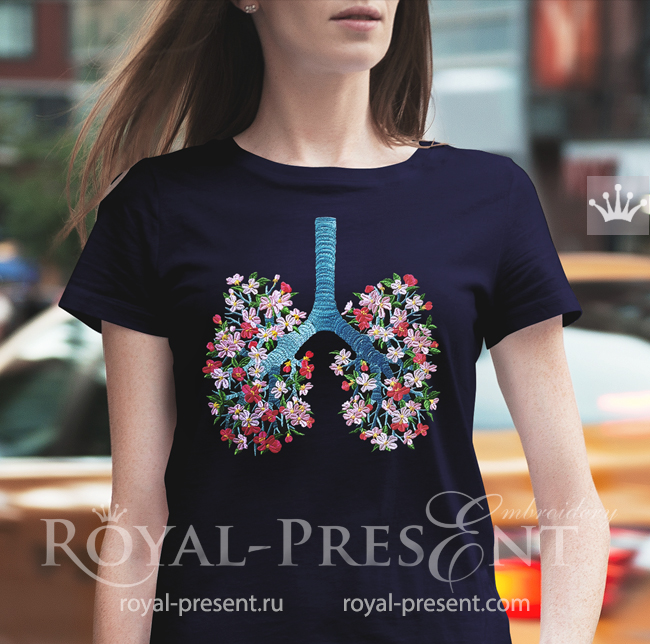
Floral Human Lungs
Note: Sometimes it happens so, that, when one and the same fabric is used in two different projects, one goes perfectly well while the other doesn’t. Why does it happen? Well, as we’ve said, embroidery project consists of many factors: the design, the fabric and so on. If something went wrong, it means that you’ve made a mistake in pairing all those factors together.
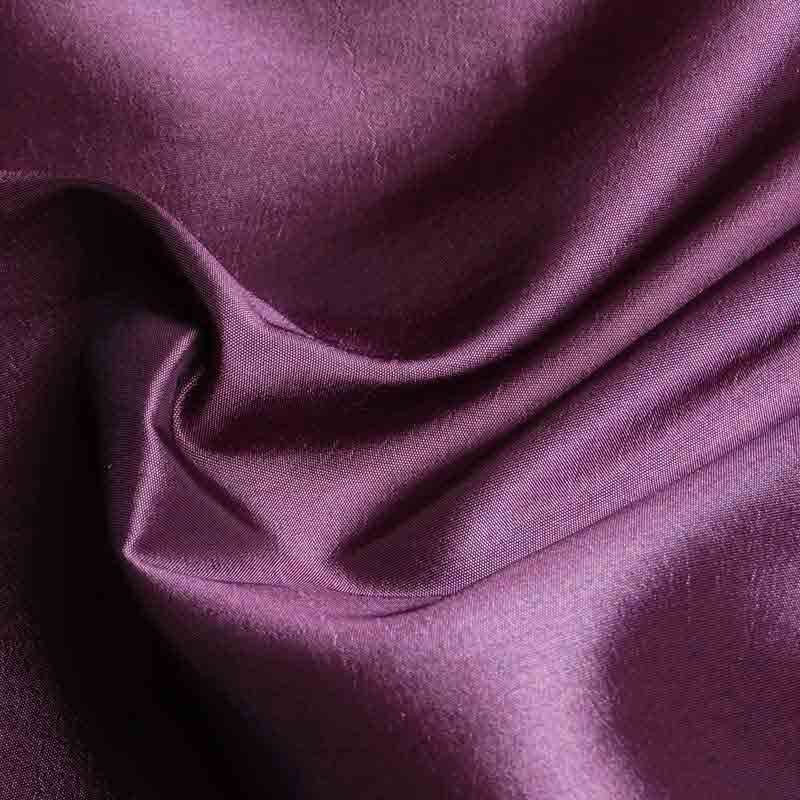
taffeta
Example 3: Embroidering in a taffeta dress and taffeta pillow case. We have same fabric, same design, and different cut of the to-be-embroidered items and different stabilizers. Taffeta pillow case turned out swell, the dress, however, didn’t. As dresses (due to their design cut) don’t always allow using cut-away stabilizer, which is usually used with taffeta, it was swapped for a tear-away one. This type of backing provides lesser support for embroidery, which might cause different result for the project.
As you see, every embroidery project has a story to tell. That is why sometimes even when we use same fabrics in different embroidery projects, we need to make according adjustments to our work.
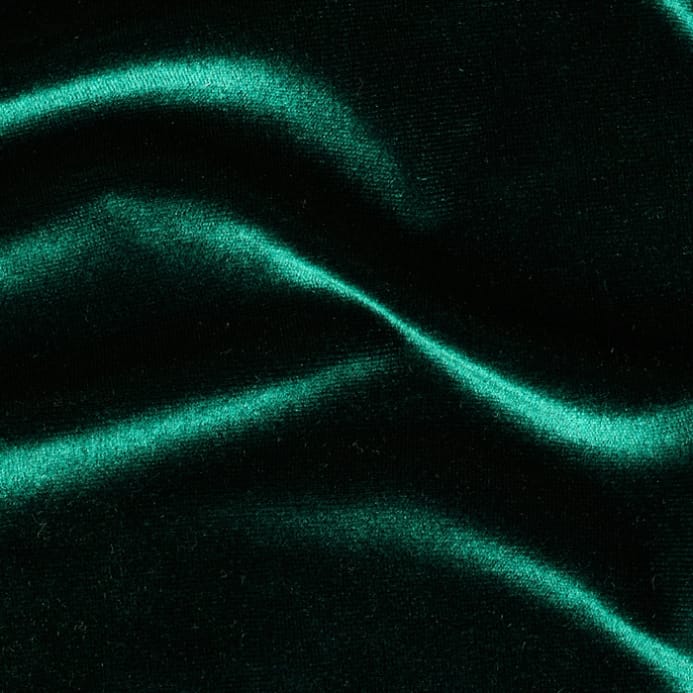
stretchy velour
Example 4: Embroidering on a dress, made of stretchy velour. This embroidery project is a really complex one. There’re a lot of aspects in this embroidery project that one must take into account! The design and its position on the garment, the stabilization and the hooping, the needles… Fail to choose the correct component and the dress itself might get ruined. When occur, such mistakes might cost dearly indeed, especially if machine embroidery isn’t just a hobby but a source of income. It can easily cost you a customer and you reputation even. And, as we’ve already mention in our series on home-run machine embroidery business, such issues are really hard to recover from.
SIDENOTE: Interested in learning more on home-run embroidery business? Then follow the link to the first article of the series, where you can get all the information you need on how to set-up the home-based shop, how to find customers and other important issues of the theme.
Choosing the right fabric for your embroidery project: Why is it so important?
From the examples above you can see that an embroidery project is a complex thing where a lot of things should be taken into account. Fabric properties, fabric characteristics, the design, its positioning on the item, the cut of the item, the needed stabilizers, the hooping method… The list of such factors in certain projects can be very long! So, why is fabric, among all of those things, so important? Well, the answer is just as complex as the issue itself.
In short: fabric is important because you can’t change its nature directly, so you build the entire embroidery project around it. In a more detailed way it goes like this. You can switch the stabilizers, threads and needles easily, because, well, they’re expendable. The design can be digitized or edited according to the needs of the fabric. The fabric, on the other hand, stays more or less as it is. So, it determines how and with what stabilizers, threads and needles you will carry out your next embroidery project. It’s the fabric that “tells” you how to hoop the entire set-up. According to fabric demands you choose designs and adjust the machine settings. Thus, fabric plays a huge role in the success of your work, so choosing the right fabric for machine embroidery is highly important.
Now, that the question of “Why fabric is important?” has been cleared out, let’s further onto the “How to choose fabric for machine embroidery?”
Choosing fabric for machine embroidery: What fabric properties should an embroiderer take into account?
Few words before we begin… Information on fabrics that we’re mentioning in the article doesn’t include the entire list of fabric properties and characteristics. In our priority list we’ve included only those, which are essential for machine embroidery per se. So, now that we are through with this, let’s just cut to the chase.
When choosing fabric for embroidery project one should take into account the following:
- Fabric structure of how the fabric is “built”. Here an embroiderer should look into fabric’s density, thickness and weight; types of its thread weave, type of fibers/filaments used in the weave and its thread count;
- Fabric characteristics or how fibers, that the fabric is “built” from, react to certain kinds of stress (stretching, punches from the needle, ironing, washing etc.). Here an embroiderer should look into fabric’s hand, colorfastness, shrinkage, yarn slippage or edge fraying, elasticity and in some cases wrinkle factor;
- Design. Not all fabrics can be matched to every single machine embroidery design there’s. So when choosing fabric for machine embroidery one should look into the design’s density, number and size of its elements and type and size of the stitches, used in its composition. Special care should be taken with designs, digitized in certain machine embroidery techniques (cross stitch, FSL, Richelieu, appliqué, etc.) Not all fabrics can be used with those designs. We’ll be speaking about this particular part of our theme in our fourth article.
- Cut of the to-be-embroidered item is also important. Fabrics for complex pieces (clothes, bags or various wear accessories) should be treated in a slightly different way than those of plane ones (napkins, linens – “flat” items). To get a clearer picture just remember the examples with a wall art and a jersey top, we’ve mentioned earlier.
- Level of personal experience in machine embroidery can play a huge part in choosing fabric for an embroidery project. We’ve included this last, but not least, lot in the list of the factors to be taken into account for a reason. The reason is that experience is a mediator factor which would overrun the existing general “rules” for machine embroidery. For example, we’re used to hearing that “light fabrics require heavy stabilization, while sturdy fabrics don’t”. Or “light designs can’t be sewn onto a fabric with a high pile”. Well, things like “pile” or stabilization rules could actually be “modified” by an experienced embroiderer. How? The details are in the fourth article of our series.
Are you confused yet? If you are, well, it is expected. Well, almost. But don’t worry; it’s always like this when you start to learn something new, right? And as the introduction to the issue of choosing fabrics for machine embroidery is now officially over, we call it a day for today. Sleep on the info you’ve gotten and come back to meet us at the second part of the series. In it we’ll be speaking about woven fabrics and knits. Most common types of those fabrics will be mentioned and their “behavior” in various embroidery projects explained. Don’t worry, there won’t be so much theory there, and if it’s, we’ll sprinkle it with a nice dose of self-explanatory examples. It’ll be interesting, so don’t miss it.
You may also like

Home run embroidery business extras that will add to your success

Author: Ludmila Konovalova
My name is Ludmila Konovalova, and I lead Royal Present Embroidery. Embroidery for me is more than a profession; it is a legacy of my Ukrainian and Bulgarian heritage, where every woman in my family was a virtuoso in cross-stitch and smooth stitching. This art, passed down through generations, is part of my soul and a symbol of national pride.
Date: 18.05.2024

 Get Sign-In Link
 Login with Google
 Login with Facebook
 Login with Amazon
 Login with Paypal