Irons Machine Embroidery Design Set - Evolution of Clothes Iron - 3 sizes
By knowing the speed of your embroidery machine, you can find out how long it will take to embroider a design.
To use the embroidery calculator, click on the number of stitches in the product description.
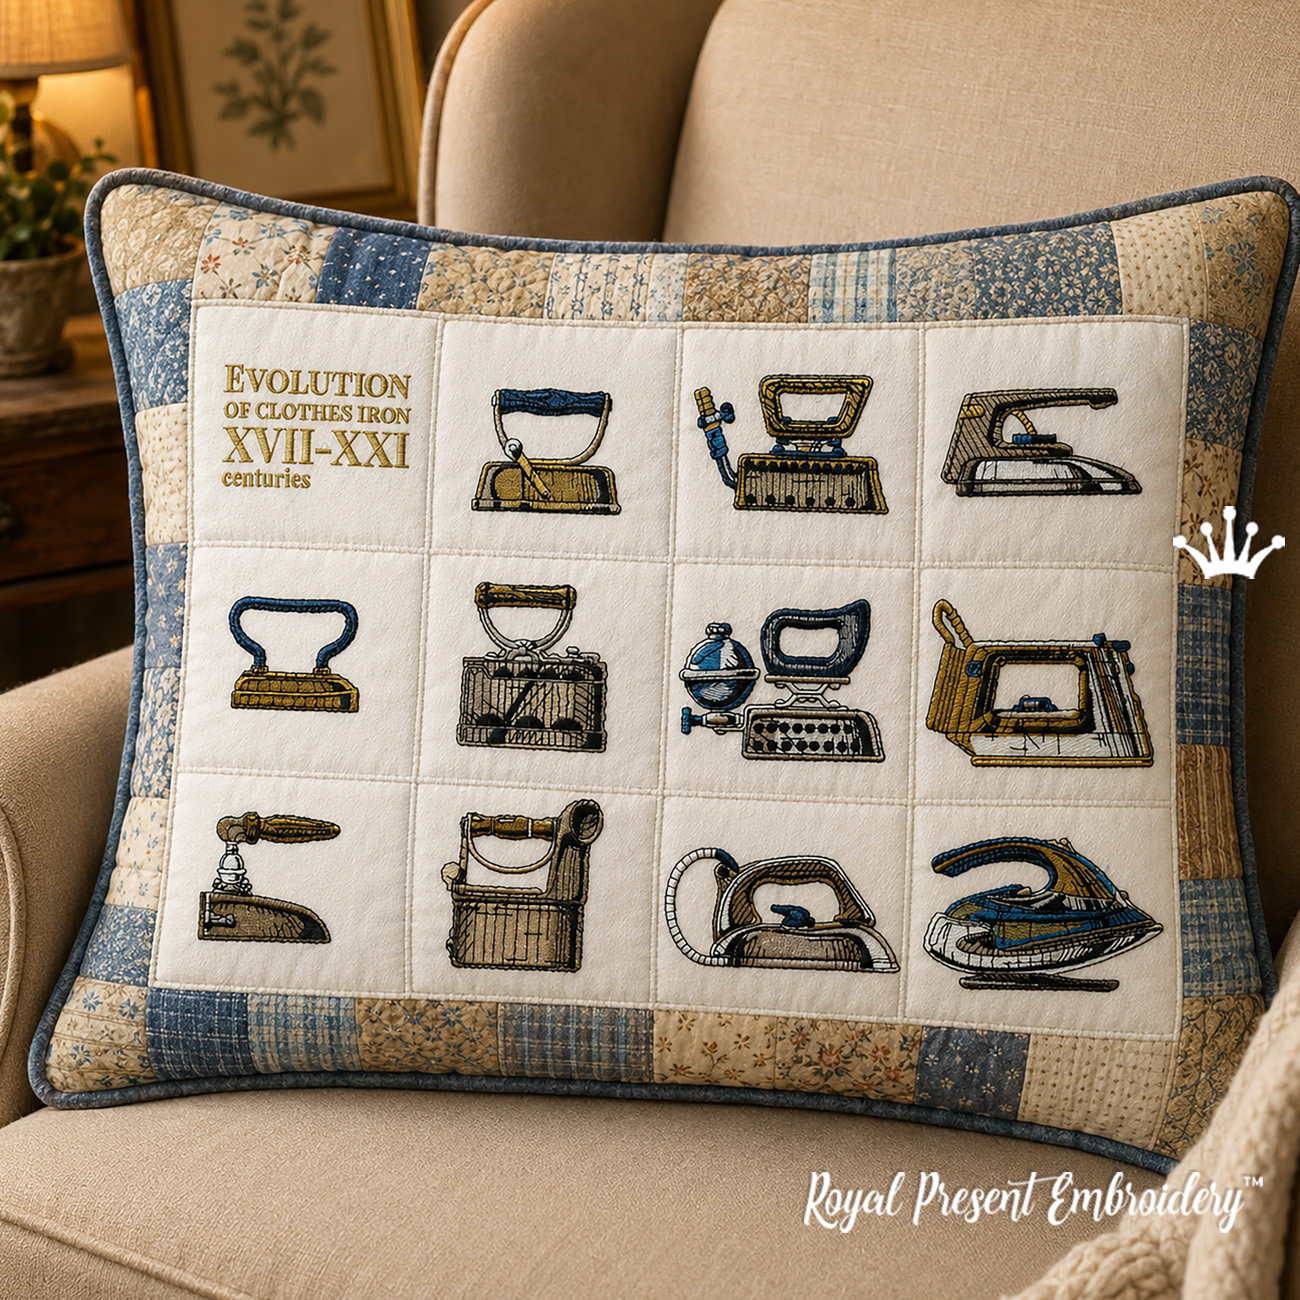
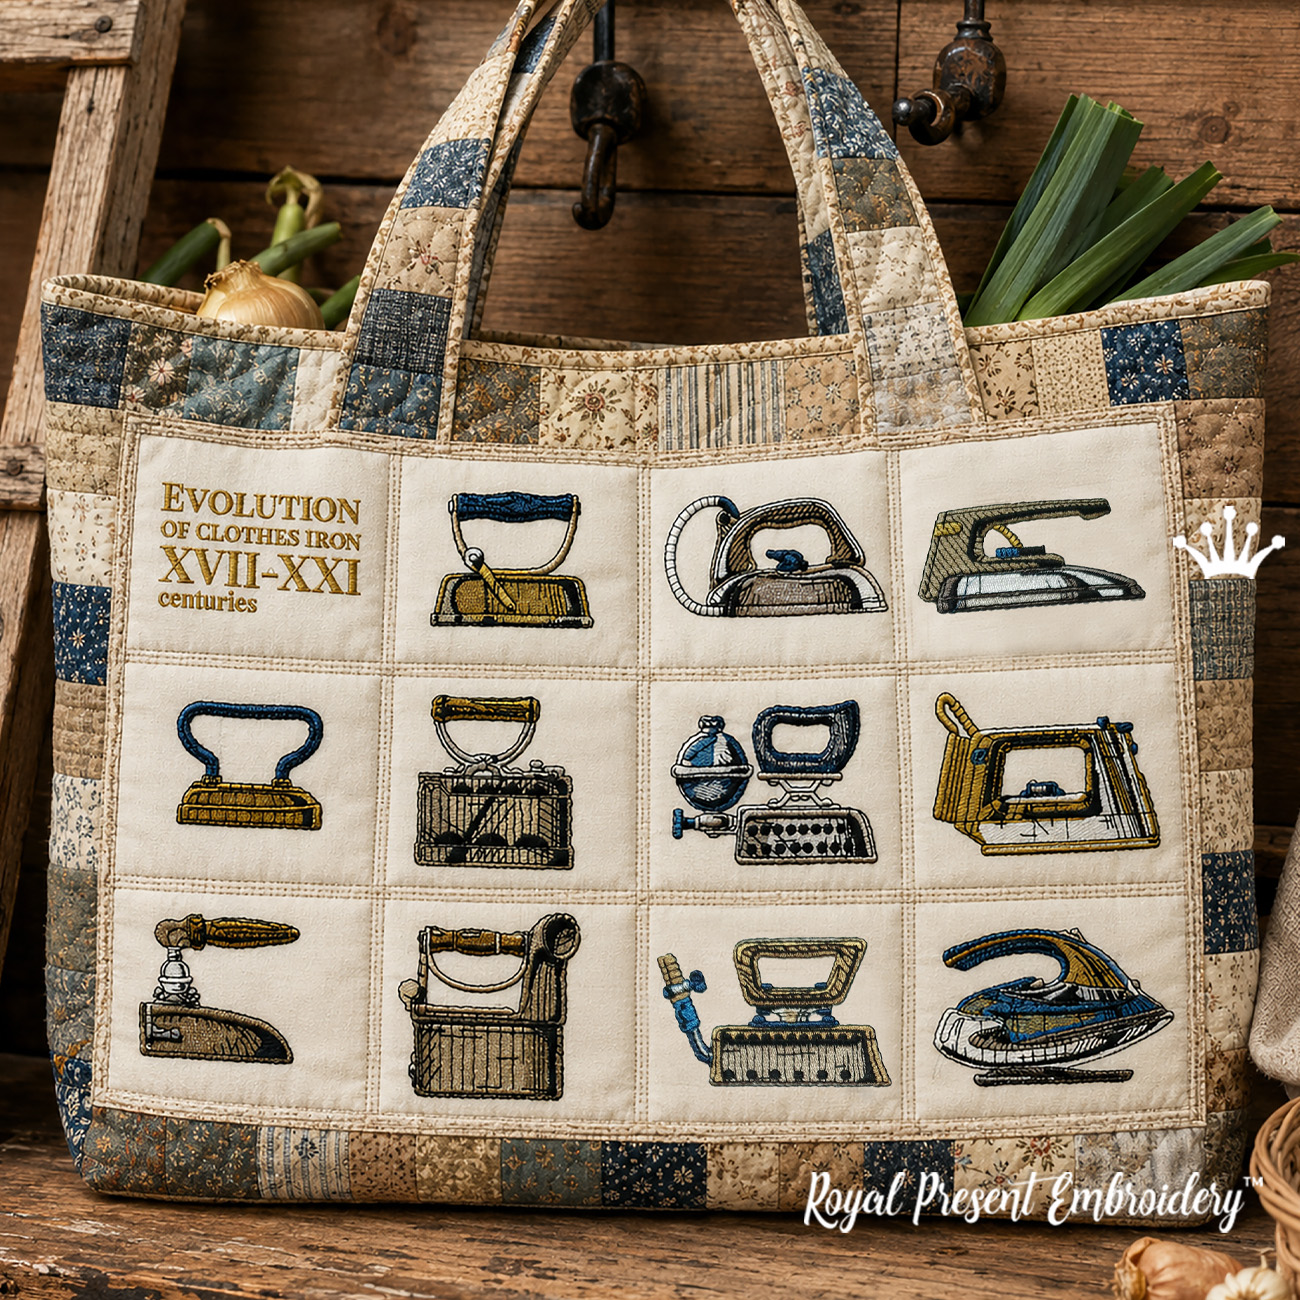
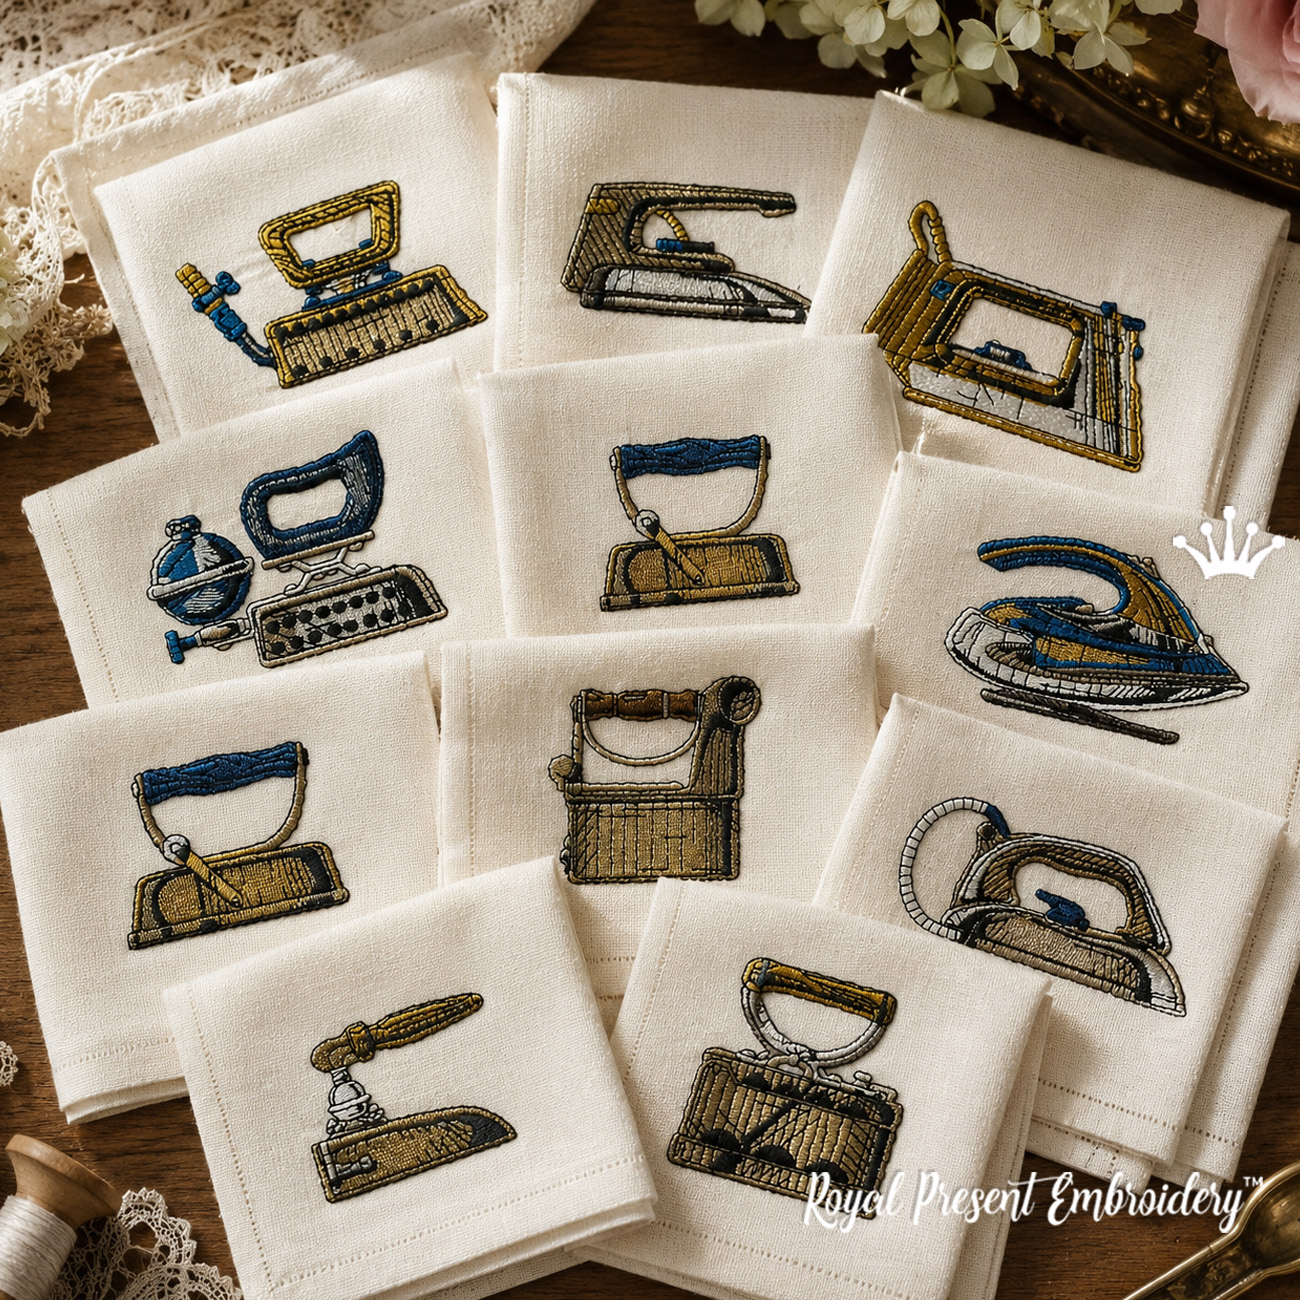
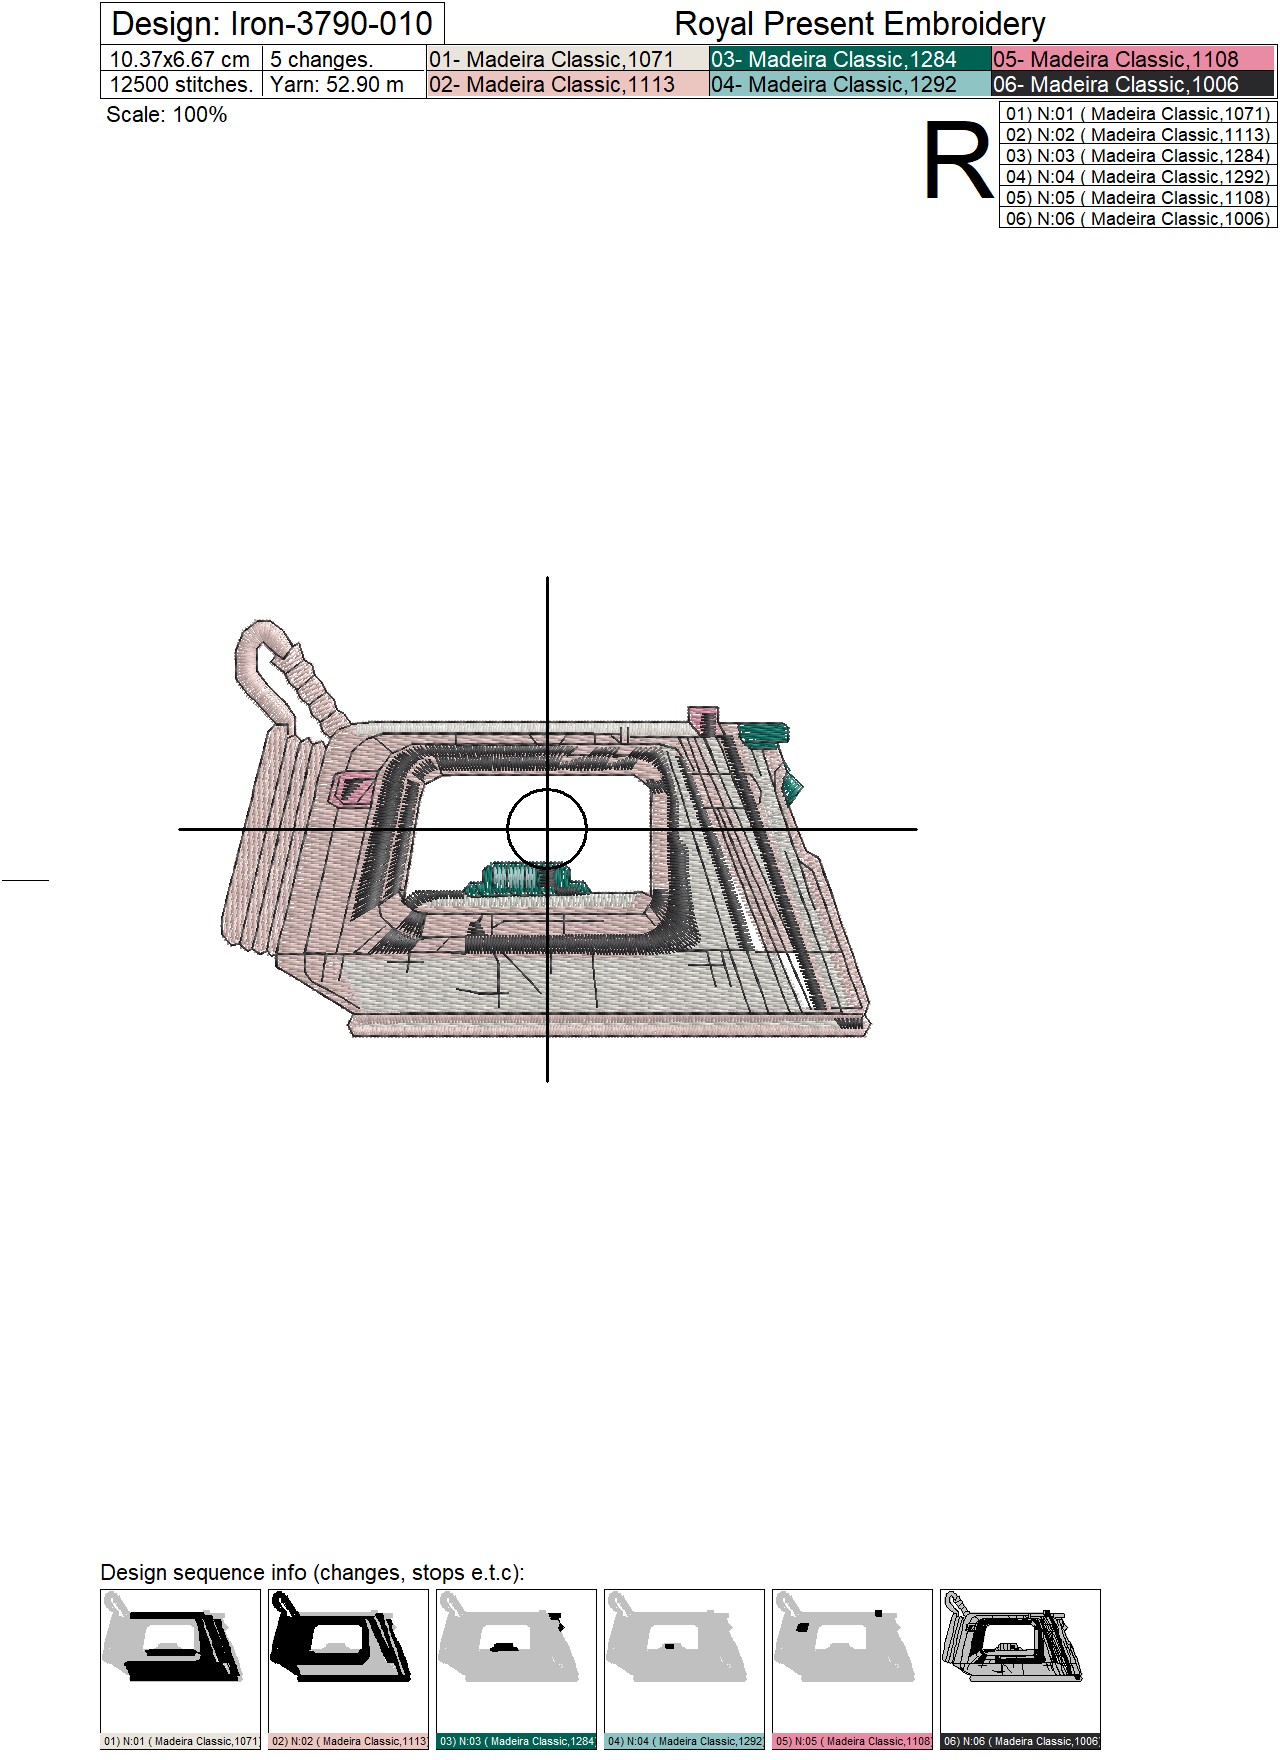
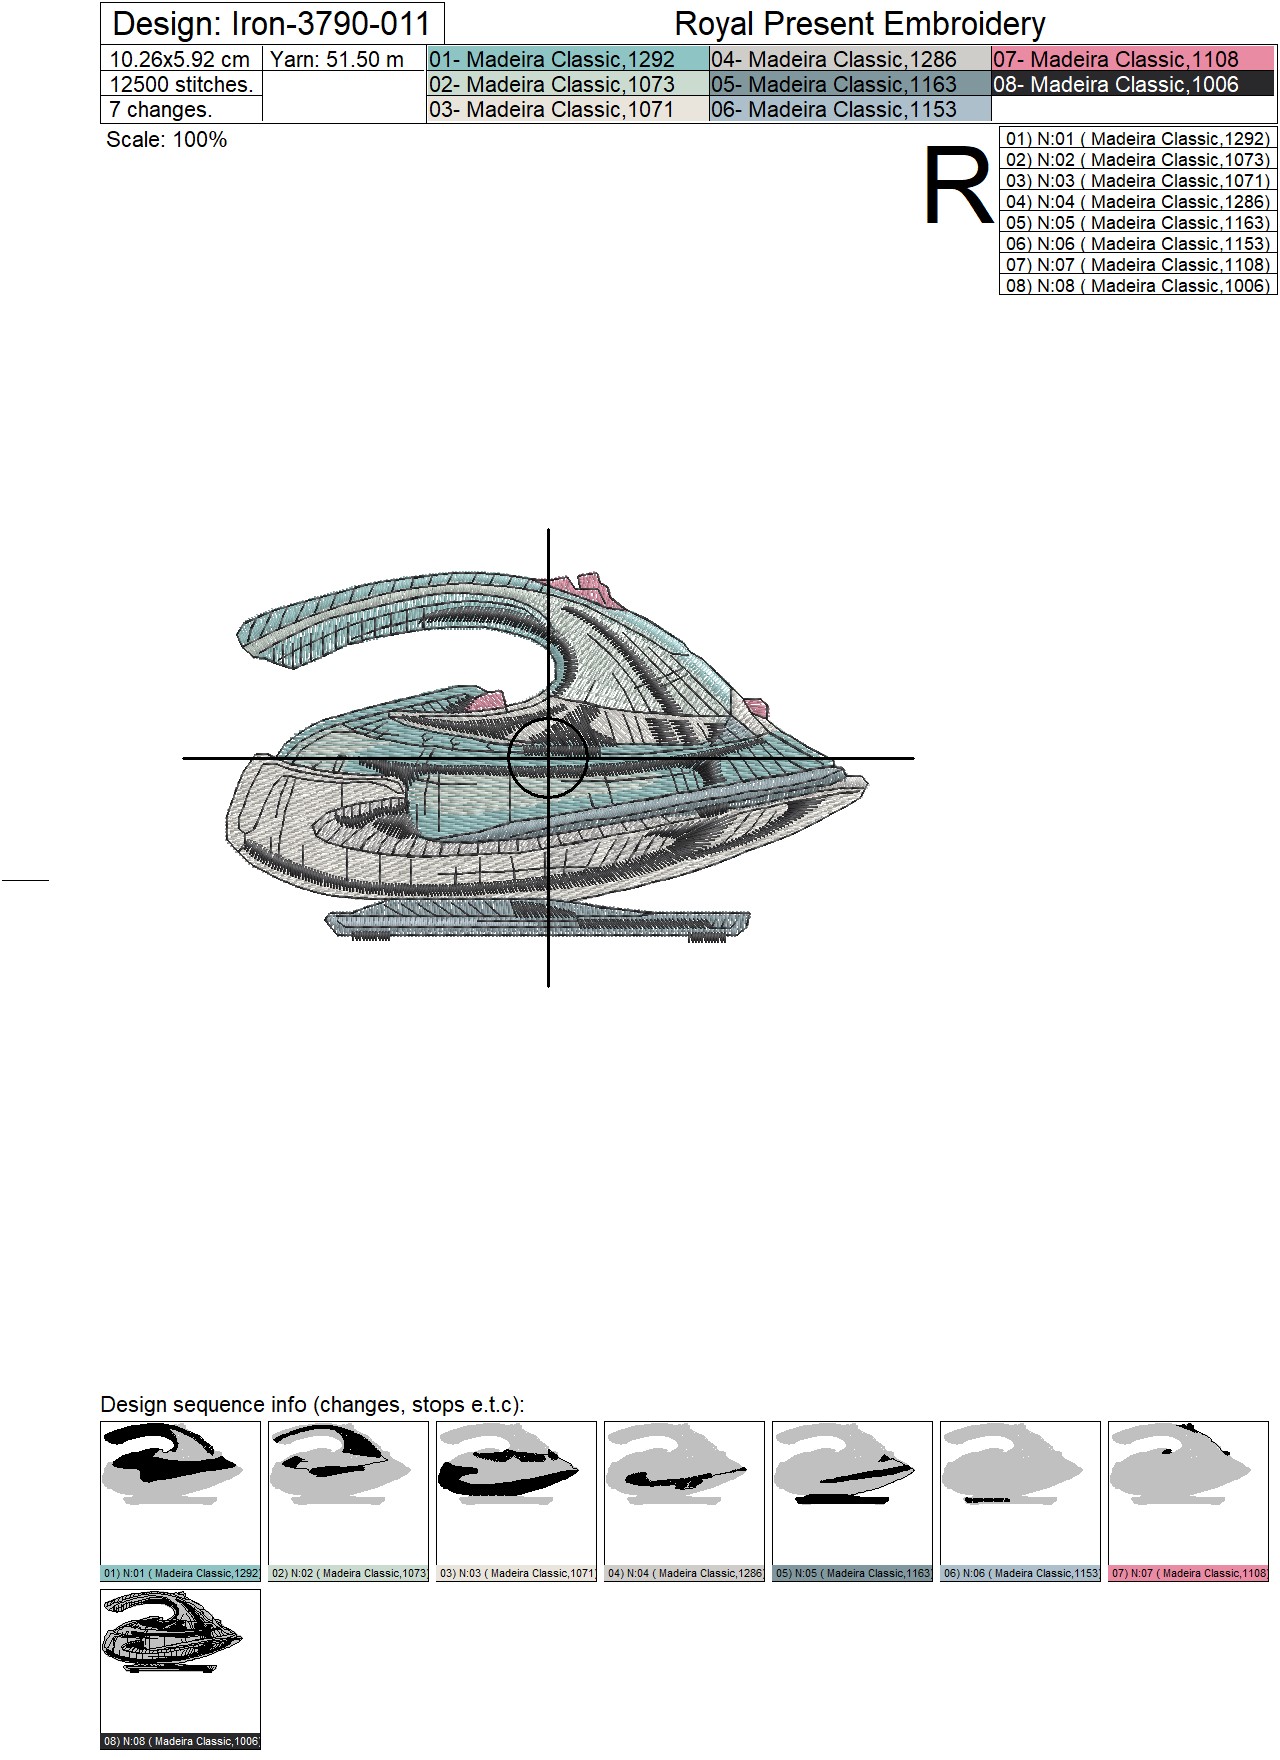
The Irons Machine Embroidery Design Set - Evolution of Clothes Iron is a digital embroidery collection with 12 separate elements: 11 clothes iron designs and one lettering design. Each element can be stitched separately, then joined into a larger composition for patchwork pillows, quilt blocks, tote bags, wall hangings, sewing room décor, laundry room décor and handmade gifts for sewing lovers.
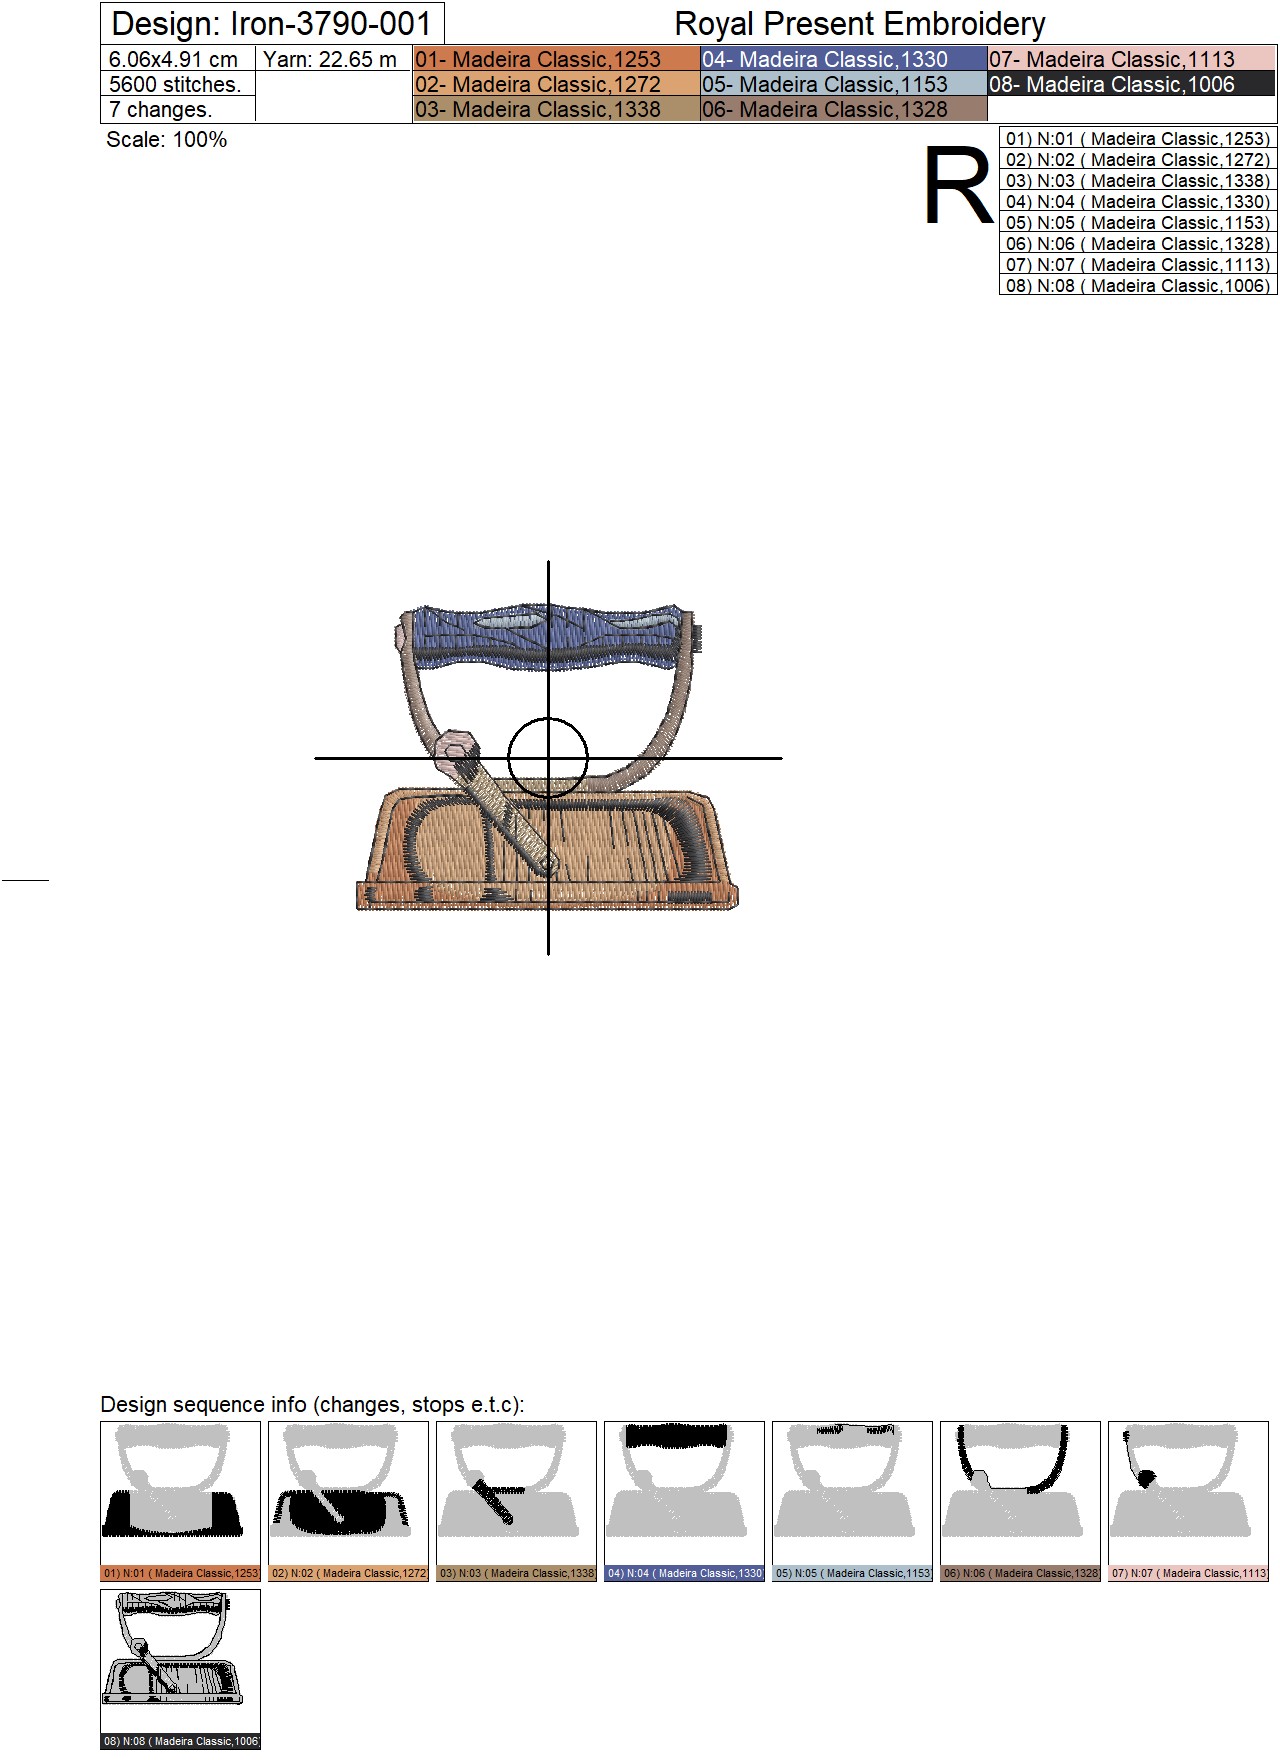
Iron 1
Size: 60.6x49.1 mm (2.39x1.93"), Stitches: 5544
Size: 66.8x53.9 mm (2.63x2.12"), Stitches: 6381
Size: 73.4x59.3 mm (2.89x2.33"), Stitches: 7155
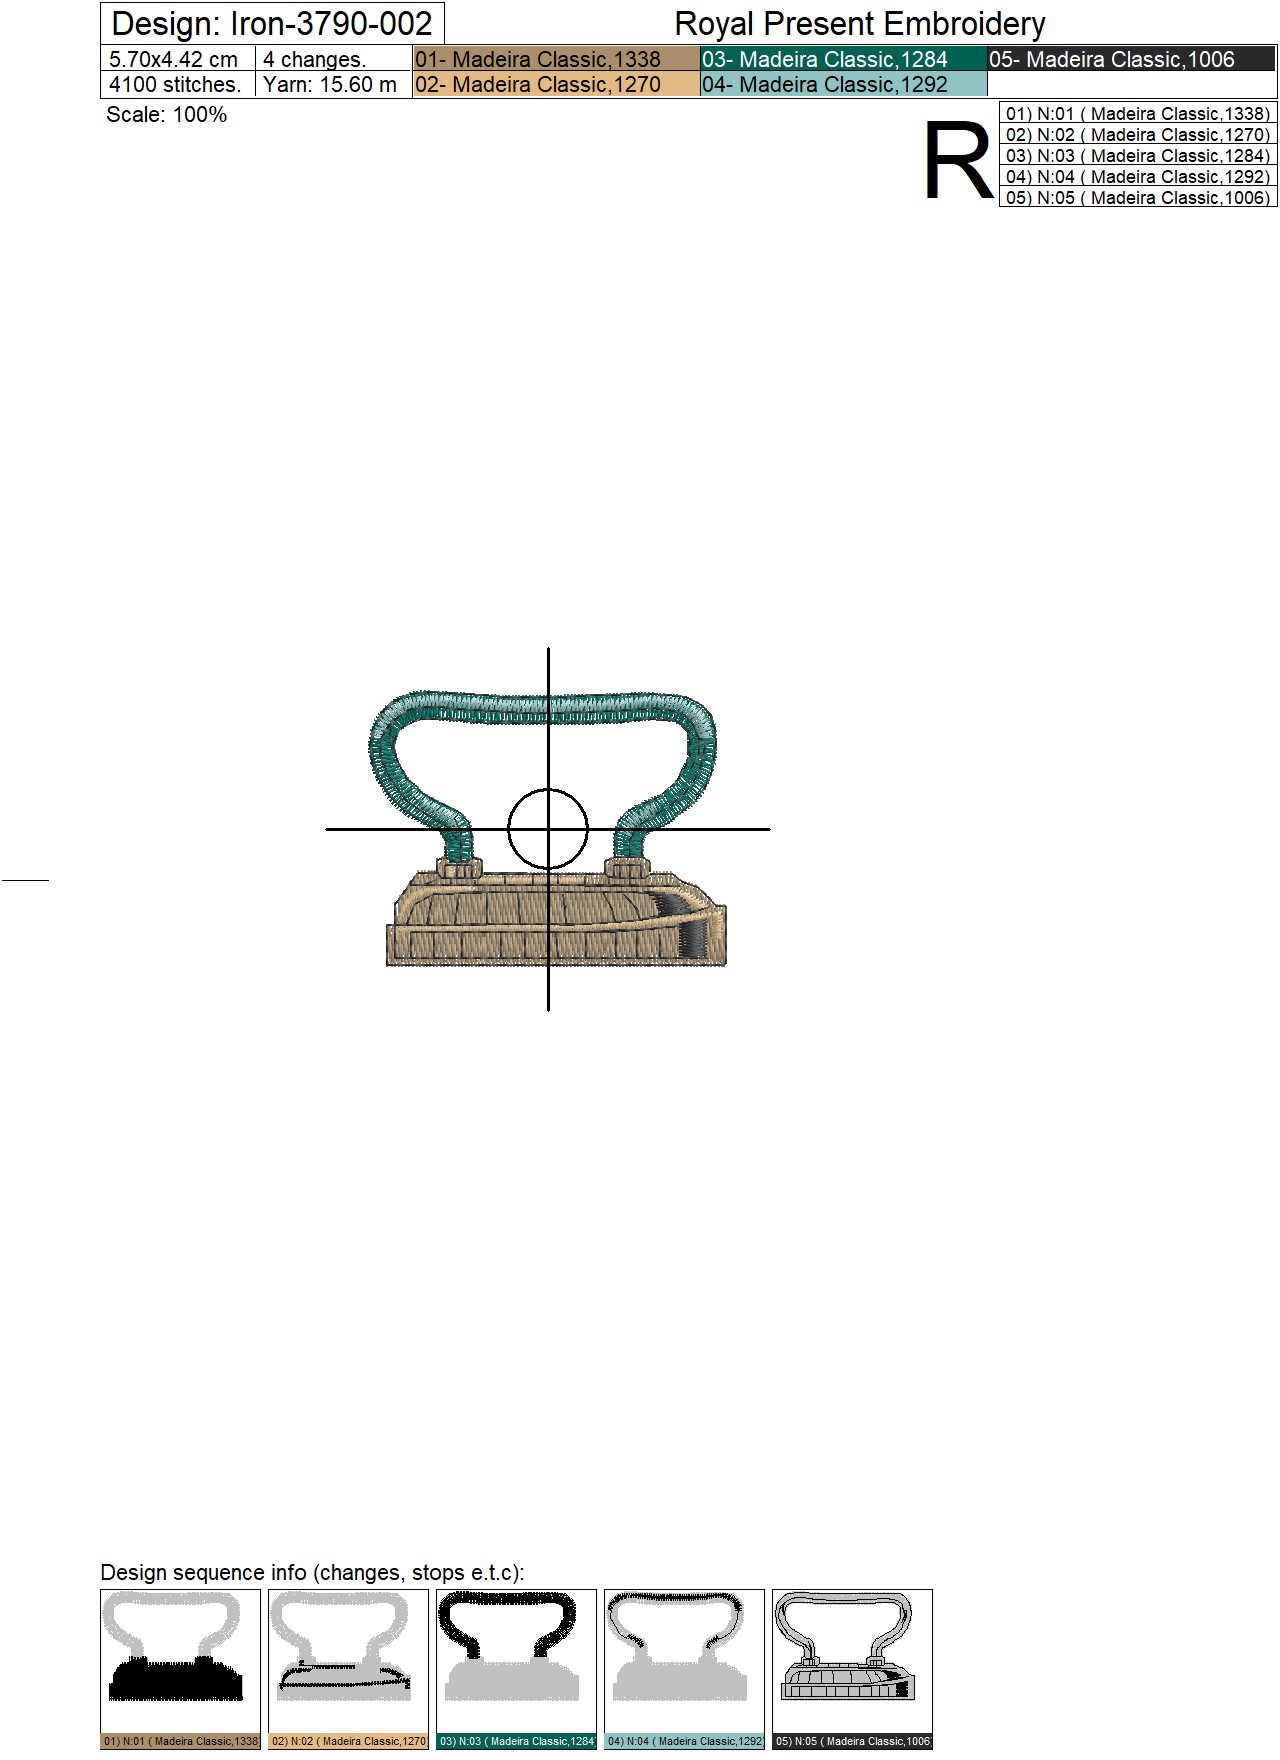
Iron 2
Size: 57.0x44.2 mm (2.24x1.74"), Stitches: 4045
Size: 62.8x48.6 mm (2.47x1.91"), Stitches: 4546
Size: 69.0x53.4 mm (2.72x2.10"), Stitches: 5178
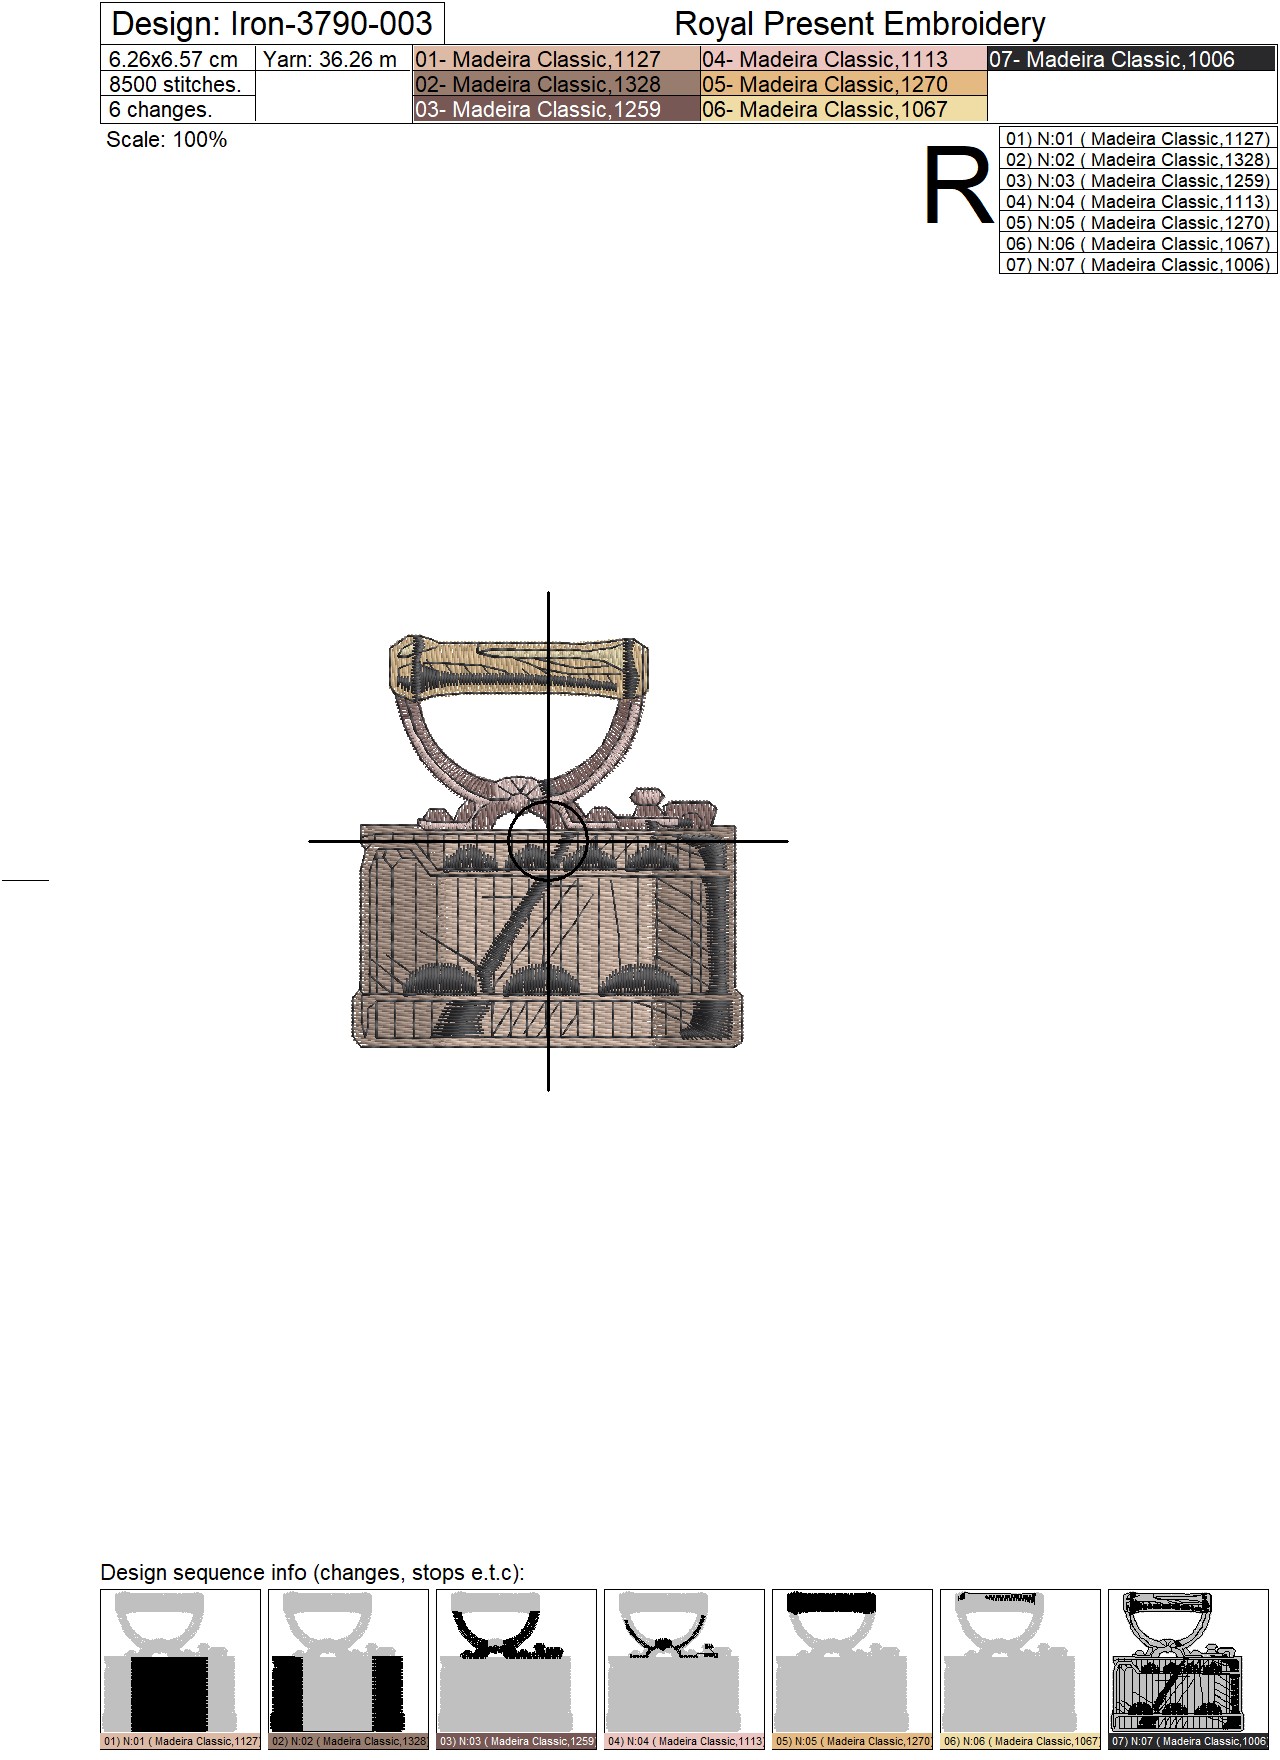
Iron 3
Size: 62.6x65.7 mm (2.46x2.59"), Stitches: 8469
Size: 68.8x72.3 mm (2.71x2.85"), Stitches: 9800
Size: 75.6x79.5 mm (2.98x3.13"), Stitches: 11109
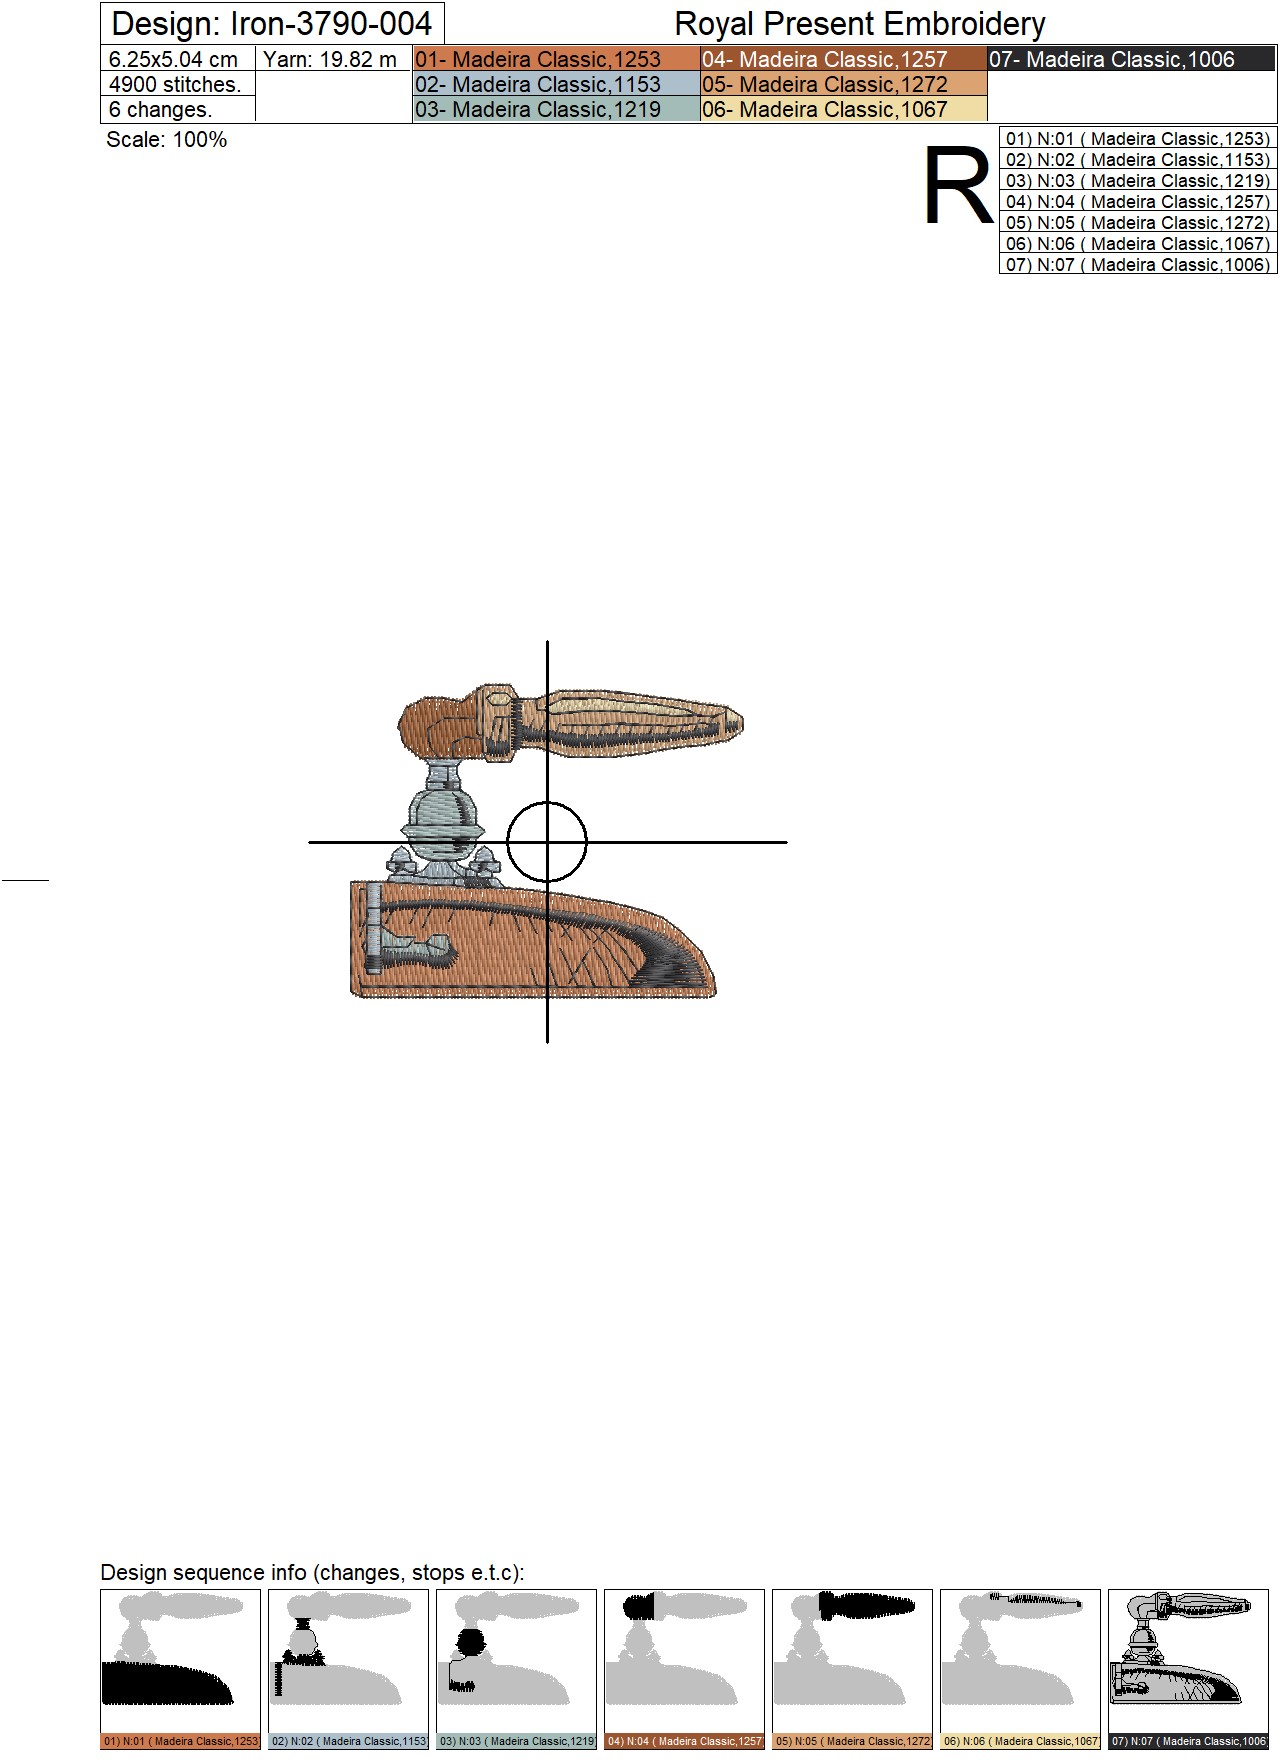
Iron 4
Size: 62.5x50.4 mm (2.46x1.98"), Stitches: 4871
Size: 68.7x55.4 mm (2.70x2.18"), Stitches: 5491
Size: 75.7x61.0 mm (2.98x2.40"), Stitches: 6336
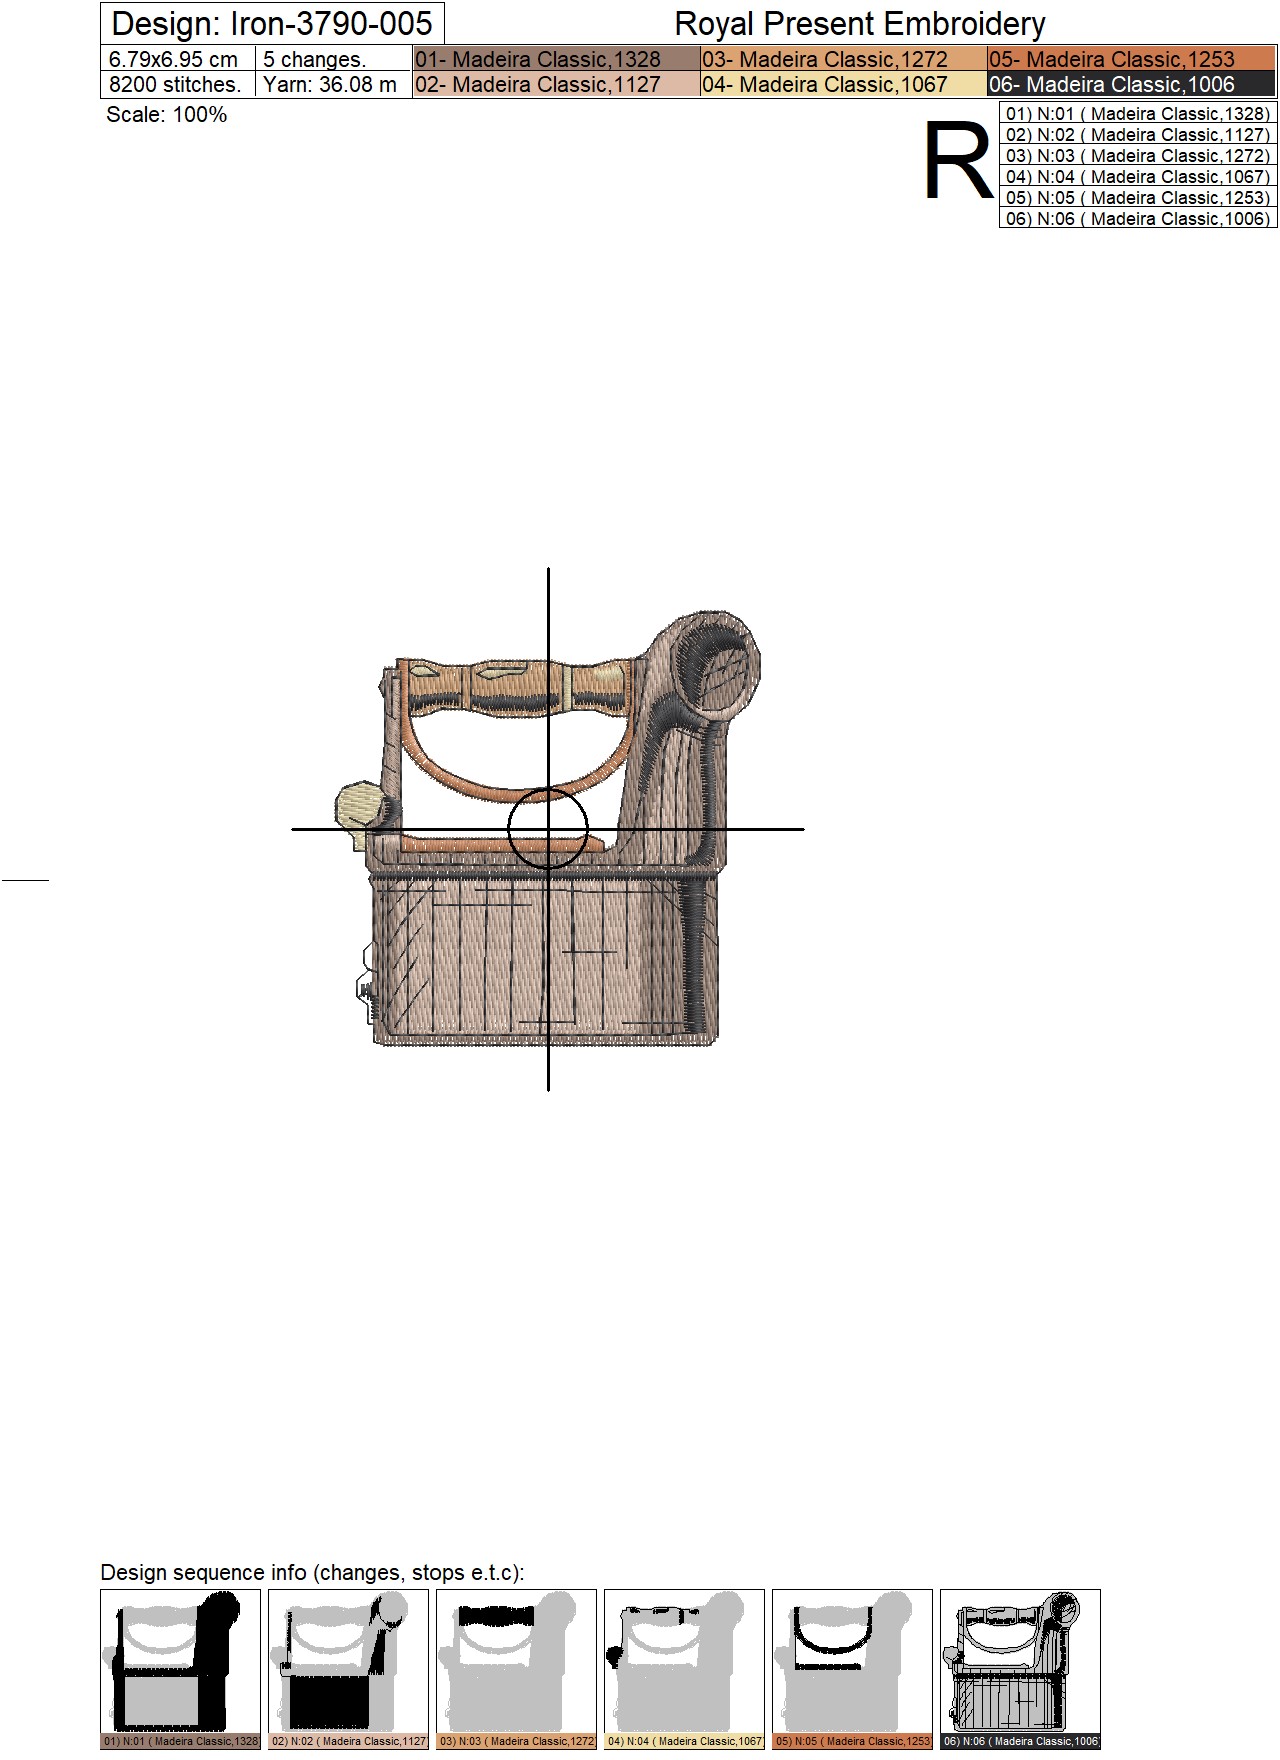
Iron 5
Size: 67.9x69.5 mm (2.67x2.74"), Stitches: 8210
Size: 74.7x76.5 mm (2.94x3.01"), Stitches: 9362
Size: 82.1x84.1 mm (3.23x3.31"), Stitches: 10909
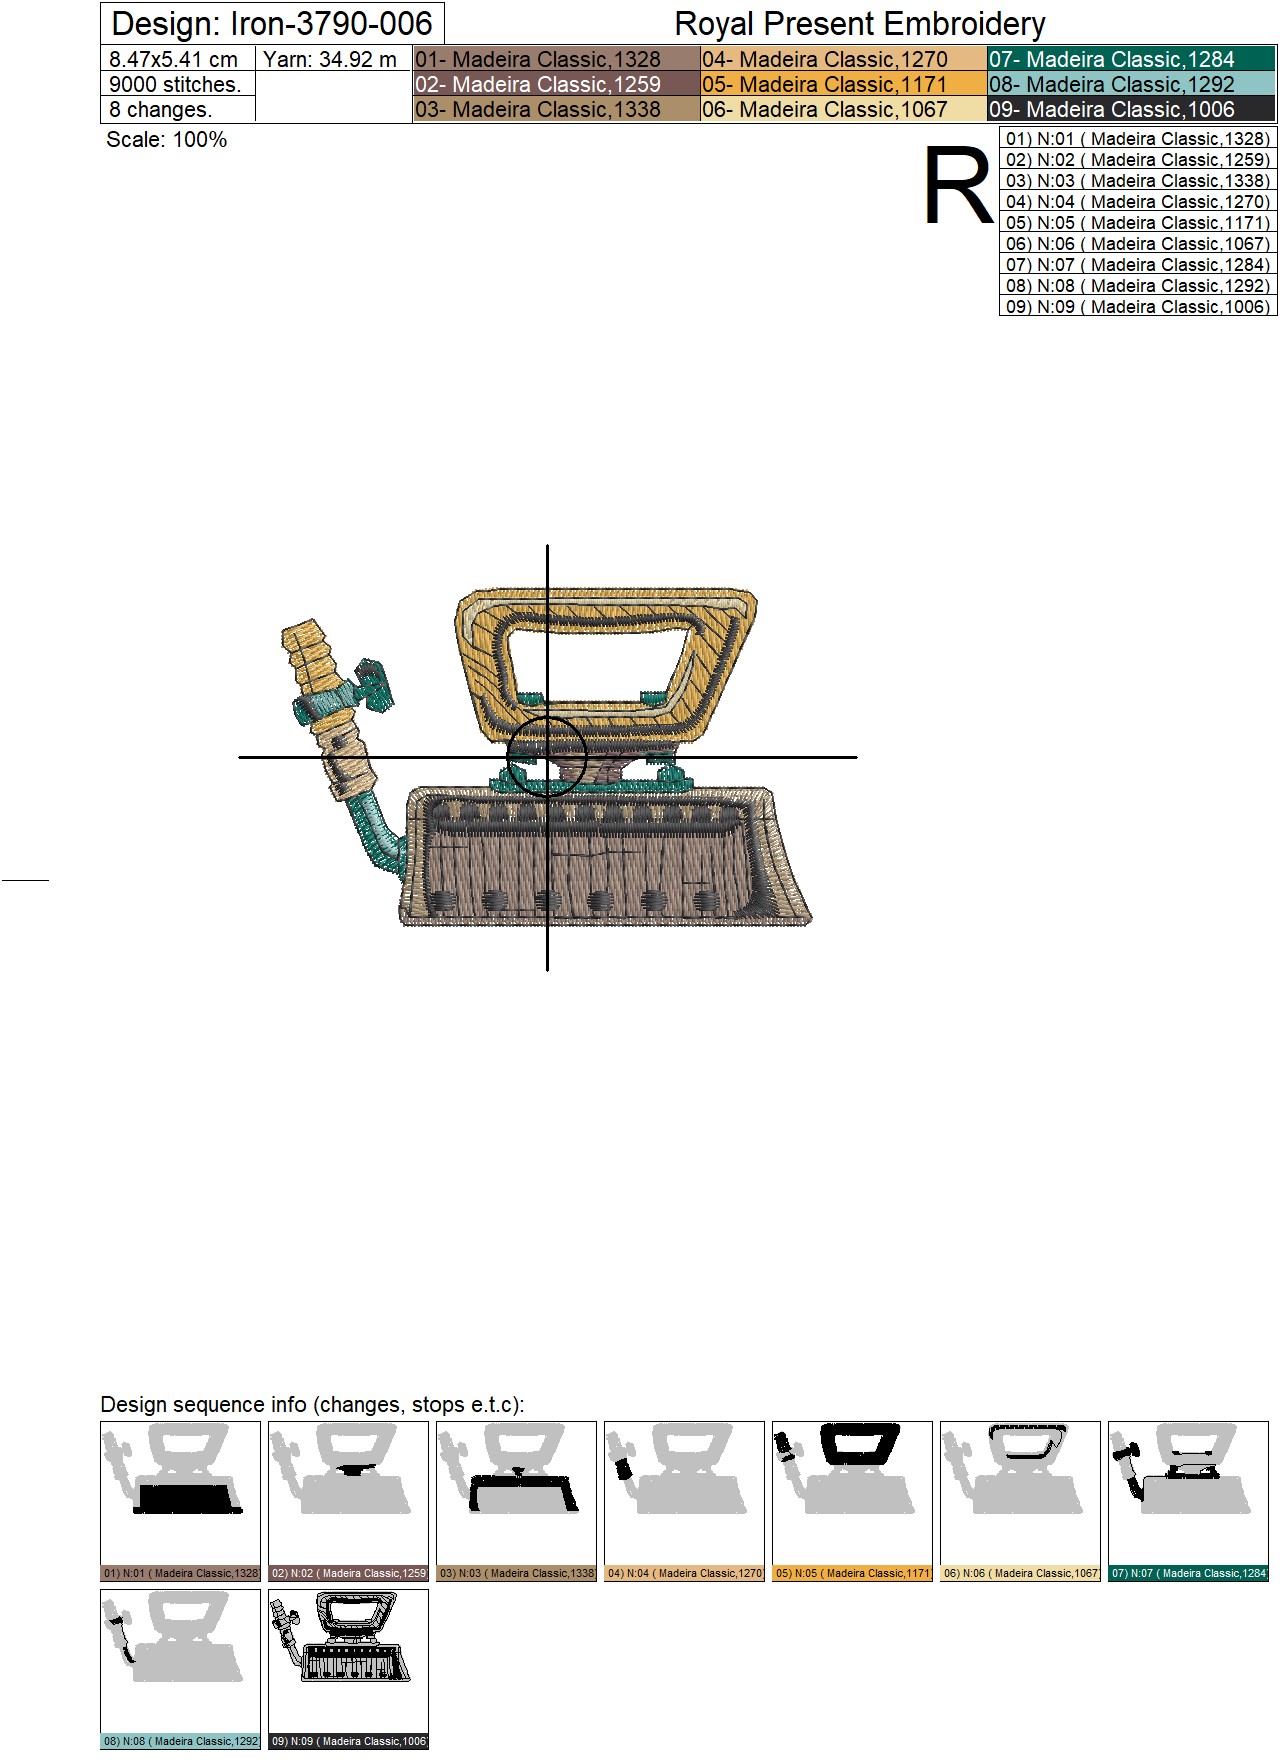
Iron 6
Size: 84.7x54.1 mm (3.33x2.13"), Stitches: 9017
Size: 93.3x59.5 mm (3.67x2.34"), Stitches: 10222
Size: 102.5x65.4 mm (4.04x2.57"), Stitches: 11552
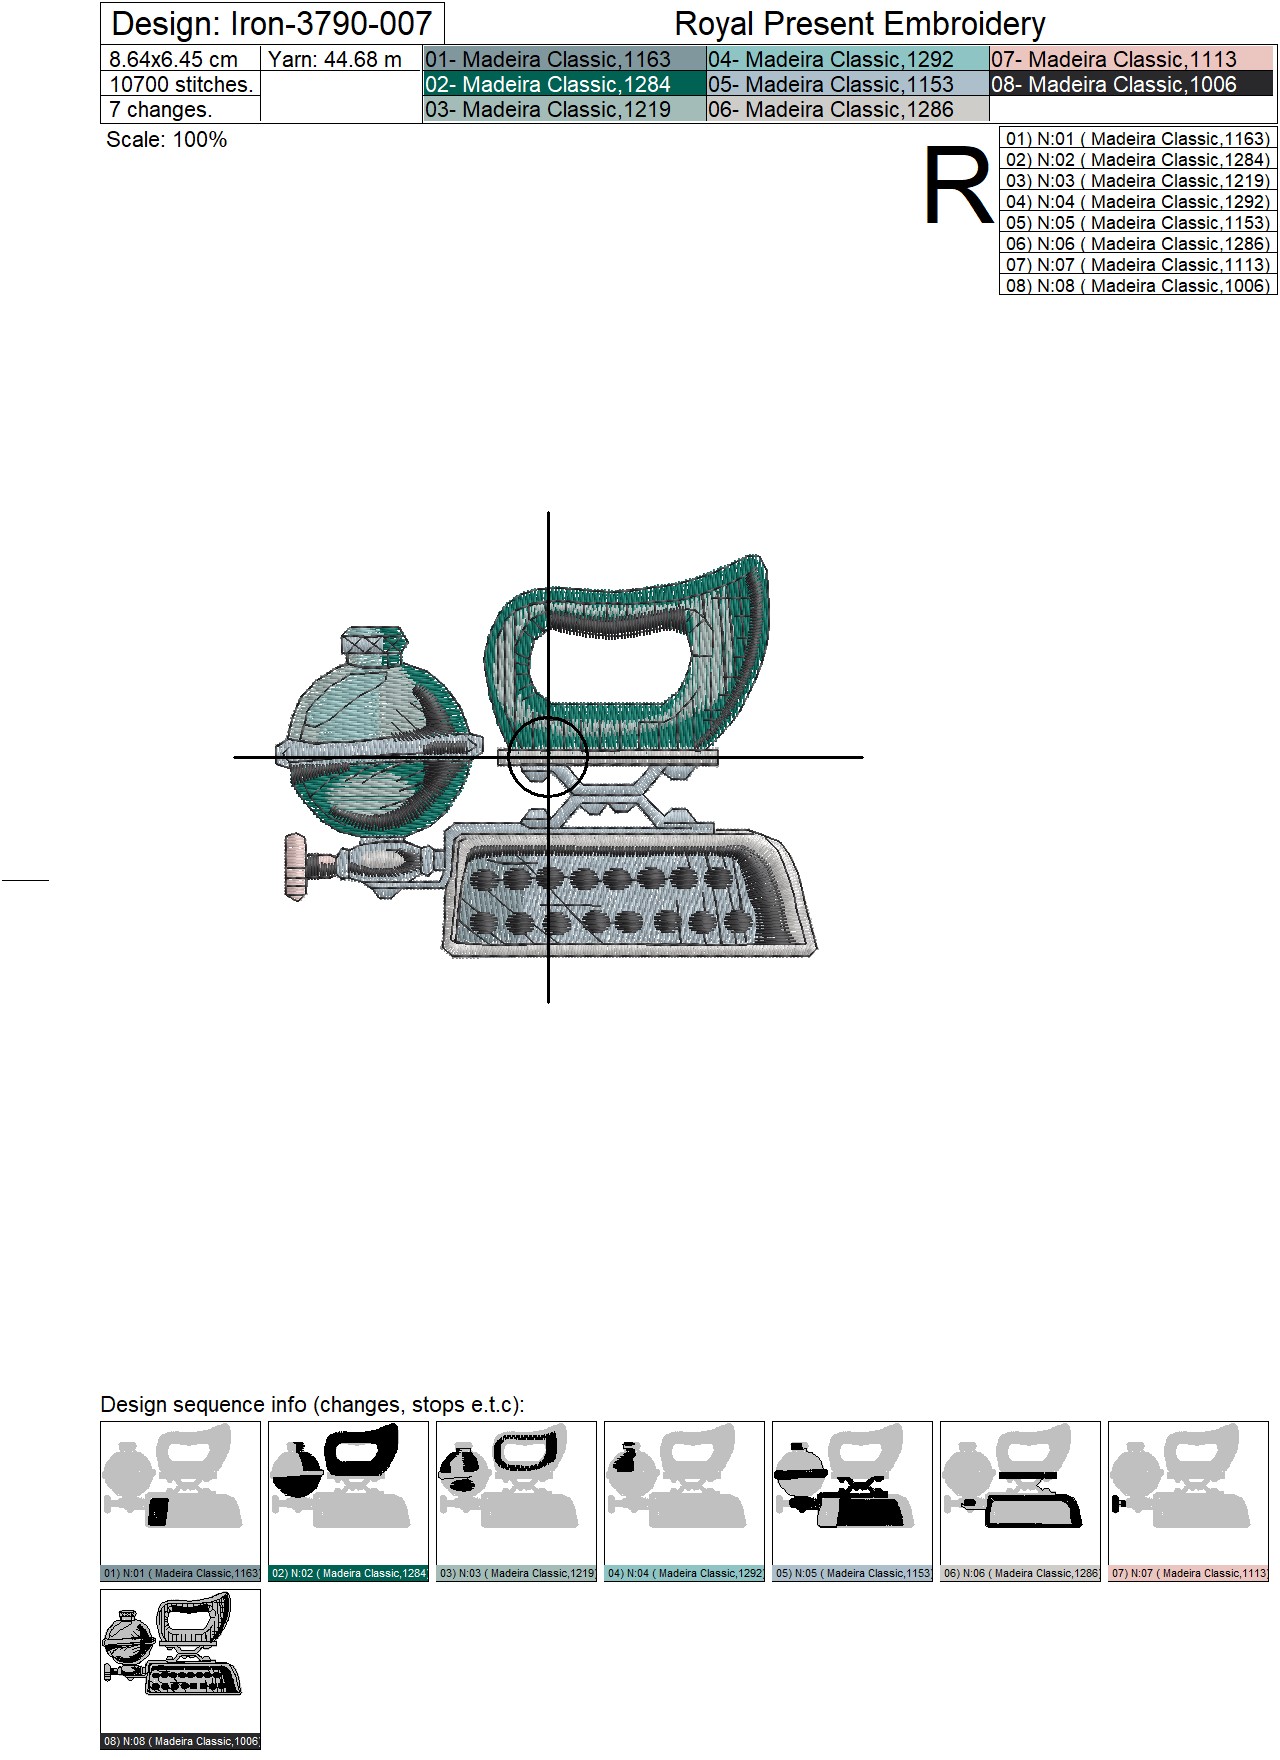
Iron 7
Size: 86.4x64.5 mm (3.40x2.54") "), Stitches: 10693
Size: 95.0x70.9 mm (3.74x2.79"), Stitches: 12184
Size: 104.6x77.9 mm (4.12x3.07"), Stitches: 13678
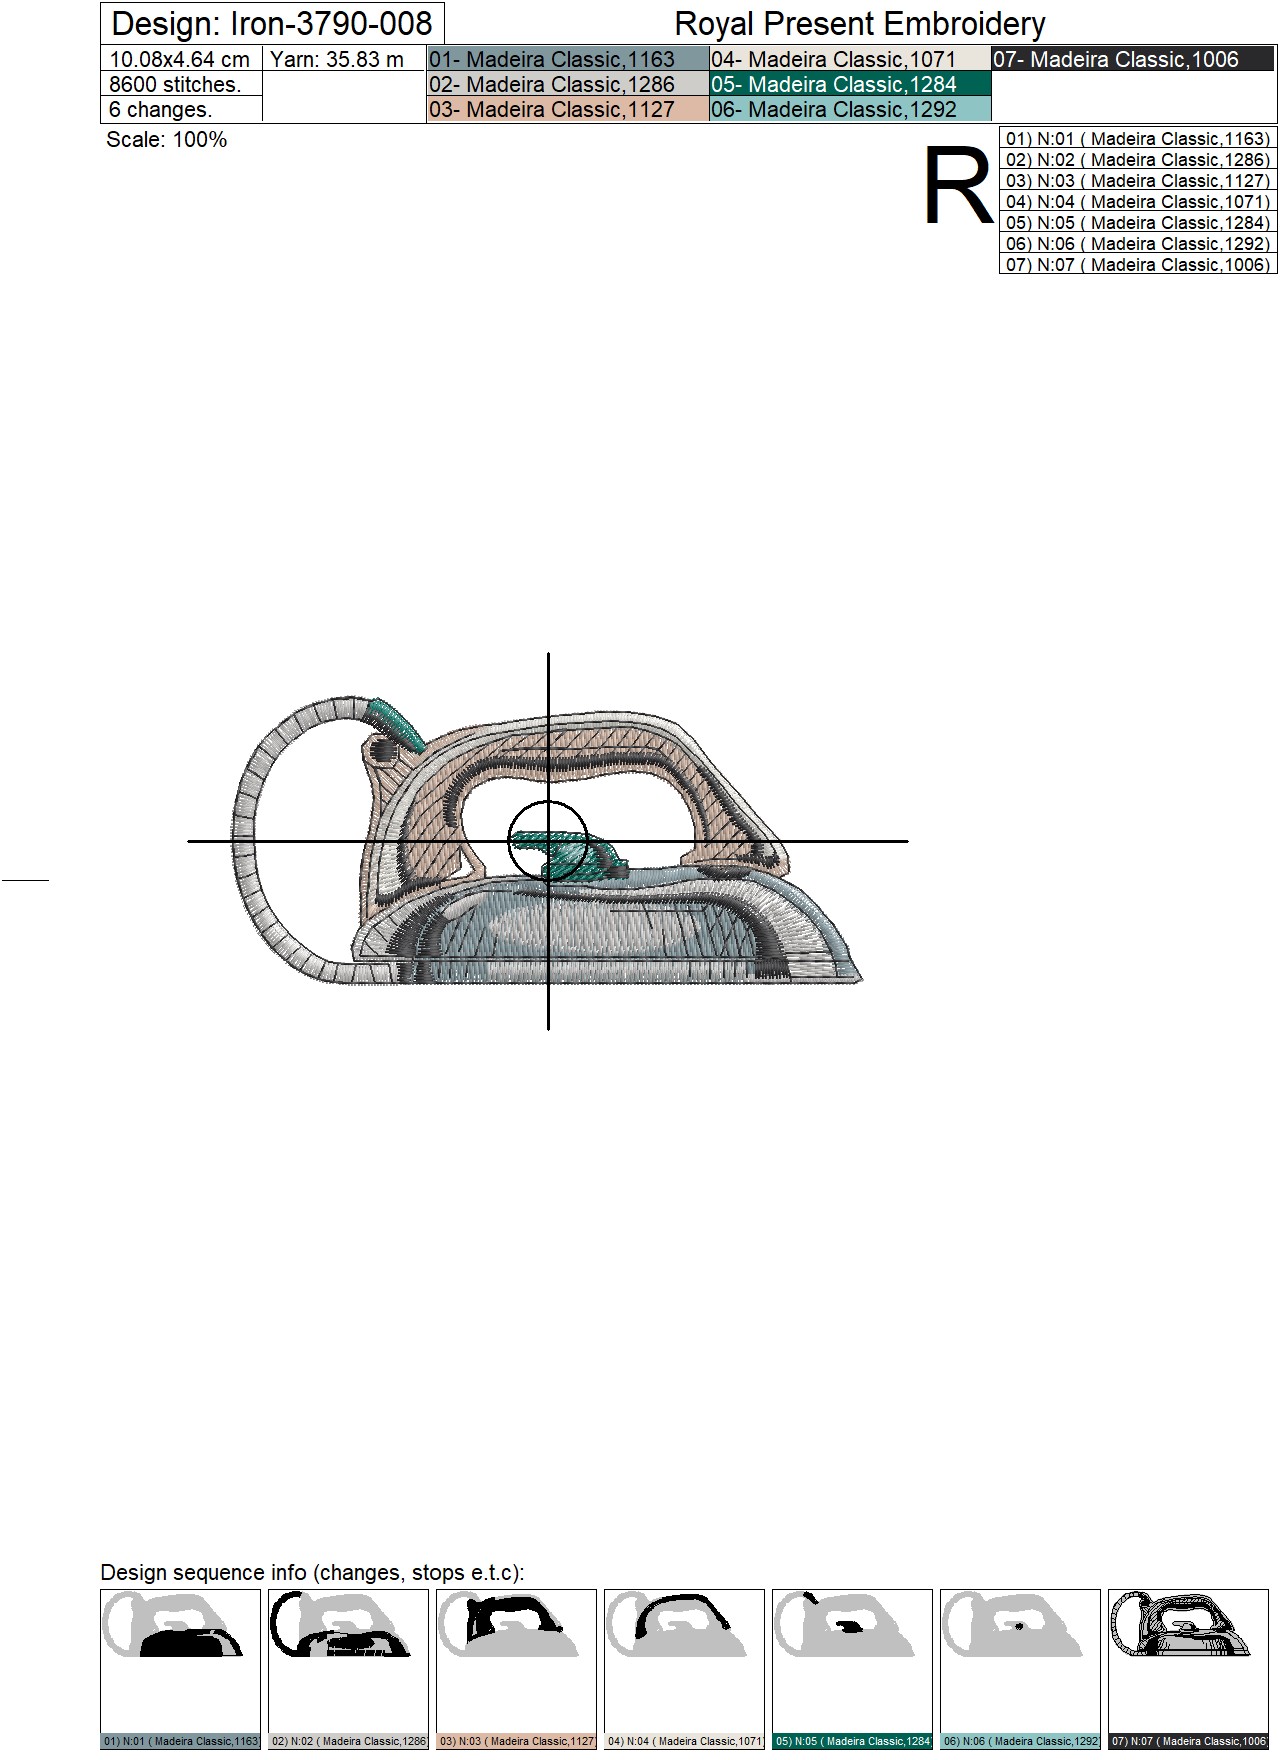
Iron 8
Size: 98.8x46.4 mm (3.97x1.83"), Stitches: 8604
Size: 110.7x51.0 mm (4.36x2.01"), Stitches: 9928
Size: 121.7x56.0 mm (4.79x2.20"), Stitches: 11174
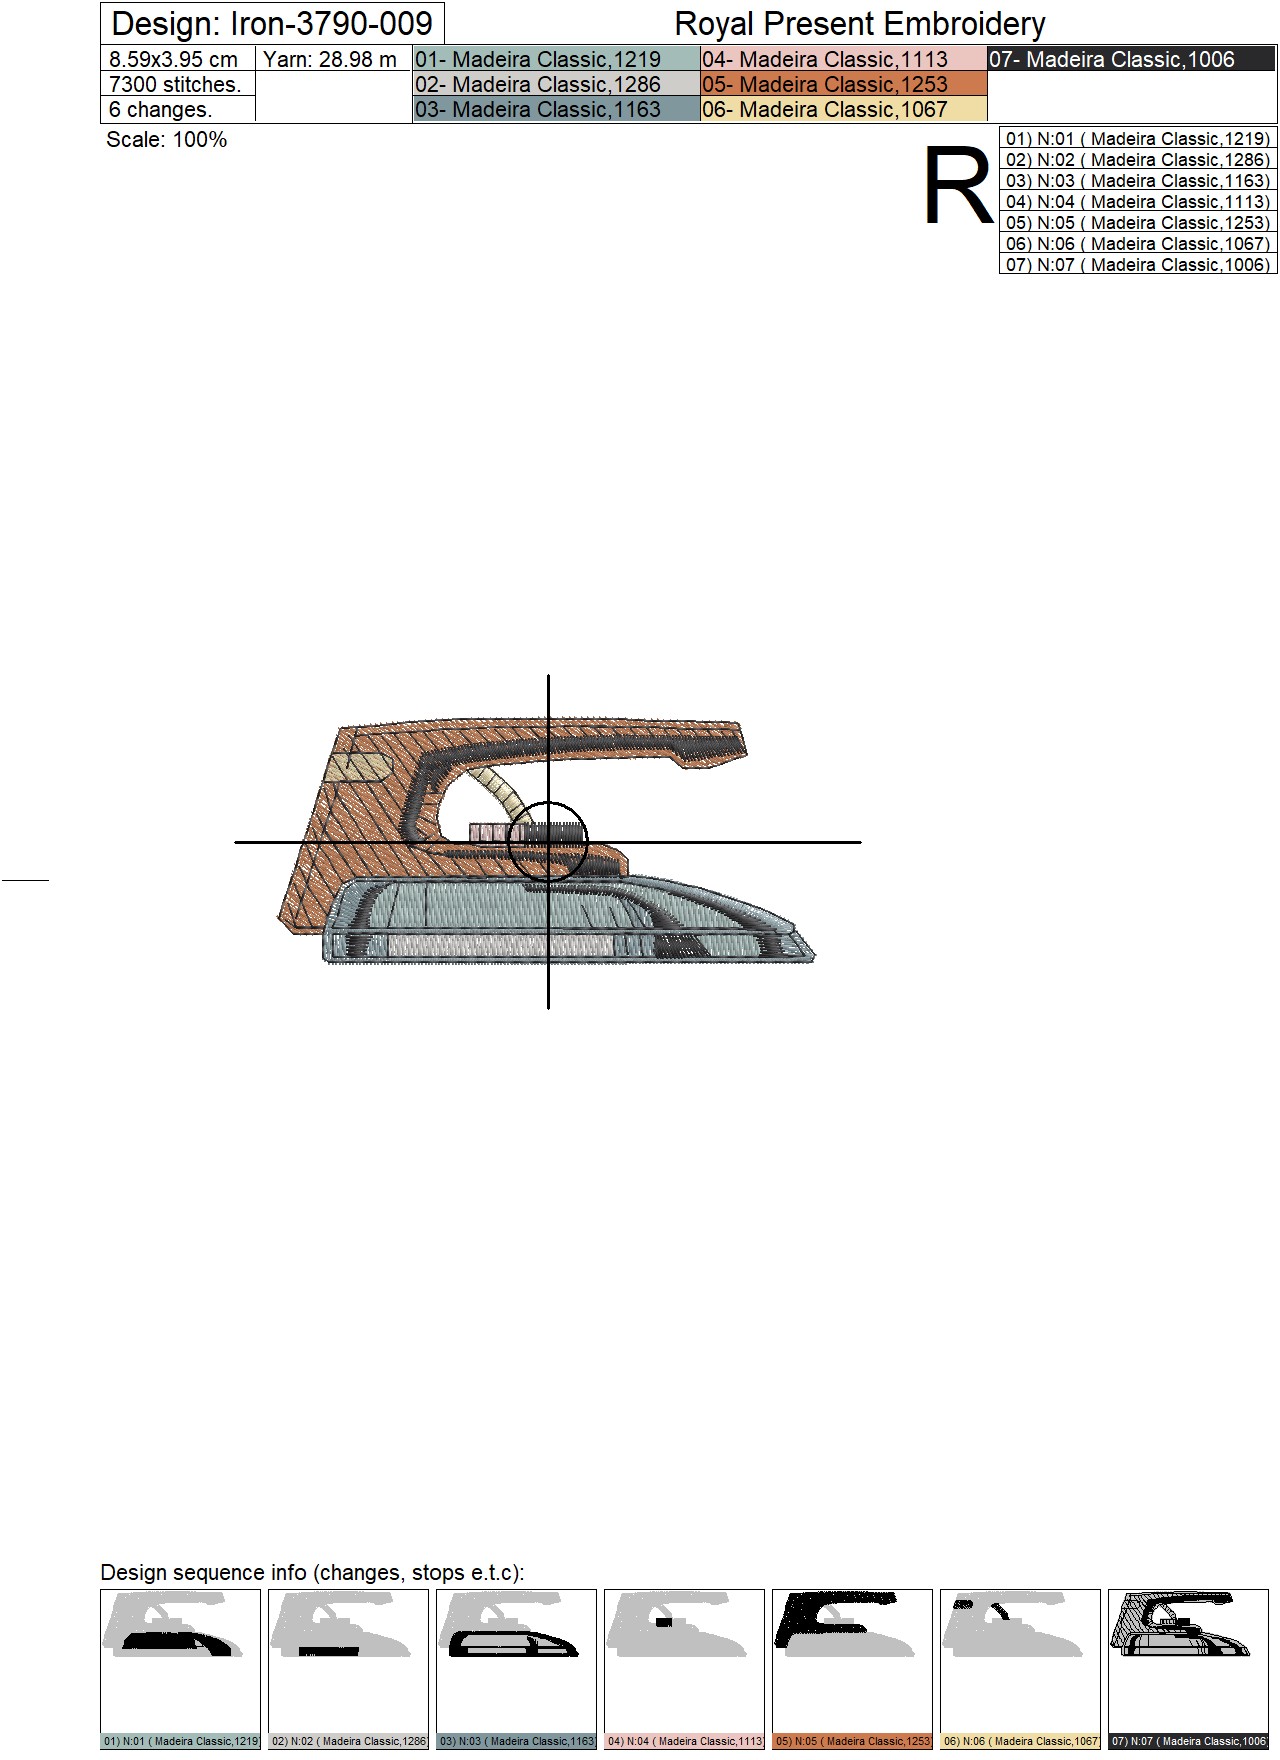
Iron 9
Size: 85.9x39.5 mm (3.38x1.56"), Stitches: 7238
Size: 94.3x43.4 mm (3.71x1.71"), Stitches: 8206
Size: 103.7x47.7 mm (4.08x1.88"), Stitches: 9248
Iron 10
Size: 98.3x63.3 mm (3.87x2.49"), Stitches: 12066
Size: 114.0x73.3 mm (4.49x2.89"), Stitches: 14322
Size: 125.3x80.5 mm (4.93x3.17"), Stitches: 16329
Iron 11
Size: 98.4x57.0 mm (3.87x2.24"), Stitches: 11851
Size: 112.8x65.2 mm (4.44x2.57"), Stitches: 14122
Size: 123.9x71.6 mm (4.88x2.82"), Stitches: 16091
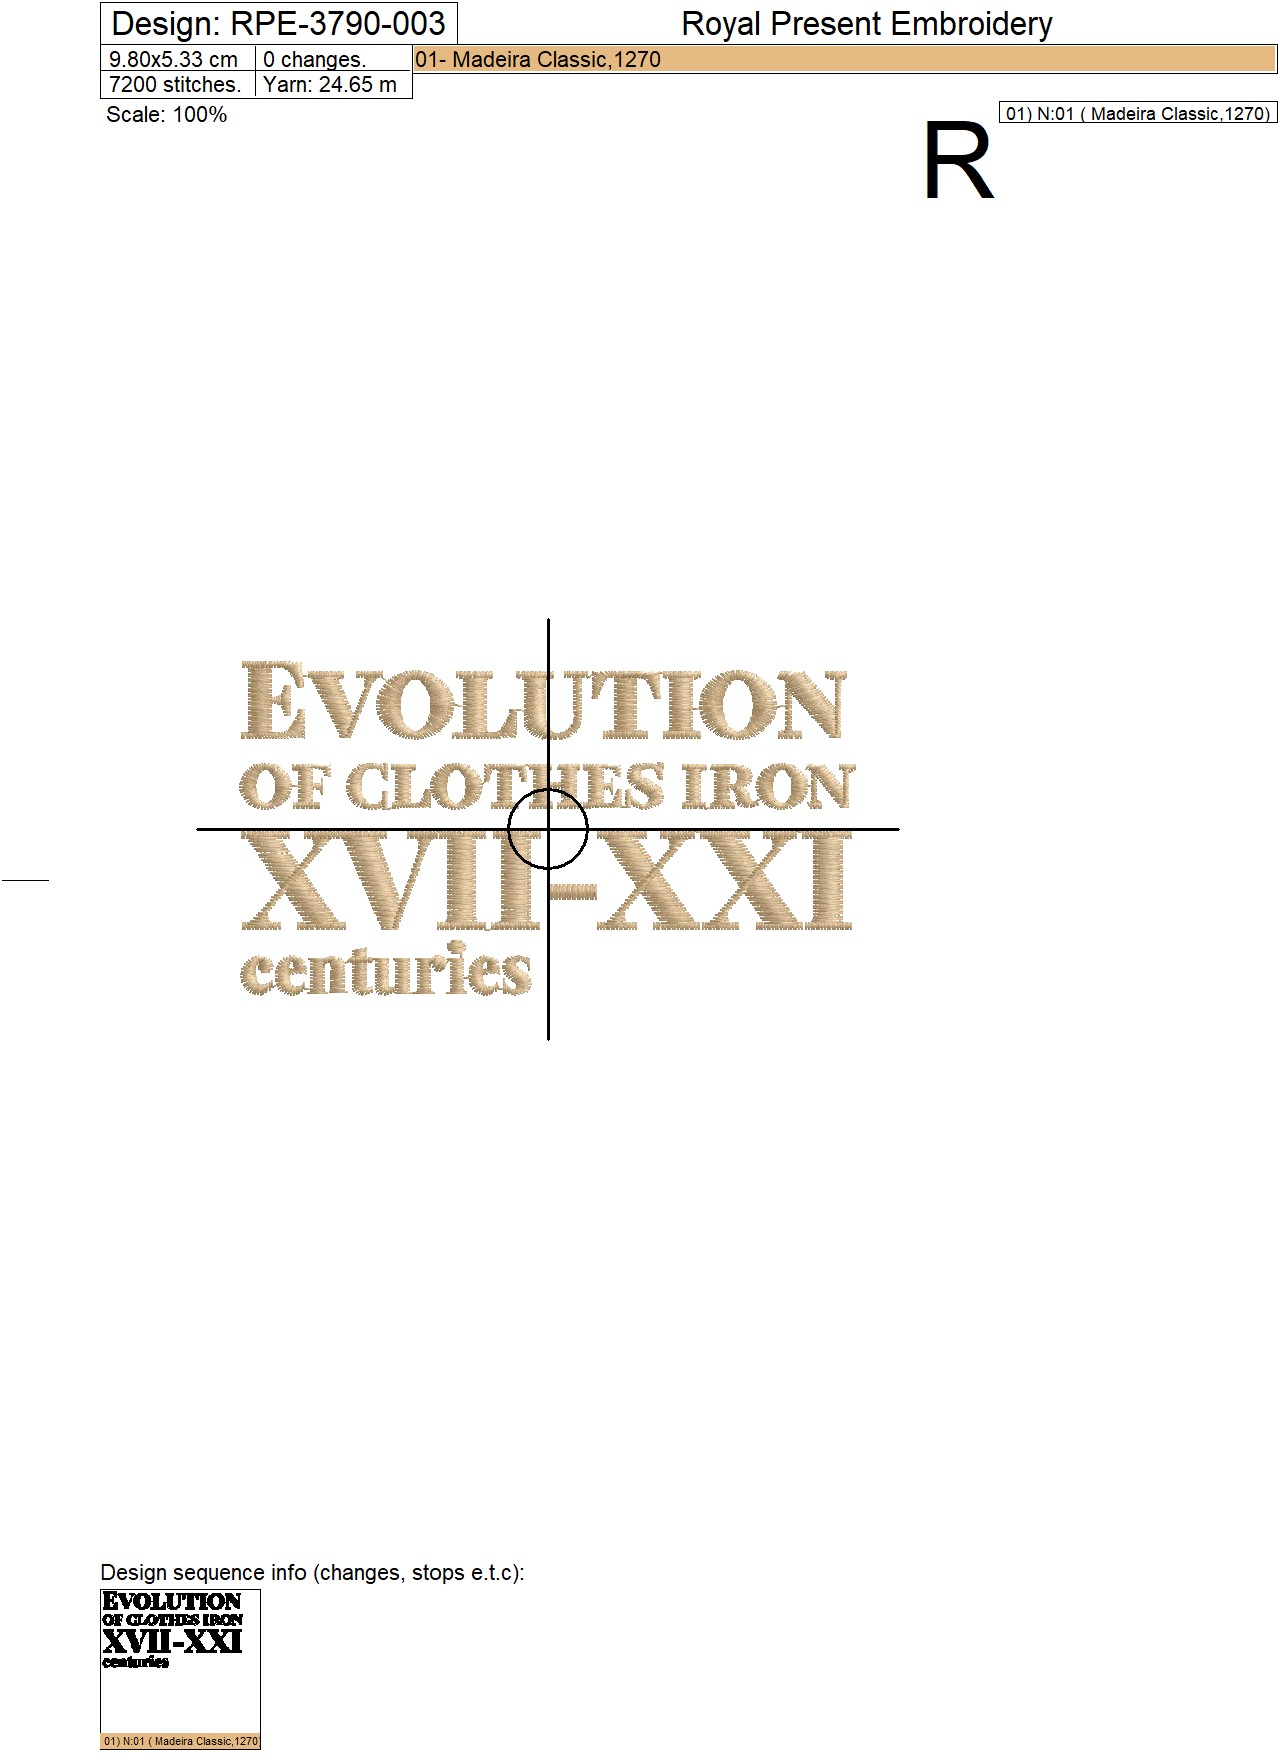
Iron Lettering
Size: 98.0x53.3 mm (3.86x2.10"), Stitches: 7199
Size: 107.8x58.5 mm (4.24x2.30"), Stitches: 7835
Size: 118.6x64.3 mm (4.67x2.53"), Stitches: 8541
Formats: .pes, .pec, .hus, .vip, .dst, .exp, .sew, .dat, .vp3, jef, xxx
The main advantage of this set is its flexibility for small embroidery hoops. Each separate element can be embroidered in a 100x100 mm / 4x4 inch hoop, making the set practical for embroidery machine owners who do not have large hoops but still want to create a bigger finished project. Stitch the irons one by one, trim the fabric blocks evenly, and sew them together into any layout you like.
Important: this is a digital machine embroidery design set. No finished pillow, tote bag, quilt, wall hanging, patch or physical product will be shipped.
What Is Included in the Set
- Set type: digital machine embroidery design set
- Total elements: 12 separate designs
- Included motifs: 11 clothes irons + one lettering design
- Minimum hoop: 100x100 mm / 4x4 inches for separate elements
- Theme: clothes iron evolution, vintage irons, antique irons, sewing room, laundry room, patchwork and textile décor
- Best for: quilt blocks, patchwork pillows, tote bags, wall panels, craft room décor and handmade gifts
Why This Set Works Well for 4x4 Hoops
Many large embroidery compositions require a big hoop, but this set is designed as separate stitchable elements. You can embroider each iron in a 100x100 mm / 4x4 inch hoop and then assemble the finished blocks into a larger project. This is especially useful for owners of smaller embroidery machines who want to make pillows, bags, quilts or panels without needing one large embroidery field.
A practical method is to cut fabric squares with extra margin, mark the center of each square, stitch one iron per block, press from the wrong side, then trim all blocks to the same size before sewing. This keeps the layout clean and prevents distortion when the blocks are joined.
Project Ideas for the Iron Embroidery Set
The set can be used as a complete “Evolution of Clothes Iron” story or as separate vintage iron motifs. It works especially well for sewing rooms, laundry rooms, quilting studios, craft spaces and handmade gifts for people who love sewing, quilting or textile history.
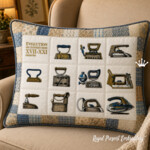
- Patchwork pillow: stitch all 12 elements on separate fabric blocks and sew them into a grid.
- Quilt blocks: use the irons as themed blocks inside a larger sewing or laundry room quilt.
- Tote bag: stitch 6, 9 or 12 elements on the front panel of a handmade shopping or craft bag.
- Wall hanging: combine the lettering with the iron designs for a textile panel.
- Sewing room décor: frame several embroidered blocks or add them to a cushion for a craft room chair.
- Laundry room décor: use the iron theme for a wall panel, storage bag or decorative textile sign.
- Gift for a maker: embroider one or several irons on a pouch, sewing bag or small textile accessory.
How to Plan a Patchwork Layout
For a pillow or wall panel, the easiest layout is a 3x4 grid: one lettering block and eleven iron blocks. You can place the lettering in the first block, then arrange the irons by visual balance, color or historical order. Add sashing strips between blocks if you want more space and a cleaner patchwork look.
For a tote bag, you do not need to use all 12 elements. Choose the irons that fit your bag size and stitch them on individual panels before sewing the bag. This is safer than hooping a finished bag and gives more control over placement, stabilizer and fabric tension.
Fabric and Stabilizer Tips
Stable woven fabrics work best for this set: quilting cotton, linen, twill, gabardine, canvas, denim or decorative cotton. For quilt blocks and pillows, quilting cotton with medium stabilizer is usually easy to handle. For tote bags, canvas, twill or denim gives better structure and supports the embroidery well.
Use a medium cutaway or tear-away stabilizer depending on the fabric and final project. For pillows, bags and items that will be handled often, cutaway stabilizer gives stronger long-term support. For stable quilt cotton, tear-away can work if the fabric is firmly hooped and the stitch density is tested first.
Useful Stitching Tips for Detailed Iron Motifs
Iron designs often include outlines, small parts, handles, bases and technical details. Before stitching the final project, make a test stitch on the same fabric and stabilizer. This helps check thread tension, outline registration, fabric pull and color contrast.
- Hoop the fabric without stretching it to avoid waves after unhooping.
- Mark the center of every block before stitching.
- Use the same fabric block size for all irons before trimming.
- Choose thread colors with enough contrast so the iron details remain visible.
- Press finished blocks from the wrong side with a pressing cloth.
- Do not press heavily over raised embroidery stitches.
- Trim all blocks only after embroidery, not before.
Thread and Color Suggestions
For a vintage textile look, use muted blue, taupe, beige, antique gold, grey, cream and dark brown thread colors. These shades work well with patchwork fabrics and give the set a historical, sewing-room style. For a more modern look, use navy, charcoal, warm gold and clean cream backgrounds.
If you use metallic thread for small gold accents, test it first. Metallic thread works better with a metallic needle, slower machine speed and correct upper thread tension. For this type of detailed set, it is better to use metallic thread only for selected accents rather than for all outlines.
Matching Designs and Internal Links
This set fits naturally into sewing-room, craft-room, quilting and vintage textile projects. Pair it with designs related to sewing tools, scissors, sewing machines, thread spools, quilt blocks and home textiles.
- For sewing-themed companions: browse Sewing, Knitting, Fashion machine embroidery designs.
- For a matching vintage sewing motif: add Vintage Sewing Machine with Roses Machine Embroidery Design.
- For small tool accents: use Tiny Scissors Machine Embroidery Design.
- For home textile projects: explore machine embroidery designs for bedding, towels and decorative pillows.
Designed by Royal Present Embroidery
This embroidery set is part of the Royal Present Embroidery collection created for real stitching projects, patchwork layouts and decorative home textiles. Learn more about Ludmila Konovalova, machine embroidery designer, and the design approach behind Royal Present Embroidery.
E-E-A-T Notes Before You Stitch
Before purchase, check that your embroidery machine supports the included file format and that each element fits your 100x100 mm / 4x4 inch hoop. Before working on a final pillow, tote bag or quilt block, test one iron on the same fabric, stabilizer, needle and thread combination.
Embroidery results depend on fabric stability, stabilizer type, hooping method, thread quality, needle size and stitch density. Testing first helps prevent puckering, poor outline alignment and color problems on the final project.
FAQ
What is included in this embroidery set?
The set includes 12 separate machine embroidery elements: 11 clothes iron designs and one lettering design. Each element can be stitched separately and joined into a larger project.
Is this a finished pillow or tote bag?
No. This is a digital machine embroidery design set. No finished pillow, tote bag, quilt, wall hanging or physical product will be shipped.
Will this set work for a 4x4 hoop?
Yes. The separate elements are made for a minimum hoop size of 100x100 mm / 4x4 inches. Always check your machine’s real embroidery field before stitching.
Can I make a large project with a small hoop?
Yes. Stitch each iron separately on its own fabric block, then sew the blocks together. This method lets you create pillows, tote bags, quilt panels and wall hangings without a large embroidery hoop.
What fabric is best for this set?
Quilting cotton, linen, twill, gabardine, canvas, denim and stable decorative cotton are good choices. Avoid very stretchy fabric unless you use strong stabilizer and test first.
What stabilizer should I use?
Use medium cutaway or tear-away stabilizer depending on your fabric. For pillows, tote bags and frequently used items, cutaway stabilizer gives better long-term support.
How do I keep all blocks the same size?
Cut fabric squares with extra margin, mark the center, stitch each design, press from the wrong side, then trim all blocks to the same size after embroidery.
Can I use only some of the irons?
Yes. Use all 12 elements for a full “Evolution of Clothes Iron” layout, or choose several irons for a tote bag, pouch, wall panel or smaller sewing-room project.
Should I test stitch before making the final item?
Yes. A test stitch helps check stabilizer, thread tension, outline accuracy, color contrast and fabric behavior before working on the final pillow, bag or quilt block.
Can I sell finished items made with this set?
Check Royal Present Embroidery usage terms before selling finished embroidered products. The digital files themselves must not be copied, shared, exchanged or resold.
Irons Machine Embroidery Design Set - Evolution of Clothes Iron - 3 sizes
Beautiful...stitched out great

 Get Sign-In Link
 Login with Google
 Login with Facebook
 Login with Amazon
 Login with Paypal