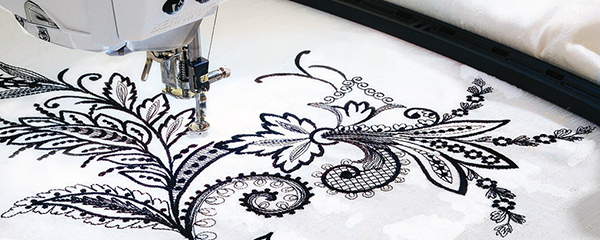
Computerized Embroidery
Computerized Embroidery (a.k.a. machine embroidery) is a type of embroidery done by special embroidery machines according to a pre-made design in a computer program. Compared to hand embroi...

By knowing the speed of your embroidery machine, you can find out how long it will take to embroider a design.
To use the embroidery calculator, click on the number of stitches in the product description.
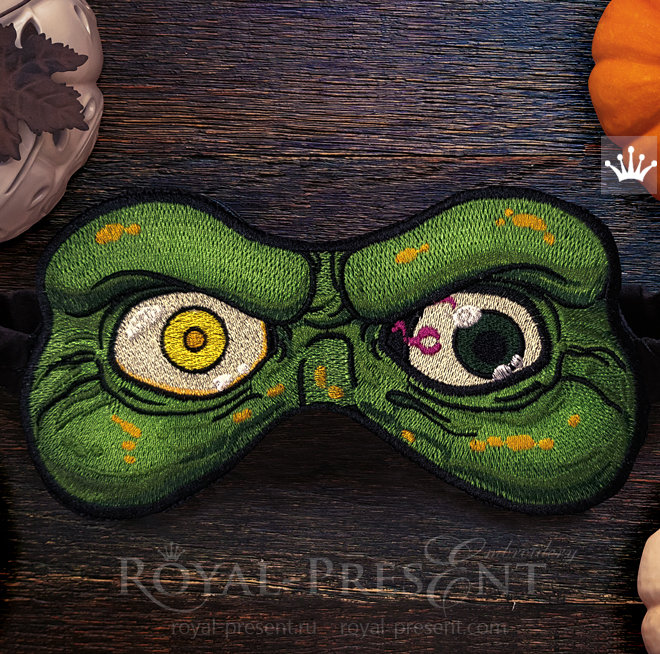
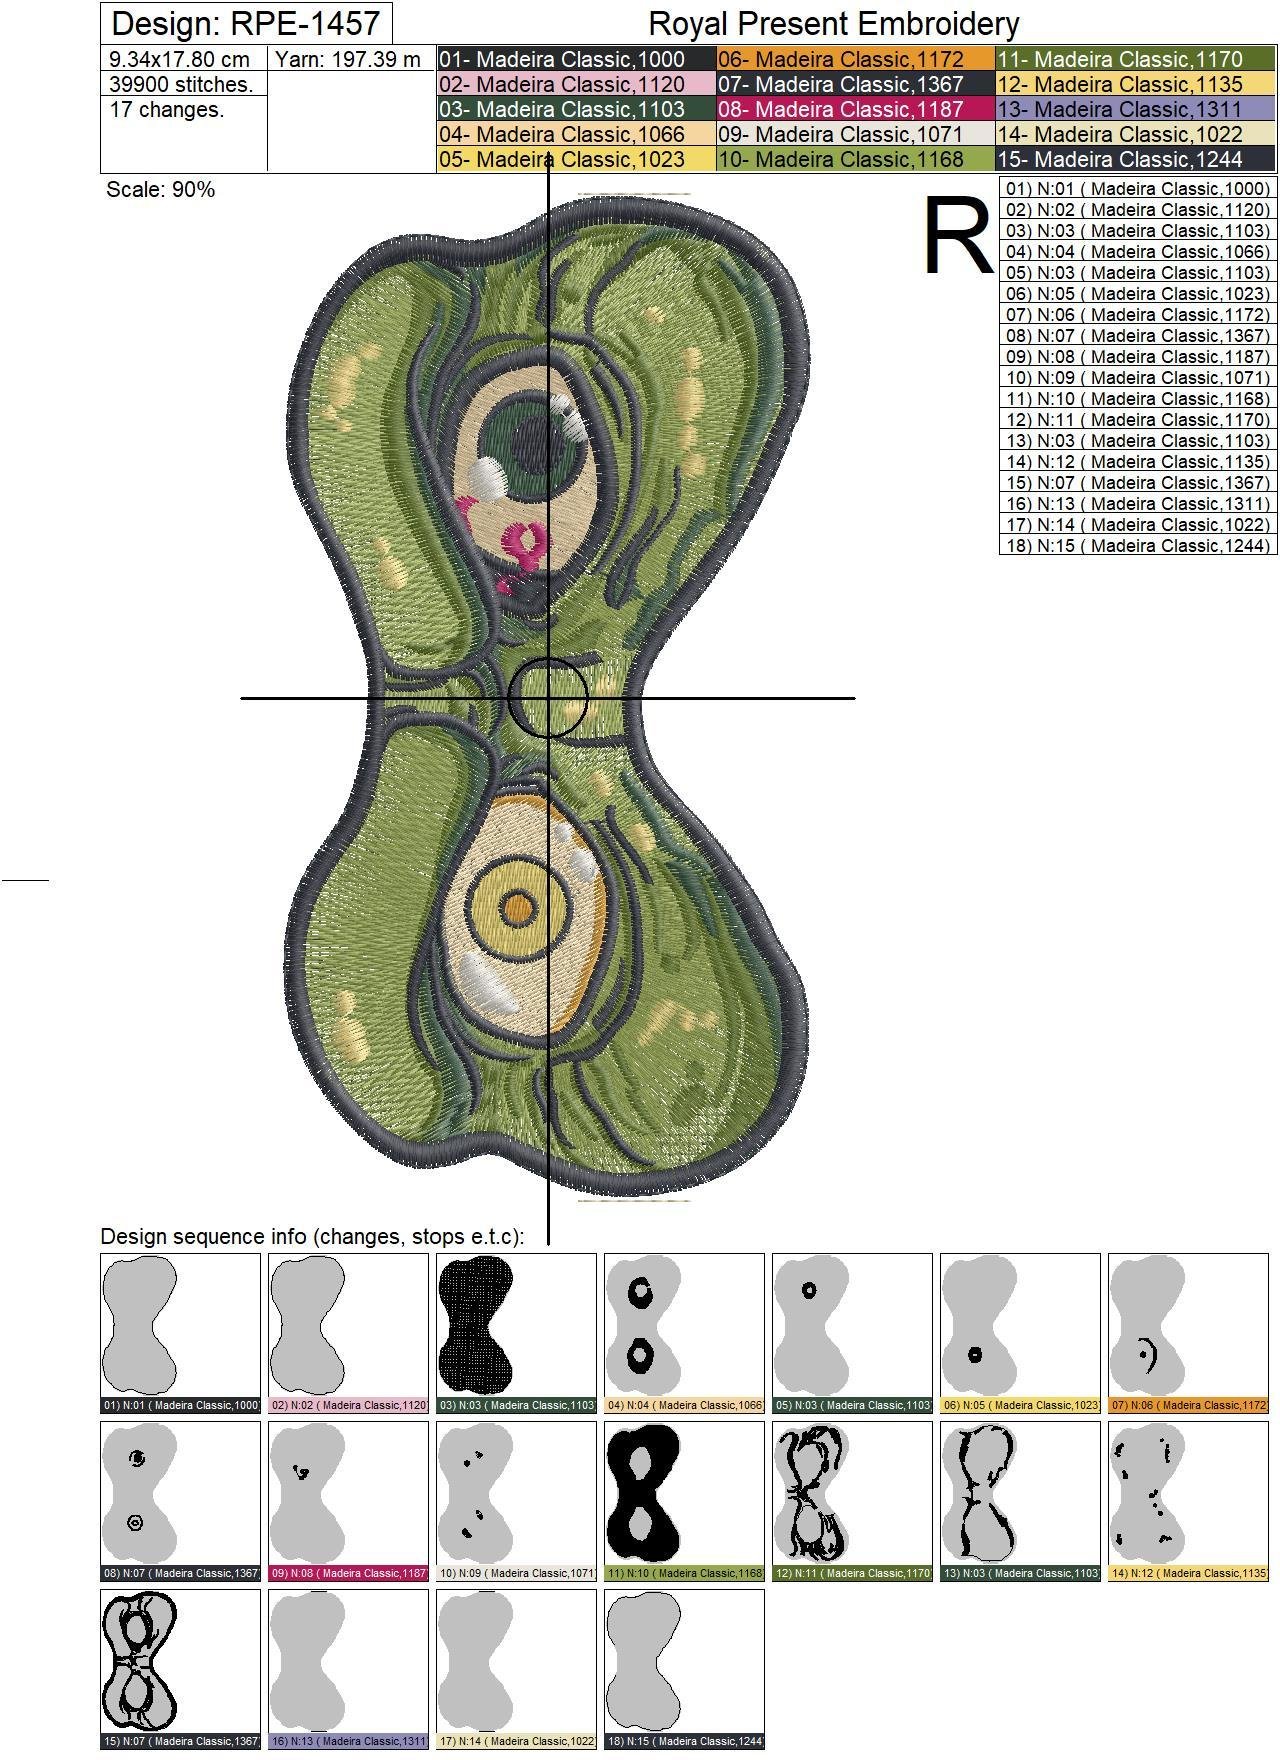
This ITH Witch Face Sleep Mask machine embroidery design creates a fully lined eye mask in the hoop. The design shows a green witch face with mismatched eerie eyes, dark contours and spotted shading. Use the finished mask for Halloween sleepovers, travel accessories, costume gifts or gothic-themed gift sets. This is a digital machine embroidery design; no finished mask or physical item is shipped.
| Product Type | ITH machine embroidery design |
|---|---|
| Finished Project | Lined witch-face sleep mask / eye mask |
| Technique | In the hoop (ITH), with a small turning opening closed by hand |
| Designs Included | 1 witch sleep mask design |
| Sizes Included | 3 |
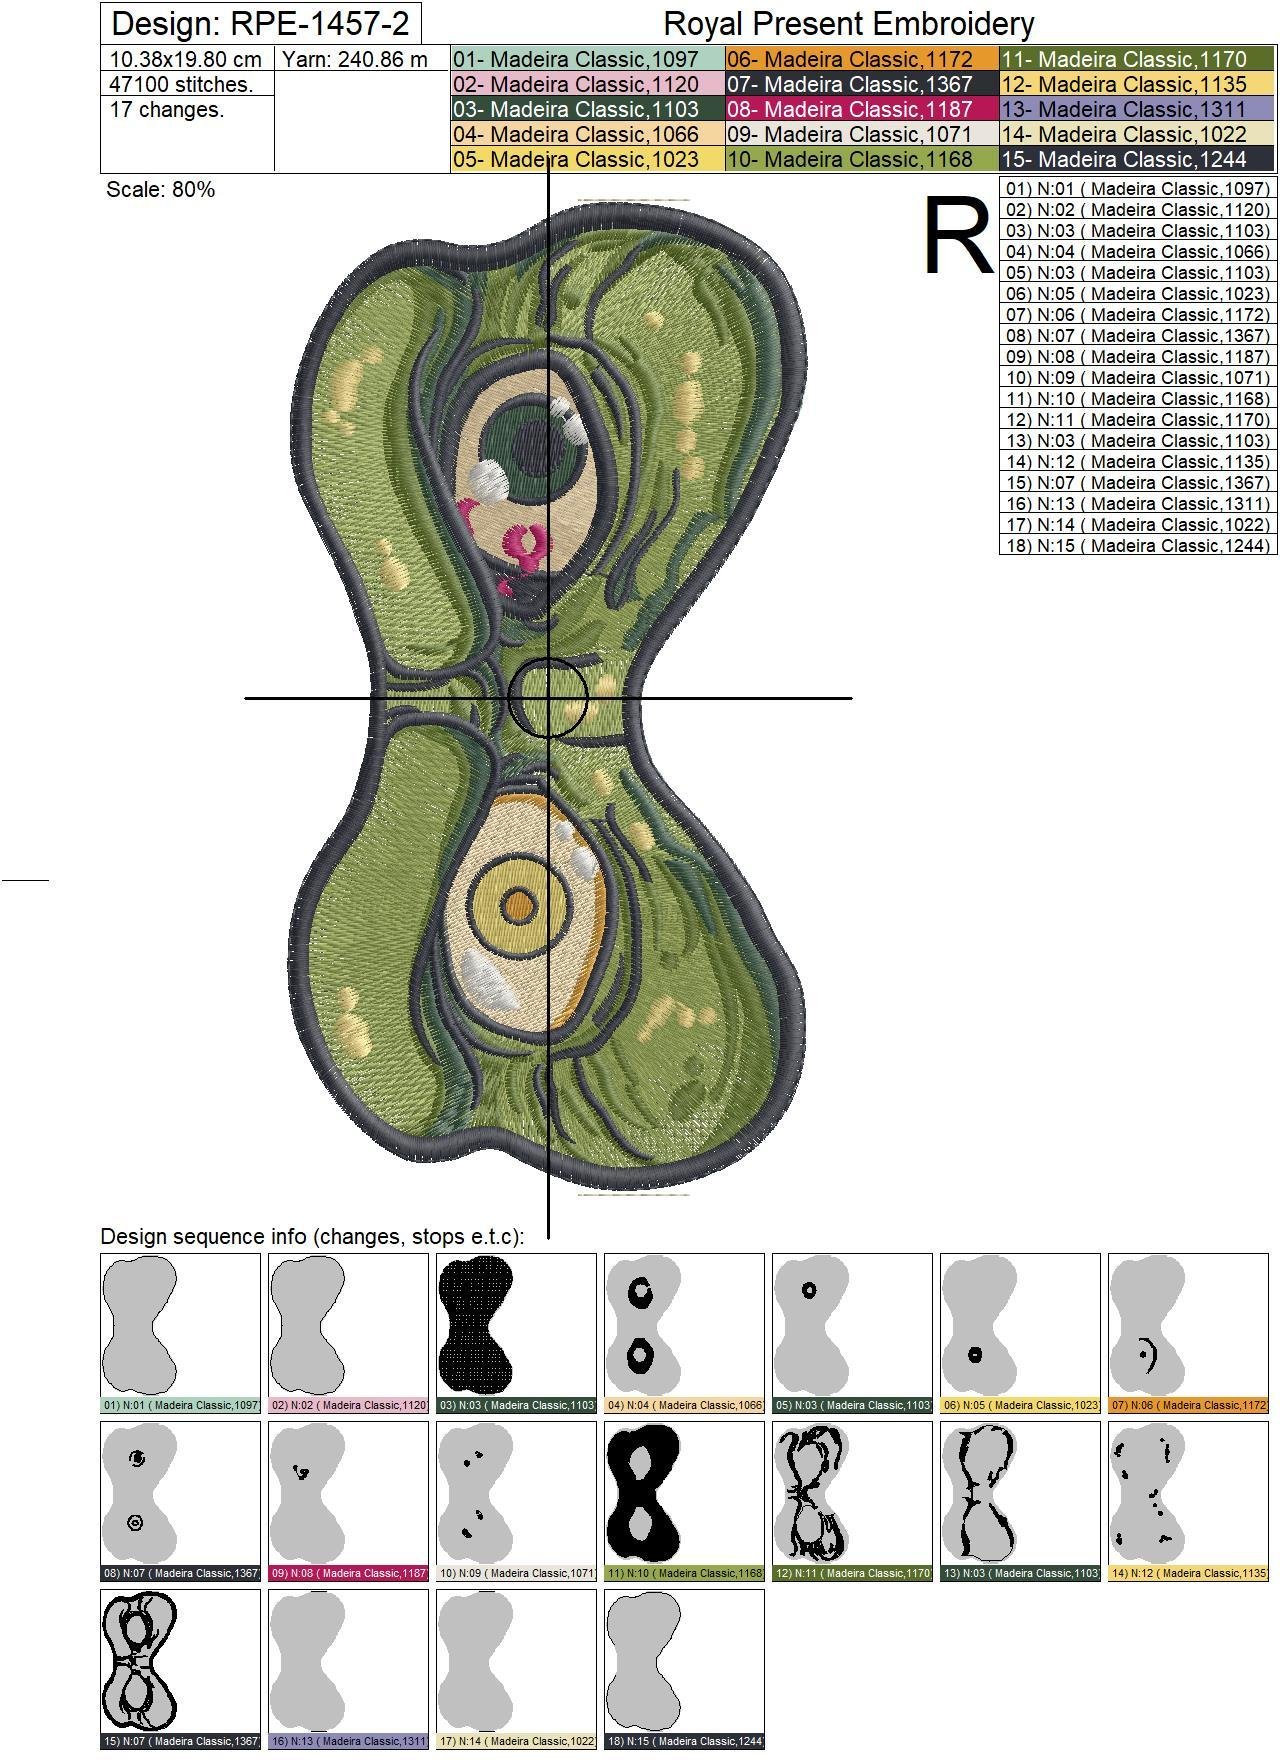
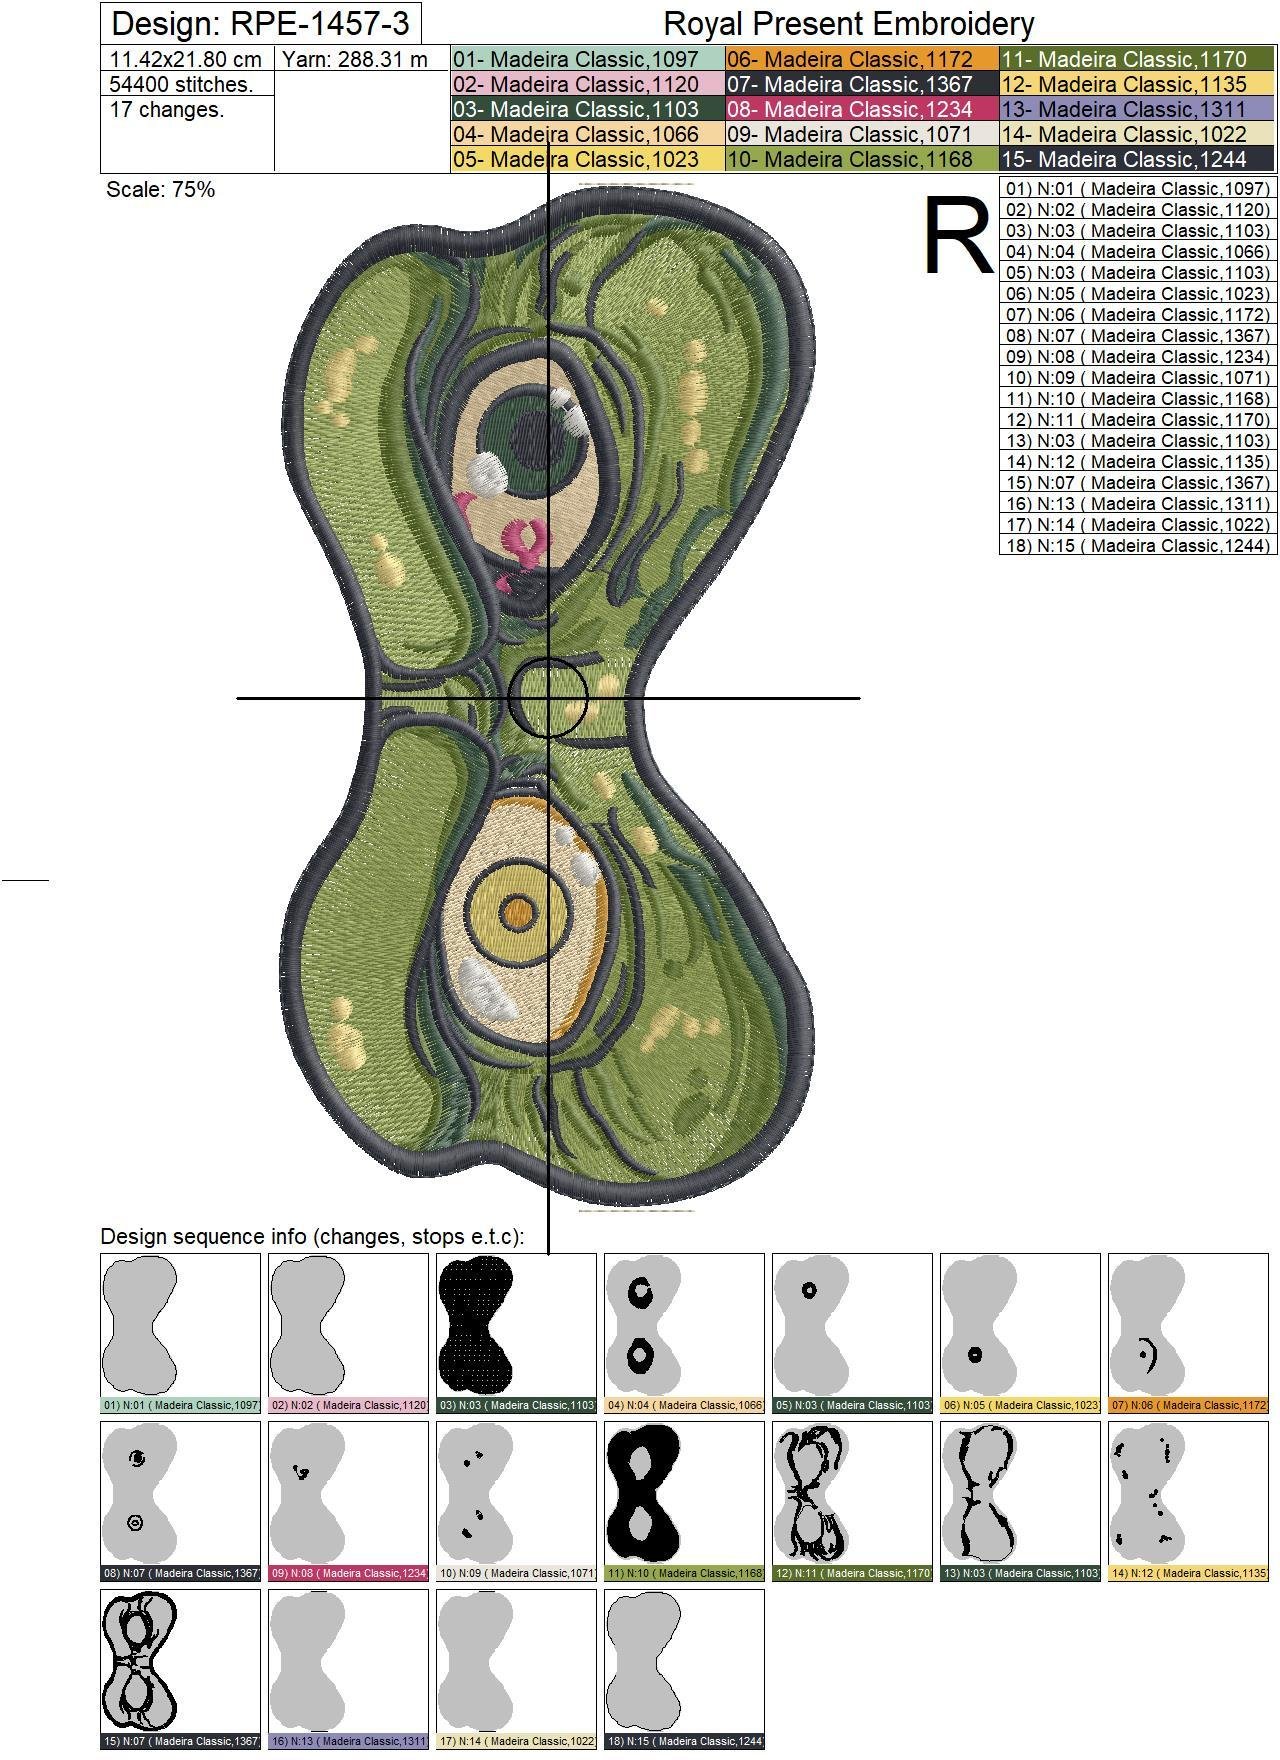
| Color Plan | Madeira Classic 40: 15 colors, 17 changes and 18 stitching blocks |
| Delivery | Instant digital download; all listed sizes and formats are included in one ZIP archive |
| Exact Design Size and Stitches | Minimum Embroidery Field |
|---|---|
| Size: 93.4x178.0 mm (3.68x7.01"). Stitches: 39890 | at least 130x180 mm (5x7") |
| Size: 103.8x198.0 mm (4.09x7.80"). Stitches: 47153 | at least 140x200 mm (5.5x8") |
| Size: 114.2x218.0 mm (4.50x8.58"). Stitches: 54401 | at least 150x240 mm (6x10") |
Formats: .dst, .jef, .pec, .vip, .hus, .pes, .sew, .exp, .dat, .vp3, .xxx
A commercial hoop name is only a label. The smallest file is 178.0 mm long and therefore uses almost the full length of a 130x180 mm field. Load the file, print its template at 100% scale and run the machine’s trace function before placing fabric, ties or elastic.
For the original construction sequence and project photographs, open the ITH Witch Sleep Mask project guide. Browse more ready-to-assemble projects in In-the-Hoop Sleep Masks.
All three sizes use the same color order, so one thread chart applies to the complete download. The original chart specifies 15 Madeira Classic 40 colors, 17 color changes and 18 stitching blocks.
| Color | Madeira Classic 40 | Use in This Design | |
|---|---|---|---|
|
|
1000 | initial dark foundation and first construction block | |
|
|
1120 | soft-pink construction and facial accent | |
|
|
1103 | deep-green face fill and returning green details | |
|
|
1066 | warm-cream eye area | |
|
|
1023 | golden iris detail | |
|
|
1172 | orange iris accent | |
|
|
1367 | deep-gray eye contours and shadow details | |
|
|
1187 | dark-magenta eye and facial accent | |
|
|
1071 | off-white eye highlight | |
|
|
1168 | light olive-green facial shading | |
|
|
1170 | dark olive-green face shadow | |
|
|
1135 | warm yellow-green spots and highlights | |
|
|
1311 | cool lavender-gray detail | |
|
|
1022 | pale ivory highlight | |
|
|
1244 | final dark outline and closing contour |
Color-block sequence: 1000 → 1120 → 1103 → 1066 → 1103 → 1023 → 1172 → 1367 → 1187 → 1071 → 1168 → 1170 → 1103 → 1135 → 1367 → 1311 → 1022 → 1244.
Keep the repeated 1103 and 1367 blocks in their original positions. Their later returns complete details after neighboring areas have stitched. If another thread brand is required, use the thread color converter as a nearest-shade guide, then compare physical thread cards and test-stitch before the final project.
Embroidered front: use tightly woven cotton, cotton twill or another stable fabric of approximately 150–220 g/m². Pair it with one layer of soft cut-away stabilizer around 60–80 g/m², such as Madeira Super Strong 9445/9446 or Sulky Soft ’n Sheer Extra. Black cut-away is less visible inside a dark mask.
Fabric against the face: choose smooth cotton, cotton sateen or washable satin around 90–140 g/m². Keep rough stabilizer and exposed embroidery away from the skin; the backing encloses the stabilizer after turning.
Velvet or fabric with a nap: use a very short-pile fabric and place a thin water-soluble film such as Madeira Avalon Film or Sulky Solvy over the top. Test first because thick pile can soften the small eye contours and makes the final seam bulkier.
How can I keep the dense witch face flat without making the mask stiff?
Hoop the front fabric and soft cut-away together without stretching either layer. For fabric lighter than about 150 g/m², add a temporary second layer of light tear-away during embroidery and remove it before final assembly. A fresh 75/11 embroidery needle and a moderate speed of approximately 500–650 stitches per minute help keep the eye details clean.
Can I make the mask from satin?
Yes. Use washable satin with a stable weave, support the embroidered front with soft fusible cut-away and test the iron temperature on a scrap. Reduce handling between color blocks so the satin does not shift, and press from the reverse through a cloth rather than directly over the embroidery.
How do I stop the ties or elastic from pulling out of the side seam?
Place at least 30–40 mm of each end inside the final seam and secure the loose lengths with low-tack tape inside the mask area. Keep tape and loose ends away from the contour path. Before stitching the final block, use the trace function to confirm that the needle will cross only the intended ends.
How can I get smooth edges after turning the mask?
Trim the seam allowance evenly to about 3–4 mm, clip into concave curves and notch bulky convex curves without touching the stitches. Turn through the opening, shape the edge with a blunt point turner and press lightly from the backing side before closing the opening with a ladder stitch.
Test-stitch tip
Make the first sample with the same front fabric, backing, stabilizer and tie material planned for the final mask. A thread-only test cannot reveal seam bulk, turning difficulty or how the finished mask feels against the face.
Computerized Embroidery (a.k.a. machine embroidery) is a type of embroidery done by special embroidery machines according to a pre-made design in a computer program. Compared to hand embroi...

 Get Sign-In Link
 Login with Google
 Login with Facebook
 Login with Amazon
 Login with Paypal