By knowing the speed of your embroidery machine, you can find out how long it will take to embroider a design.
To use the embroidery calculator, click on the number of stitches in the product description.
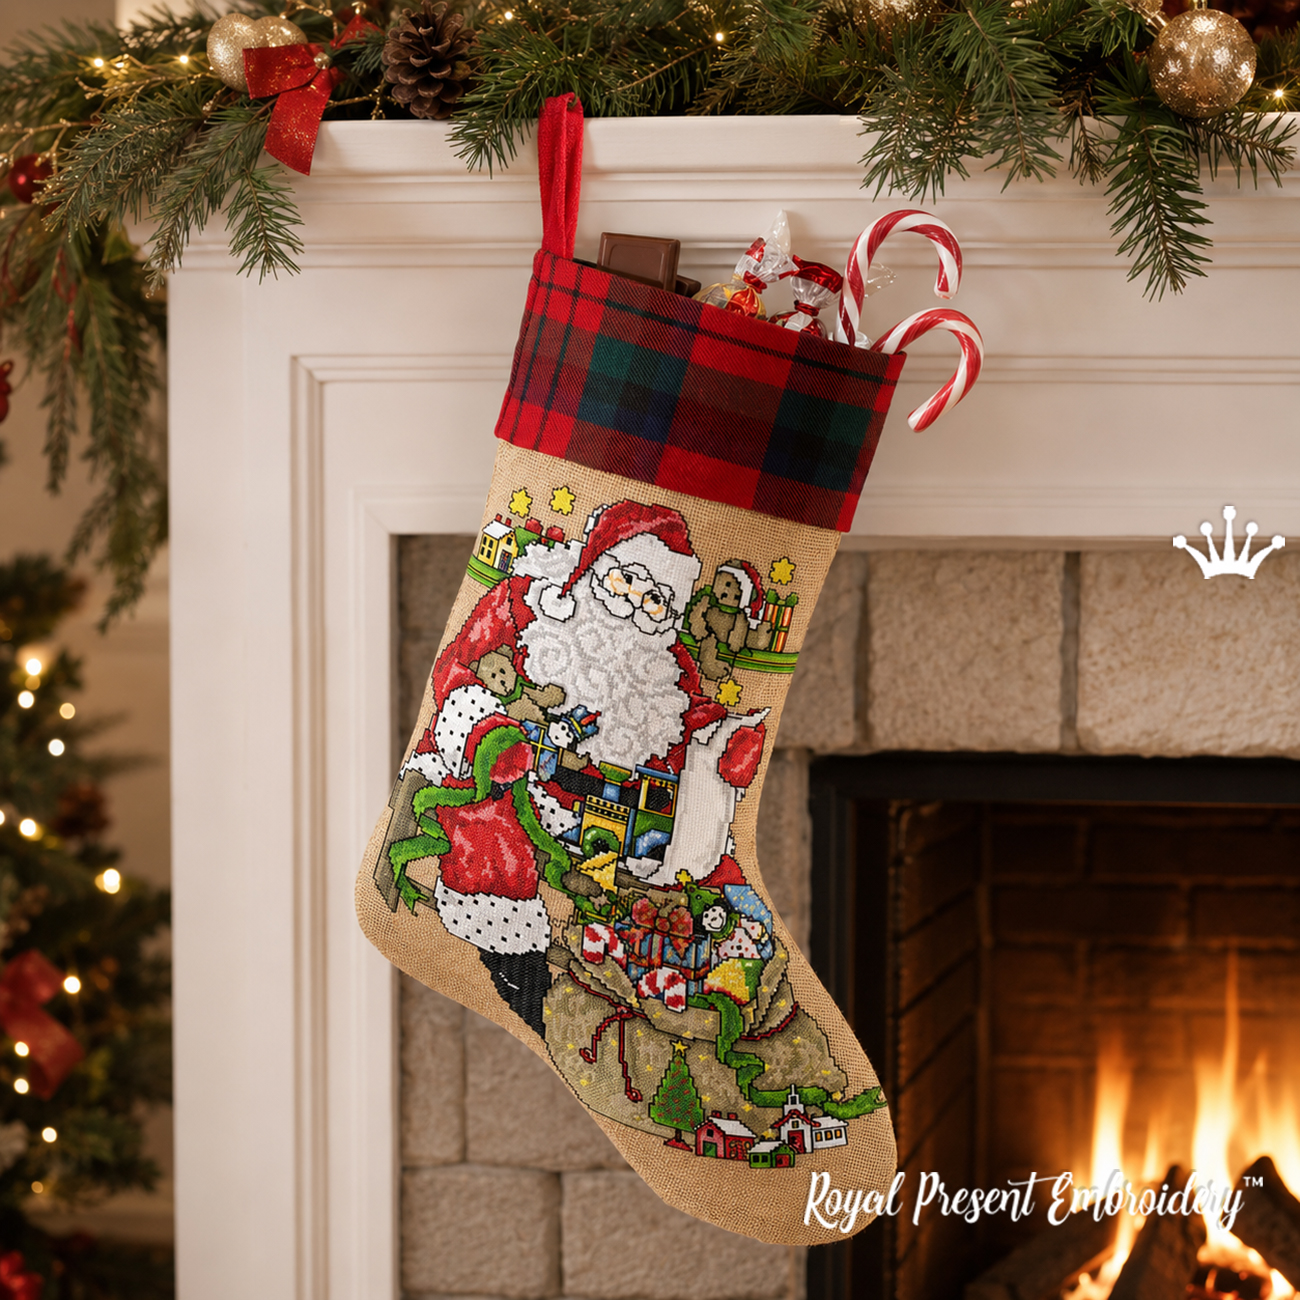
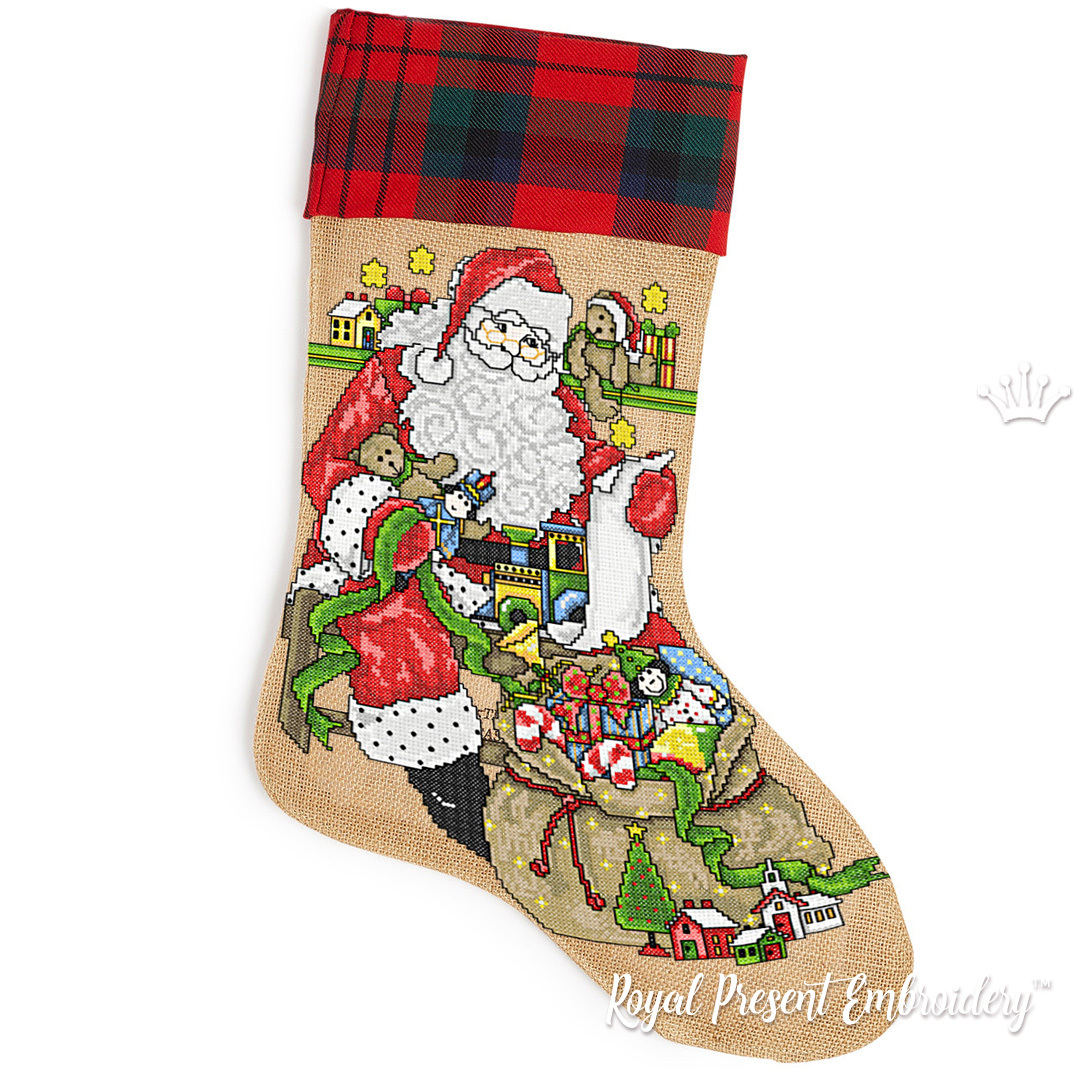
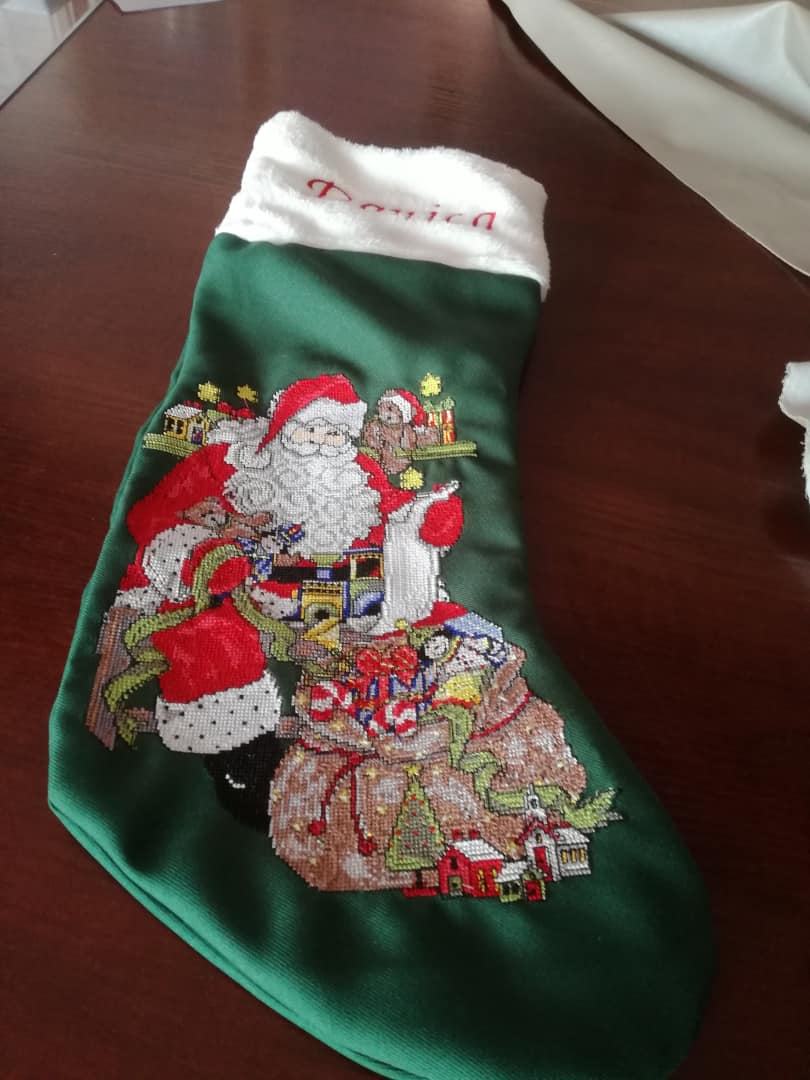
Large Santa Christmas Stocking Cross-Stitch Machine Embroidery Design is a detailed holiday motif created in a traditional cross-stitch look for computerized embroidery machines. Santa is surrounded by a teddy bear, snowman, toy train, dolls, wrapped gifts, sacks, stars and a small winter village, forming a tall composition for the front of a Christmas stocking.
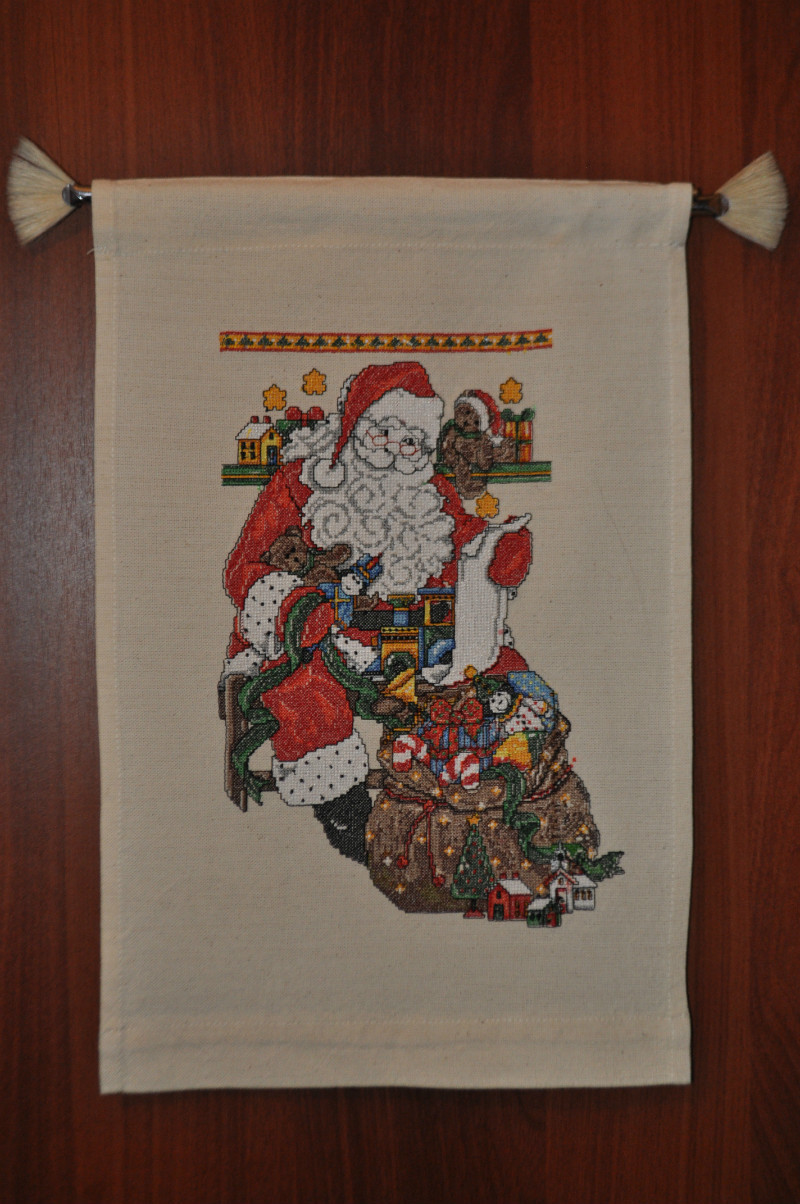
The same design can also be embroidered as a festive wall hanging, framed textile panel, cushion center or Christmas banner. The purchase includes the embroidery file only. The stocking shape, plaid cuff, lining, hanging loop and sewing pattern shown in the product image are not included.
This is not an In the Hoop stocking project. For the cleanest result, embroider the design on a large rectangular front panel before cutting and assembling the stocking.
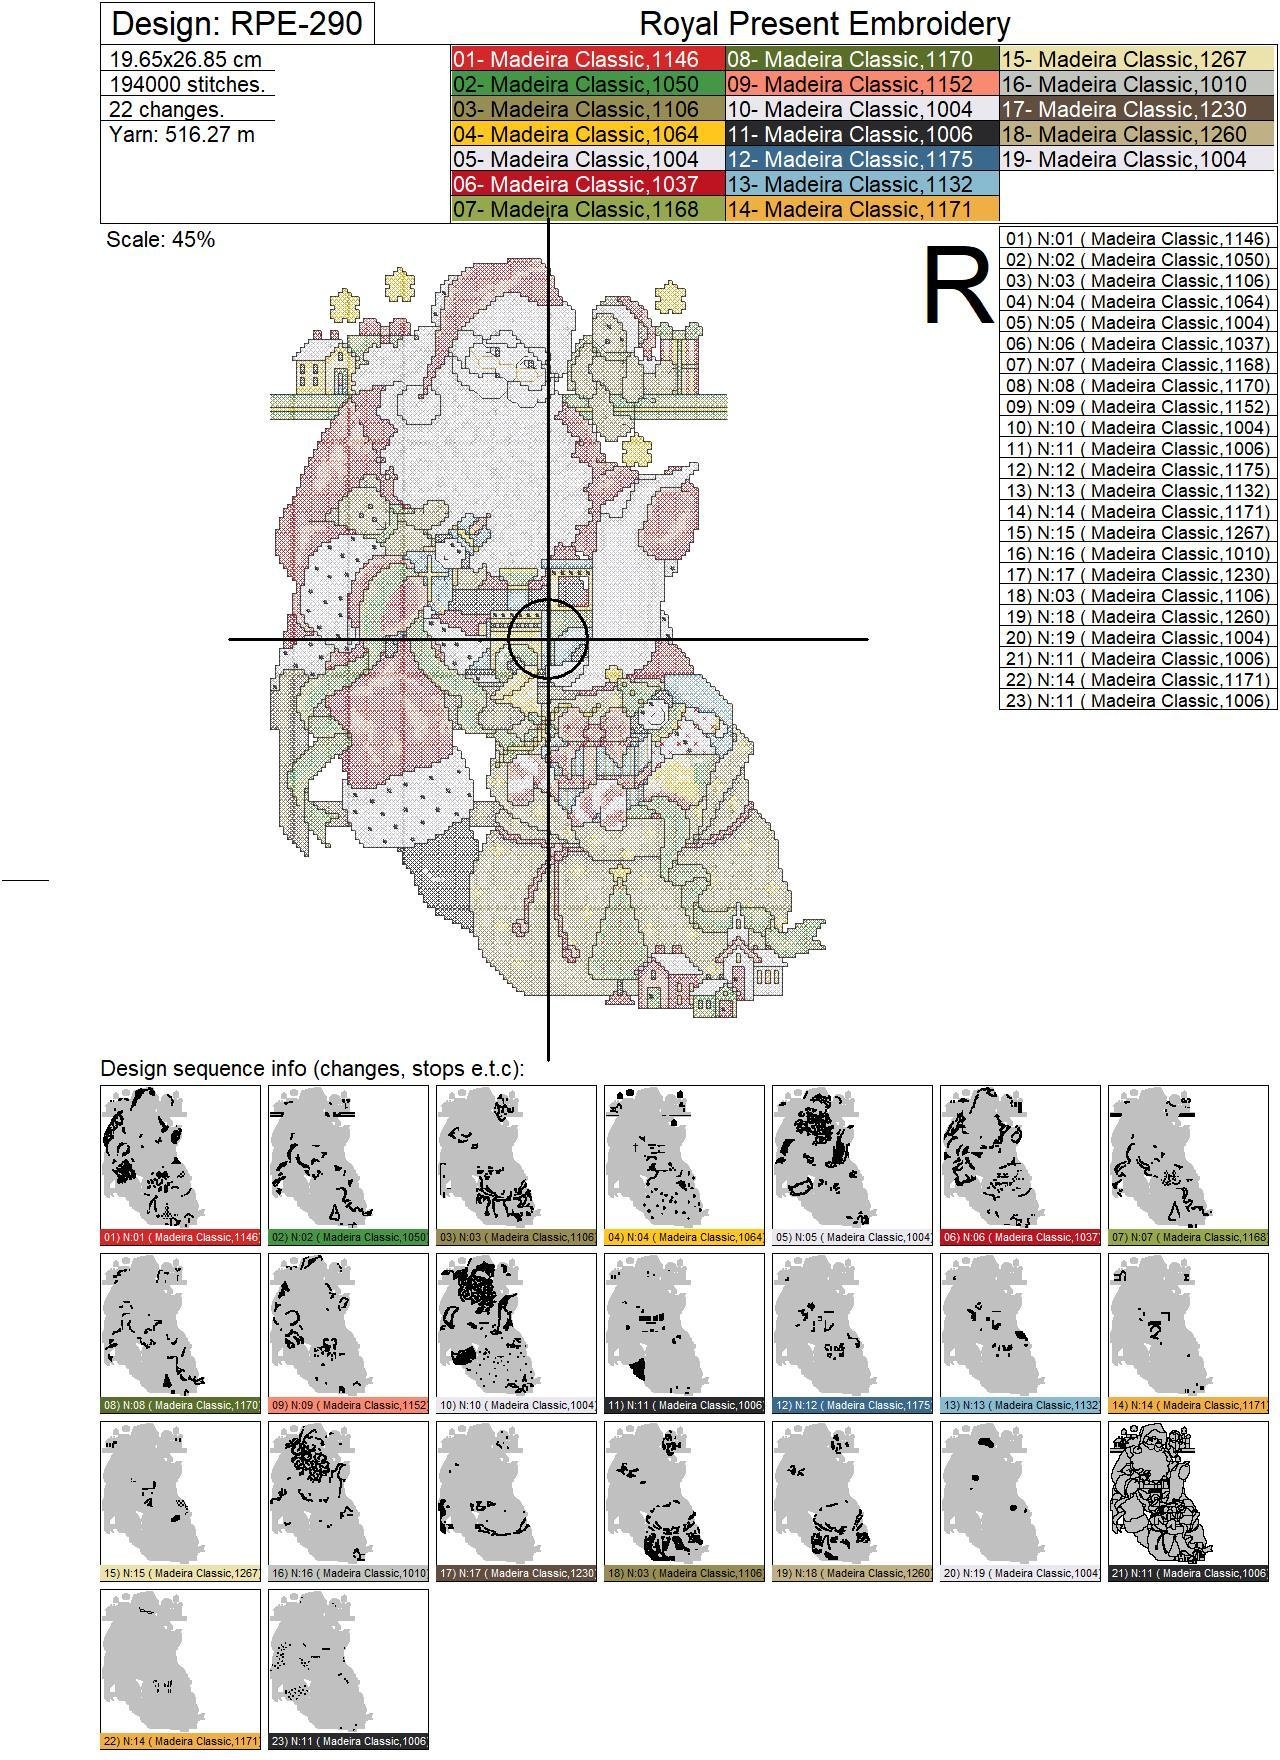
Size: 196.5x268.5 mm (7.74x10.57 "), Stitches: 195185
Formats: .pes, .pec, .hus, .vip, .dst, .exp, .sew, .dat, .vp3, xxx, jef
We recommend to embroider it in three stages, as manual embroidery implies making a thread in two-three layers. Or you can use cotton thread.
Compatible Hoops and Embroidery Fields
- 200x300 mm field (7.87x11.81 in)
- 200x360 mm field (7.87x14.17 in)
- 240x320 mm field (9.45x12.60 in)
- 300x300 mm field (11.81x11.81 in)
- Any larger field: fits when both design dimensions remain inside the actual usable field in the original orientation or after a 90-degree rotation.
Does not fit: 180x300 mm (7.09x11.81 in) because the design is 196.5 mm wide; 200x260 mm (7.87x10.24 in) because the design is 268.5 mm high; or any field smaller than 196.5x268.5 mm (7.74x10.57 in).
Check the actual embroidery field and maximum permitted stitch count in the machine manual. A machine may support a nominal 8x12 hoop but still reject a 195,185-stitch file because of its own stitch-memory limit.
Original Madeira Classic Rayon Palette
The original RPE-290 chart contains 23 programmed color blocks, 22 color changes and 17 unique Madeira Classic Rayon No. 40 shades. Repeated thread numbers are intentional and appear again later for separate parts of the picture.
| Color |
Madeira Classic Rayon |
Main use in the design |
| |
1146 Tomato Red |
Santa’s coat, hat and main red areas |
| |
1050 Green Thumb |
bright-green ribbons, toys and tree details |
| |
1106 Guacamole Green |
olive shading and muted green details |
| |
1064 Goldenrod |
stars, houses and warm toy accents |
| |
1004 Natural White |
beard, fur trim, snowman and pale highlights |
| |
1037 Tango Red |
deep-red shading and gift details |
| |
1168 Sharp Green |
yellow-green ribbons and toy accents |
| |
1170 Fern |
deep-green ribbons, foliage and outlines |
| |
1152 Peach Tea |
peach-orange gifts and small warm details |
| |
1006 Diamond Black |
main outlines, facial details and definition |
| |
1175 Dark Federal Blue |
dark-blue train, gifts and toy details |
| |
1132 Clear Blue |
pale-blue snowman, toy and gift details |
| |
1171 Lemon Drop |
bright-yellow stars, lights and highlights |
| |
1267 Pale Lemon / Light Yellow |
soft cream-yellow highlights |
| |
1010 Gray Haze |
gray shading in white and neutral areas |
| |
1230 Root Beer Brown |
teddy bear, sack, wood and village details |
| |
1260 Canvas Brown Beige |
tan sacks and neutral shading |
Do not merge repeated blocks automatically. They return later to complete separate outlines, highlights and small details after other colors have been stitched.
Cross-Stitch Effect and Thread Choice
The supplied color chart is built around Madeira Classic Rayon No. 40. The product page also mentions creating a fuller hand-cross-stitch effect with additional passes or cotton thread. Because this file already contains about 195,000 stitches, do not simply restart the entire design two or three times without testing: excessive needle penetrations can distort the crosses, damage the fabric and create thread nests.
- Original glossy look: use Madeira Classic Rayon No. 40 with a new 75/11 embroidery needle.
- More matte handmade look: test a machine-embroidery cotton No. 30 on the same fabric and backing. Begin with an 80/12 embroidery needle and a reduced machine speed, following the thread manufacturer’s needle recommendation.
- If experimenting with extra passes: test a small isolated section in embroidery software first and inspect the reverse, fabric distortion and needle penetration before committing to the full design.
Fabric, Stabilizer, Needle and Speed
- Best fabric: smooth medium-weight cotton, firm linen, canvas or a stable stocking front panel. The crosses remain clearer on a flat, even surface.
- Avoid: loose burlap, highly elastic fabric and deep pile. Open weave can move during the long stitch-out, while pile can swallow the small crossed stitches.
- Backing: use a firm medium-to-heavy cut-away stabilizer for the complete 195,185-stitch design. On a softer panel, test two medium layers placed with their grain directions crossed.
- Hooping: hoop fabric and stabilizer together whenever possible. Keep the panel taut and flat without stretching it.
- Topping: no topping is normally needed on smooth woven fabric. If the chosen material has surface texture, test a thin water-soluble film, but a flat fabric is preferable for this cross-stitch style.
- Needle: use a new 75/11 embroidery needle for Rayon No. 40; change the needle if the machine begins to produce fraying, skipped stitches or a rough sound.
- Speed: begin around 500–650 stitches per minute. The large number of short diagonal stitches makes clean formation and registration more important than maximum speed.
At 600–750 stitches per minute, the stitch count alone represents approximately 4 hours 20 minutes to 5 hours 25 minutes. Color changes, trims, machine acceleration, pauses and bobbin replacement make the real production time longer. Plan the project as a long stitch-out and do not leave the machine unattended.
How to Make a Christmas Stocking Front
- Choose a stocking sewing pattern large enough to hold a 196.5x268.5 mm (7.74x10.57 in) embroidery area plus seam allowances.
- Mark the vertical and horizontal centerlines on a rectangular piece of front fabric. Do not cut the stocking shape yet.
- Hoop the front fabric with firm cut-away stabilizer and verify orientation before loading the file.
- Stitch the complete design, following all 23 programmed blocks and replacing bobbins before they run empty.
- After embroidery, press carefully from the wrong side through a pressing cloth and trim only the excess stabilizer allowed by its type.
- Place the stocking pattern around the finished embroidery, add seam allowance, then cut and assemble the front, back, lining, cuff and hanging loop.
Practical tip: the design is 268.5 mm (10.57 in) high before any cuff or seam allowance is added. Draft the finished stocking around the embroidered motif, not the other way around.
Project Ideas
- a large handmade Christmas stocking front;
- a framed vintage-style Christmas textile picture;
- a holiday wall hanging or banner;
- a large cushion center on firm woven fabric;
- a decorative panel for a Christmas gift sack.
Related Christmas Embroidery Designs
Digital Download, Formats and License
This is a digital product for a computerized embroidery machine. No finished stocking, fabric, thread, stabilizer or other physical item will be shipped. After purchase, download and unzip the archive, then transfer the format required by your machine.
You may use the design to create finished embroidered items for personal use and limited small-business sales. The digital embroidery files may not be copied, shared, exchanged, published, repackaged or resold. See the Royal Present Embroidery Terms and Conditions of Use for full license terms and production limits.
Frequently Asked Questions
Is a finished Christmas stocking included?
No. The purchase includes one digital embroidery motif. The stocking pattern, fabric, cuff, lining and sewing instructions are not included.
Is this an In the Hoop stocking design?
No. The machine stitches the decorative Santa composition only. Embroider it on the front panel before cutting and sewing the stocking.
Does the design fit an 8x12 hoop?
Yes, only when the machine’s real usable field is at least 200x300 mm (7.87x11.81 in) and its stitch limit accepts 195,185 stitches. The design itself measures 196.5x268.5 mm (7.74x10.57 in).
Will it fit a 180x300 mm or 200x260 mm field?
No. It is too wide for 180x300 mm and too high for 200x260 mm.
How many thread colors and color stops are there?
There are 17 unique Madeira Classic Rayon shades arranged in 23 programmed color blocks, producing 22 color changes.
Should I embroider the entire file three times?
Not without a controlled test. The file is already extremely large and repeated full passes may over-perforate the fabric. Test a small section first if you want a fuller hand-cross-stitch effect.
Can I use cotton thread?
Yes, a machine-embroidery cotton thread can create a more matte traditional look, but it must be tested with the correct needle, tension and speed. Do not substitute ordinary six-strand hand floss.
Can I use tear-away stabilizer?
A firm woven test may work with strong tear-away, but for the complete 195,185-stitch design a firm cut-away backing is the safer primary choice because it supports registration throughout the long stitch-out.
Can I resize the design?
Strong resizing is not recommended. Changing the scale alters the cross size, stitch length, density and registration of many small details. Use the original size whenever possible.
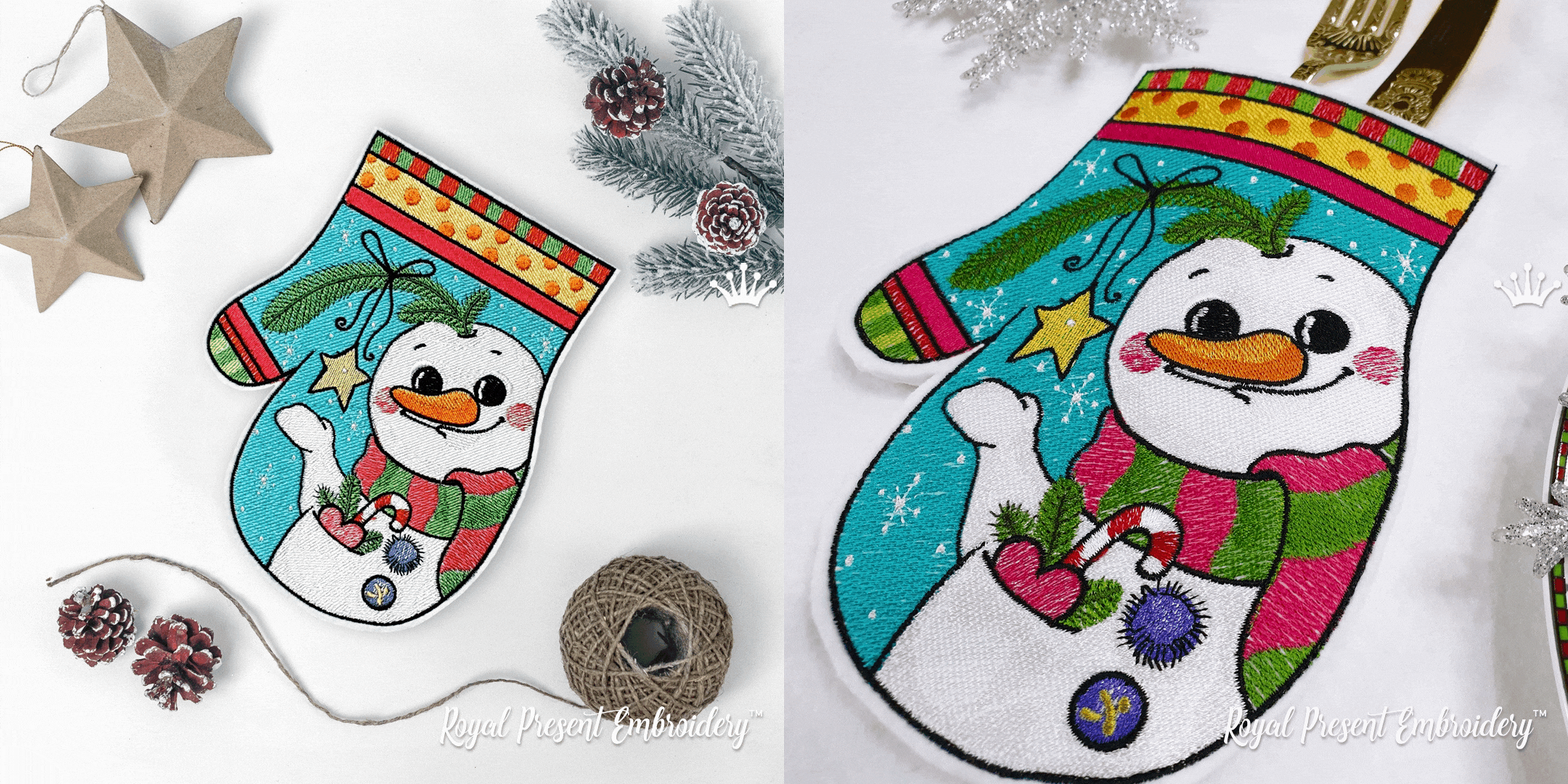 Snowman Mitten for Cutlery
 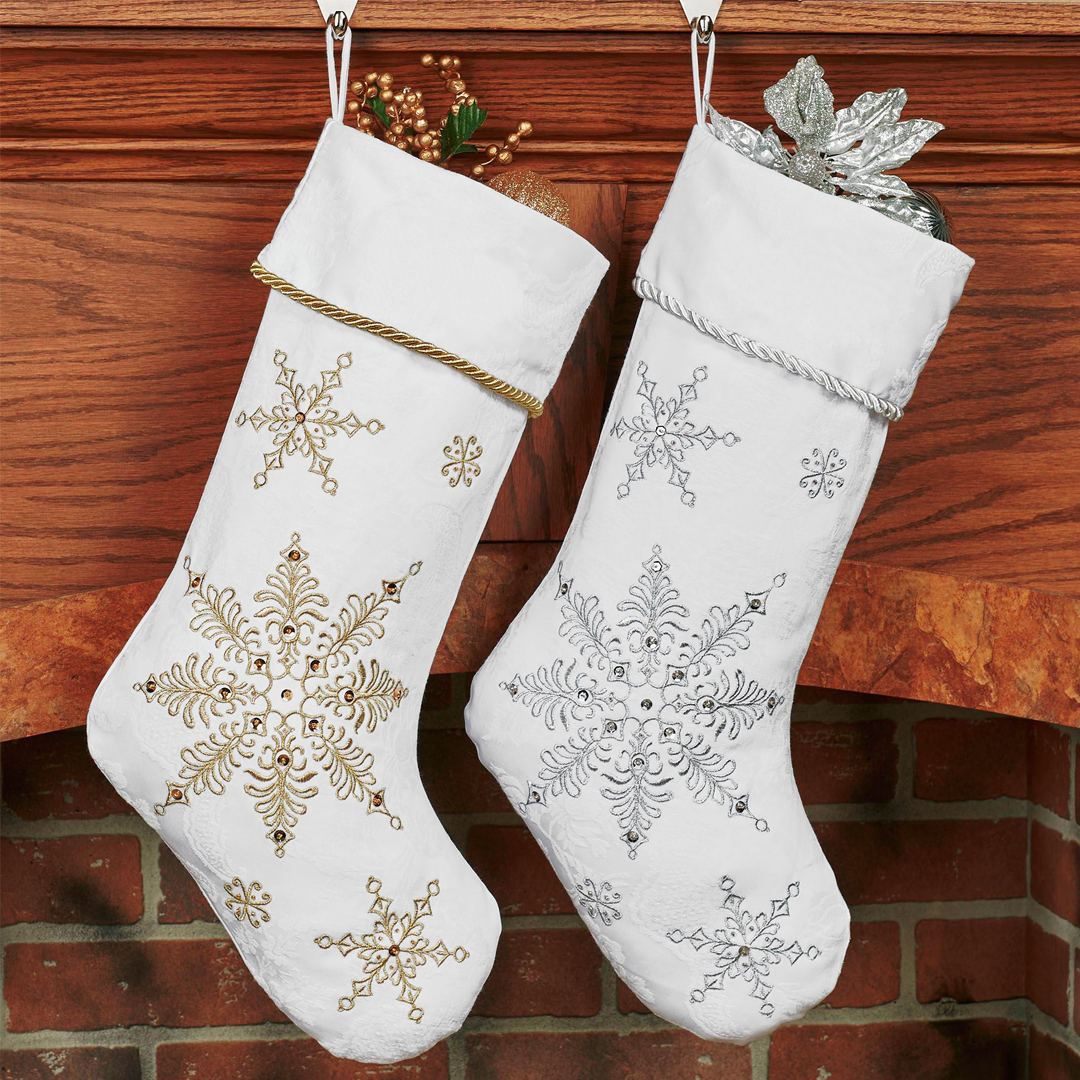 Christmas Snowflakes for Stockings
 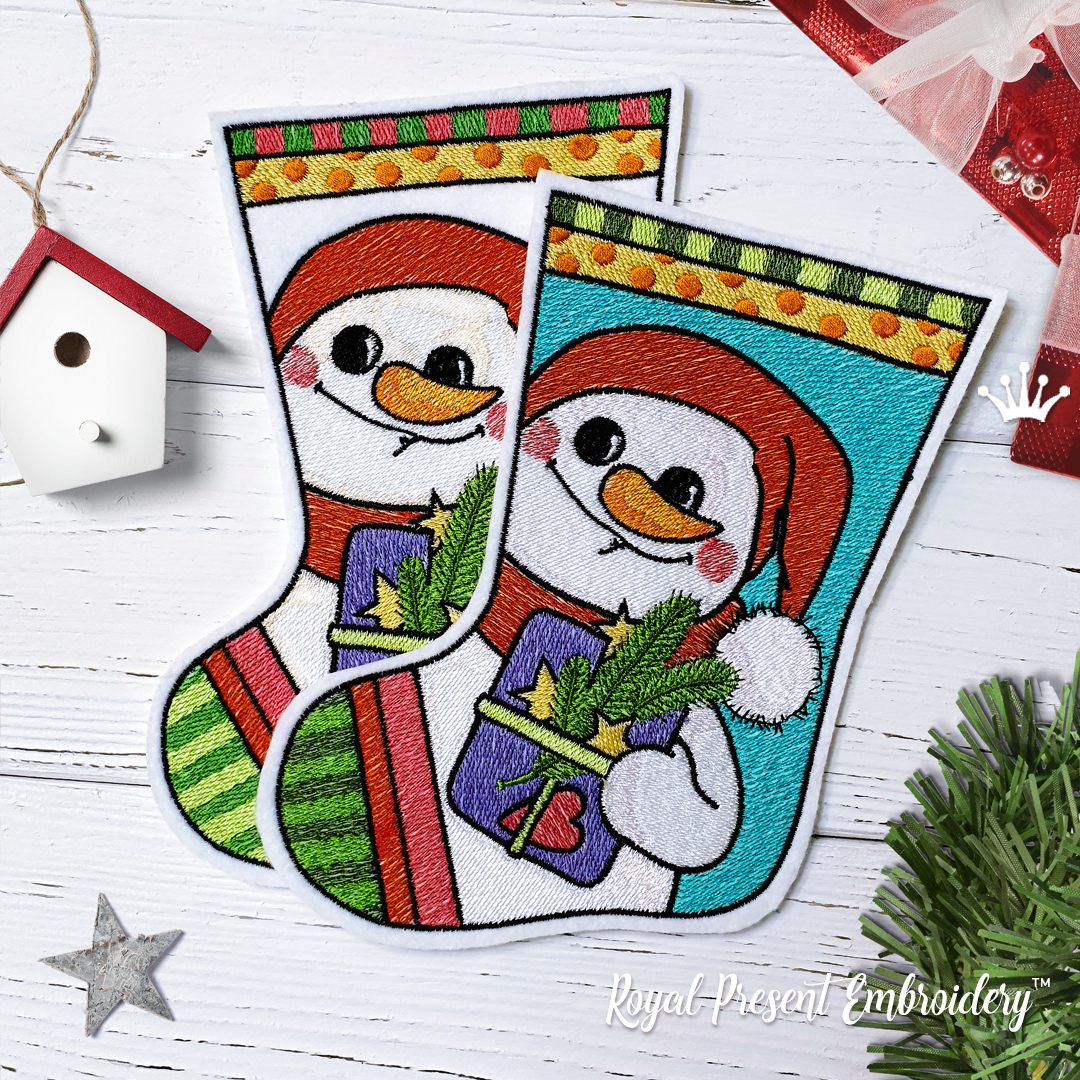 Snowman Christmas Stocking for Cutlery
 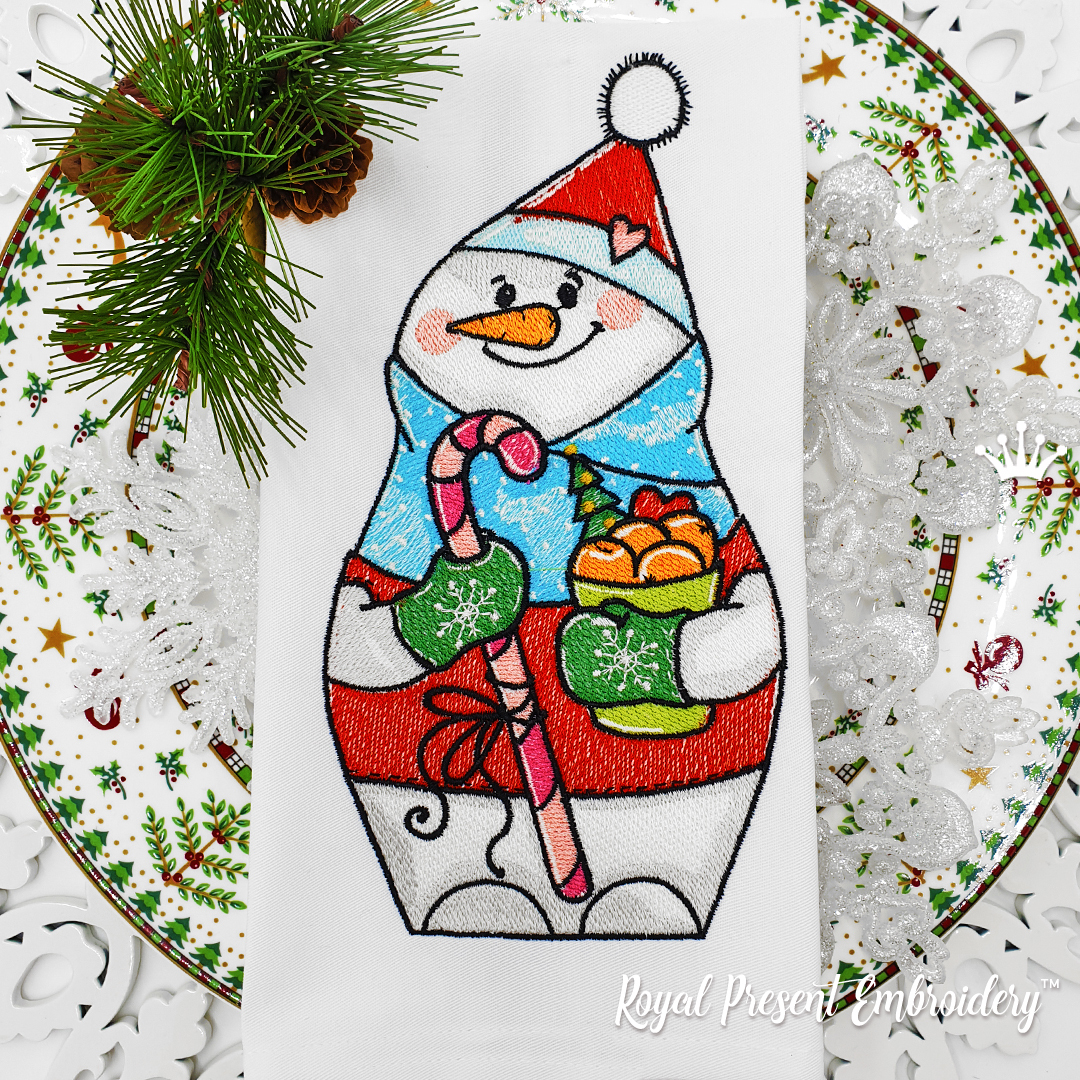 Snowman with Goodies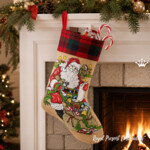

 Get Sign-In Link
 Login with Google
 Login with Facebook
 Login with Amazon
 Login with Paypal