The Halloween feast is approaching us again. And very soon pumpkins and spider webs will become our best friends. The celebration of Halloween is time of unrestrained fun, sweets, costumes and pajama parties. Naturally, on this day we not only have fun, but also pay tribute to all the saints.
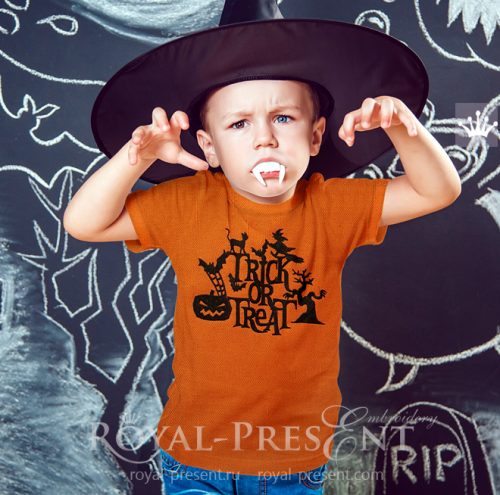
When preparing for the All Saints Day, you can make a funny costume for your child without spending a lot of money. If you have an orange or purple t-shirt, embroider this thematic inscription and your child can safely go and ask for a treat for Halloween. A black hat and a raincoat will complement the image. And if you use watercolor and paint the face of the baby – it can be assumed that the holiday was a success!
Use our Silhouette Trick or Treat machine embroidery design and your outfits will find the meaning and mood of the holiday!
Machine embroidery on Halloween
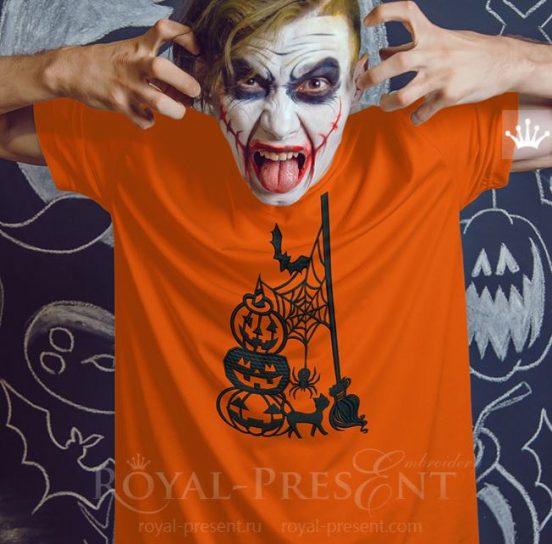
Looking at this silhouette design, we involuntarily start to think about its application. Silhouette Trick or Treat machine embroidery design is perfect for decorating interior and clothing. Decorative pillows, wall panels, kitchen attributes will turn into masterpieces.
T-shirts, sweatshirts, body and accessories will be transformed beyond recognition with this embroidery for Halloween.
Silhouette Trick or Treat machine embroidery design

Formats: .dst, .pec, .vip, .hus, .pes, .exp, dat, jef, vp3, .sew, xxx
How to embroider on children’s T-shirts?
Today we would like to tell you about embroidery on children’s T-shirts. We have more than once considered the rules of machine embroidery on T-shirts. And now we want to talk with you about machine embroidery on T-shirts for the youngest fashionistas.
We put all our love and warmth into such embroidery projects.
Stages of machine embroidery on children’s T-shirts.
Preparation of the basics
T-shirts are sewn from cotton fabric. It, in turn, has a high shrinkage ratio. This means that you need to wash the product BEFORE embroidering.
Design markup
Open the information file, find the paper template and print it. Attach to the T-shirt, retreat about 0.9-1,2 Inches from the neck. Take the air-erase pen. Transfer the points of the axes and the center point of the embroidery. Then connect them.
Project Stabilization
Children’s T-shirts, as well as adults, are constantly wearing and washing. So it’s better to use a cut-away stabilizer. If the fabric of the T-shirt is elastic, use temporary spray adhesive, for example Gunold KK100.
Embroidery
Load the embroidery frame into the machine. Check that the needle is in the marked center of the embroidery. Embroider the design.
Removal of the stabilizer
Cut off the extra stabilizer, retreating 0,1 Inches from the embroidery.
Using Cloud Cover stitch
This stage is very important. Since the children’s skin is very sensitive, there are may appear traces of the stabilizer. In order not to irritate delicate baby skin, use a special web.
Cloud Cover stitch is a non-woven fabric. It glues to the fabric with a hot iron. It is important to completely close the stabilization area. This material is very soft, so it can protect the skin of your baby.
Following these tips, you can easily embroider the Silhouette Trick or Treat machine embroidery design, and create an original T-shirt for your little sun or daughter.
You may also like
Silhouette Halloween Machine Embroidery Design

Author: Ludmila Konovalova
My name is Ludmila Konovalova, and I lead Royal Present Embroidery. Embroidery for me is more than a profession; it is a legacy of my Ukrainian and Bulgarian heritage, where every woman in my family was a virtuoso in cross-stitch and smooth stitching. This art, passed down through generations, is part of my soul and a symbol of national pride.
Date: 17.09.2018

 Get Sign-In Link
 Login with Google
 Login with Facebook
 Login with Amazon
 Login with Paypal