Vintage Floral Scroll Border Machine Embroidery Design - 2 sizes
By knowing the speed of your embroidery machine, you can find out how long it will take to embroider a design.
To use the embroidery calculator, click on the number of stitches in the product description.
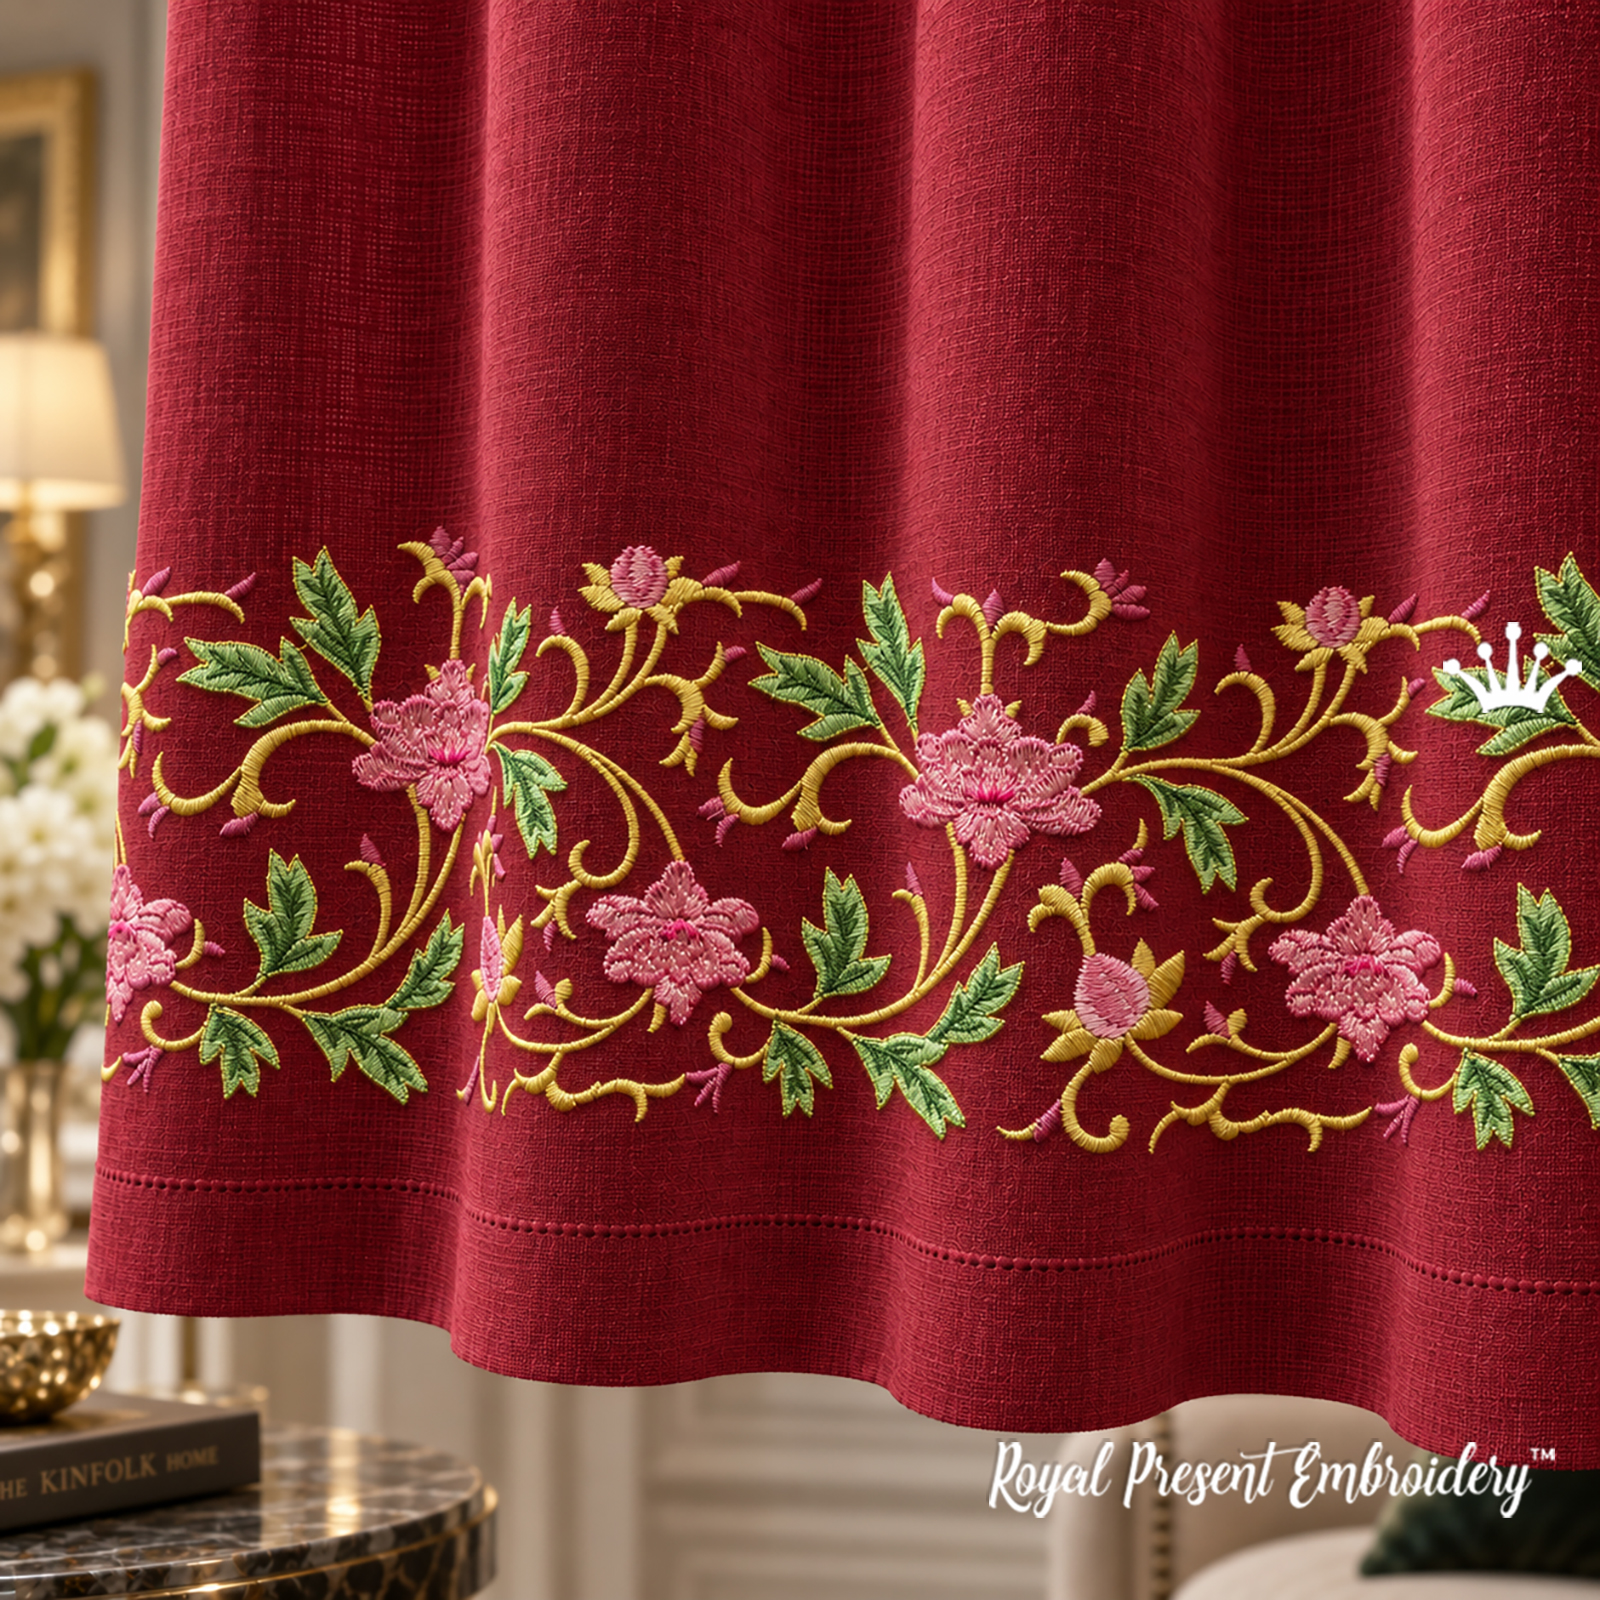
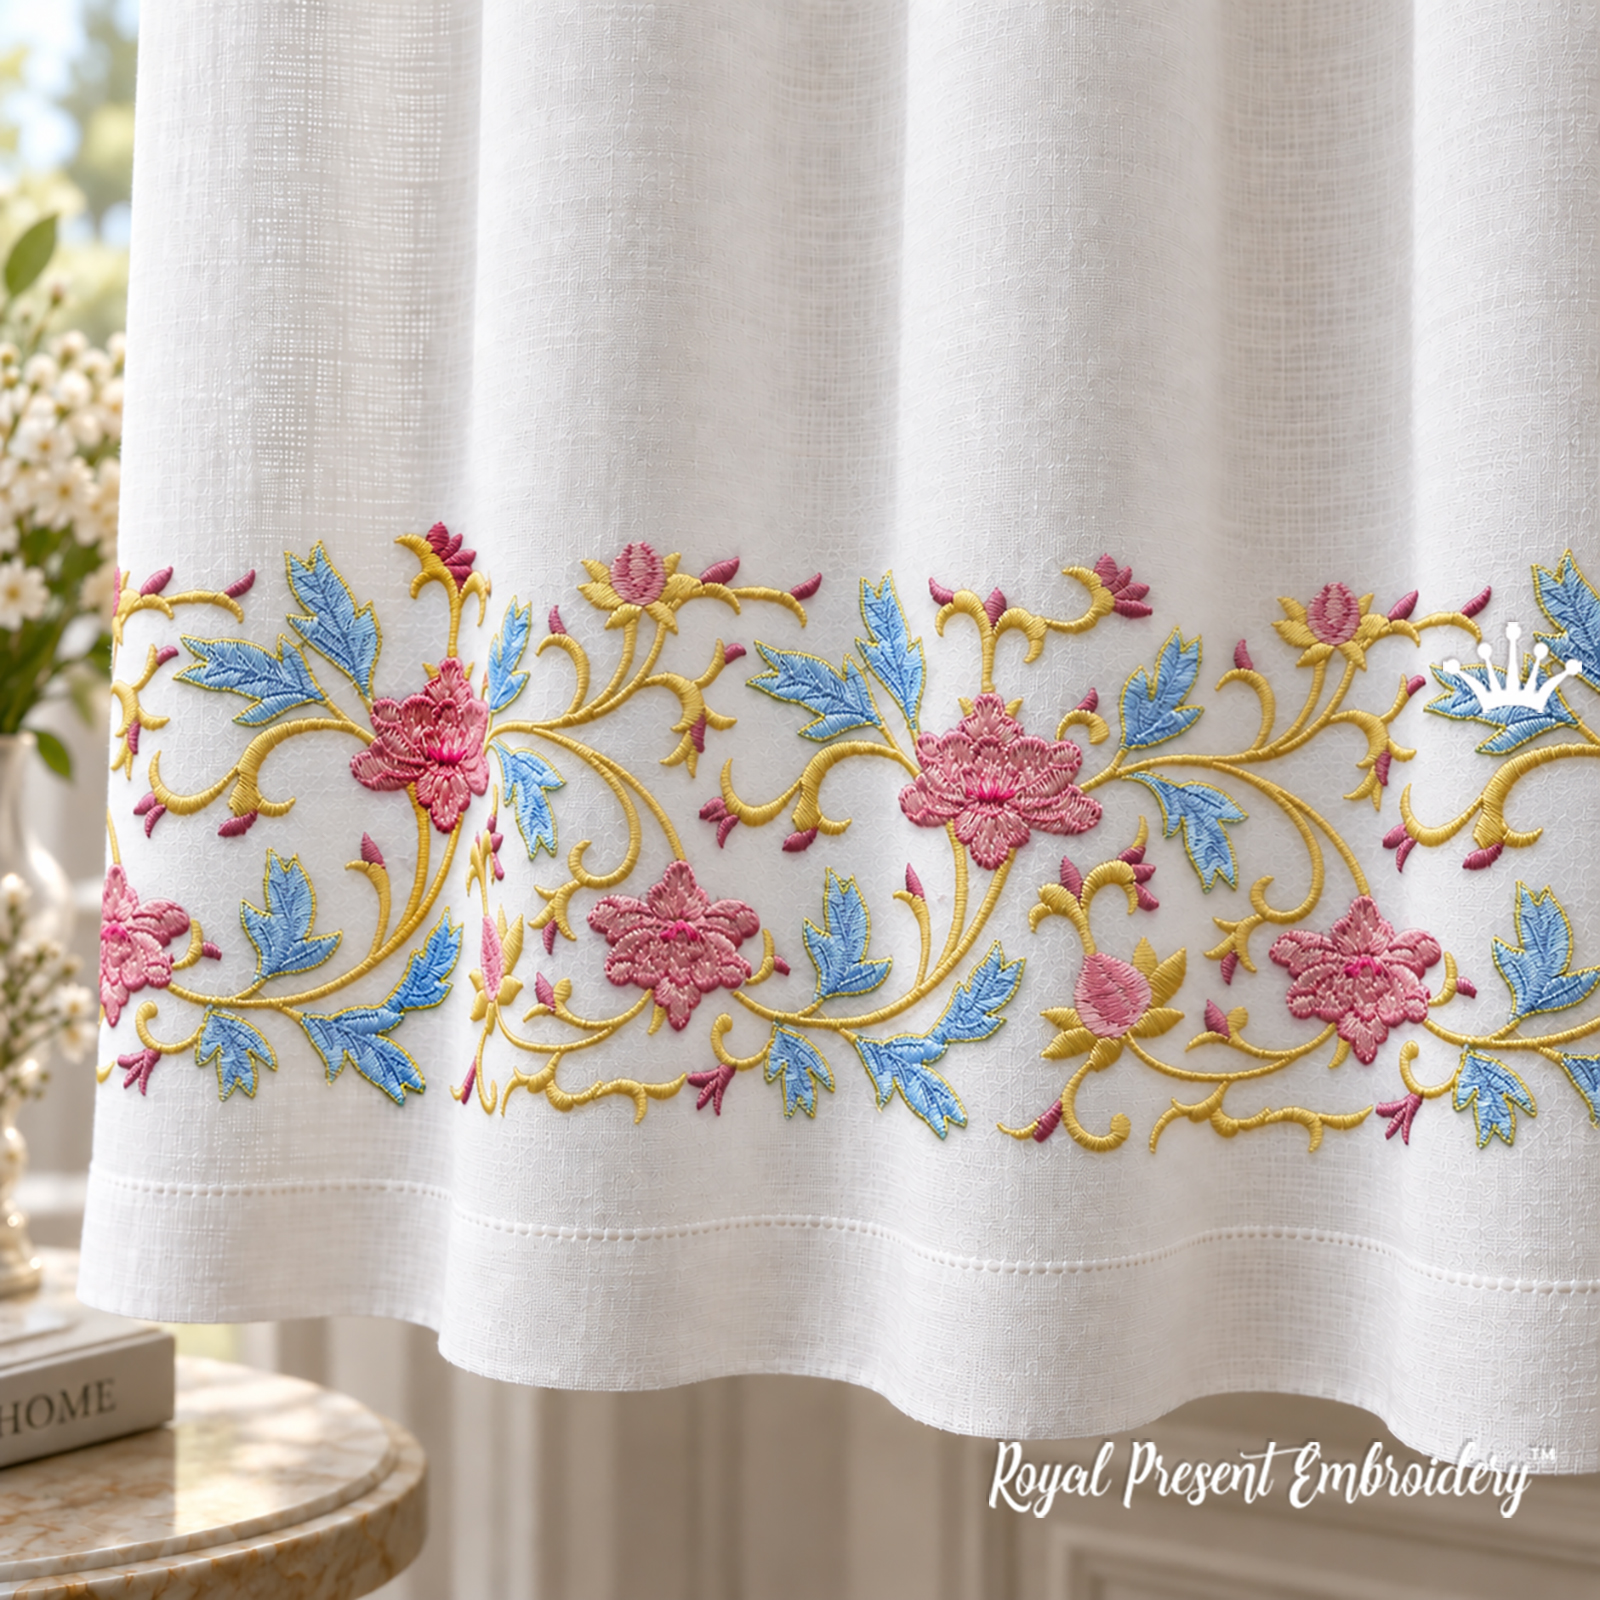
Vintage Floral Scroll Border Machine Embroidery Design combines sweeping golden scrollwork, layered pink flowers and softly shaded green foliage. The composition is created for large decorative textile projects, including table runners, curtains, bedding and interior panels.
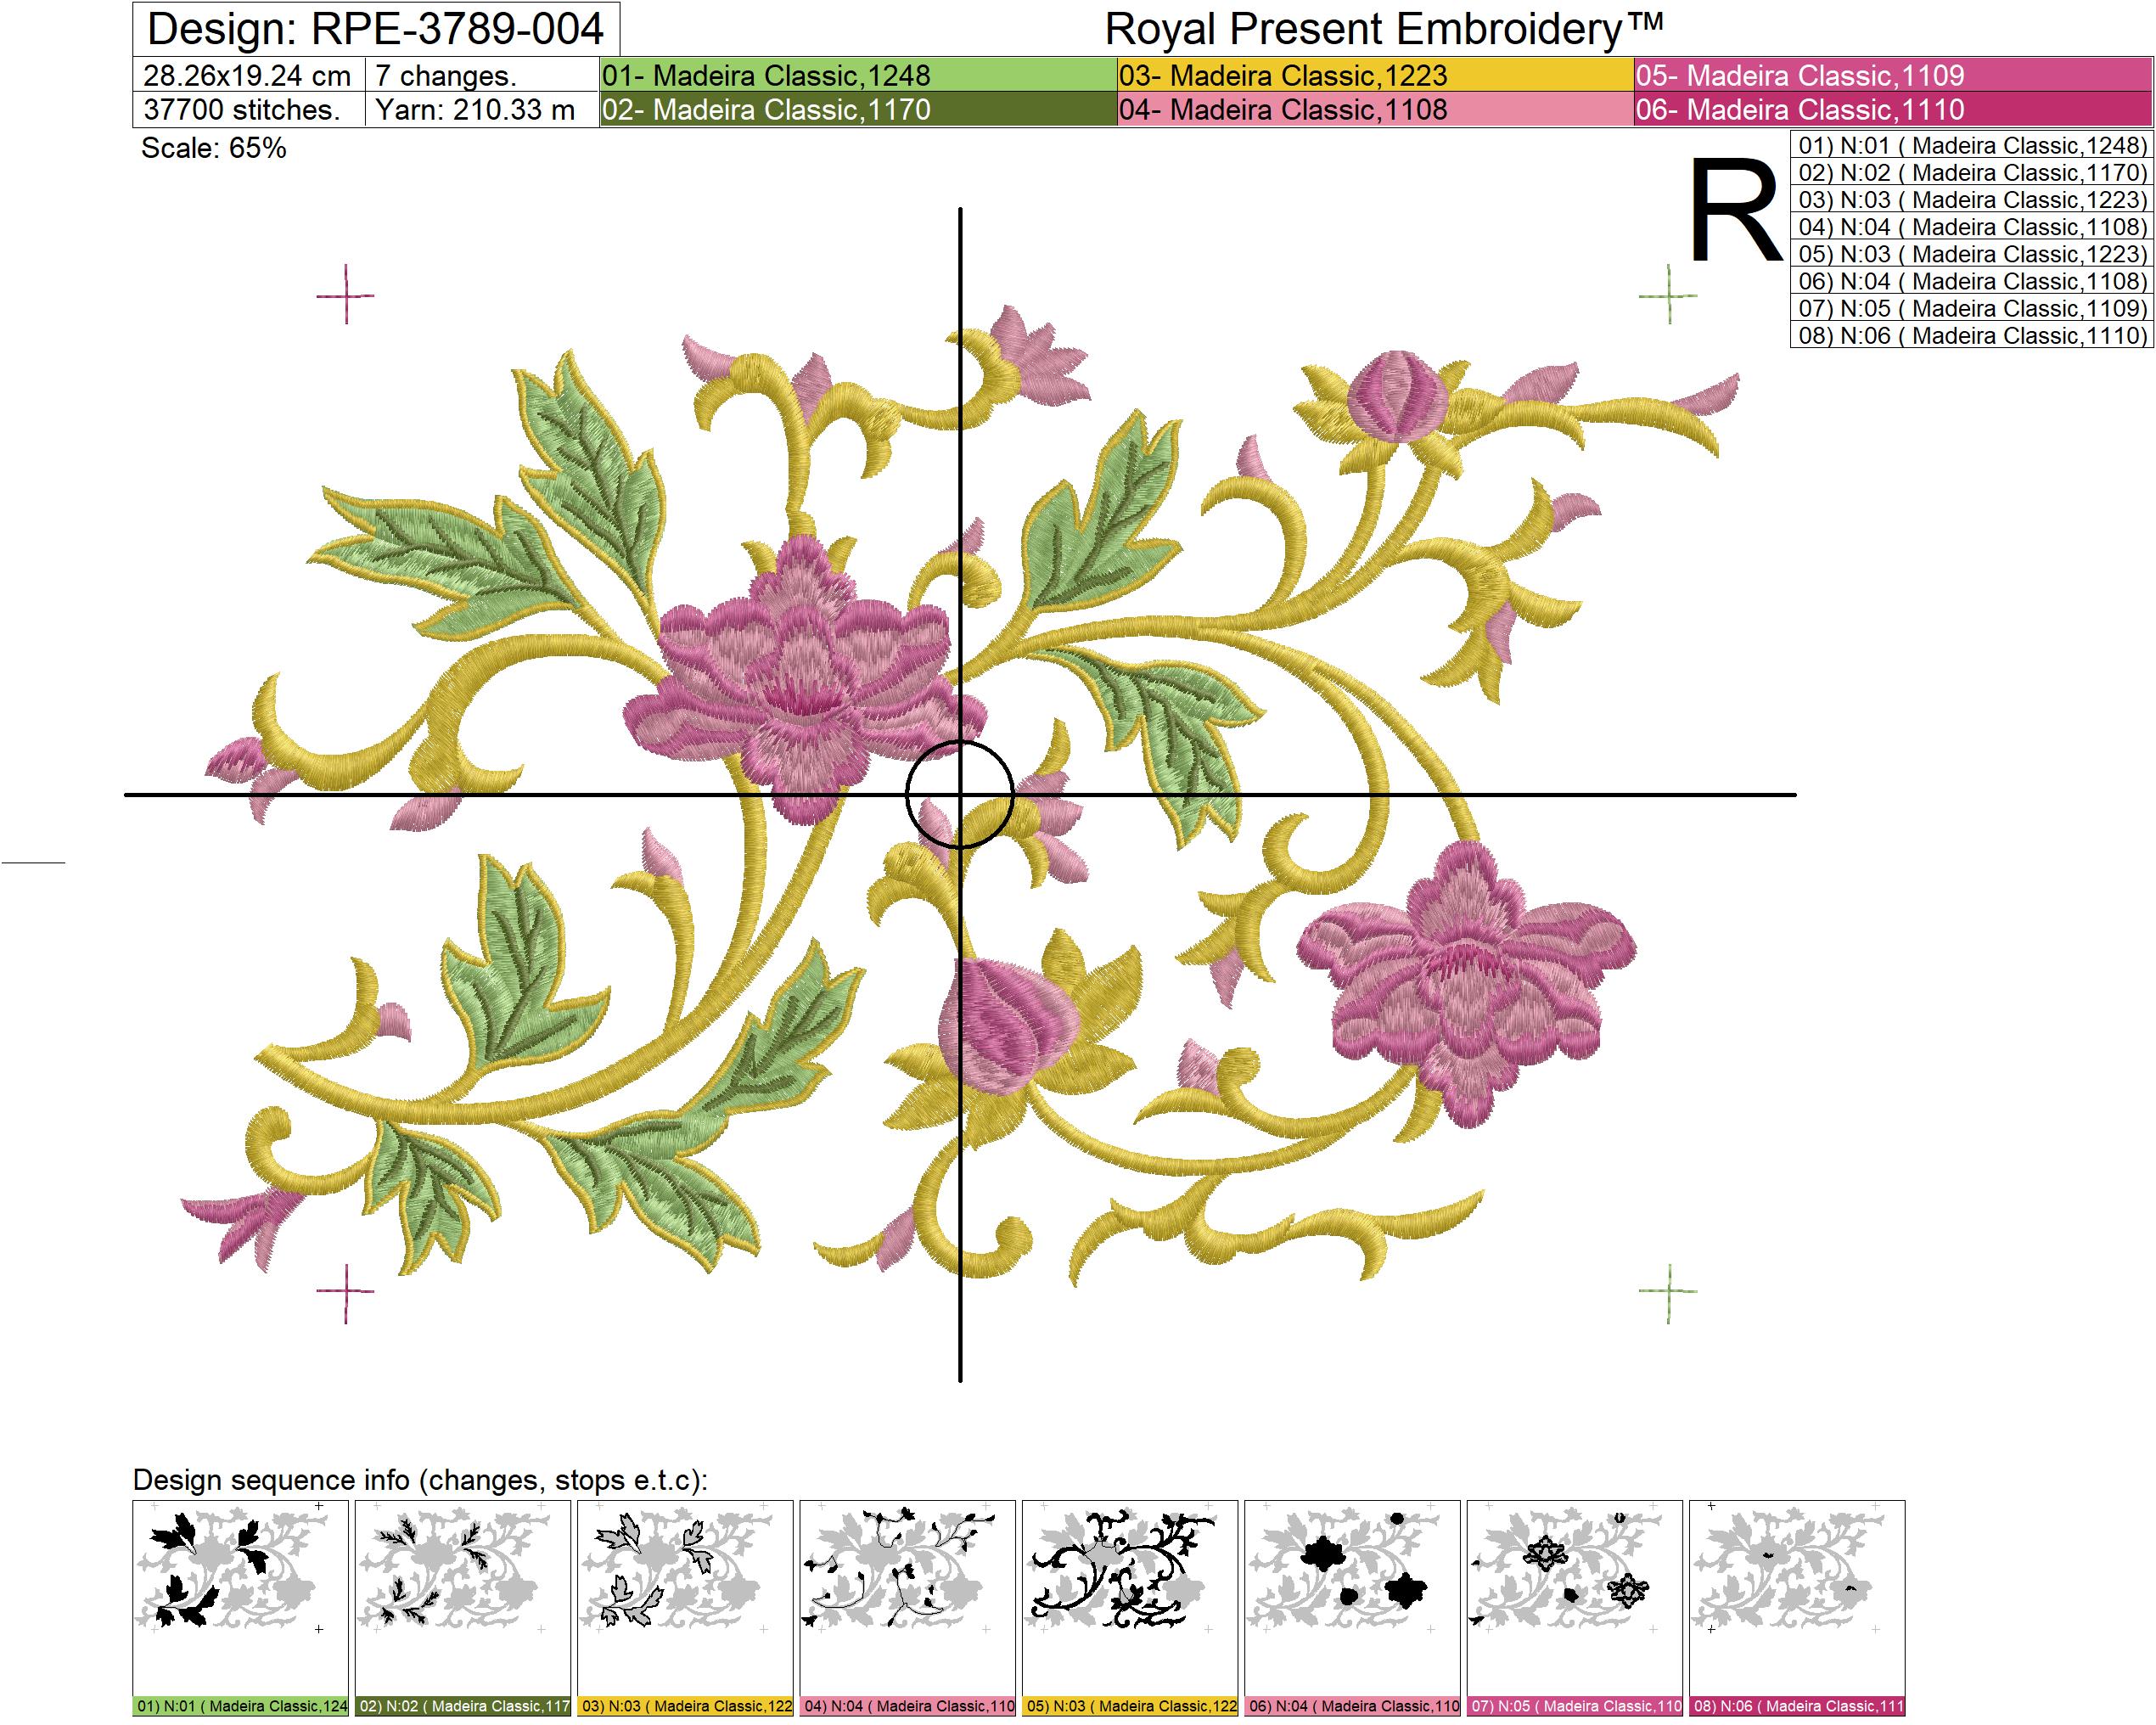
This product contains one border design in two prepared sizes. The second technical chart shows the larger version in a vertical orientation; it is not a separate motif. Both files include registration marks for joining consecutive sections into a longer border.
Design Characteristics
| Product type | Digital machine embroidery design |
|---|---|
| Number of designs | 1 |
| Sizes included | 2 |
| Minimum embroidery fields | 200x300 mm / 8x12" and 200x360 mm / 8x14.2" |
| Embroidery character | Multicolor fill and satin embroidery with open areas between flowers, leaves and ornamental scrolls |
| Joining method | Built-in registration marks for accurate alignment of consecutive border sections |
| Thread chart | 6 Madeira Classic 40 colors, 8 color blocks and 7 color changes |
| Delivery | Instant digital ZIP download |
Sizes, Stitches and Compatible Hoops
| Exact Design Size and Stitch Count | Minimum Compatible Hoop |
|---|---|
| Size: 282.6x192.4 mm (11.13x7.57"). Stitches: 37700 | 200x300 mm / 8x12" |
| Size: 198.3x314.4 mm (7.81x12.38"). Stitches: 42800 | 200x360 mm / 8x14.2" |
Included Machine Formats
DAT, DST, EXP, HUS, JEF, PEC, PES, SEW, VIP, VP3 and XXX
Where to Use the Floral Scroll Border
- Across the ends or central section of table runners
- Along the lower part of curtain and decorative textile panels
- On bedspreads, duvet covers and large pillow fronts
- Across valances, pelmets and upholstered textile inserts
- On dresser scarves, decorative towels and wide linen panels
- As an extended border created by joining several embroidered sections
Companion Set and Coordinating Designs
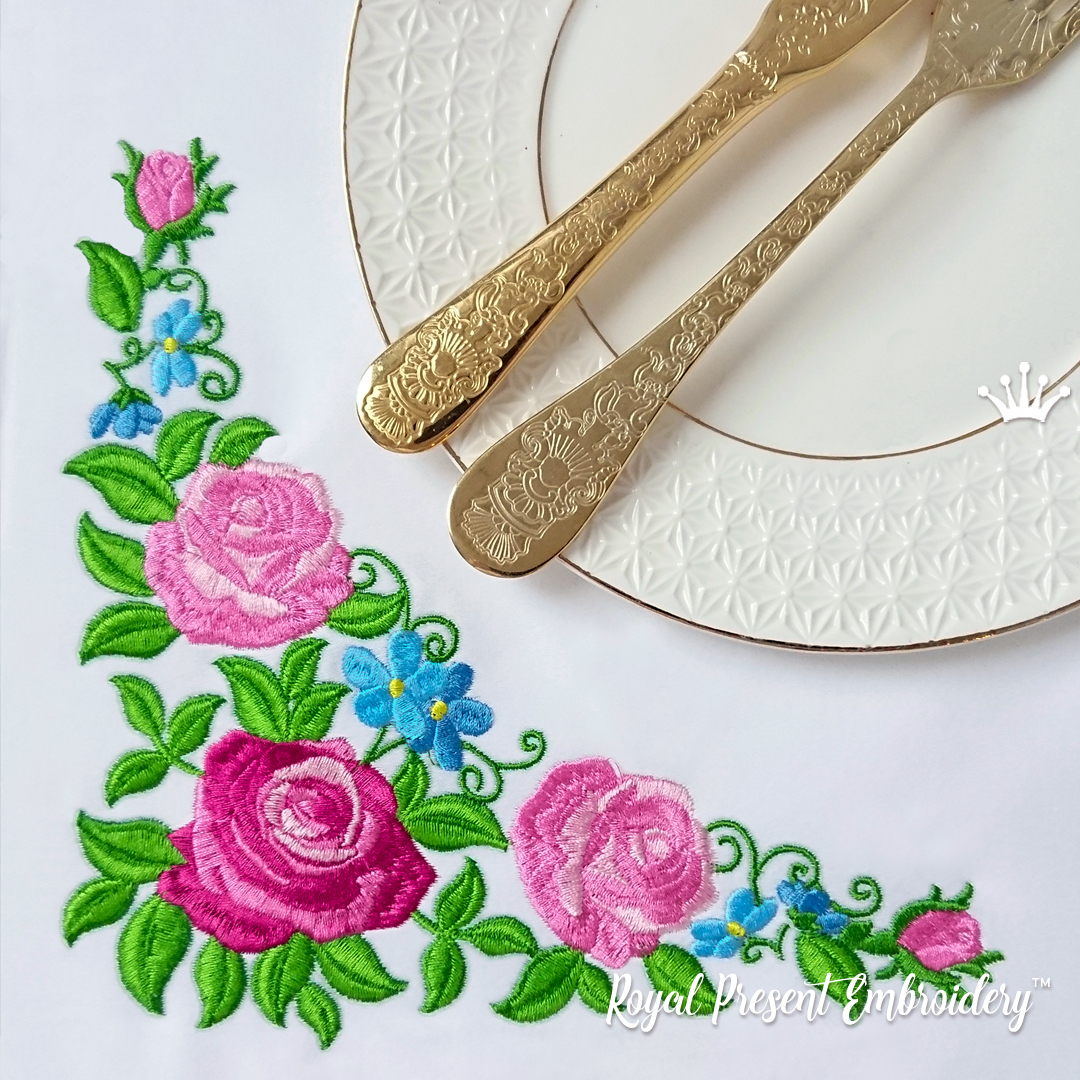
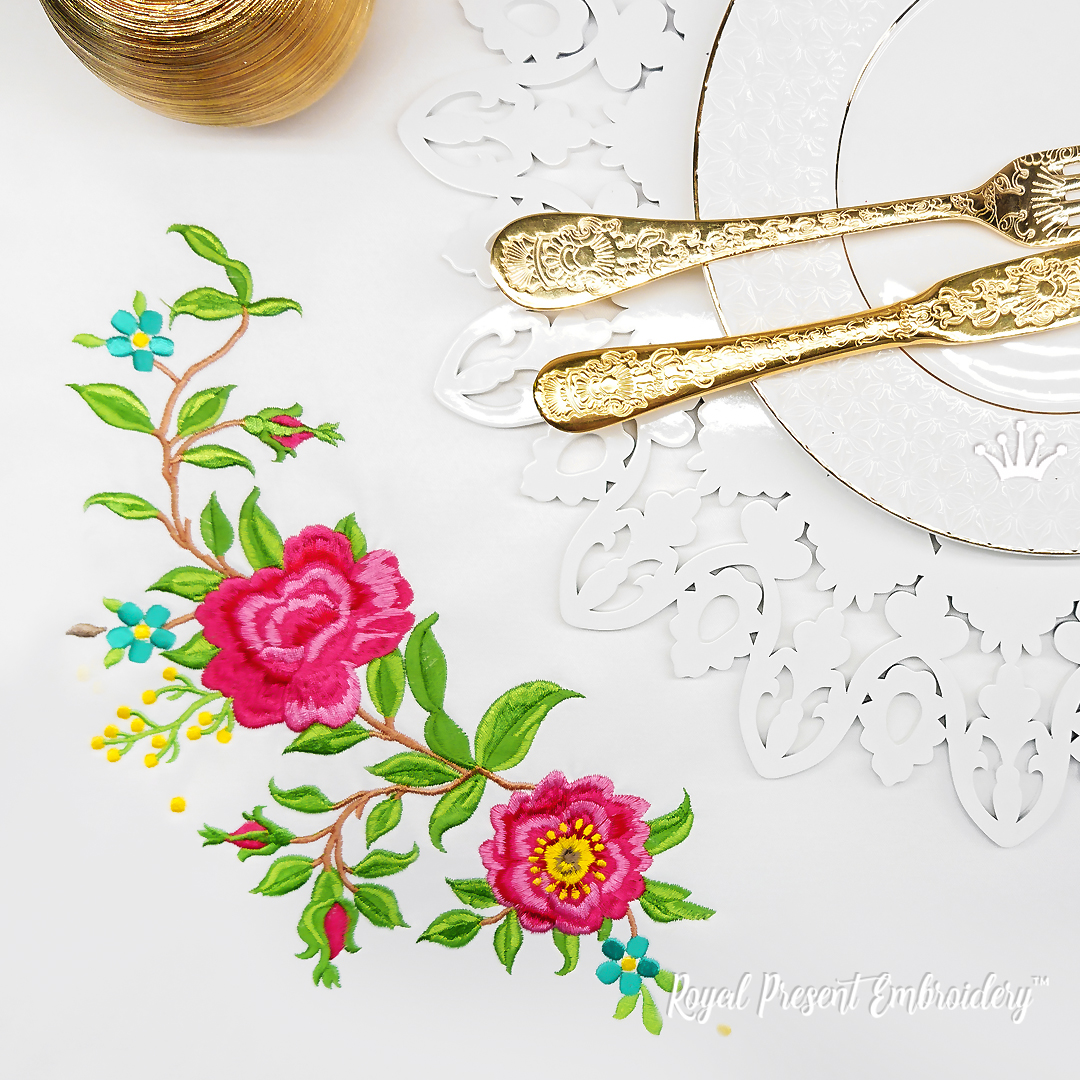
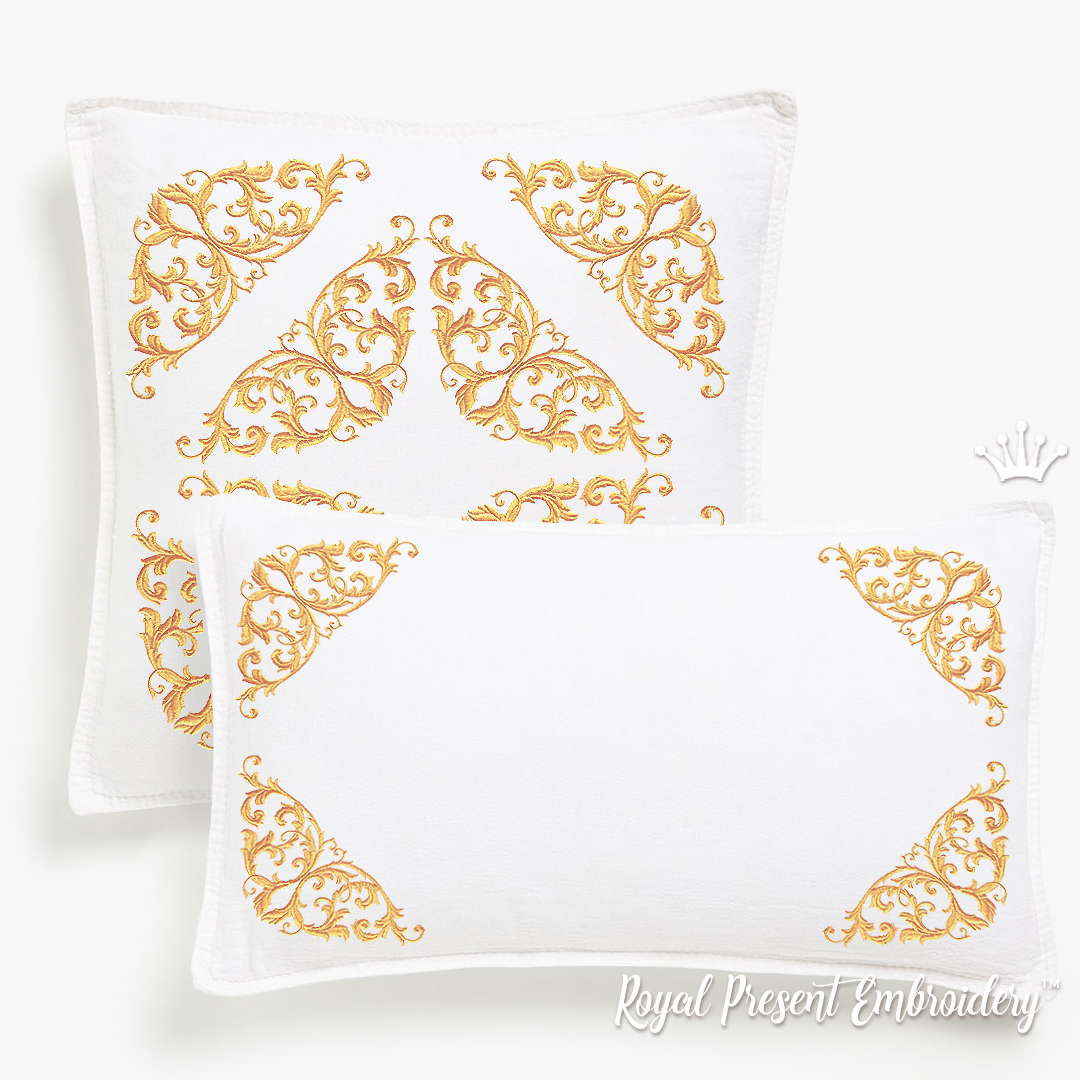
The first product below is the direct companion set from the same floral collection. It contains a long horizontal border and two coordinated corner compositions with matching pink flowers, green foliage and golden scrollwork.

Madeira Classic 40 Thread Chart
Both sizes use the same six Madeira Classic 40 colors and the same sequence of eight color blocks.
| Color | Madeira Classic 40 | Design Element | |
|---|---|---|---|
|
|
1248 | Light foliage and leaf foundations | |
|
|
1170 | Dark leaf shading and details | |
|
|
1223 | Golden ornamental scrollwork | |
|
|
1108 | Soft pink flower layers and buds | |
|
|
1109 | Deep pink flower details | |
|
|
1110 | Raspberry flower accents |
Color-block sequence: 1248, 1170, 1223, 1108, 1223, 1108, 1109, 1110.
Fabric, Stabilizer and Needle Guide
| Fabric | Recommended Stabilizer | Needle |
|---|---|---|
| Medium-weight linen or cotton, 150–220 g/m² | Firm cut-away stabilizer, approximately 60–80 g/m² | Embroidery or sharp needle 75/11 |
| Dense table linen, twill or decorative cotton, 220–300 g/m² | Firm cut-away stabilizer, approximately 60–80 g/m² | Sharp needle 75/11 or 80/12 |
| Lightweight or loosely woven linen, 90–150 g/m² | Fusible polymesh against the fabric with an additional light cut-away layer | Sharp needle 70/10 or 75/11 |
| Satin or decorative woven fabric, 100–180 g/m² | Soft fusible cut-away stabilizer, approximately 40–60 g/m² | Sharp needle 75/11 |
| Velvet, short-pile velour or terry cloth | Firm cut-away underneath and a thin water-soluble topping above the fabric | Embroidery needle 75/11 |
How to Join the Border Using Registration Marks
- Mark one continuous baseline across the complete embroidery area.
- Position the first section using its printed full-size template.
- Embroider the first section together with the supplied registration marks.
- Rehoop the fabric and stabilizer without stretching or rotating the textile.
- Align the embroidery-machine needle with the first registration mark.
- Check the second mark to confirm both the distance and the angle of the next section.
- Embroider the next section and repeat the process until the required border length is complete.
- Remove the temporary registration stitches after completing the entire composition if they remain visible.
Practical Embroidery Tips
- Do not delete the registration marks when several sections will be joined.
- Use both marks during repositioning: one mark controls the joining point, while the second controls the angle.
- Embroider the border on a flat fabric panel before sewing hems, side seams or lining.
- Print the selected file at actual size and mark its center line, baseline and outer limits.
- Hoop the fabric and cut-away stabilizer together so the long decorative structure remains straight.
- Support the fabric outside the hoop so its weight does not pull on the embroidery-machine carriage.
- For a long repeated border, use the same hooping direction for every section.
- Press the finished embroidery from the wrong side over a folded towel to protect the raised stitches.
Frequently Asked Questions
Are registration marks included in the embroidery files?
Yes. The files contain registration marks intended for joining consecutive sections accurately. They provide fixed reference points for controlling the distance and direction of each new hooping.
Why are two registration marks needed?
A single mark identifies the joining point, but it does not control the angle of the next section. Aligning two marks keeps the repeated border on the same baseline and preserves the intended spacing between motifs.
How can I position the border evenly across a table runner?
Mark the fabric grain and draw one removable baseline across the complete embroidery area. Position the full-size printed template over that line and mark the center and both outer limits. Begin from the center of the runner when the border must remain visually balanced at both ends.
Which stabilizer works best on loosely woven linen?
Fuse a lightweight polymesh stabilizer to the wrong side and add a firm cut-away layer beneath it. The fusible layer controls the open weave, while the cut-away layer supports the filled flowers, leaves and long satin scrolls.
Should the border be embroidered before sewing the project?
Yes. Embroidering the design while the fabric is still a flat panel provides more room for hooping and makes the baseline and registration marks easier to align. Sew the hems, lining and side seams after the embroidery is completed.
How should the design be embroidered on velvet or another pile fabric?
Hoop the stabilizer and secure the fabric above it, or use a magnetic hoop. Place a thin water-soluble topping over the pile so the decorative stitches remain visible above the surface. Remove the topping after embroidery without pulling the stitched details.
How can I substitute the original thread colors without losing the design depth?
Preserve the contrast between the paired shades. Use one light and one dark green for the foliage, a clearly contrasting color for the ornamental scrollwork and three progressively darker shades for the flowers. The palette may change, but the light-to-dark relationship should remain.
How can I manage a large table runner or curtain panel around the machine?
Place the excess fabric on a level surface beside the embroidery machine and keep it clear of the moving hoop. Roll or loosely fold the remaining textile so its weight does not hang from the embroidery arm or restrict the carriage.
Designed and professionally digitized by Ludmila Konovalova for Royal Present Embroidery.

 Get Sign-In Link
 Login with Google
 Login with Facebook
 Login with Amazon
 Login with Paypal