By knowing the speed of your embroidery machine, you can find out how long it will take to embroider a design.
To use the embroidery calculator, click on the number of stitches in the product description.
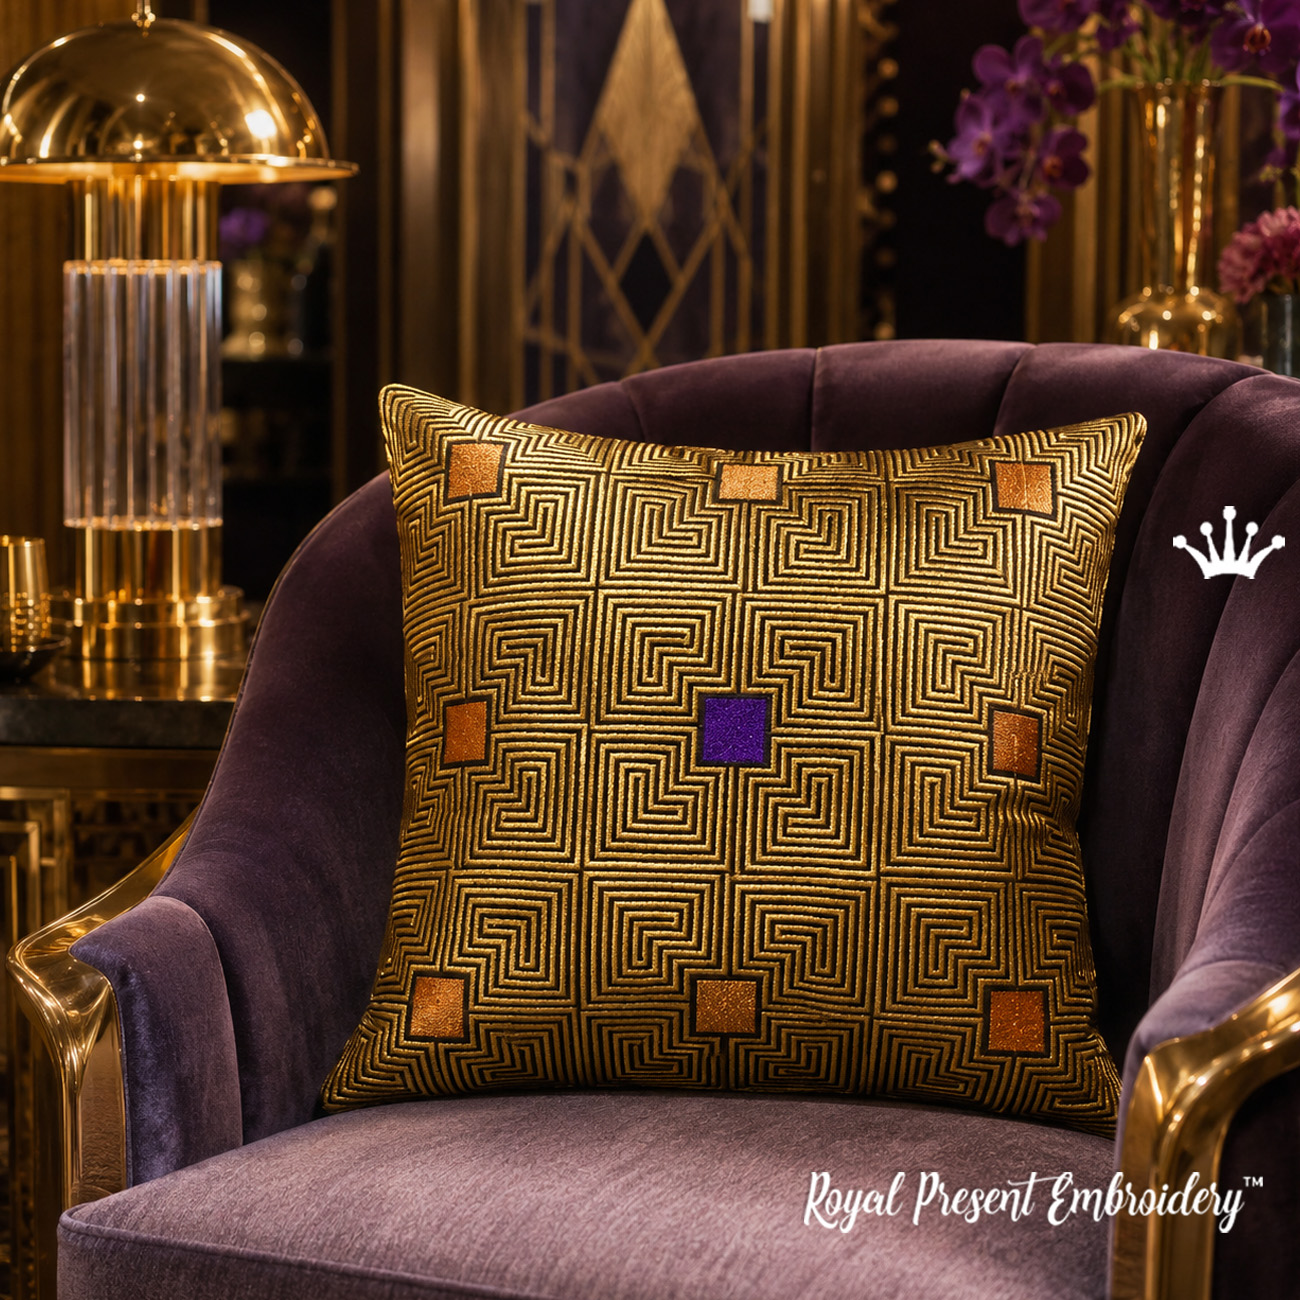
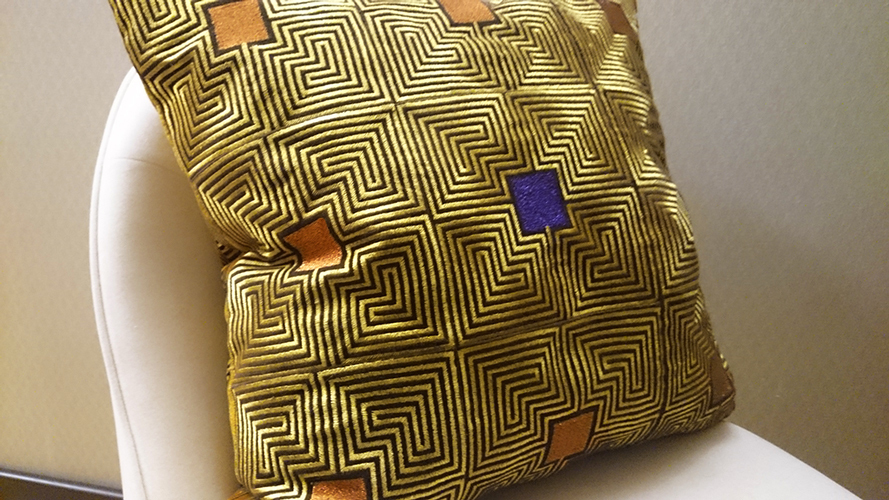
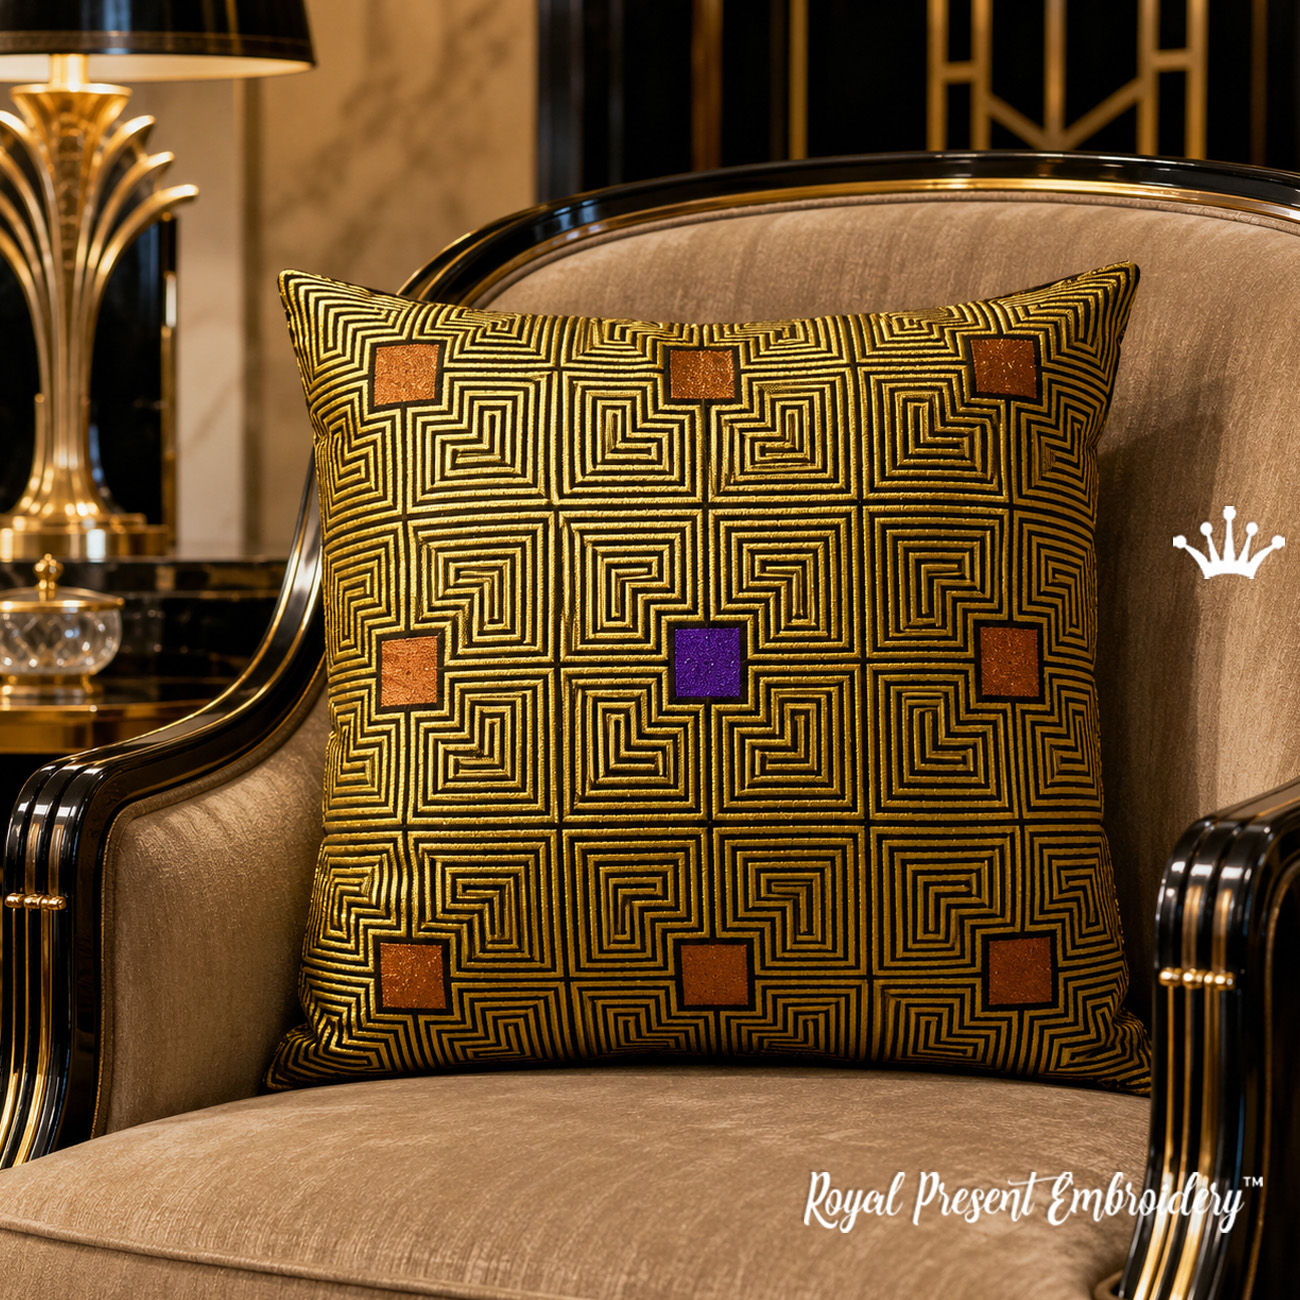
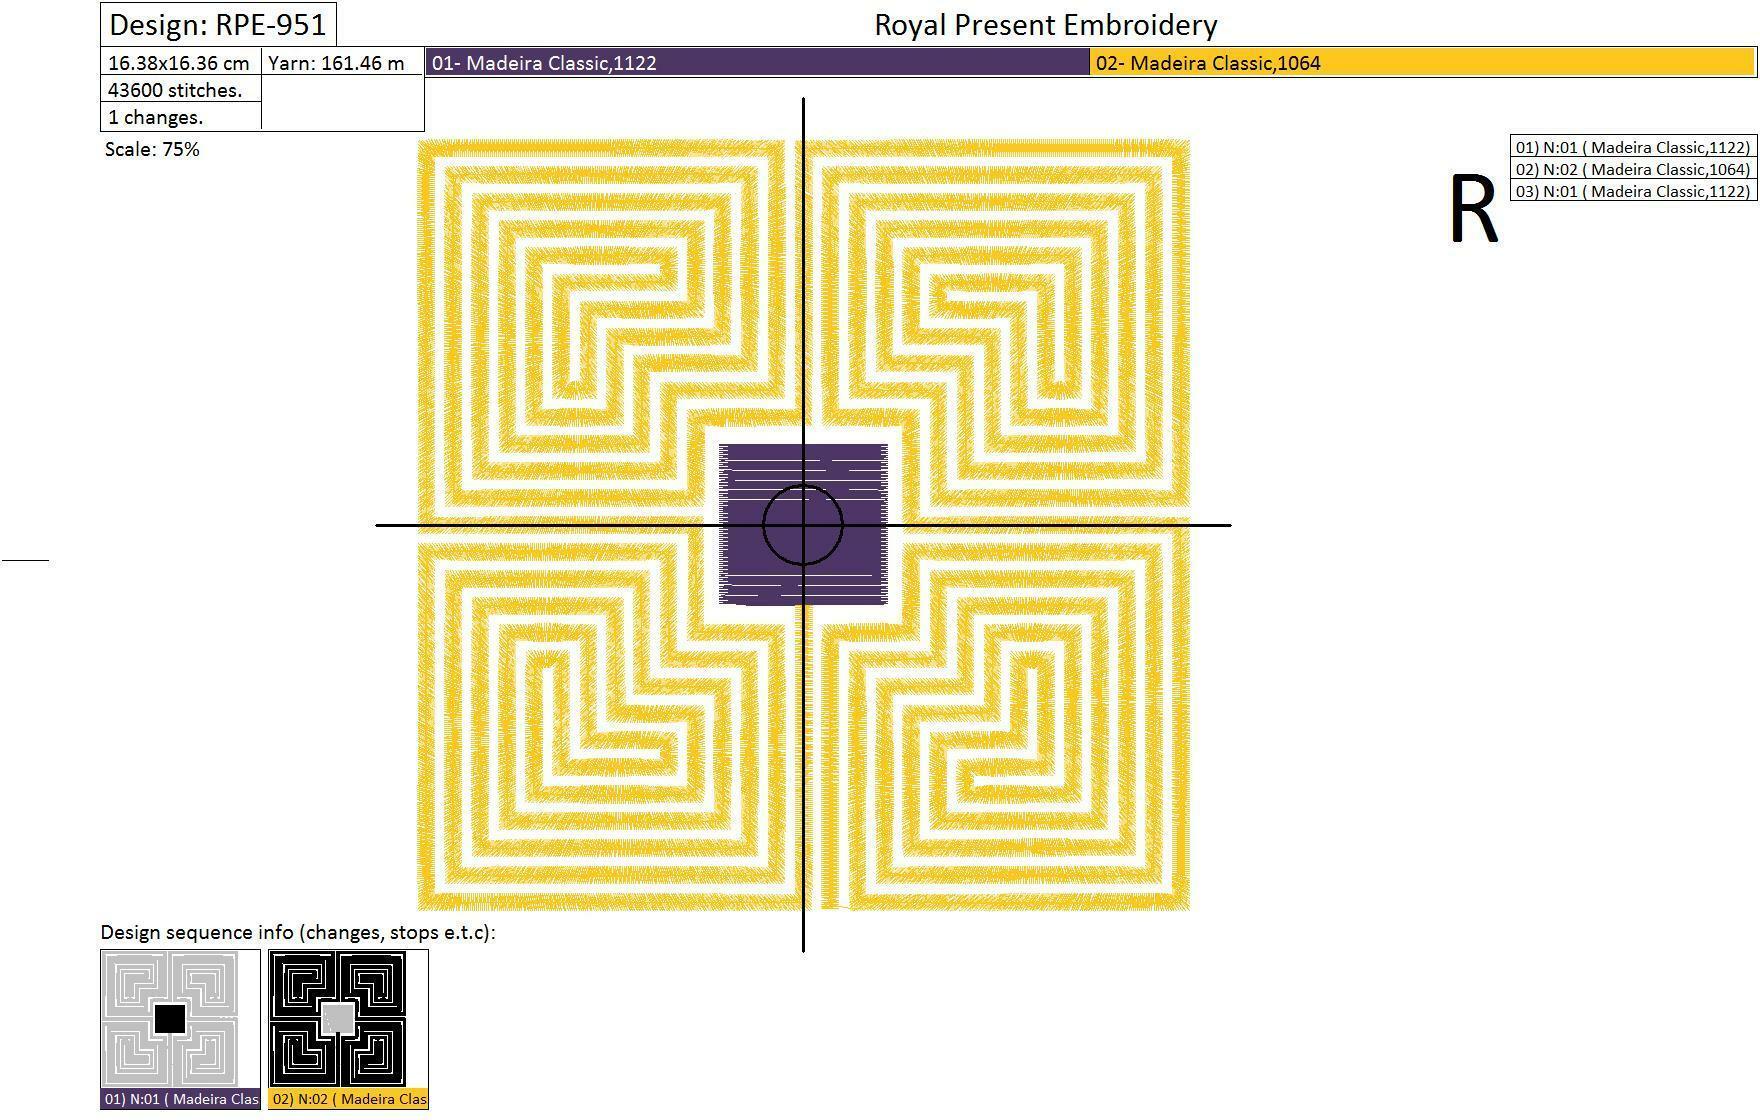
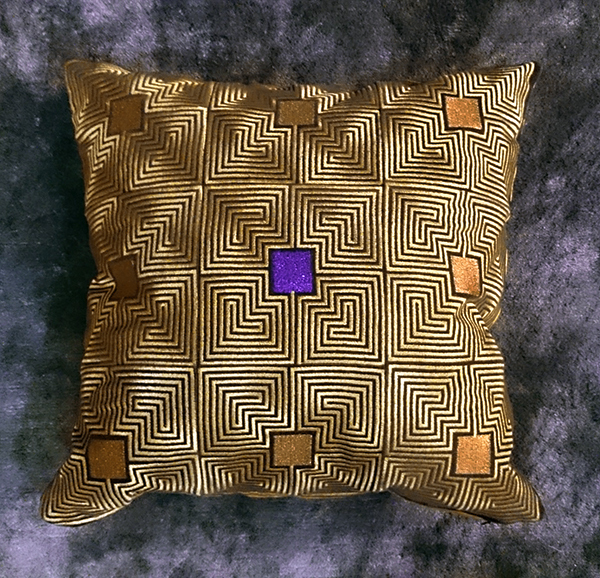
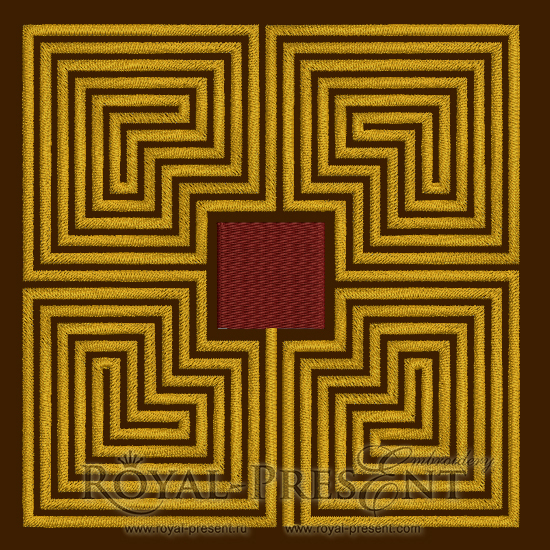
Art Deco Kaleidoscope Quilt Block is a multicolor geometric machine embroidery design built from nested squares, diamonds and angular bands. Contrasting centers hold the composition together, while golden paths create movement through the mosaic-like structure.
Use one block as a statement insert for a cushion, tote bag or textile panel. Repeat the motif and the boundaries between individual squares begin to disappear: diamonds, stepped lines and new secondary patterns continue across the larger surface.
Your purchase contains one digital embroidery design in one prepared size. The finished pillow, fabric, thread, stabilizer and multi-block layout are not included.
Size: 163.8x163.6 mm (6.45x6.44 "), Stitches: 44221
Formats: .dst, .jef, .pec, .vip, .hus, .pes, .sew, .exp, .dat, .vp3, xxx
What Is Included in the Download
- one square geometric motif measuring 163.8 × 163.6 mm / 6.45 × 6.44 inches;
- one prepared machine embroidery file with 44,221 stitches in each listed format;
- a composition of nested squares, diamonds, right angles and contrasting color centers;
- digital files for an embroidery machine, not a hand-embroidery chart, finished quilt block or ITH cushion cover.
Design Size, Stitch Count and Hoop Fit
| File |
Design size |
Stitches |
Practical embroidery field |
| RPE-951 |
163.8 × 163.6 mm
6.45 × 6.44 inches |
44,221 |
at least 163.8 × 163.6 mm
180 × 300 or 200 × 200 mm is practical |
This design does not fit a 160 × 260 mm embroidery field: its width is 163.8 mm. A hoop marketed as 6x10 does not guarantee sufficient short-side clearance. Check the actual sewing field in your machine manual and run the boundary trace before stitching.
Layouts for Cushions and Quilts
| Layout |
Blocks |
Area without gaps |
Total stitches |
| 2 × 2 |
4 |
327.6 × 327.2 mm
12.90 × 12.88 inches |
176,884 |
| 3 × 3 |
9 |
491.4 × 490.8 mm
19.35 × 19.32 inches |
397,989 |
| 4 × 4 |
16 |
655.2 × 654.4 mm
25.80 × 25.76 inches |
707,536 |
A 2 × 2 layout creates an embroidered center of about 32.8 cm, a useful scale for a 40 × 40 or 45 × 45 cm cushion front. A 3 × 3 layout almost fills a 50 × 50 cm square and leaves less than 5 mm around the embroidery on each side. For usable margins, seam allowance and piping, plan a 55 × 55 or 60 × 60 cm cushion instead.
How to Join Separately Embroidered Squares Accurately
- Embroider each block on a fabric blank with at least 25–30 mm of extra fabric around the motif.
- Mark the center, the top of the block and the warp and weft directions before hooping.
- After unhooping, let the sample relax and then measure the actual embroidered width, height and diagonals.
- Make one transparent cutting template and trim every block with the same seam allowance.
- Join the blocks into horizontal rows first, checking the continuation of the outer lines, and then sew the rows together.
Do not cut every fabric square to its final dimensions before the first test stitch. With 44,221 stitches, even slight fabric take-up will repeat from block to block and become obvious along the long diagonals of the finished composition.
Stitch Direction and the Precious-Metal Effect
Light works through stitch direction as well as color. Rayon reflects light along the smooth thread surface, so the same gold shade can look bright on one section and bronze on another. This is an optical effect created by the fill angles, not necessarily a color-chart error.
Keep every block in the same orientation for a uniform result. For a stronger kaleidoscope effect, rotate neighboring blocks by 90 degrees: the stitch direction changes in relation to the light and makes the mosaic look deeper without adding more thread colors.
Recommended Madeira Thread Palette
The exact RPE-951 color chart is not published on the product page. This is a suggested Madeira palette, not the official stitching sequence. Check the color chart supplied in the downloaded ZIP before assigning the shades.
| Color |
Thread |
Shade |
Suggested use |
| |
Madeira Classic Rayon 40 — 1024 |
Gold Rush |
Bright golden highlight |
| |
Madeira Classic Rayon 40 — 1359 |
Golden Nugget |
Muted antique gold |
| |
Madeira Classic Rayon 40 — 1257 |
Bronze |
Deep shadow for gold sections |
| |
Madeira Classic Rayon 40 — 1478 |
Orange Peel |
Warm orange accent |
| |
Madeira Classic Rayon 40 — 1096 |
Cobalt |
Saturated cool contrast |
| |
Madeira Classic Rayon 40 — 1009 |
Sapphire Black |
Cool near-black outline and anchor |
| |
Madeira Metallic FS 40 — 4009 |
Gold 9 |
Metallic highlight only |
| |
Madeira Metallic FS 40 — 4029 |
Bronze |
Dark metallic accent |
The displayed colors are approximate screen previews. Thread sheen, lighting and monitor settings affect their appearance. Use a physical Madeira shade card for final matching.
Classic Rayon 40 is especially effective on a decorative cushion because its smooth surface strengthens the light changes created by different fill directions. For a quilt, tote bag or frequently washed item, Polyneon 40 is the more practical choice; match its colors using a physical thread chart rather than the screen.
Can Real Metallic Thread Be Added?
Yes, but replace only one light-gold color block instead of converting every gold area in this dense design. Madeira Metallic FS 40 Gold 9 4009 or Bronze 4029 can provide a controlled accent. Test first, use a metallic needle in size 90/14, reduce the machine speed to approximately 400–500 stitches per minute and change upper tension only if the test shows a real need.
Fabric, Stabilizer and Geometry Control
- Quilt blocks: use stable quilting cotton, linen or gabardine with a medium-weight cutaway stabilizer. Hoop the fabric and stabilizer together.
- Velvet: place cutaway stabilizer underneath and a thin water-soluble film on top so the geometric fill edges stay above the pile.
- Needle: start with a new 75/11 embroidery needle for 40-weight rayon or polyester; test 80/12 for a heavy home-decor fabric.
- Speed: begin around 500–600 stitches per minute. Straight boundaries reveal loops and color displacement quickly, so watch the test instead of leaving the first block unattended.
After the test, let the fabric relax and measure both sides and both diagonals. If the diagonals differ noticeably, the usual cause is fabric distortion during hooping or insufficient stabilization rather than a wrong design dimension. A 3 × 3 layout makes even a small distortion much more visible.
Practical Embroidery Tips
- Add a basting frame first: a temporary rectangular basting line around the design helps keep the fabric and stabilizer acting as one layer during the 44,221-stitch run.
- Mark TOP on the back: the motif is square enough to look rotatable, but stitch direction changes the reflected color. Label every block before removing it from the hoop.
- Let the sample rest: wait at least 20–30 minutes after unhooping before measuring. Freshly released fabric can recover slightly and change the apparent dimensions.
- Press from the reverse: place the embroidery face down on a folded towel and use a pressing cloth. This protects the rayon sheen and prevents the dense fills from being flattened.
- Keep one thread lot: repeated blocks placed side by side can reveal small dye-lot differences that would be invisible on separate projects.
- Cut after stitching: use one transparent template to trim every completed block. It is safer than expecting nine dense embroideries to shrink by exactly the same amount.
Browse more repeatable motifs in Machine Embroidery Designs for Quilting and more abstract patterns in Geometric Machine Embroidery Designs.
Frequently Asked Questions
Does the design fit a 160 × 260 mm or 6x10 hoop?
No. The design is 163.8 mm wide, so a 160 mm embroidery field is 3.8 mm too narrow. Use a machine with an actual short-side sewing field of at least 163.8 mm; 180 × 300 or 200 × 200 mm is a practical choice.
How many blocks are useful for a decorative cushion?
A 2 × 2 layout works well on a 40 × 40 or 45 × 45 cm cushion because the embroidered area is about 32.8 × 32.7 cm. Nine blocks nearly fill 50 × 50 cm, so a 55 × 55 or 60 × 60 cm cushion is safer for a 3 × 3 layout.
Does the ZIP include a ready-made 3 × 3 layout?
No. The download contains one block. Stitch nine copies on separate fabric pieces and join them as patchwork, or combine copies in embroidery software only if your professional machine supports a 491.4 × 490.8 mm field and a file close to 398,000 stitches.
Why can one gold thread look like several shades?
Rayon reflects light along the direction of the stitches. Different fill angles or a rotated block can make the same thread number appear lighter, darker or more bronze, especially on geometric fills.
Can the design be stitched on velvet?
Yes. Use cutaway stabilizer underneath and a thin water-soluble film on top. The film keeps the stitches above the pile, while the cutaway base helps the right angles stay stable after unhooping.
Is this an ITH quilt block?
No. The file contains decorative embroidery without fabric-placement, tack-down, trimming or in-the-hoop assembly steps. Join the embroidered fabric squares with a sewing machine.
Can the design be reduced to fit a 160 mm field?
Simple coordinate scaling can increase stitch density and disturb the alignment of the nested shapes. Do not reduce a 44,221-stitch geometric file blindly. If another size is required, read the design resize service instructions.
Digital Product and Use
This design may be used for personal projects and limited small-business production of finished embroidered items. The digital files may not be copied, shared, exchanged, published, distributed, altered for digital resale or sold in any electronic format. Mass industrial production is not permitted under the standard license.
Designer: Ludmila Konovalova, Royal Present Embroidery.

 Get Sign-In Link
 Login with Google
 Login with Facebook
 Login with Amazon
 Login with Paypal