Basic steps
I. Preparation of the basics
T-shirts are sewn from cotton fabric. It, in turn, has a high shrinkage ratio. This means that you need to wash the product BEFORE embroidering.
II. Design markup
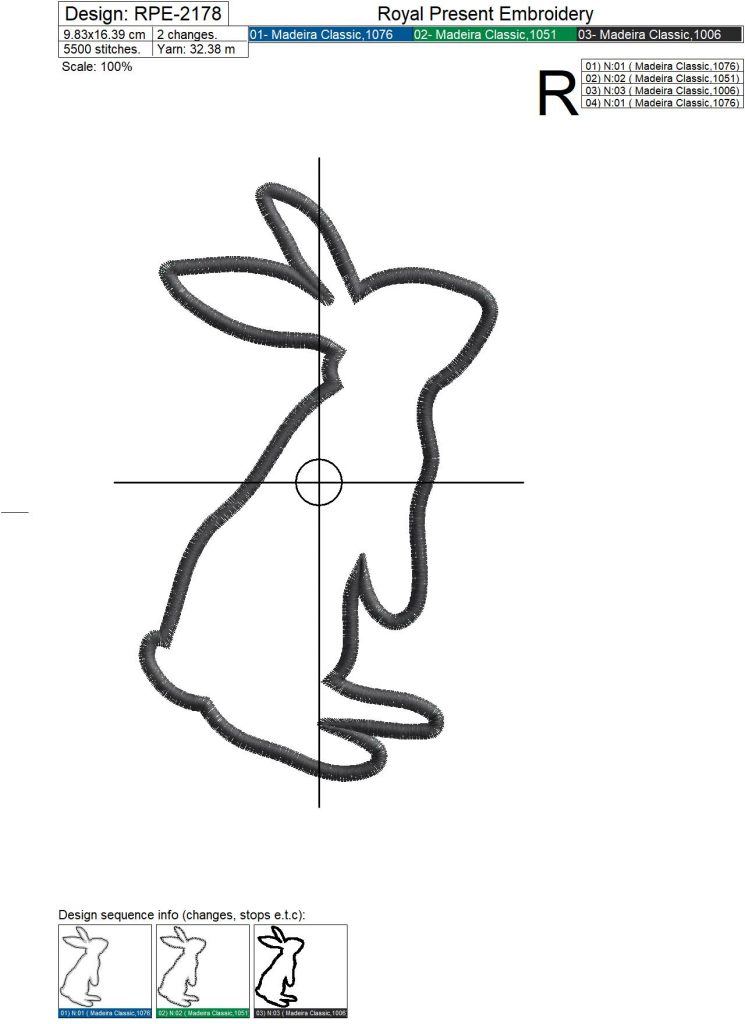
Open the information file, find the paper template, and print it. Attach to the T-shirt, retreat about 0.9-1,2 Inches from the neck. Take the air-erase pen. Transfer the points of the axes and the center point of the embroidery. Then connect them.
III. Project Stabilization
T-shirts are continually wearing and washing. So it’s better to use a cut-away stabilizer. If the fabric of the T-shirt is elastic, use temporary spray adhesive, for example, Gunold KK100.
IV. Embroidery
Load the embroidery frame into the machine. Check that the needle is in the marked center of the embroidery. Embroider the design.
V. Removal of the stabilizer
Cut off the extra stabilizer, retreating 0,3 Inches from the embroidery.
VI. Using Cloud Cover stitch
This stage is essential. Since the skin is susceptible, there may appear traces of the stabilizer. In order not to irritate the skin, use a unique web.
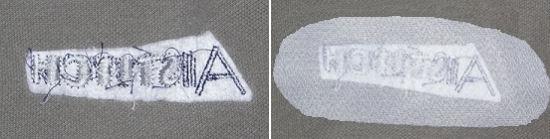
Cover-A-Stitch
Cloud Cover Stitch is a non-woven fabric. It glues to the fabric with a hot iron. It is essential to close the stabilization area completely. This material is very soft so that it can protect your skin.
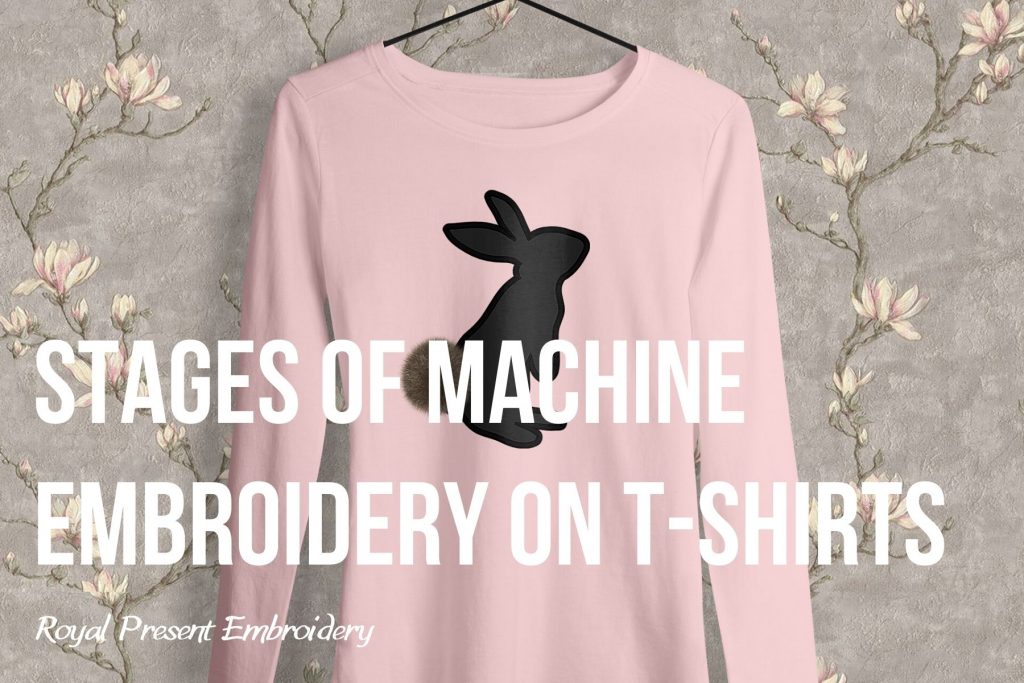
Stages of Machine Embroidery on T-Shirts: A Comprehensive Guide
Machine embroidery on T-shirts is an exciting way to personalize clothing with intricate designs. However, T-shirts, particularly those made from knit fabrics, require special attention to ensure your embroidery turns out crisp and professional. From selecting the right fabric to choosing the proper stabilizers, each stage is crucial. In this article, we’ll walk you through the entire process of machine embroidery on T-shirts, offering detailed tips on fabric, stabilizers, and techniques for optimal results.
1. Choosing the Right Fabric for T-Shirt Embroidery
The fabric of the T-shirt plays a significant role in how your embroidery will look and hold up over time. For the best results, choose T-shirts made from cotton knit fabric with a density of 180-200 g/m² (5.3-5.9 oz/yd²). This fabric weight provides enough structure to support embroidery, ensuring that the design stays intact after multiple washes without stretching or puckering.
Recommended Fabric Types:
- Interlock: A double-sided knit fabric that doesn’t stretch as much as other knits, offering a firm base for embroidery.
- Single Jersey: A lighter, slightly stretchier knit, but still firm enough to support embroidery if stabilized properly.
2. Preparing the T-Shirt for Embroidery
Before you begin embroidering, pre-wash the T-shirt to account for any shrinkage that might occur, especially with cotton fabrics. Iron the fabric to smooth out any wrinkles, as embroidery machines require a flat, even surface to work effectively.
3. Using the Right Stabilizers for T-Shirts
Stabilizers are essential for preventing the fabric from shifting or stretching during the embroidery process. Knit fabrics, in particular, are prone to distortion, so the right choice of stabilizers will make all the difference.
Back Stabilizer (Underside)
For T-shirts, especially knit fabrics, a self-adhesive tear-away stabilizer works best. It holds the fabric securely in place without the need for hooping the fabric directly, which can stretch it out of shape.
Recommended Stabilizers:
- Gunold Filmoplast (80 g/m²)
- Sulky Sticky+ (90 g/m²)
These stabilizers provide a firm hold while being easy to remove after the embroidery process. For lighter fabrics or more delicate designs, a lighter-weight tear-away stabilizer such as 60 g/m² can be used.
Top Stabilizer (Topping)
In addition to the back stabilizer, it’s often necessary to use a water-soluble topping. This is especially true when embroidering on soft, plush, or textured fabrics like knit T-shirts. A water-soluble topping prevents the stitches from sinking into the fabric, ensuring they remain crisp and visible.
Recommended Toppings:
- Sulky Solvy
- Gunold Solvy
- Madeira Avalon Ultra
These brands offer high-quality toppings that dissolve easily in water once your embroidery is complete, leaving a clean, professional finish.
4. Hooping and Preparing the Fabric
Hooping the fabric properly is critical to preventing distortion during embroidery. Here’s how to do it for knit T-shirts:
- Place the self-adhesive stabilizer in the hoop, sticky side up.
- Gently smooth the T-shirt onto the stabilizer, ensuring it is free of wrinkles but without stretching it.
- If your design covers a large area or involves complex stitching, consider using basting stitches to secure the fabric further.
For delicate knits, avoid over-tightening the hoop, as this can leave permanent marks or stretch the fabric.
5. Selecting the Right Needle
For machine embroidery on T-shirts, use a ballpoint needle. These needles have a rounded tip that slides between the fibers of the knit fabric rather than piercing them, preventing tears or snags in the material.
- Recommended Needle Size: 75/11 ballpoint needle. This size is ideal for most knit T-shirts and works well with medium-weight stabilizers and threads.
6. Embroidery Design Considerations
The complexity of your design will also affect the outcome. For knit fabrics, avoid overly dense designs with heavy stitching, as they can cause the fabric to bunch or warp. Instead, opt for lighter designs with open spaces, especially if the fabric has a looser weave.
If you’re embroidering a design with multiple color changes or intricate details, slow the machine speed to about 500-600 stitches per minute. This reduces the likelihood of fabric stretching and ensures more precise stitch placement.
7. Stitching the Design
Once your fabric is hooped, and the stabilizer and topping are in place, it’s time to start stitching. Make sure the machine is running at a moderate speed (500-600 stitches per minute) for best results. This slower pace will help keep the fabric stable and minimize any risk of puckering or distortion.
8. Removing Stabilizers and Finishing
After your design is complete, carefully remove the hoop. For the tear-away stabilizer, gently tear it away from the back of the fabric. The water-soluble topping can be dissolved by lightly spraying the embroidery with water or using a damp cloth to wipe it away.
For added durability and a more polished look, consider ironing the reverse side of the embroidery using a pressing cloth to avoid damaging the stitches.
Final Thoughts
Machine embroidery on T-shirts can be a fun and rewarding project, but it requires the right preparation and tools. By selecting the appropriate fabric, stabilizers, and needles, and paying attention to each stage of the embroidery process, you can achieve professional-looking results. Remember to use stabilizers like Gunold Filmoplast or Sulky Sticky+ for the back, and Solvy or Madeira Avalon Ultra for the top, to ensure your stitches are neat and long-lasting.
You may also like

Aerosol Sprays for machine embroidery

Author: Ludmila Konovalova
My name is Ludmila Konovalova, and I lead Royal Present Embroidery. Embroidery for me is more than a profession; it is a legacy of my Ukrainian and Bulgarian heritage, where every woman in my family was a virtuoso in cross-stitch and smooth stitching. This art, passed down through generations, is part of my soul and a symbol of national pride.
Date: 22.01.2020

 Get Sign-In Link
 Login with Google
 Login with Facebook
 Login with Amazon
 Login with Paypal