
Christmas tree wall art machine embroidery design is a magnificent wall panel project for Christmas celebration. As the design is very dense we recommend to embroider it on a thick fabric like furniture linen or dense hemp fabric.
Caring about our customers we prepared a full instruction of embroidering this project with the using of printed paper template. In this way you can embroider combined projects without special marks.
Christmas tree wall art machine embroidery design

Flower pot with trunk
Size: 84.5×238.3 mm (3.33×9.38 “), Stitches: 24218
Size: 91.7×258.3 mm (3.61×10.17 “), Stitches: 26472
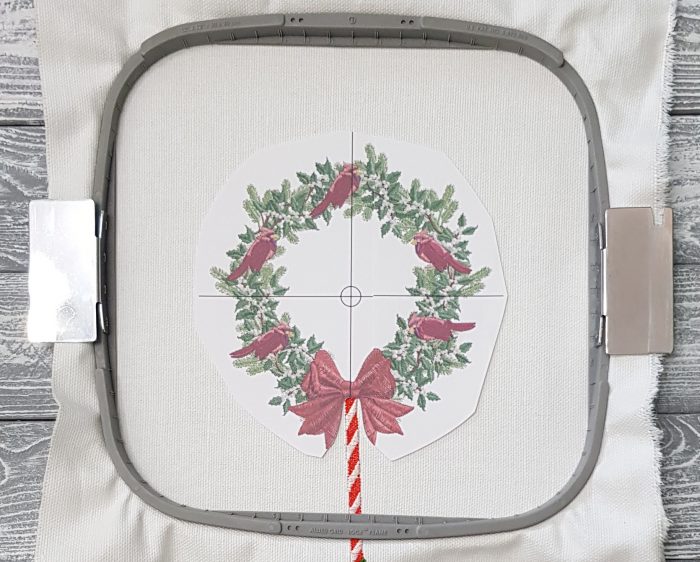
Wreath with Bullfinch
Size: 178.0×191.8 mm (7.01×7.55 “), Stitches: 60451
Size: 198.0×213.3 mm (7.80×8.40 “), Stitches: 66242
Formats: .pes, .pec, .hus, .vip, .dst, .exp, .sew, .exp, .dat, .vp3, .jef
Unfortunately, this project is available only for embroiderers who has Mega hoops, as this embroidery are characterized by a variety of small leaves and berries. To make such pattern in a smaller size is virtually impossible.
Let’s see how to embroider Christmas tree wall art machine embroidery design at your ease.
Instruction
After you unpack the ZIP archive, you will see two folders named “First” and “Second”. This means that you have to start embroidering Christmas tree wall art machine embroidery design with the folder “First”.

In the folder “First” there are two more folders. In them you will find the bottom part of the tree (pot with the trunk) in the sizes:
1: 84.5×238.3 mm (3.33×9.38 «), Stitches: 24218
2: 91.7×258.3 mm (3.61×10.17«), Stitches: 26472
Choose the size and format that your machine reads. Transfer this file to the embroidery machine.
The next stage is the positioning of the design on the fabric.
Each design from Royal Present Embroidery contains an information file. You need to find it in the folder with the files.
This is a .jpg file that can be opened by any photo viewer.
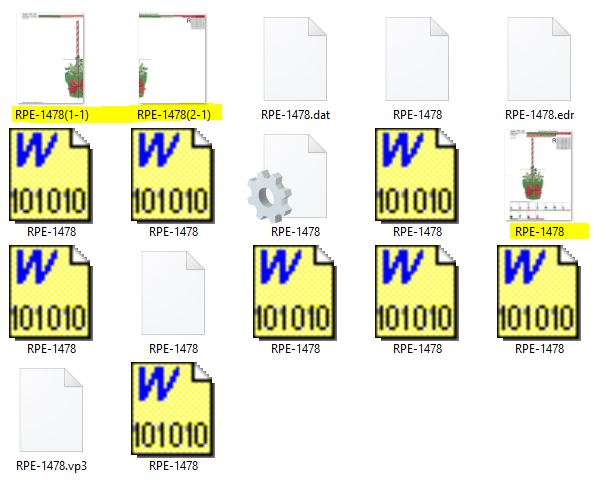
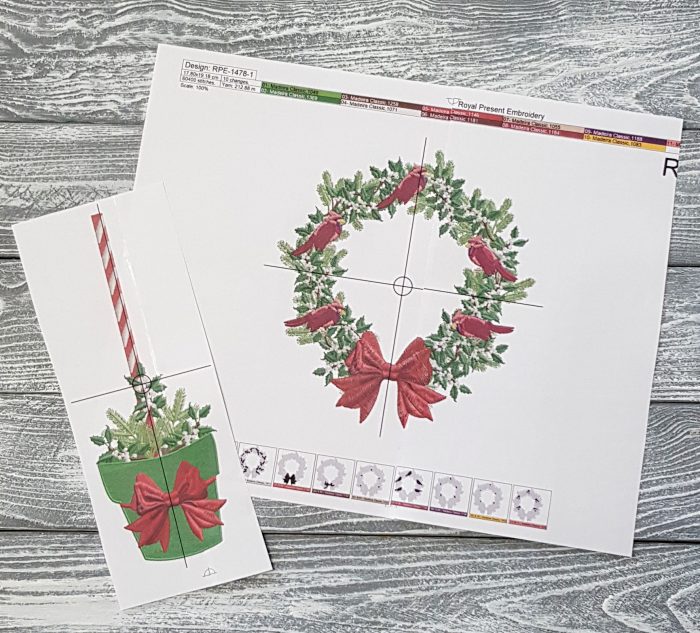
Please note that in folders with files specifically this design contains three information files. Since the design is large and could not fit on the A4 sheet, the program splits the information file into several sheets. Since these sheets are intended for printing.
Open the information file. You need to make sure that in the upper left corner the scale of the design is 100%. As you can see on this sheet design on a scale of 75%.
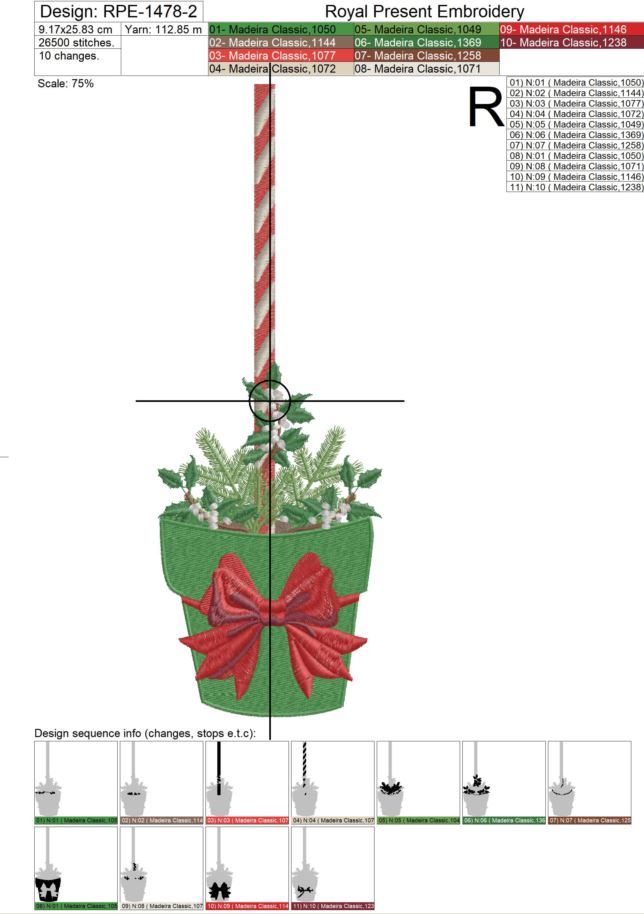
This means that this information file is not suitable for printing and positioning the design on the product. It is necessary to find and print an information file, which consists of TWO sheets.
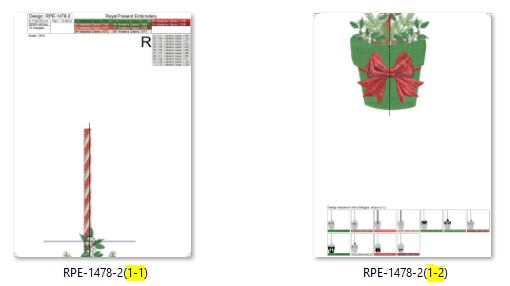
They are accompanied by the notation (1-1) and (2-1). Print out the files of all the parts of the design that you plan to embroider.
You will get 4 sheets.
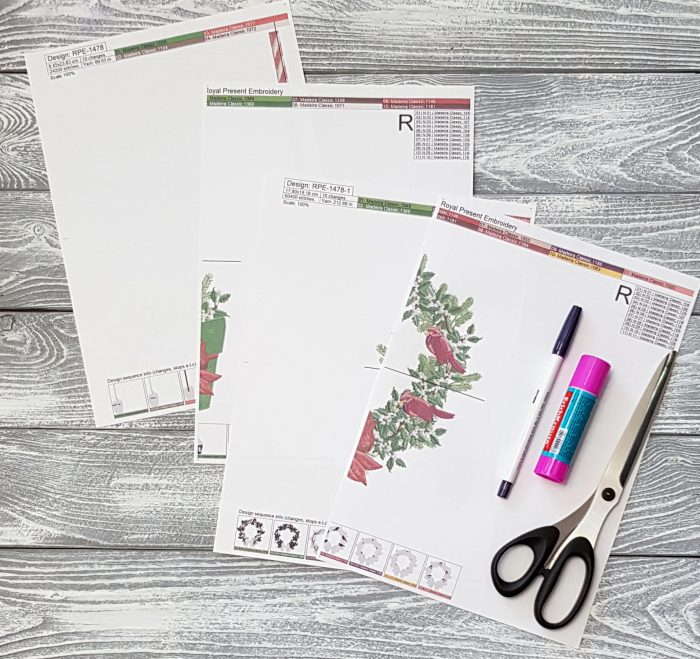
Now you need to glue the printed patterns together, which consist of two sheets and cut off excess paper. Place the printed patterns on the fabric where you plan to make the embroidery.
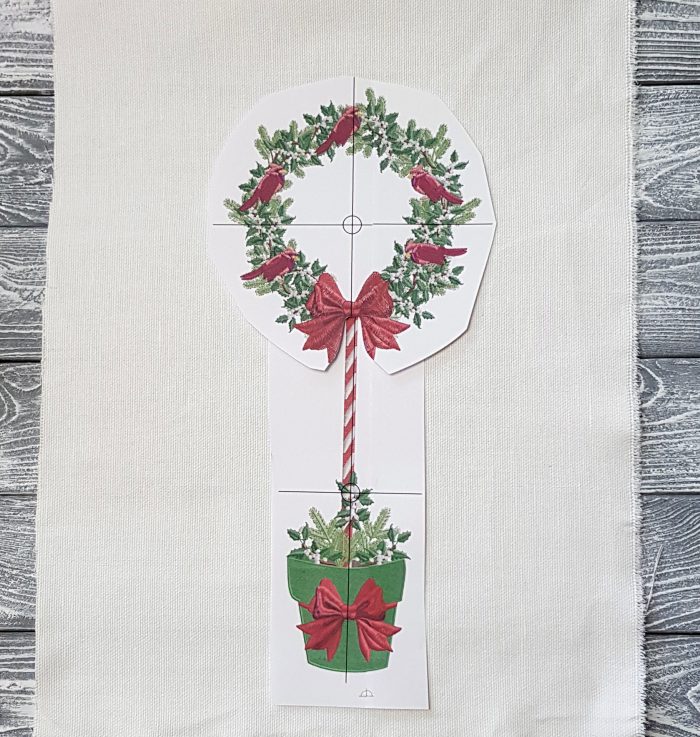
Note that the printed template has a mark of the design`s center and the X and Y axes for the exact position of the future embroidery in the hoops.
Mark the fabric of the center and X and Y axes with an air-erase pen or tailor chalk.
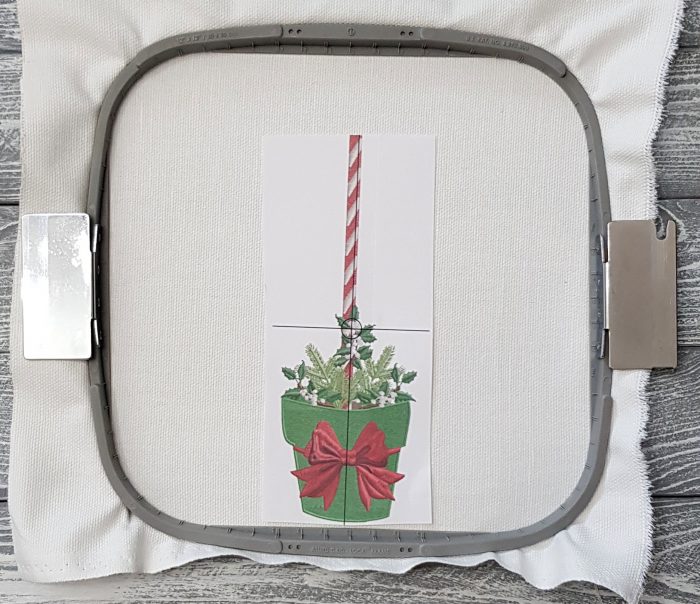
Hoop the fabric in order to embroider the first part of the tree.
No matter what your embroidery machine is, industrial or household, these rules for combining embroidery are the same for both types.
Embroider the first part of the Christmas tree.
Do not forget to roll and clip the excess fabric, so that it does not fall under the embroidery needle.
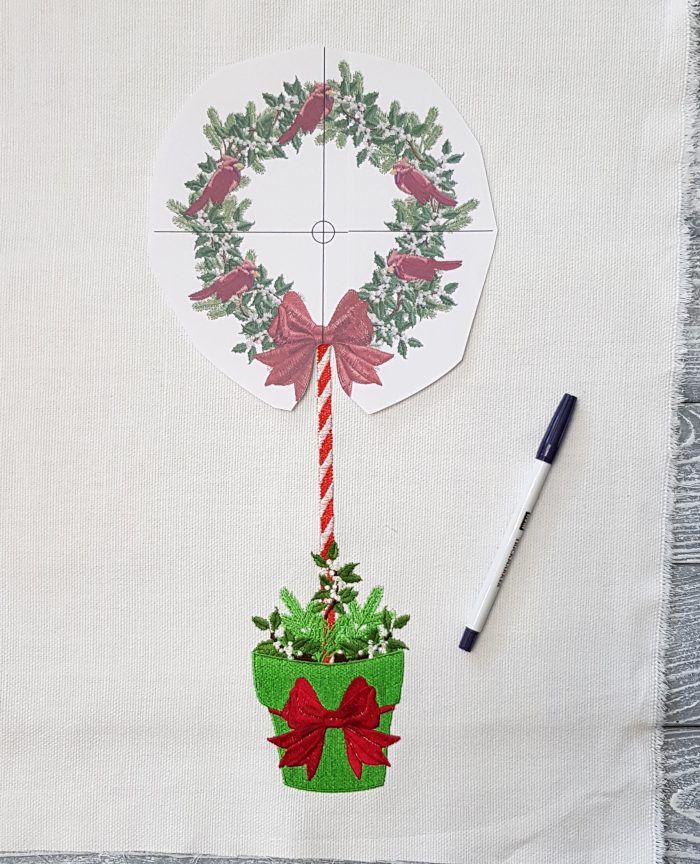
After you have embroidered the first part of the design, unhooped the fabric. Remove the excess stabilizer, iron the product.
Put the second printed pattern on the place where you need to embroider the second part of the Christmas tree.
With an air-erase pen or tailor chalk, mark the center of the embroidery and the XY axis for a more precise hooping.
Hoop the fabric.
Embroider the second part of the tree. You will get an excellent result!
Note. You can use this design barrel for combination with other Christmas wreaths from our collection, and you will get different beautiful Christmas trees!

You may also like

Vintage Christmas Machine Embroidery Design with holly berry

Author: Ludmila Konovalova
My name is Ludmila Konovalova, and I lead Royal Present Embroidery. Embroidery for me is more than a profession; it is a legacy of my Ukrainian and Bulgarian heritage, where every woman in my family was a virtuoso in cross-stitch and smooth stitching. This art, passed down through generations, is part of my soul and a symbol of national pride.
Date: 22.09.2018

 Get Sign-In Link
 Login with Google
 Login with Facebook
 Login with Amazon
 Login with Paypal