Embroidery is widely used in various spheres of human life, and is appreciated by many needlewomen. We decorate the interior with the embroidery to give it more coziness. In addition, we create our own unique and original style of clothing, adding embroidered elements.
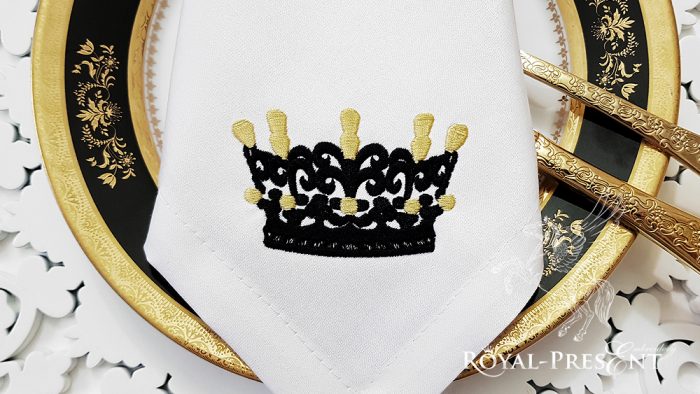
Embroidery is also widely used for decorating children’s clothing and accessories. The Crown embroidery Design is ideal for such purpose.
You can embroider this unusual design on cute dresses, handbags or blouses for a little princess. It will also look original at white onesies, bed linens, towels, bedspreads and pillows.
Nevertheless, today we want to offer you another, no less successful idea. This is the embroidery of such a majestic design on the bib. The bib is used almost from birth and up to 3-4 years. This is a practical and indispensable accessory for every little princess.
Most often bibs are made of terry cloth or cotton. That is why we will tell you how embroidering on both types of fabric.
Crown Embroidery Design

Formats: .dst, .jef, .pec, .vip, .hus, .pes, .exp, .sew, .dat, xxx, vp3
In order to embroider this design on a bib with a terry cloth it is necessary:
– Terry Bib
– Medium-weight cut-away stabilizer
– The glue of a temporary fixation
– Air-erase pen
– Crown embroidery Design from machine embroidery crowns
At first, you should carefully study the process of applying embroidery onto a terry fabric. Since this is a fluffy fabric, it is important that the embroidery is not “lost” in the fabric. That is why you should use the “sandwich” stabilization method. It means the using of both the upper and lower stabilizer.
First, print an information file containing the full-size design marked with the embroidery center and the X-axis and Y-axis points. Attach the template to the fabric and transfer the marks to it. Then spray the glue of a temporary fixation on the cut-away stabilizer and glue the bib on top. Top with a water-soluble film as the upper stabilizer. Put it all in the hoops, relating the marked lines to the fabric with the marks on the embroidery frame. Embroider the design. Remember that the needle must be in the marked center before embroidery. Remove excess cut-away stabilizer and wash the bib to remove the remnants of the water-soluble stabilizer. Embroidery is ready.
To embroider this cute design on a cotton bib is necessary:
– Cotton Bib
– Cut-away stabilizer
– The glue of a temporary fixation
– Machine embroidery crowns
Cotton is the most simple and widely used base for embroidery. Many needlewomen love this fabric for its simplicity. You only need hoop and embroider. It is not complicated.
At the beginning, print out the information file and transfer the center and the X and Y axis marks to the fabric. Then spray the glue of a temporary fixation onto the cut-away stabilizer. Attach a bib on top. Hoop the fabric with the stabilizer. Remember that the marks on the fabric should converge with the marks on the embroidery frame. Embroider the design. Unhoop the fabric and remove the excess stabilizer. Embroidery is ready.
Important: do not forget to choose the right size for your bib. If there are no needed size, order the resizing service.
You may also like
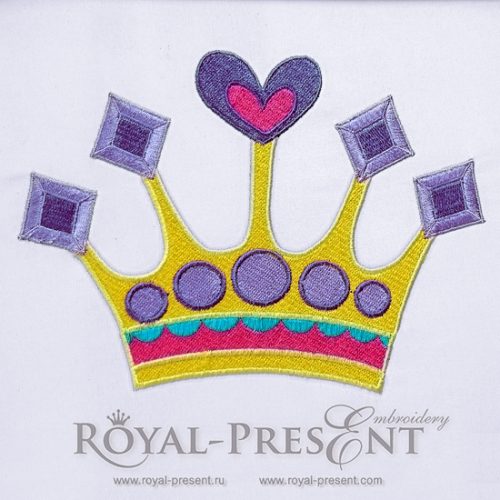
Machine Embroidery Design Beautiful crown for a princess

Author: Ludmila Konovalova
My name is Ludmila Konovalova, and I lead Royal Present Embroidery. Embroidery for me is more than a profession; it is a legacy of my Ukrainian and Bulgarian heritage, where every woman in my family was a virtuoso in cross-stitch and smooth stitching. This art, passed down through generations, is part of my soul and a symbol of national pride.
Date: 18.03.2018

 Get Sign-In Link
 Login with Google
 Login with Facebook
 Login with Amazon
 Login with Paypal