
Creating our free machine embroidery designs, we try to make every customer pleasant to us. Agree, it’s nice to receive free patterns for embroidery as a gift. With their help you can create unique embroidery projects. Free Machine Embroidery Designs Snowflakes are no exception.
This simple uncomplicated embroidery is just a field for your creativity. Its multi functionality is really surprising. You can apply these patterns to different embroidery projects. After all, you can change the color of embroidery, create winter prints, felt patches and many other things.
Such designs will serve as an excellent option for interior decoration. They will be useful for the housewives, who are looking for an uncostly way to decorate the house before Christmas.
No less interesting, such embroidery will look on winter clothes. Today we want to tell you about machine embroidery on sweaters. With the approach of winter, each of us thinks about changing the winter wardrobe. And the old boring sweaters are put away in a dark box. Using our Free Machine Embroidery Designs Snowflakes, you can save a lot. In addition, you will receive original clothes made by yourself.
Free Machine Embroidery Designs Snowflakes

Hoop size 100x100mm
Formats: .dst, .jef, .pec, .vip, .hus, .pes, .sew, .exp, .dat, .vp3, art
To do this, let’s consider the stages of embroidery of these magnificent snowflakes on r=the sweater. This instruction will greatly simplify your embroidery process.
Stage 1. Preparation of fabric and materials. In advance, think about where you will embroider cute snowflakes. What patterns to use, how to arrange them. Choose the thread colors that you will use.
Stage 2. Positioning of embroidery. Place on the sweater paper patterns, the way you want to see the embroidery. This will help you to imagine the finished result. In addition, by moving the marks, you can properly hoop the fabric. So it helps to embroider patterns straight.
Stage 3. Stabilization of the fabric. For embroidery on a sweater it is necessary to use a “sandwich”. As the lower stabilizer, use a medium-weight cut-away and a glue of a temporary fixation. As the upper use water-soluble stabilizer.
Important: After you have glued the cut-away stabilizer, stretch a bit the fabric around the edges. This will allow the embroidery to lie more flat on the fabric. The main thing is not to overdo it. Otherwise, the strongly stretched fabric will return to its original position, and the embroidery will pucker.
Embroidery design. Load the embroidery frame into the machine and embroider the design. Use a needle which is suitable for your fabric.
Step 5. Removal of the stabilizer. Cut off the excess cut-away stabilizer and dissolve in warm water water-soluble.
Performing this sequence, you can easily embroider Free Machine Embroidery Designs Snowflakes on a sweater. Successful embroidery!
You may also like
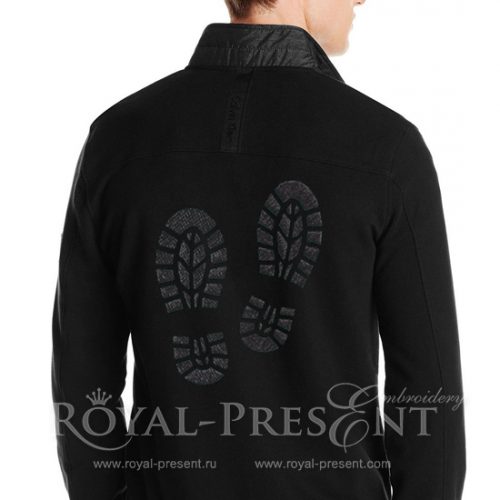
Free Machine Embroidery Design Footprint

Author: Ludmila Konovalova
My name is Ludmila Konovalova, and I lead Royal Present Embroidery. Embroidery for me is more than a profession; it is a legacy of my Ukrainian and Bulgarian heritage, where every woman in my family was a virtuoso in cross-stitch and smooth stitching. This art, passed down through generations, is part of my soul and a symbol of national pride.
Date: 01.11.2015

 Get Sign-In Link
 Login with Google
 Login with Facebook
 Login with Amazon
 Login with Paypal